
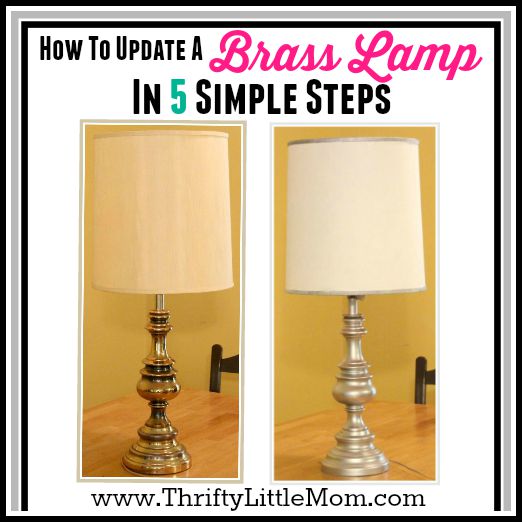
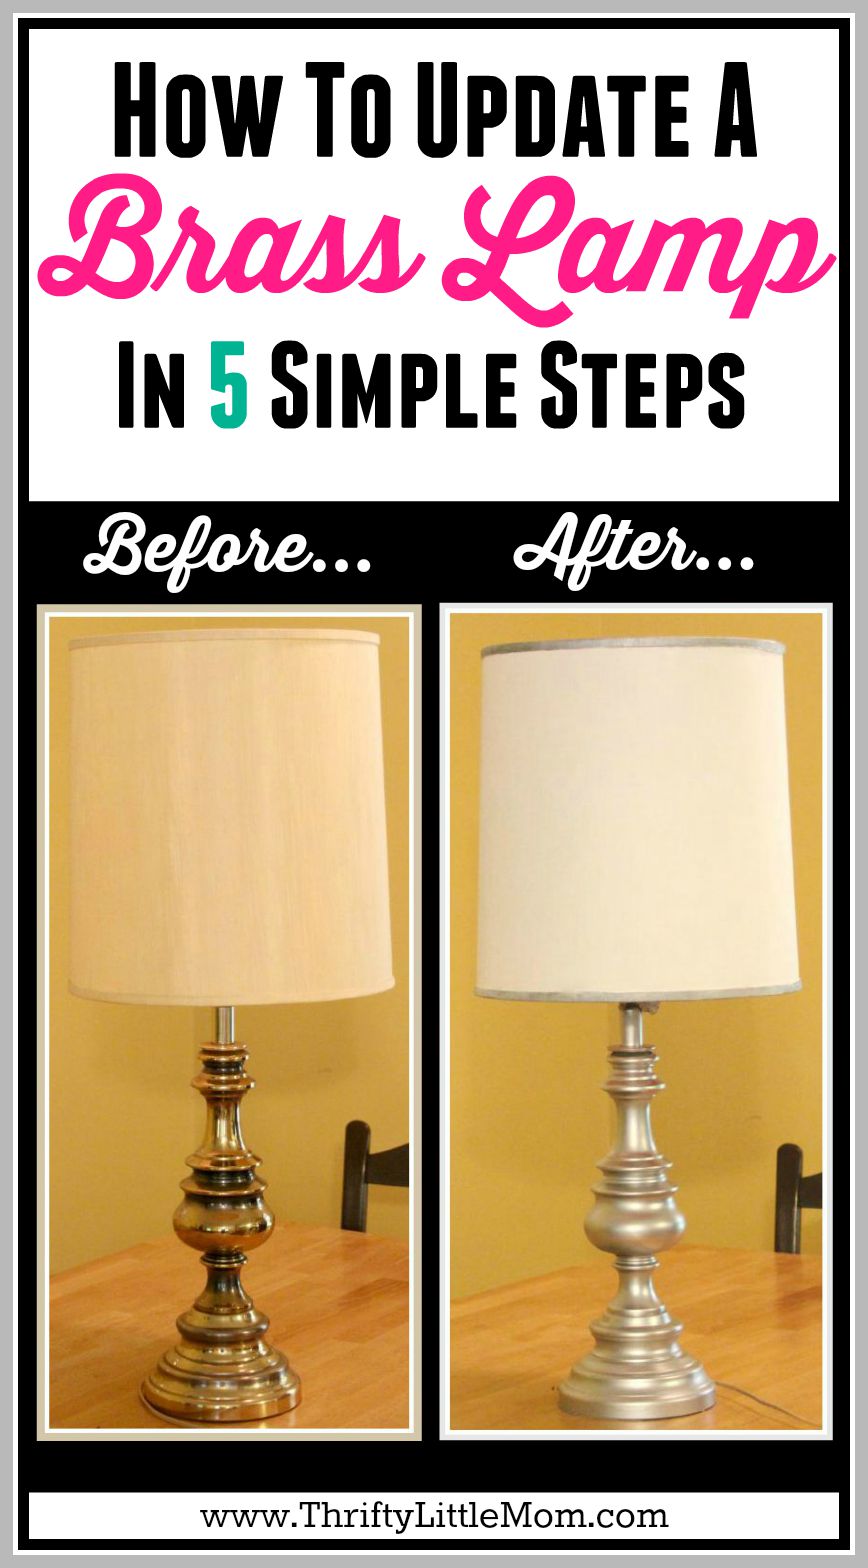
Painting Brass Lamps in 5 Simple Steps
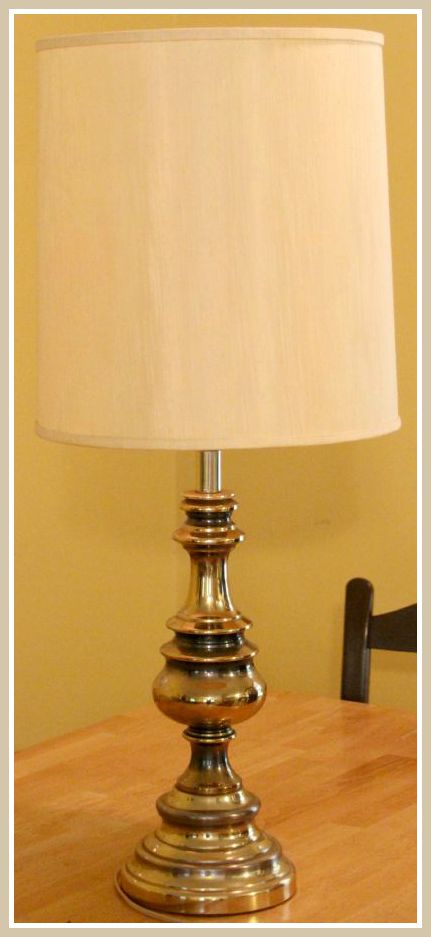
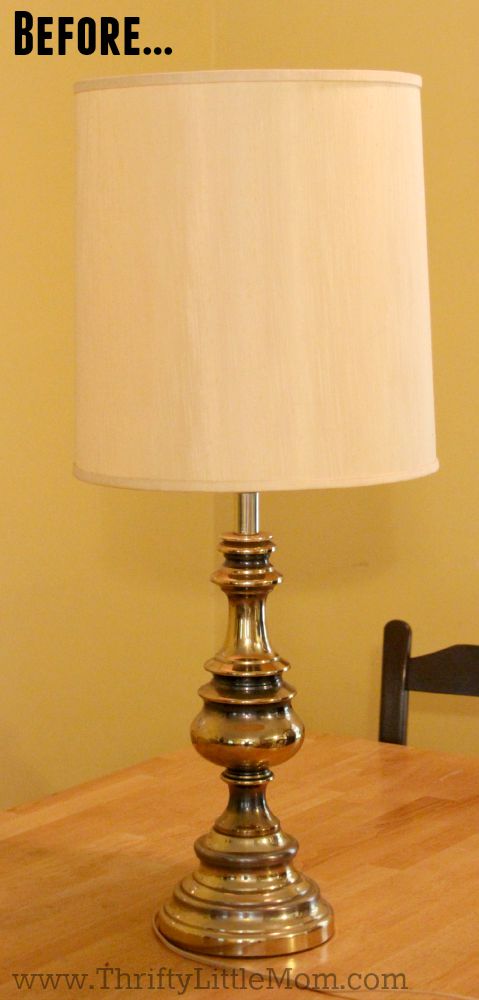
About a year ago, I got tired of my living room decor, so I decided to do a budget makeover! Do you ever get that itch every few years to do something new? I wanted some nice lamps but felt like buying new lamps, or even just new shades were super expensive. In my case, I found these fantastic lamps at an estate sale for $5 each and decided my next project was painting brass!
Now, you might be thinking, “Can you paint brass?” The answer is yes! In fact, I’ll show you the step by step process of painting brass silver plus all the tools you’ll need to make it happen in just around one hour of time.
If you have old brass lamps or find some yourself that you see potential in, give this project a try. I was super happy with the results or frankly, I wouldn’t write about it! Below you’ll find the best paint for brass and the brass primer spray paint that I found at my local hardware store.
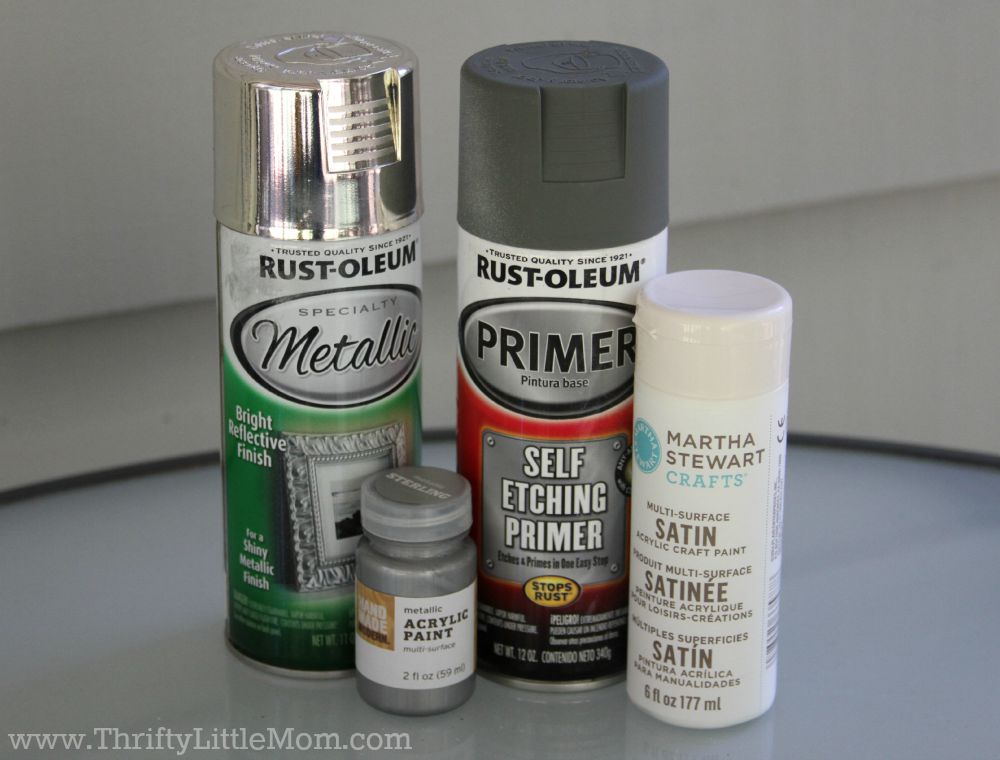
Supplies you for painting brass:
- A brass lamp
- A nice shaped lamp shade.
- Sandpaper (light grit)
- Rust-Oleum© Metal Primer Spray
- Spray paint color to match your decor’- I used Metallic Silver
- Martha Stewart Crafts© Mutli-Surface Satin Acrylic Craft Paint (Michael’s)
- Metallic Acrylic Paint (Target)
- plastic bag
- paintbrushes
Painting Brass Step 1:
I first cleaned off the surfaces of the lamp and shade to remove dust. Sand down the brass parts of the lamp that you intend to spray paint. I used a light sandpaper with a light grit just to help the paint stick to the surface.
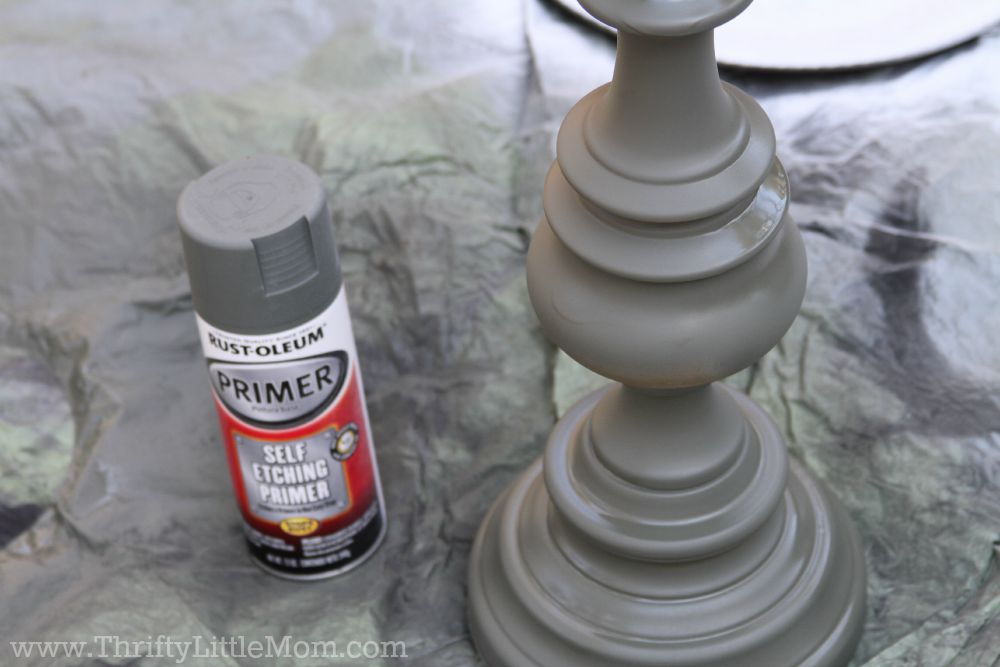
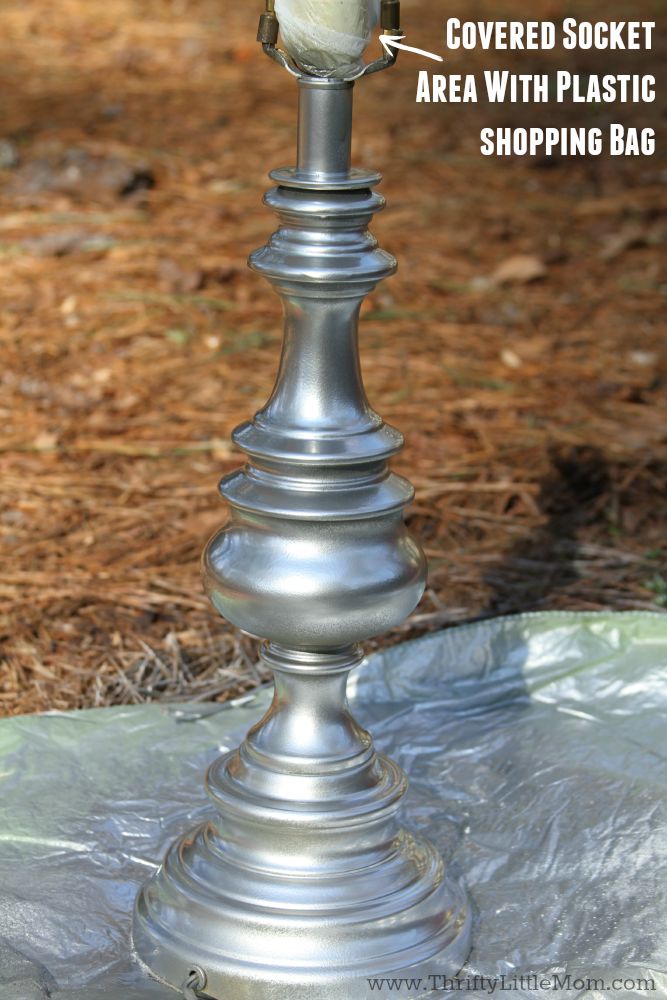
Step 2 – Apply brass primer spray paint.
Cover the light socket and any portion of the lamp that you want to protect with a plastic shopping bag. In a well ventilated area, prime the brass lamp surfaces by spray painting a few coats of Self Etching Primer. Follow the directions on the back of the can to ensure you get the right finish.
Painting Brass Step 3:
After the Self Etching Primer has had time to dry, add your first layer of your chosen colored spray paint. In my case I chose to go with painting brass silver. Add several coats following the instructions on the back of the can for coats and layering.
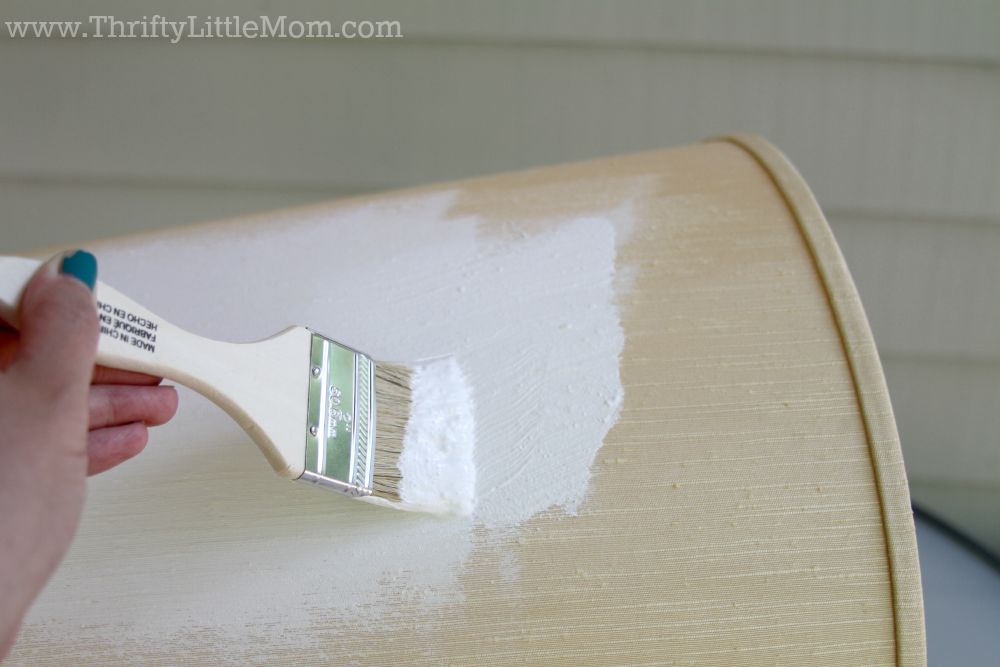
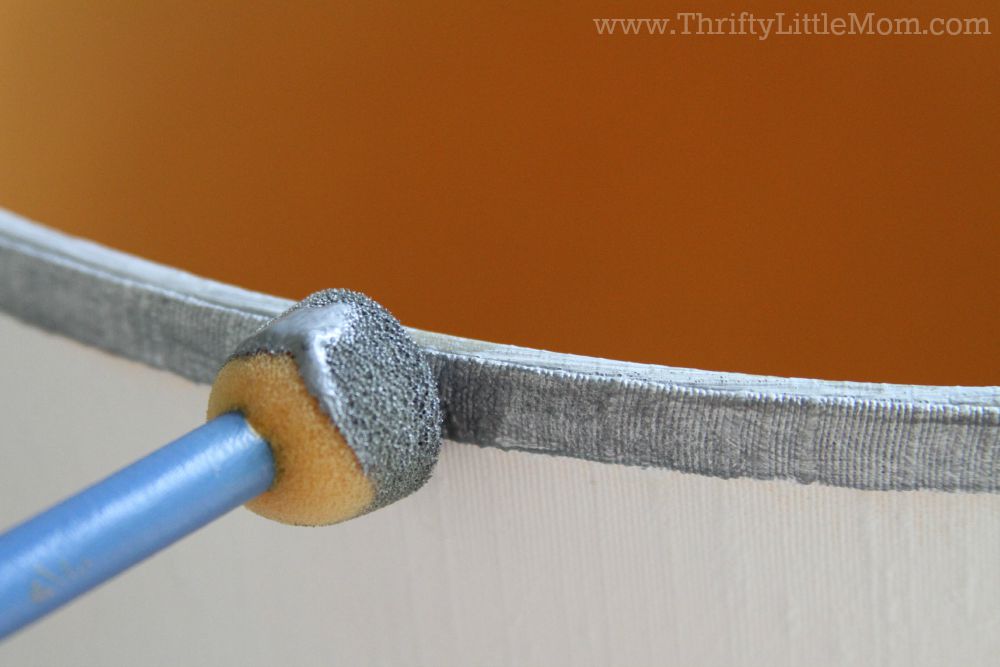
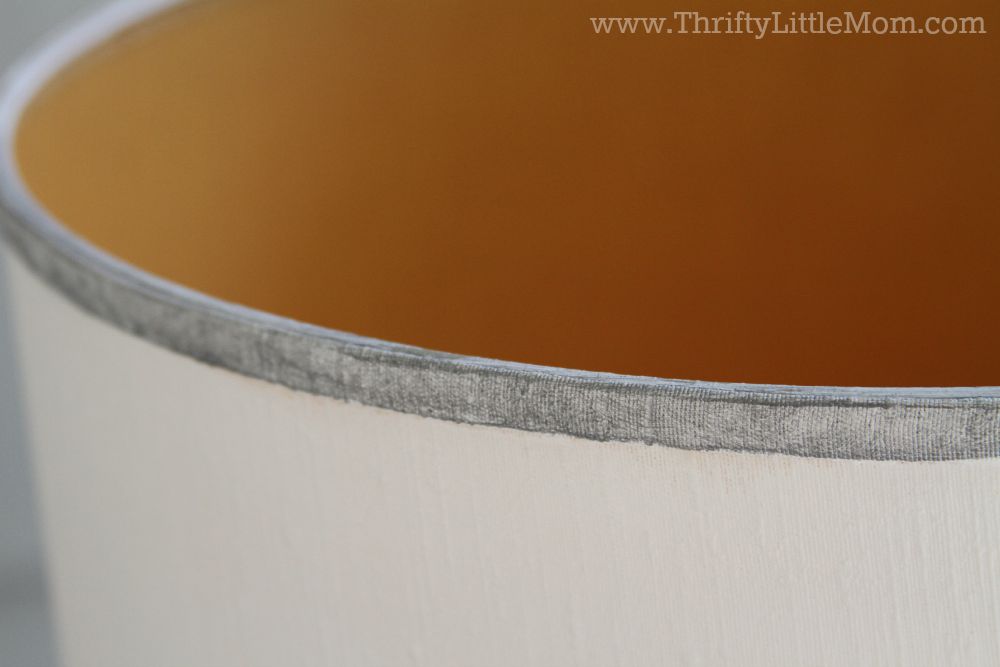
Painting Brass Step 4:
Paint the shade. In my case, the shade was made of fabric on the outside so I simple used some fabric paint and covered up the old shade with white. I’m really, really horrible with stencils so I decided to use the features that the lamp already had and simply add a silver accent to the top and bottom ridge of the lamp for a little decorative touch.

So now you can see how really simple it is to take an outdated brass lamp that has a nice shape and make it look modern! I was really thrilled with the outcome of these lamps and it kind of makes me want to make some for our bedroom too with the lamps we already have!
If you are interested in seeing how to update old OUTDOOR brass sconce lamps, check out how my husband updated ours!
Have you ever done a garage sale or thrift store furniture makeover? I’d love to hear about it in the comments section below!
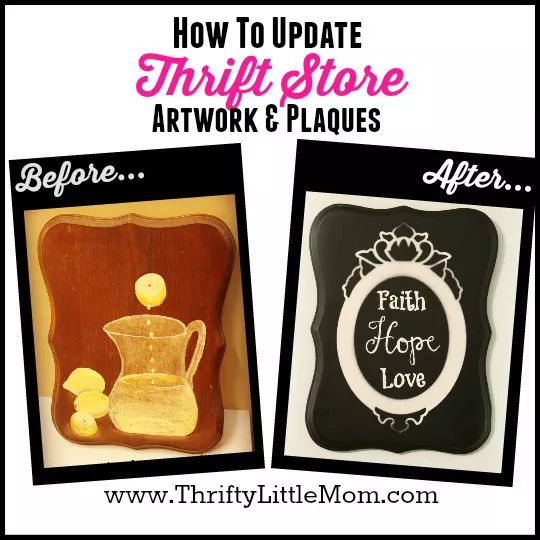
If you enjoyed this post, you might also like these posts from Thrifty Little Mom:
Other Painting DIY Project from Thrifty Little Mom

Kim Anderson is the organized chaos loving author behind the Thrifty Little Mom Blog. She helps other people who thrive in organized chaos to stress less, remember more and feel in control of their time, money, and home. Kim is the author of: Live, Save, Spend, Repeat: The Life You Want with the Money You Have. She’s been featured on Time.com, Money.com, Good Housekeeping, Women’s Day, and more!