
Make Dollar Store Gift Wrap Look Fabulous: Day 6 of Getting Into The Holiday Spirit
 One thing I always look forward to each year is making myself a peppermint mocha frapp, playing my Bing Crosby, White Christmas station on Pandora and having a gift wrapping party.
This year I’m feeling super crafty when it comes to wrapping my gifts. The problem is that I just can’t bring my thrifty self to spend a ton of money on what will ultimately be trash… You know what I’m talking about. When you pay good money for wrapping paper, work so hard to wrap stuff perfecting, you get paper cuts and finger cramps after wrapping for hours. Then the big day arrives and you watch as the wrapper gets shoved down into that black trash bag by the tree before you can even say, “Merry Christmas!” So this year I decided to attempt to make super adorable gift wrapping for less than $15 and I did it. It all began with a trip to the dollar store!
Here’s what I got:
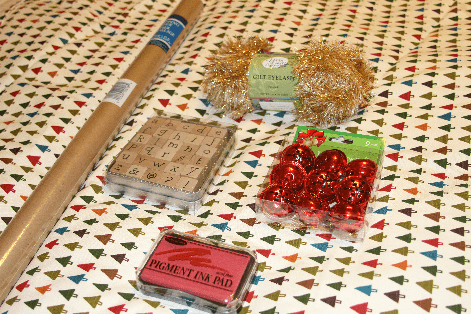
- 1 Roll of Brown Packing Paper from Dollar Store = $1
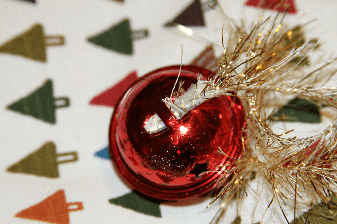
- 1 Box of Red Shiny Bells from Dollar Store- $1
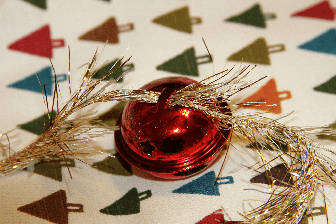
- 1 Skein of Yarn Bee “Gilt Eyelash” yarn Hobby Lobby (40%off coupon) = $4.20
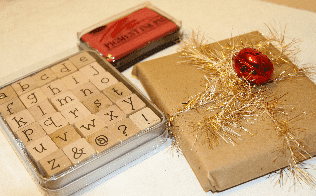
- 1 box of alphabet stamps from Hobby Lobby (40% this week)= $6.00 + I can use these again next year!
- 1 Red Ink Pad (40% off this week) = $1.79
- Total Spent= $13.99
Step 1: Pick a Gift to Wrap- I love Dave Ramsey!
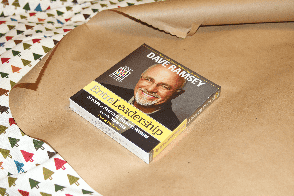
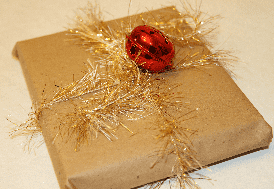
Step 2: Wrap the gift in brown dollar store shipping paper! (It’s in the section with the office supplies)


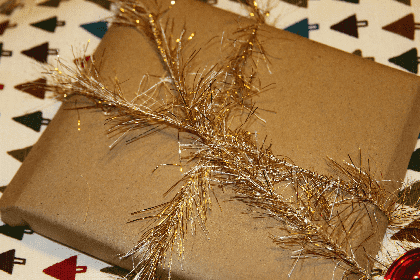
Step 3: Grab your yarn and lay it across the front-middle of your package. I cut about 2 arm’s length of yarn for this package.

Step 4: Carefully flip the package keeping the yarn running across the front-middle and cross the ends of your yarn parallel on the backside of the package. (As if your yarn is hugging the package).
Step 5: Grab the ends of the yarn and cris-cross the strings in the middle of the package to make a cross. You can secure the cross in the middle with tape if it helps keep your yarn in place.
Step 6: Flip the package back over to the front and tie the ends of yarn together like the first step in tying your shoe. Don’t make the bow yet, as we need to add our bell!
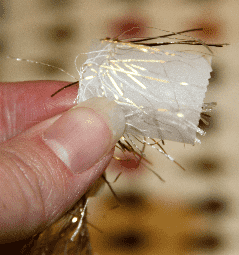
Step 7: To add the bell to this weird, crazy and hairy yarn you’ll need to make the end of the yarn firm (sort of like the end of your shoelace) by using a piece of masking tape. Wrap the tape around one end of your yarn.
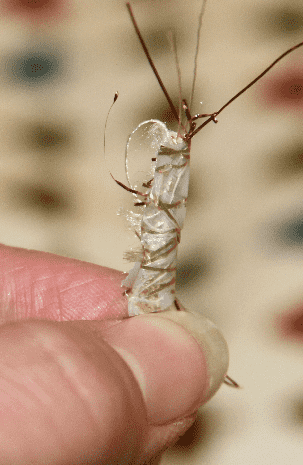
Step 8: Add the bell by stringing in on the taped end of your yarn and pulling it to the middle of the package where your strings are tied together.
Step 9: After you pull the bell to the center finish tying the package’s bow with the yarn (just like a shoe lace is tied in a bow).
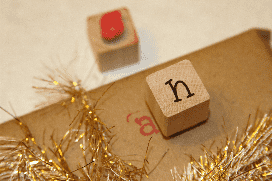
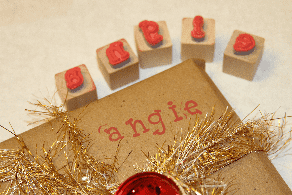
Step 10: Now for the fun part! Stamping! Get out your letter stamps and your ink pad! PS- Make sure you spell the person’s name right. That would stink if you printed the person’s name wrong and had to do all those steps again.
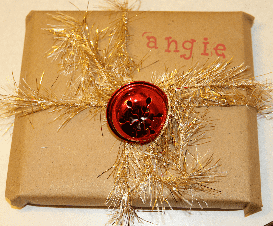
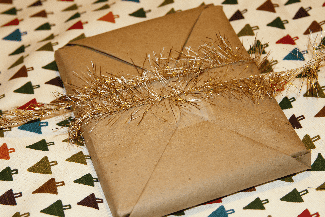
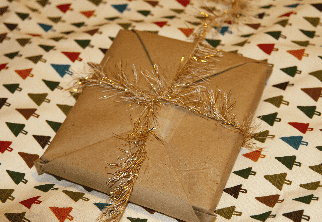
Step 11: Stand back and admire your beautiful, thrifty work! Go you!
The variety of options here are endless. Especially with the brown, neutral paper.
- Pick your own stamp color.
- Pick a skinny ribbon, hemp or other type of pretty string.
- Pick a different color bell. The dollar store had green, red, gold and silver!
- You could also pick a small ornament to go on the package rather than bell.
Please share any gift wrapping ideas you have in the comments section below!
Kim Anderson

Kim Anderson is the organized chaos loving author behind the Thrifty Little Mom Blog. She helps other people who thrive in organized chaos to stress less, remember more and feel in control of their time, money, and home. Kim is the author of: Live, Save, Spend, Repeat: The Life You Want with the Money You Have. She’s been featured on Time.com, Money.com, Good Housekeeping, Women’s Day, and more!