Renewing & Restyling Worn Memory Foam Kitchen Mats
This post contains affiliate links. As an Amazon Associate, I earn from qualifying purchases. I also earn from qualifying purchases made with other brands and programs. See my privacy policy.
Guest blogger Rhonda writes:
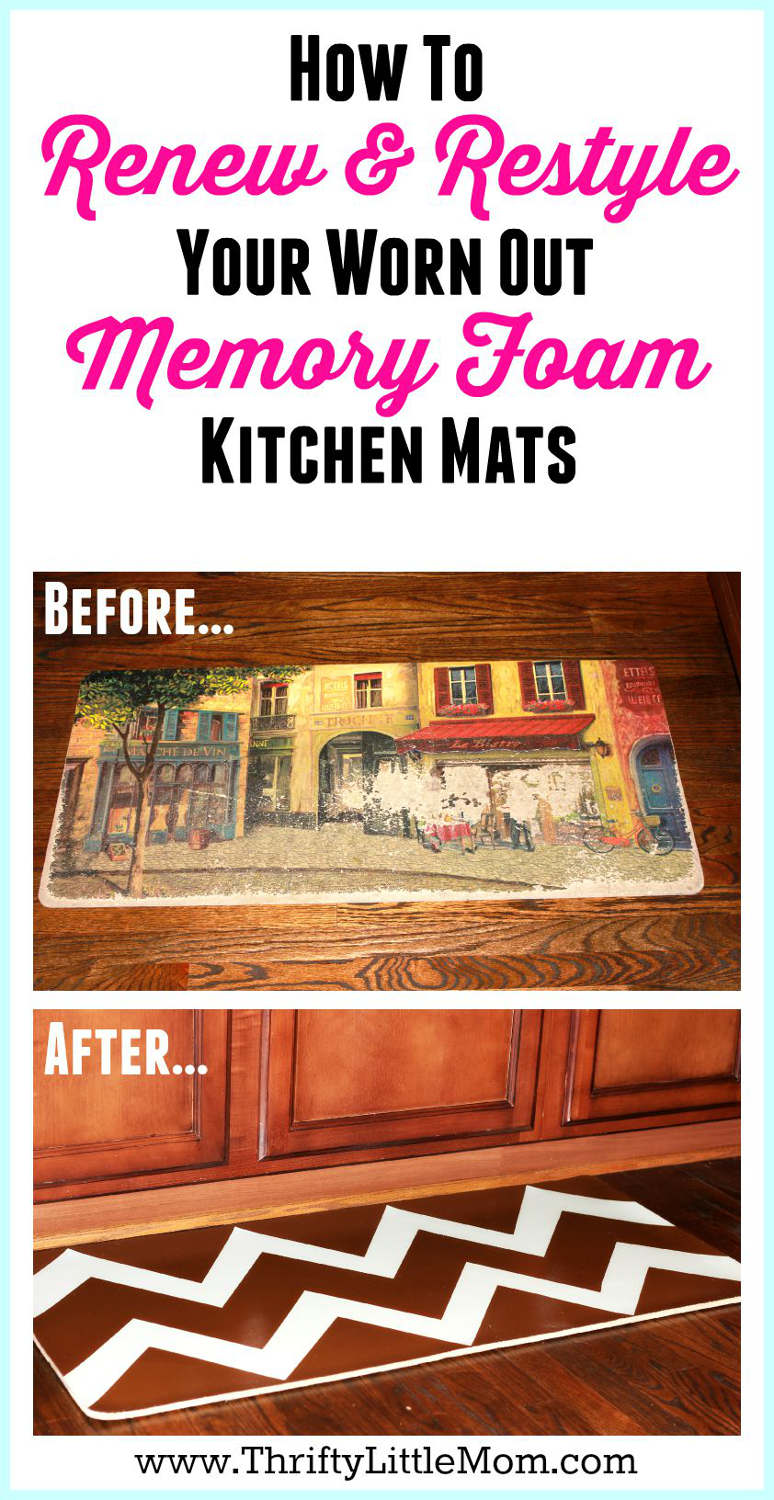
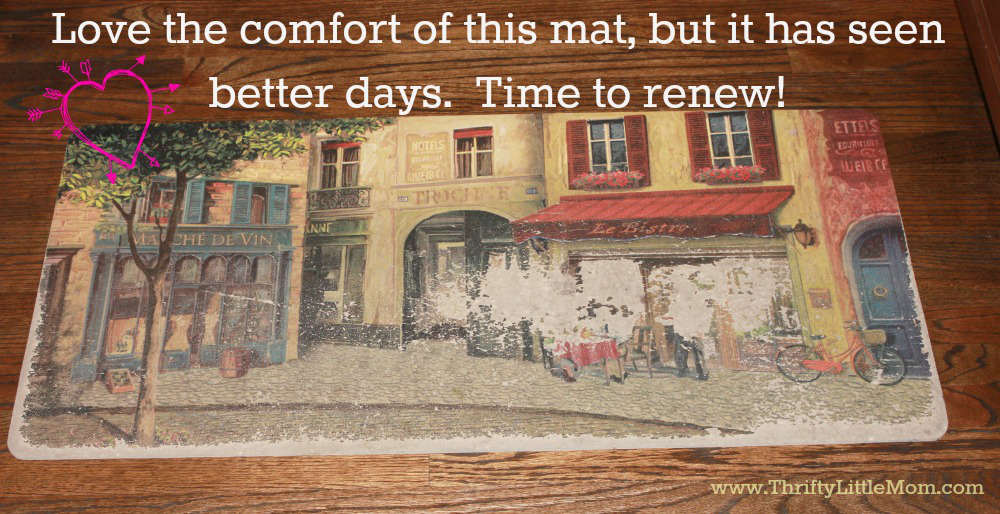
This post is perfect for the winter months when you are stuck in the house, yet you need a ‘pick me up’ or just a little updating especially in the one room of the house that gets used the most: the kitchen. I had a few memory foam rugs in my kitchen that had ‘seen better days’, but were still so comfy that I didn’t want to throw them out.
Sooooo…in true ‘thrifty little mom fashion’, I decided to paint them in the ever popular pattern du jour: chevron.
Supplies:
- High gloss brown paint.
- Contrasting light color paint that matches your kitchen.
- Clear, high gloss polyurethane
- Mini Paint Roller & Brush
- Paint Brush
- Painters Tape
- Chalk or removable marking pencil
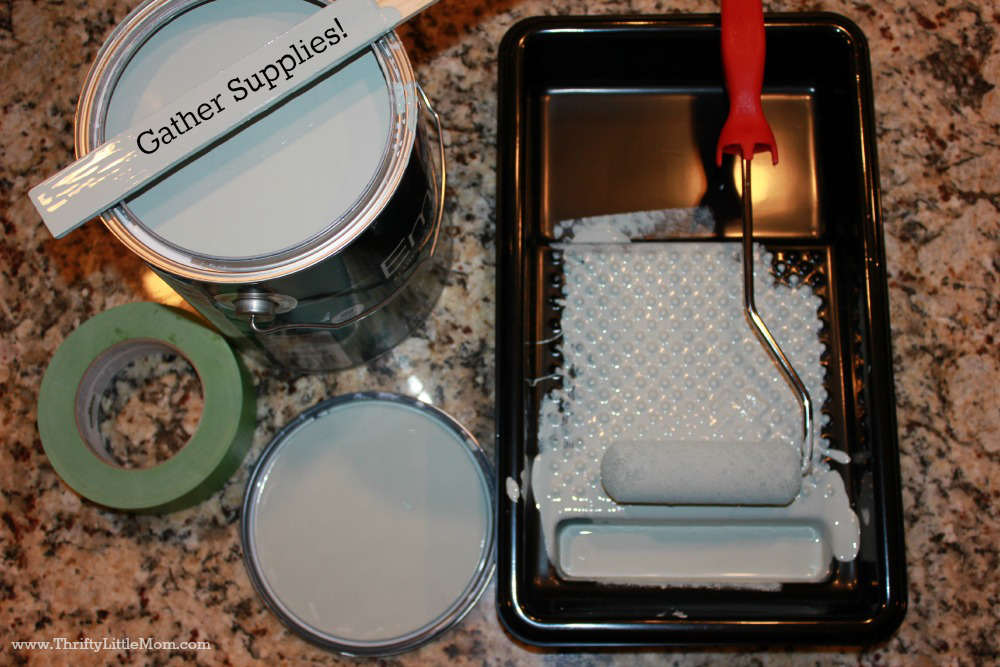
I began by assembling all of the tools I would need like the paint, painters tape, roller brush, etc.
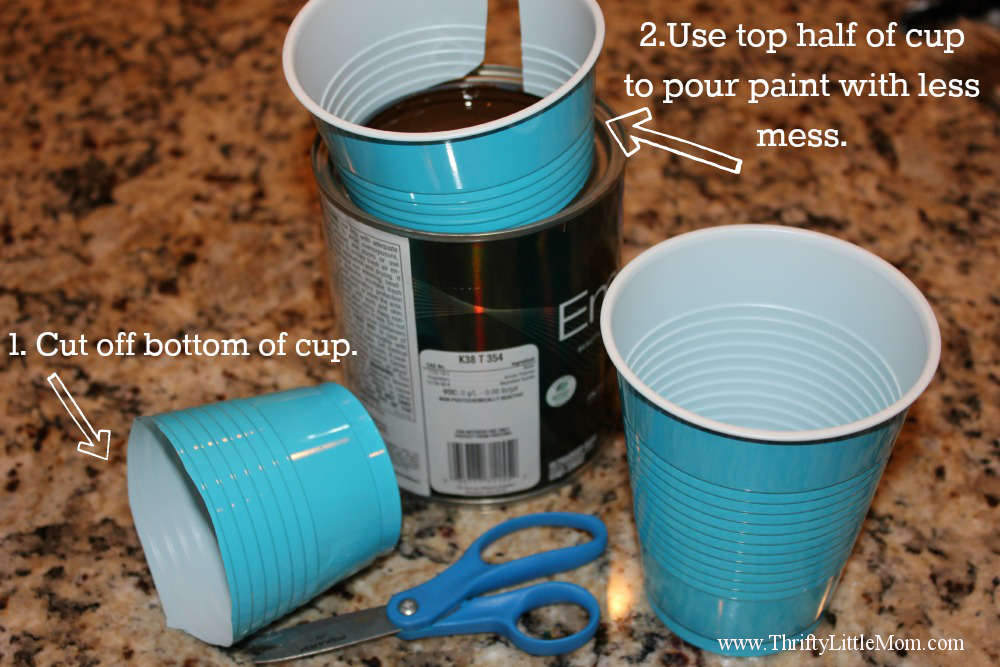
Quick Tip: A handy tip that I picked up somewhere, year’s ago is to cut a plastic cup and insert the top portion to use as a pouring spout eliminating the messy can.
Instructions:
Step 1: Because the wear and tear on the ‘right’ side was too worn & torn, I turned the rugs over and painted the underside in a high gloss brown paint.
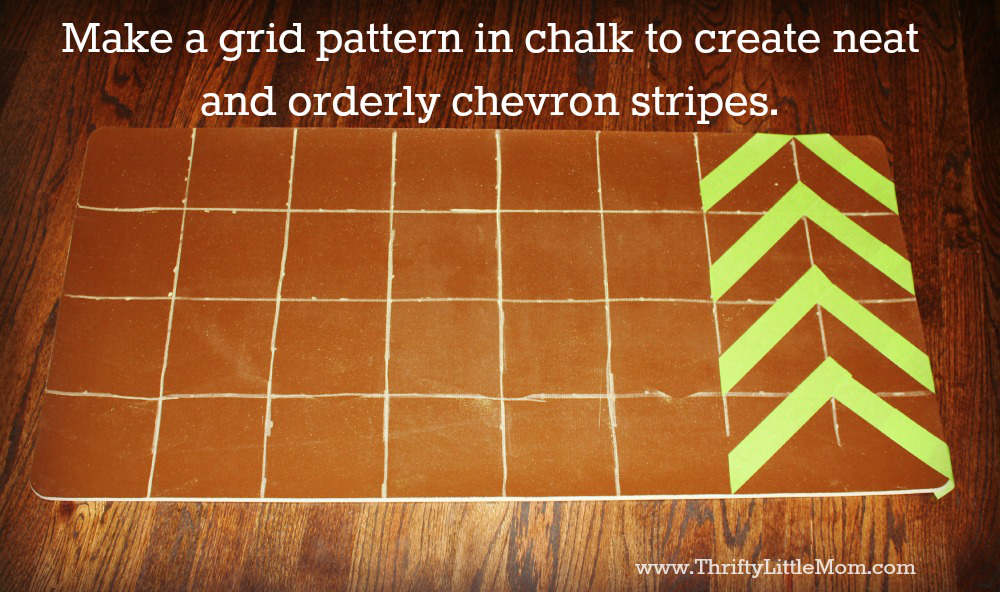
Step 2: Once the rugs are dry, use chalk to make a grid and then place the painter’s tape to finish the pattern.
-
I initially tried to paint the chevrons free handed, but my perfectionist side would not allow it! Instead, I searched Youtube and found an easy tutorial from the blog Mommy is Coo Coo (there were many instructions, but the name of this site sold me)
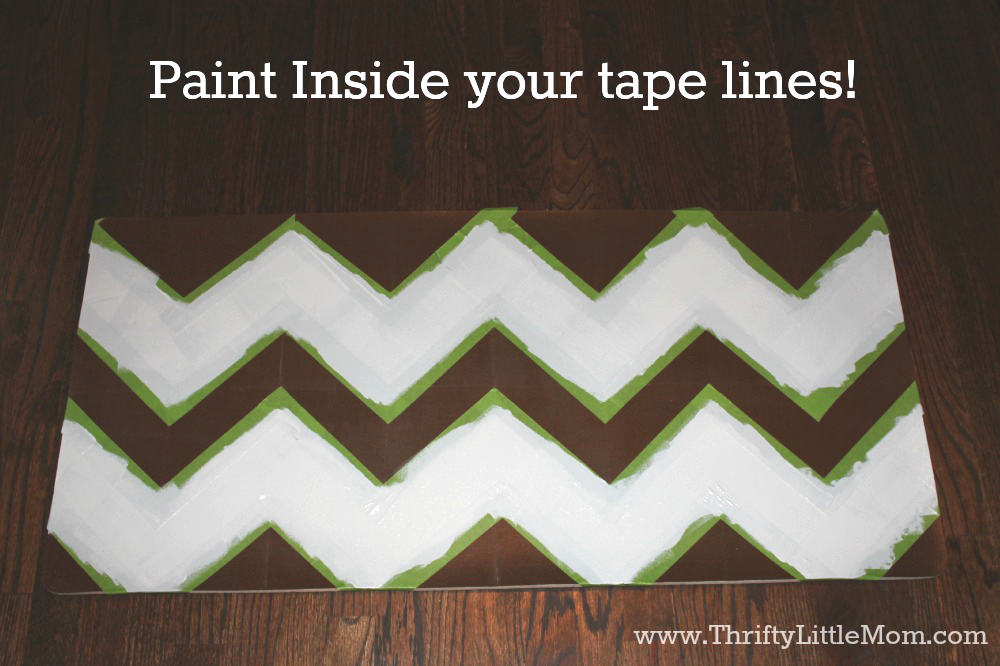
Step 3: Paint a high gloss contrasting paint (light blue for me) between the chevrons. Let it dry and then remove the tape.
Step 4: Paint two coats of a clear, high gloss polyurethane letting the rugs dry completely between coats in order to protect them.
How Does The Painted Rug Hold Up?
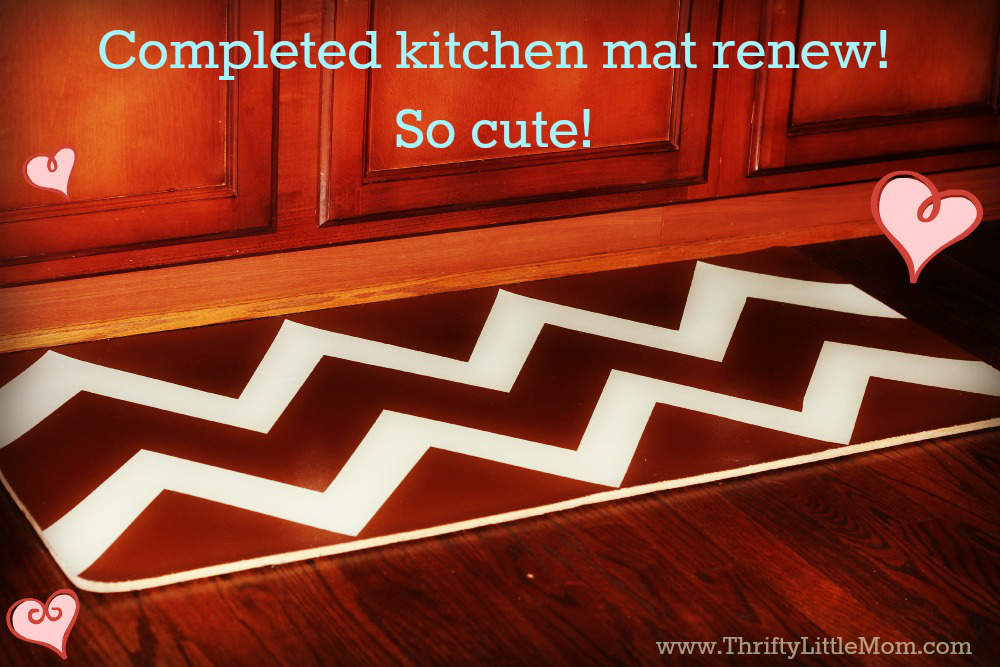
I painted the rugs over 8 months ago and I just took the ‘after’ picture in the blog post (above) the night before it was published. So the ‘after’ picture is the rug at 8 months, not freshly painted. There are some small fissures (not really cracks) from high heel shoes, but other than that they’ve held up great! The little fissures can only be seen when I’m at eye level washing them. That’s another bonus; they wash really well!
I have really enjoyed my ‘new’ rugs and the fact that I’ve not seen anything like them in the stores makes me very proud to answer questions like, “Where’d you get these rugs?” from teenage girls as well as from fellow moms. Let me know if you have any tips, tricks or ideas or suggestions for updating mats like these in the comments section below!

Rhonda is the owner of My Symphony Seasonings, LLC located in Georgia. She has a passion for good food, health & entertaining which was the perfect combination for creating My Symphony Seasonings, a company that encourages you to cook and eat whole foods, close to nature by providing original recipe blends of organic herbs & spices, free of fillers and artificial preservatives to add flavor, richness and health benefits to your dishes!

