How To Wrap Gifts Like a Pro Without Busting Your Gift Budget
If you love the look of wrapped gifts, but feel like you are all thumbs when it comes to actually wrapping them then this post is for you! From tips on purchasing to step by step instructions, you’ll be wrapping in no time! Just gather all of your tinsel tools and make sure you have a garbage container nearby for the scraps.
Supplies:
Thriftiest Place To Gather Wrapping Supplies
Free Stations:
I have found a few stores that have free gift wrapping stations from antique markets to chain stores. Take advantage of them whenever you can!
Boxes:
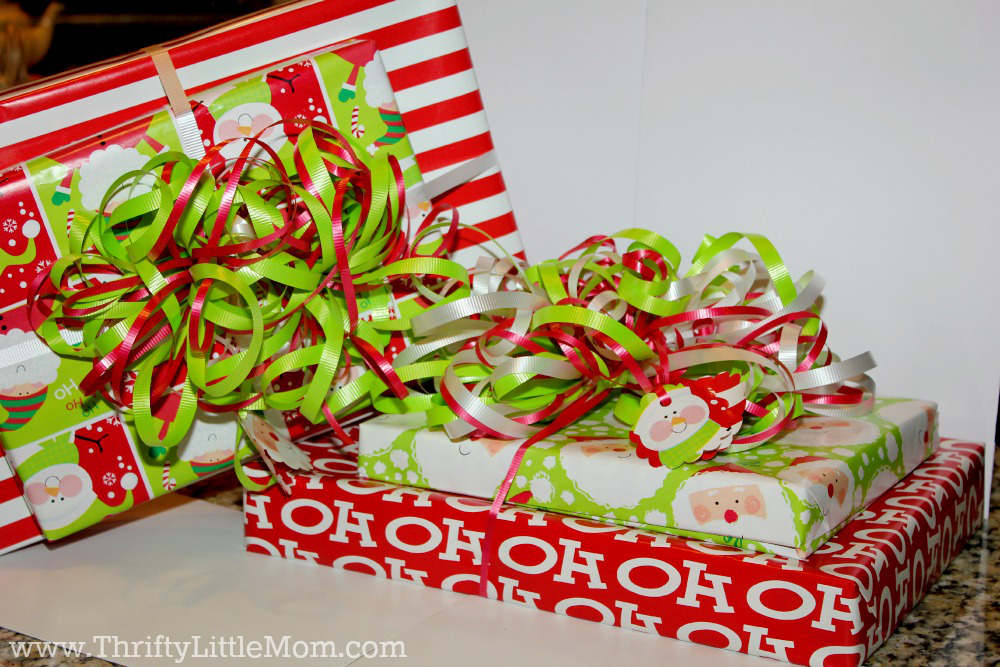
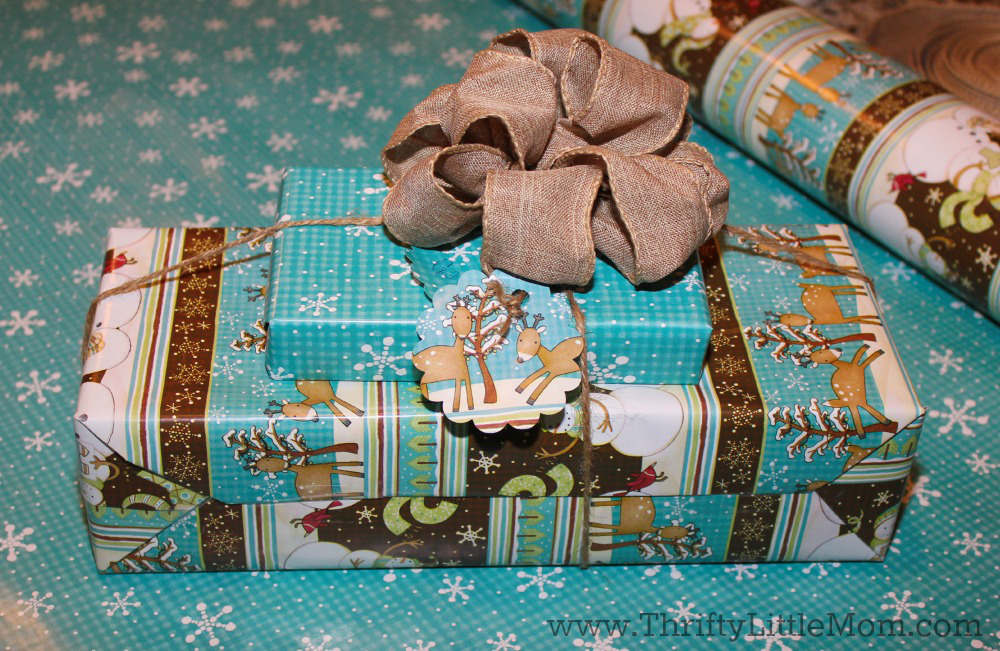
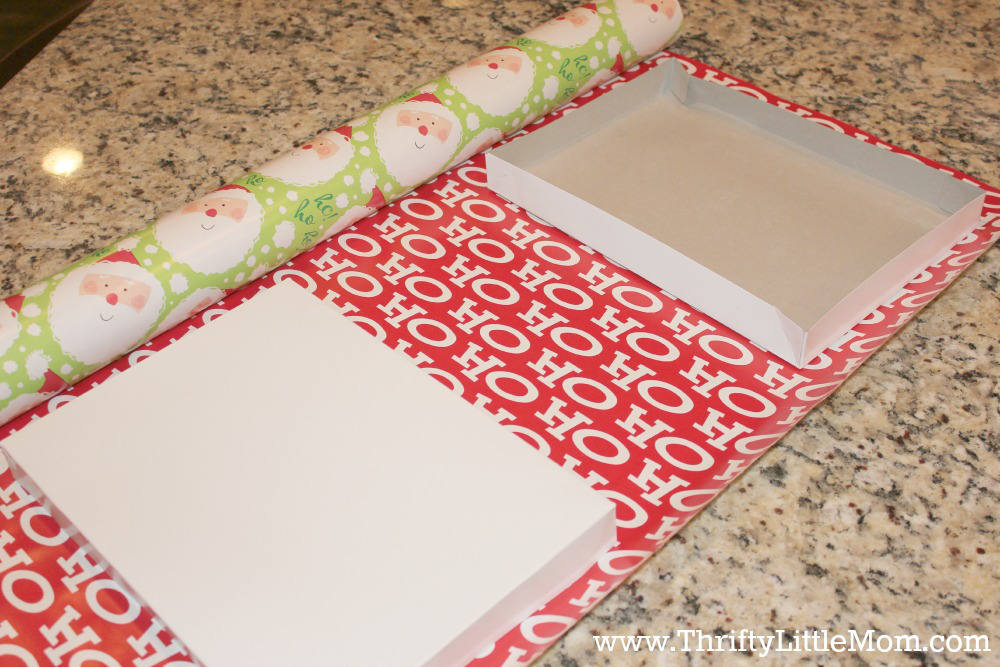
The dollar store is your best bet for gift boxes. I found several sizes and all 3/$1. I love buying boxes because their uniform size makes them easy to pre-wrap, you can cut several sheets at the same time and you can stack the packages together, one on top of the other, bundled with one ribbon.
Containers:
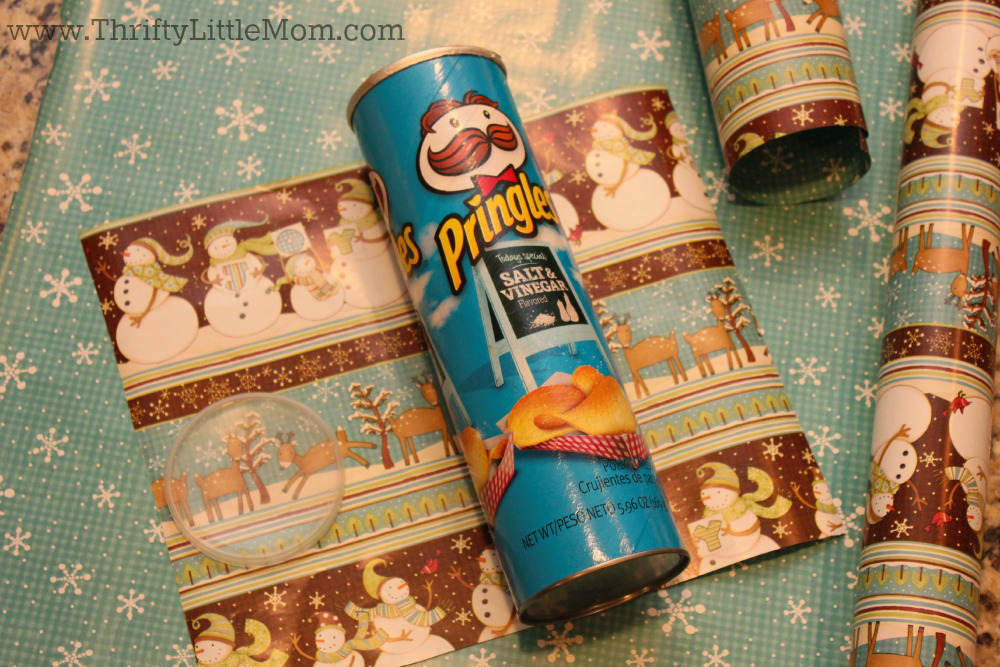
Don’t forget about up-cycled empty containers like chip cylinders and oatmeal containers.
Wrapping paper:
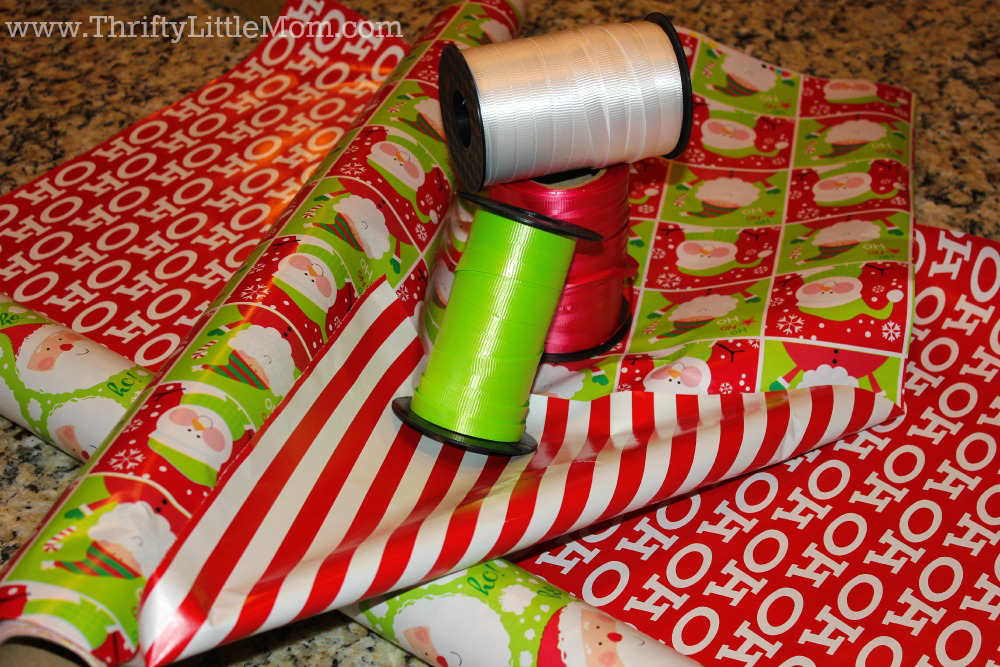
I love to wrap gifts and I’m one of ‘those people’ that buy my wrapping paper right after Christmas when the rolls are 75% off that way I can get quality paper at a thrifty price. I love a heavy weighted paper with reversible patterns and I usually only get rolls that have at least 125 square feet. (FYI these rolls cost me $3.50)
Ribbon:
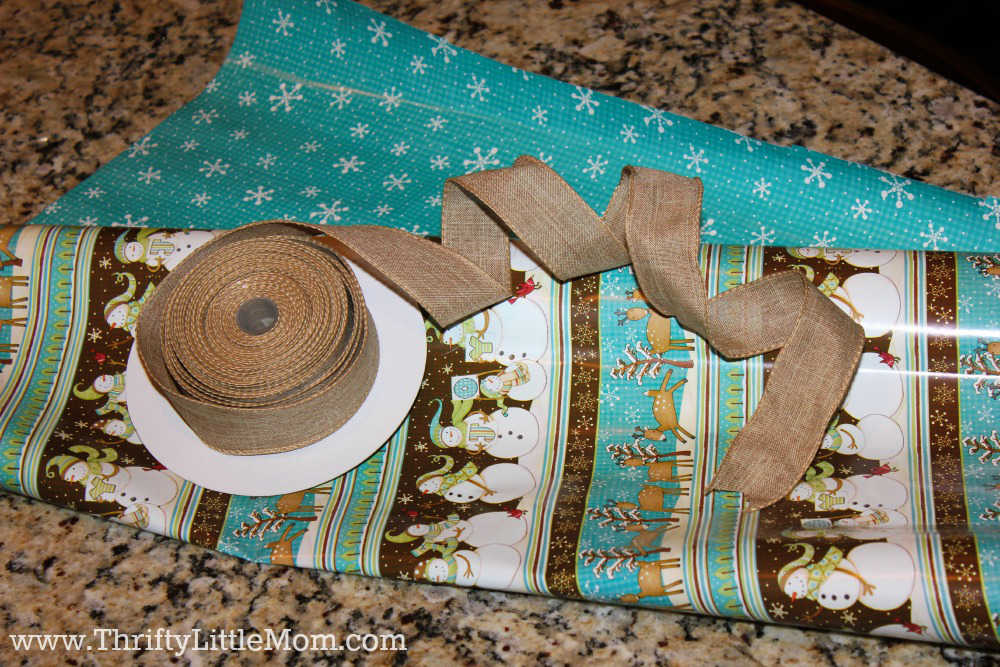
I love curling ribbon for kids’ whimsical gifts and a more sophisticated ribbon for adult gifts. I have found that the membership type stores like Sams or Costco have the most yardage of wired ribbon per spool, the best price and a great variety to coordinate with your wrapping paper.
Step by Step Instructions for Wrapping Gift Boxes
Step 1:
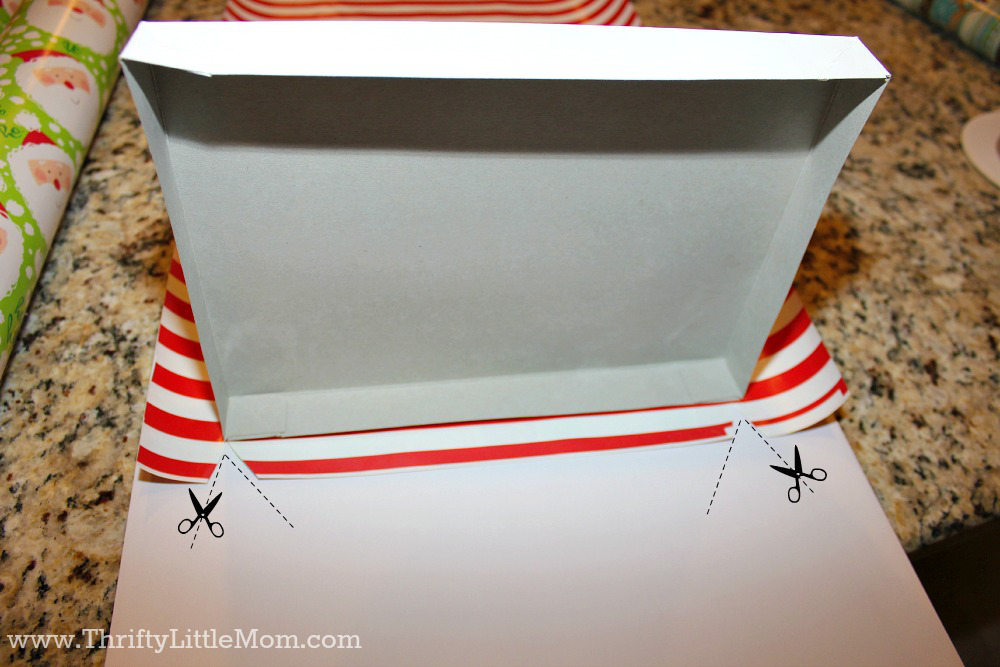
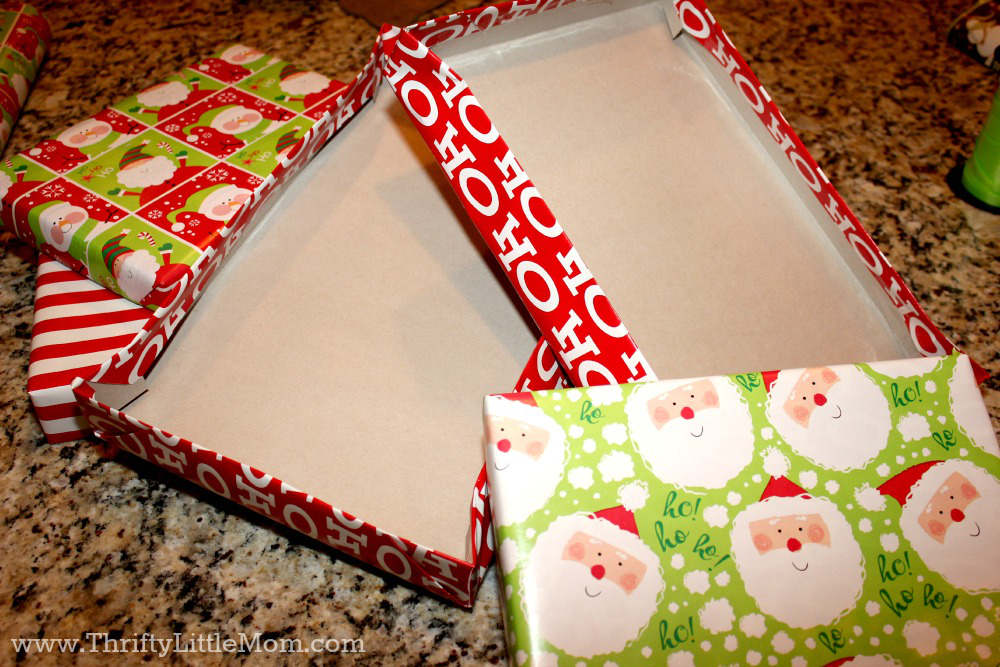
Measure the 3 sides of your box against the paper adding about ½ inch on each side then cut the paper to size.
Wrapping Tip: You can cut several sheets at once if you’re using the same size boxes.
 Step 2:
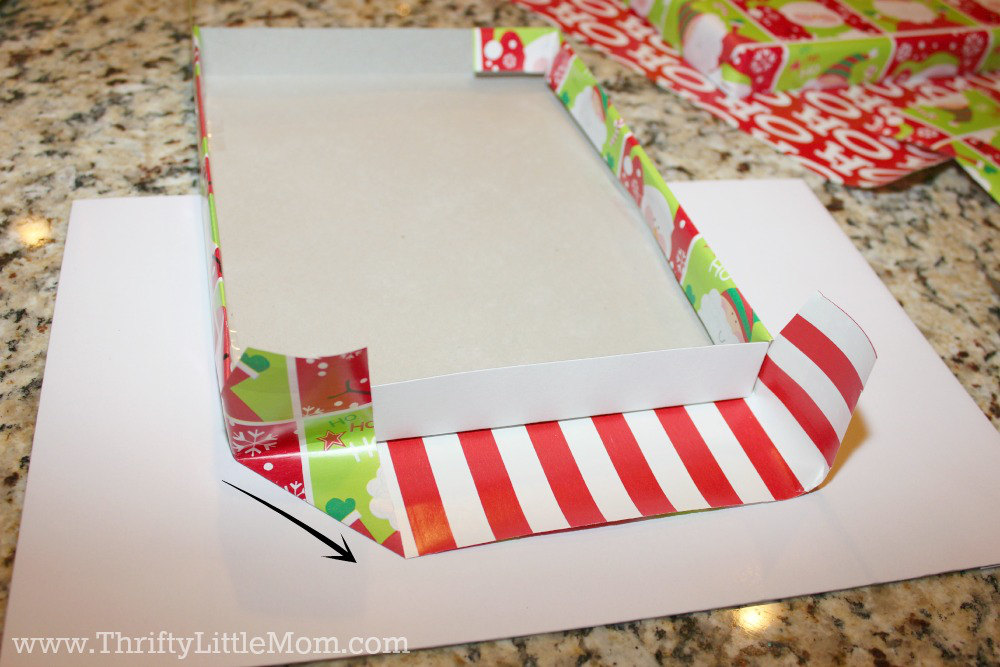
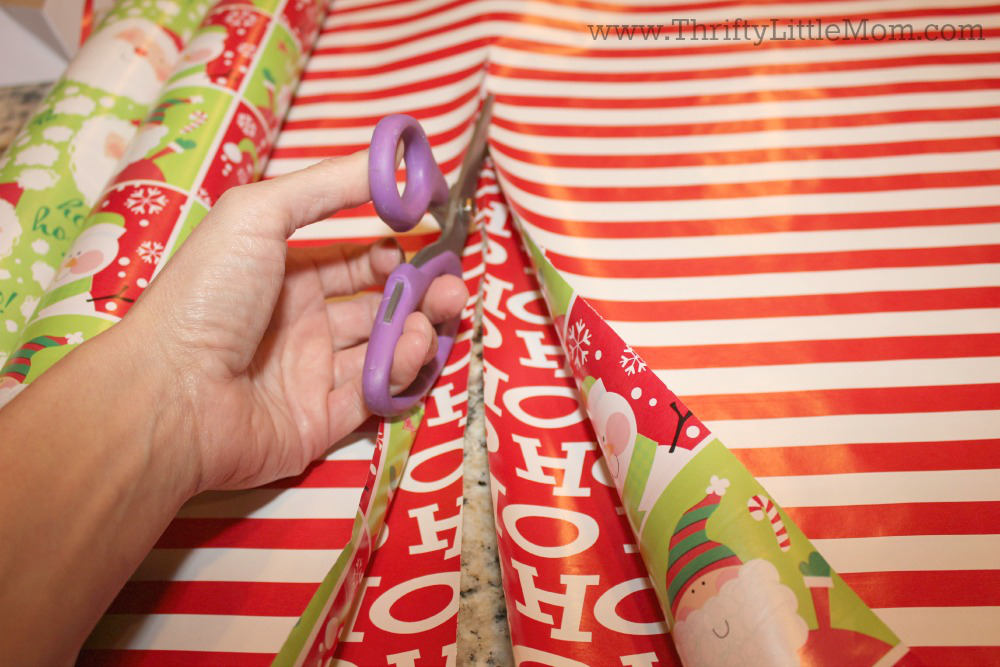
For pre-wrapping boxes, I cut triangle at the corners so it’s easier to fold toward the inside and tape.
Step 3:
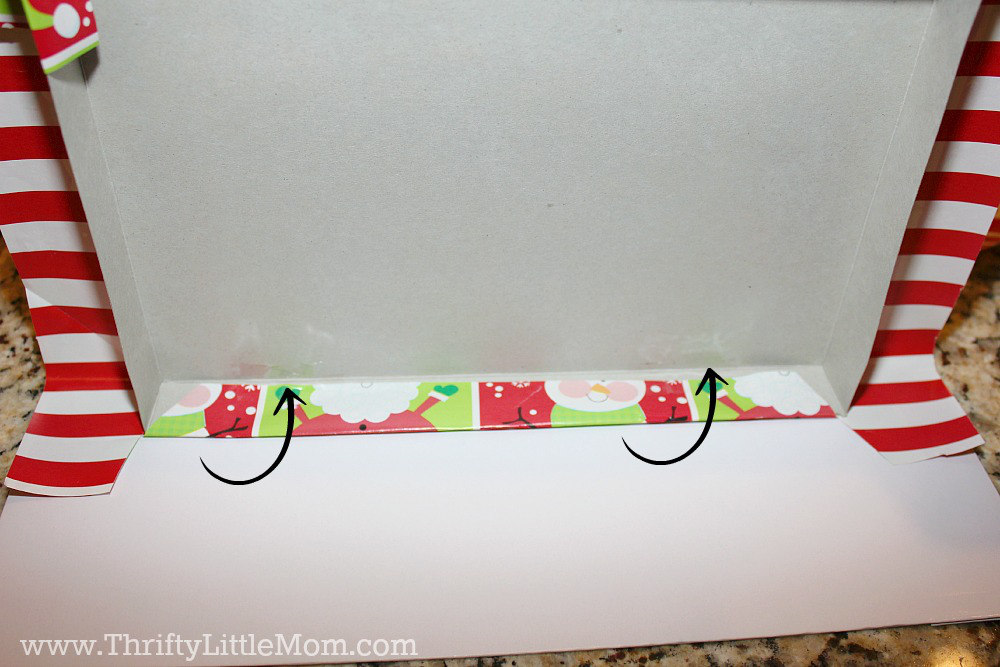
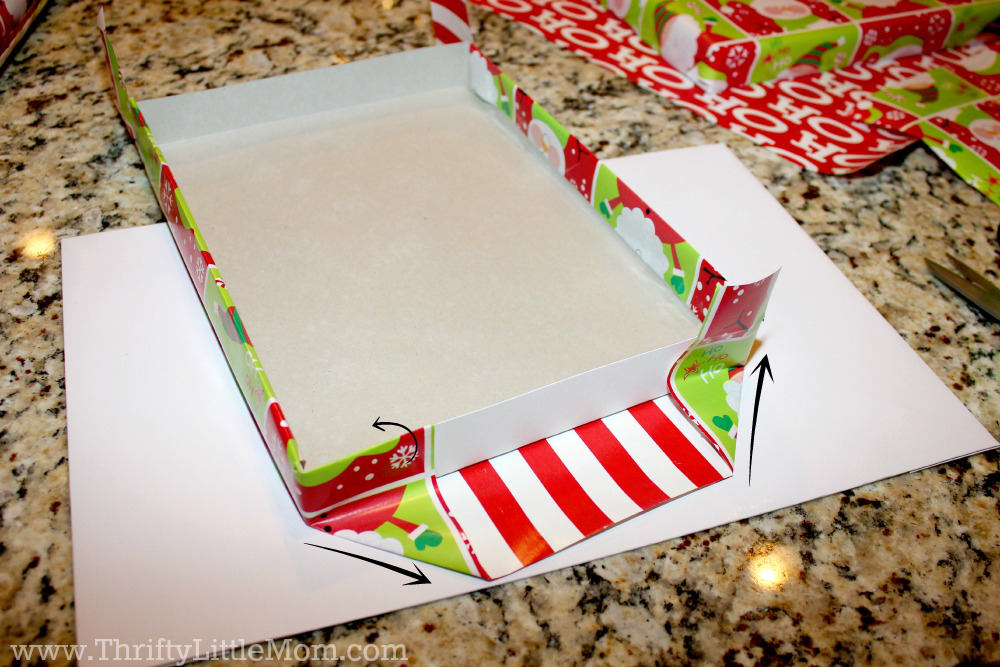
Fold the sides in toward the box and smooth. Tape paper to the inside of the box lid to keep secure and in place.
Step By Step Instructions for Wrapping Regular Gifts:
Step 1:
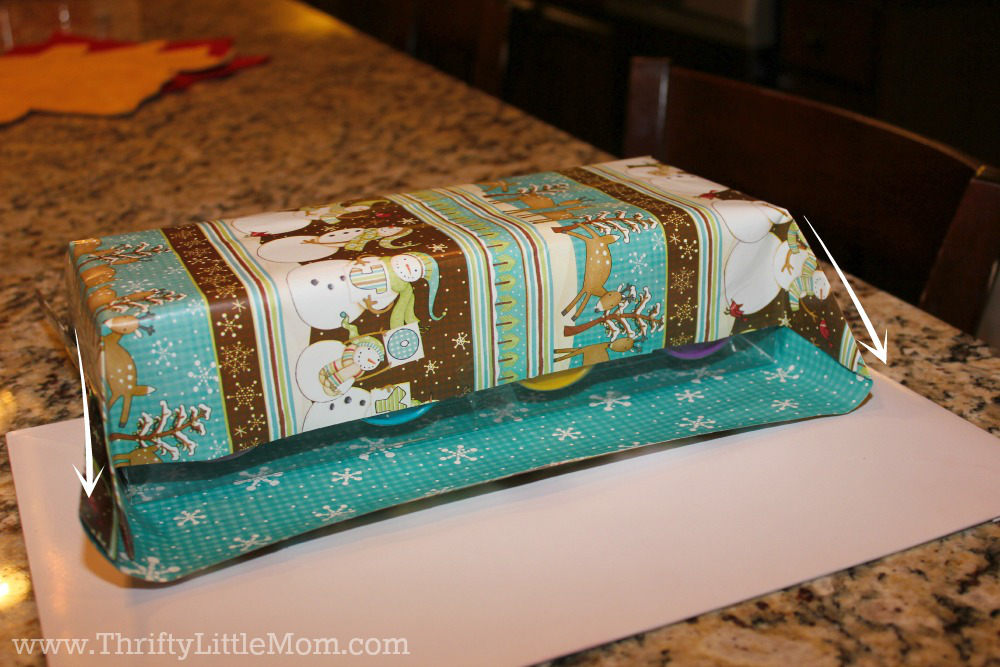
Fold the top down, smoothing the sides into a stiff crease.
Step 2:
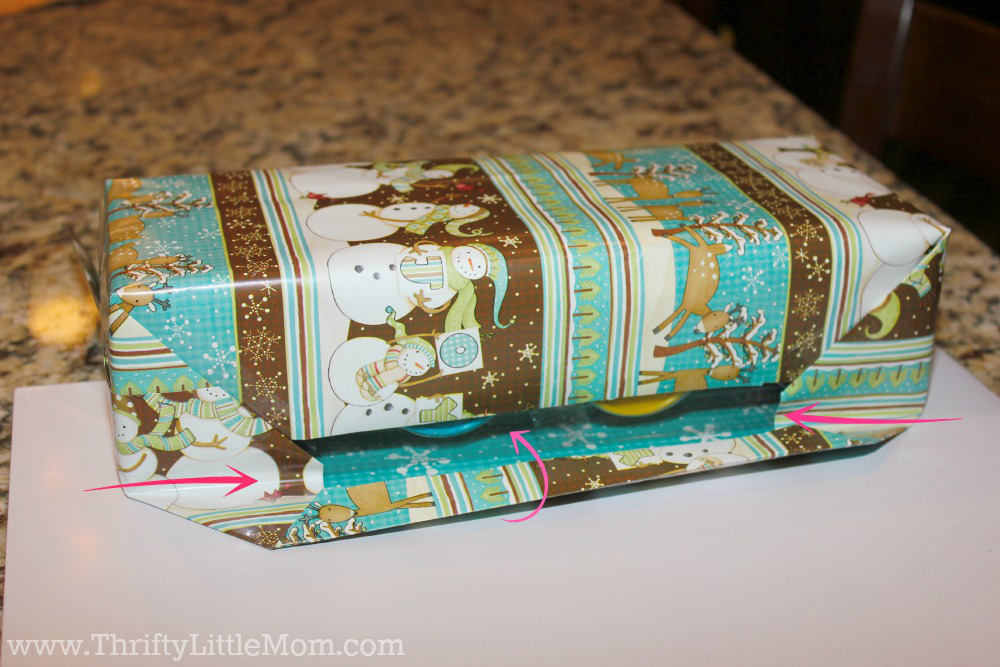
Fold in the sides creating a crease along the edge of your item. Then fold down the paper edge that will create the final seam so that it is straight and polished looking.
Step 3:
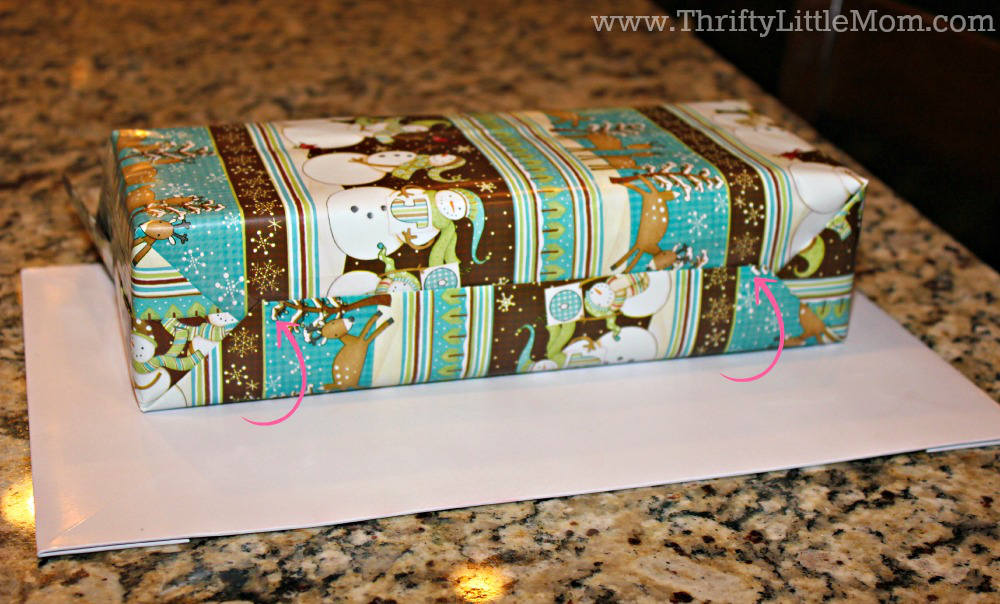
Fold up your neat seam and tape. Continue around all four sides being generous with the tape.
Step By Step Instructions For Up-cycled Cylinder Wrapping
Step 1:
Measure and cut your paper to match the cylinder.
Step 2:
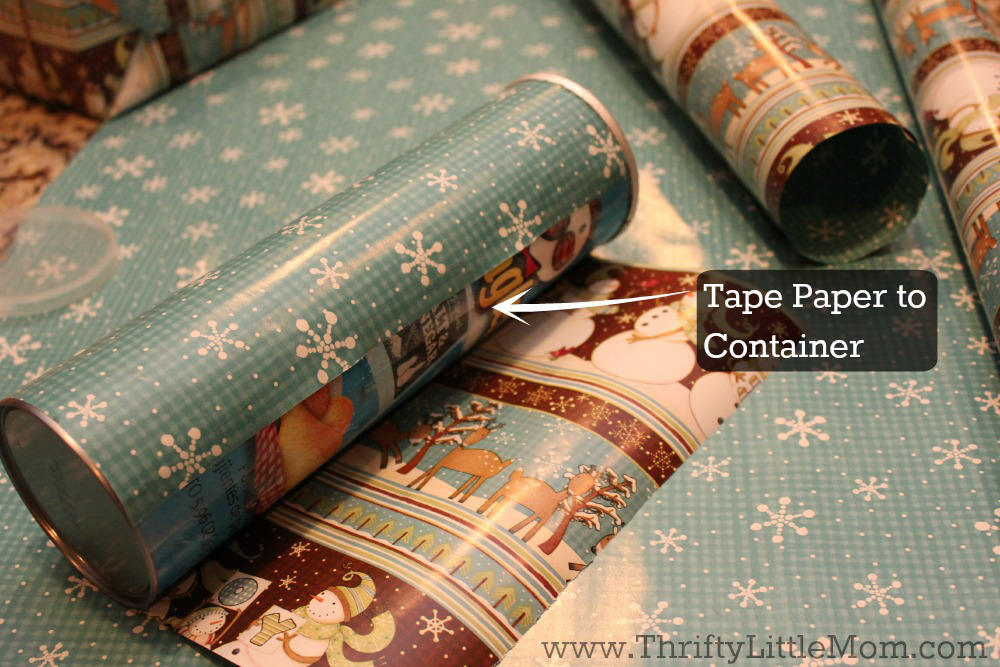
Attach the wrapping paper to the cylinder using tape. Then wrap the remaining paper around and tape it to cover your entire cylinder with wrapping paper.
Step 3:
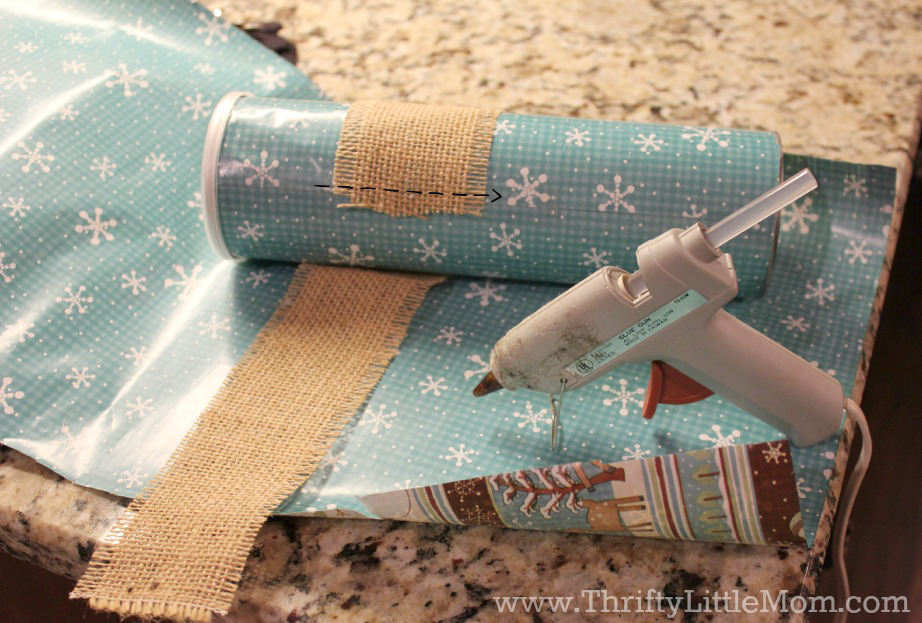
Wrap ribbon or burlap ribbon around your cylinder attaching to the paper with hot glue. Attach the end of the burlap ribbon to the package with hot glue.
Step 4:
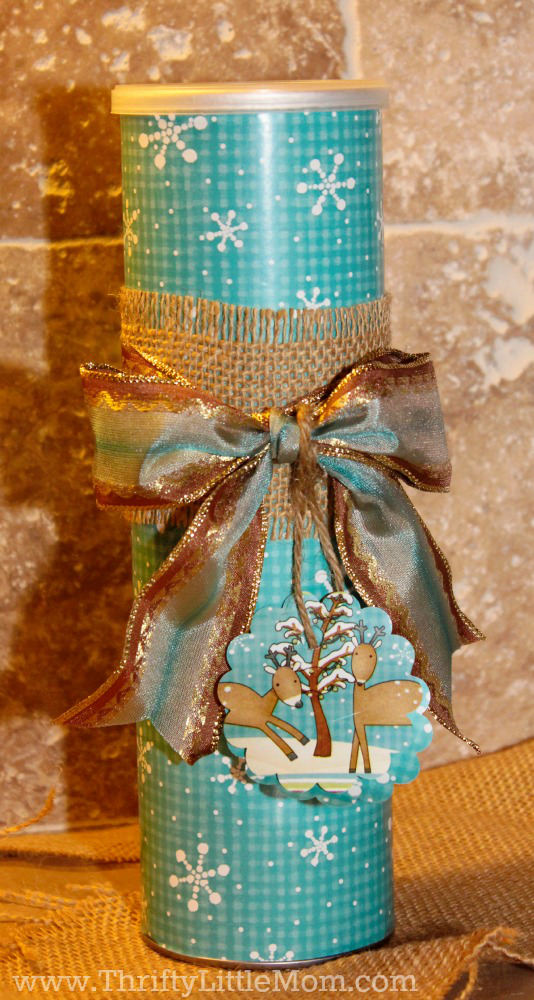
Tie a coordinating piece of wire ribbon around the package and add your gift tag!
How To Make Spectacular Bows:
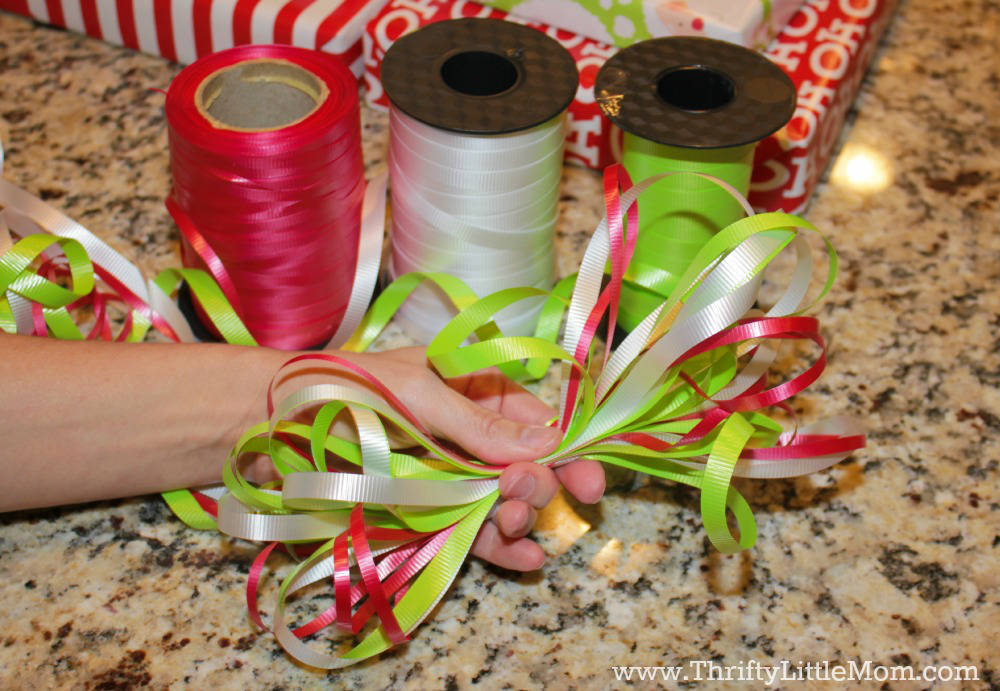
Festive Bows: The best way to top a child’s present is to use curling ribbon. Use a lot of ribbon to make a big loop then tie the middle tightly. Bend and separate as needed to get the look you like. If you want to you can, also, cut some of the loops and curl the ends with the scissors.
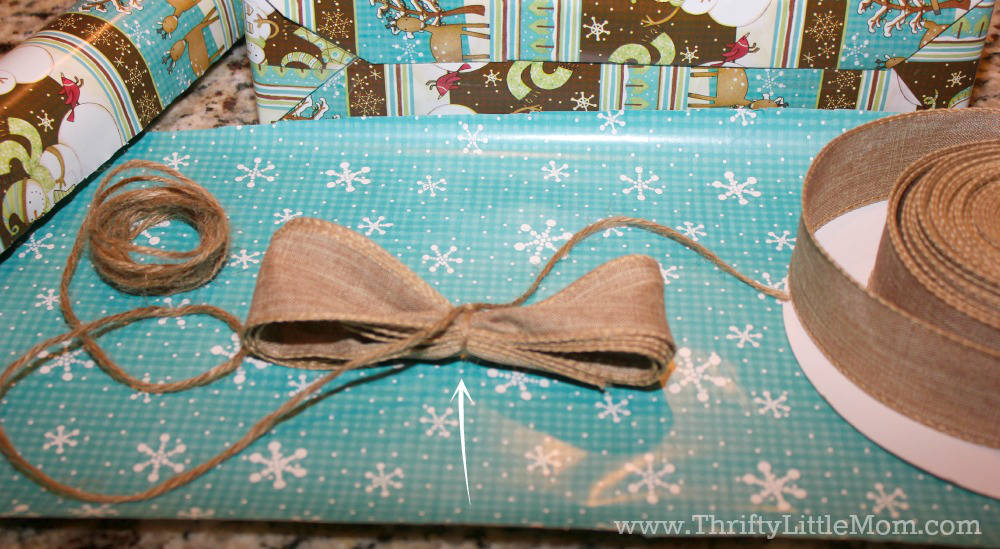
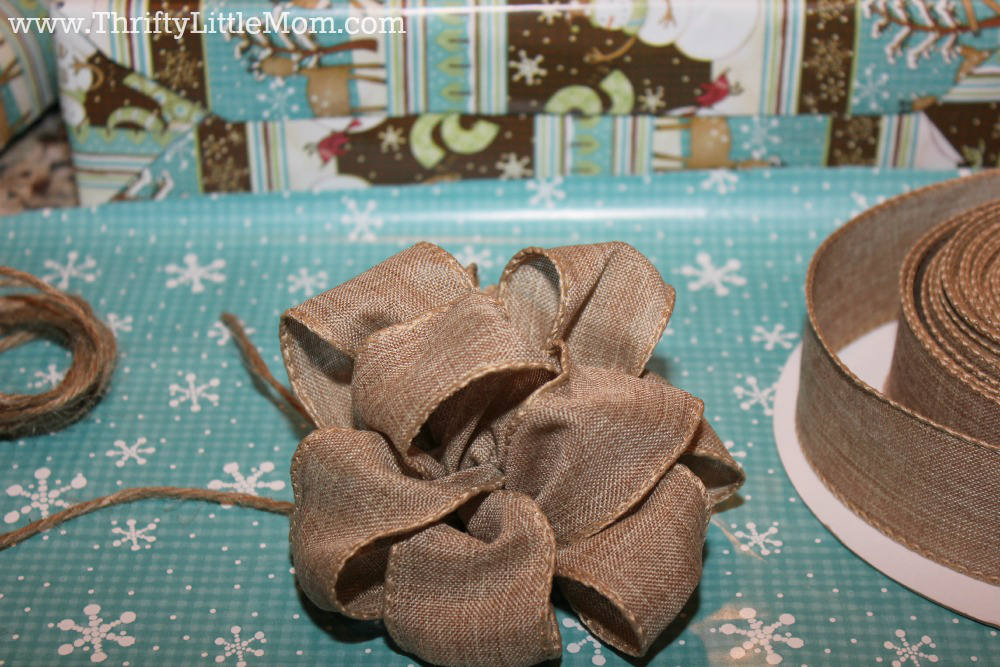
Sophisticated Bows:For a more sophisticated look, use wired edge ribbon.
Step 1:
Depending on the size of your package make about 5-10 loops with the ribbon and tie tightly in the middle.
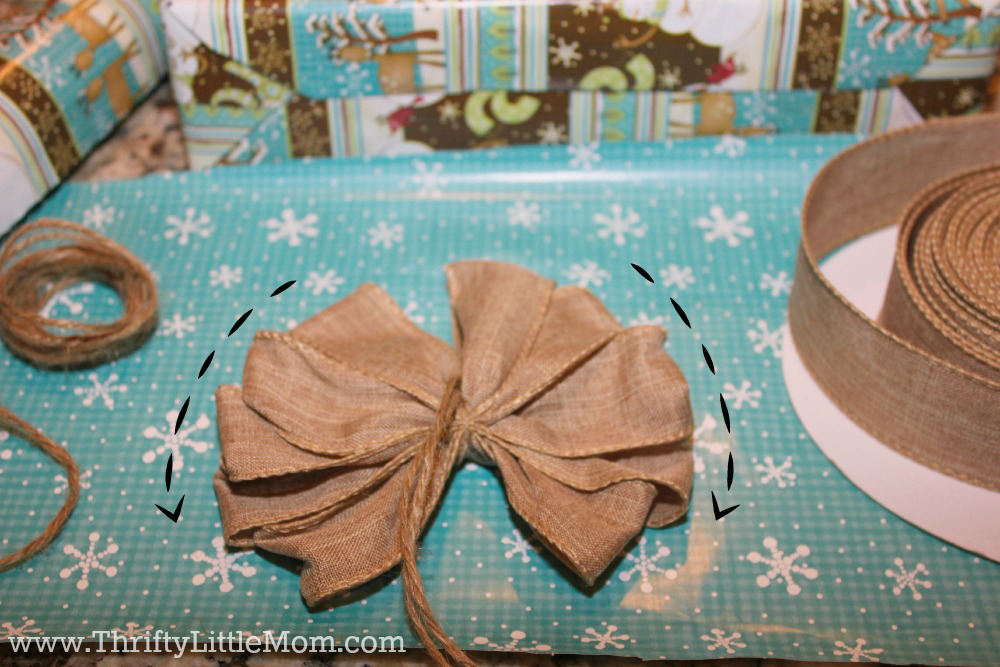
Step 2:
Separate then begin bending the ribbon up so it’s not flat.
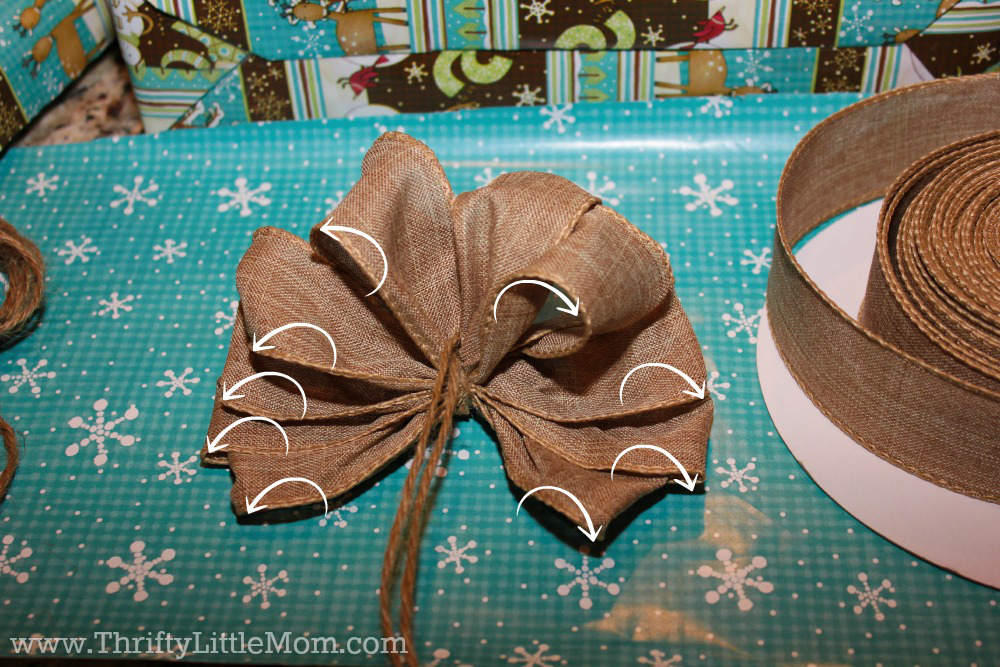
Step 3:
Finally, twist, turn and bend until you get the dimensional look of a beautiful bow.
Step 4:
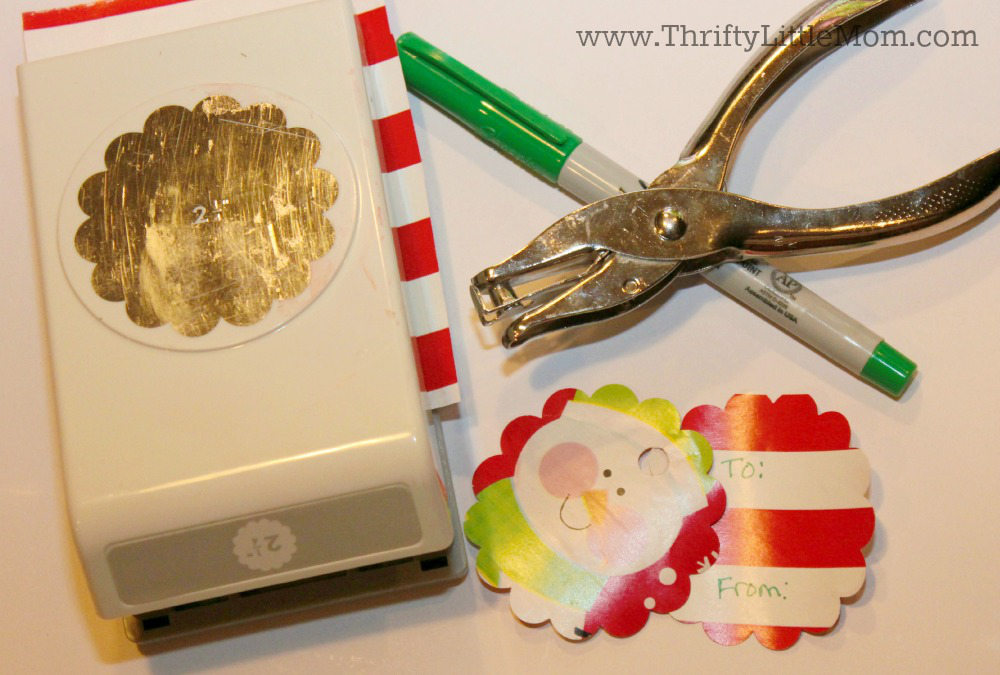
To complete your beautifully wrapped gift add a name tag by cutting your wrapping paper scraps into your desired shape, punch a hole and tie your ribbon through!
Apply the final touches and you just learned how to wrap gifts like a pro!

Kim Anderson is the organized chaos loving author behind the Thrifty Little Mom Blog. She helps other people who thrive in organized chaos to stress less, remember more and feel in control of their time, money, and home. Kim is the author of: Live, Save, Spend, Repeat: The Life You Want with the Money You Have. She’s been featured on Time.com, Money.com, Good Housekeeping, Women’s Day, and more!

 Step 2: