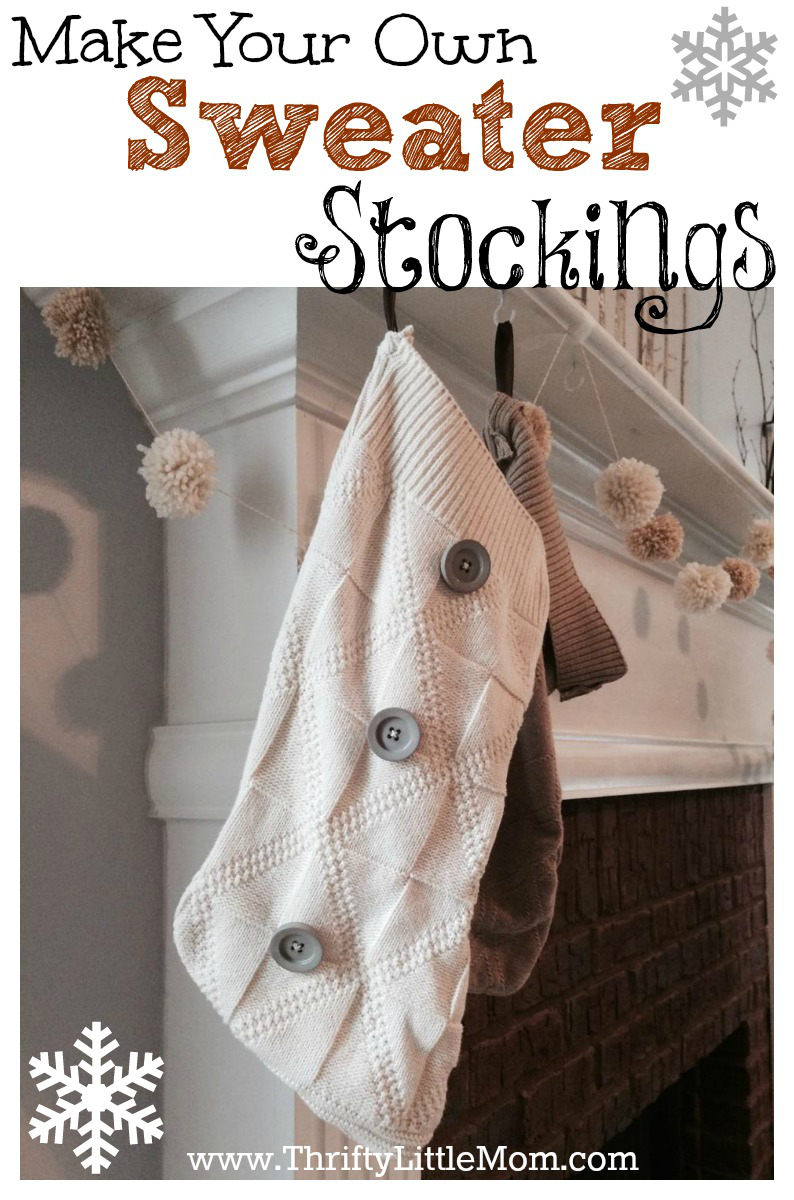
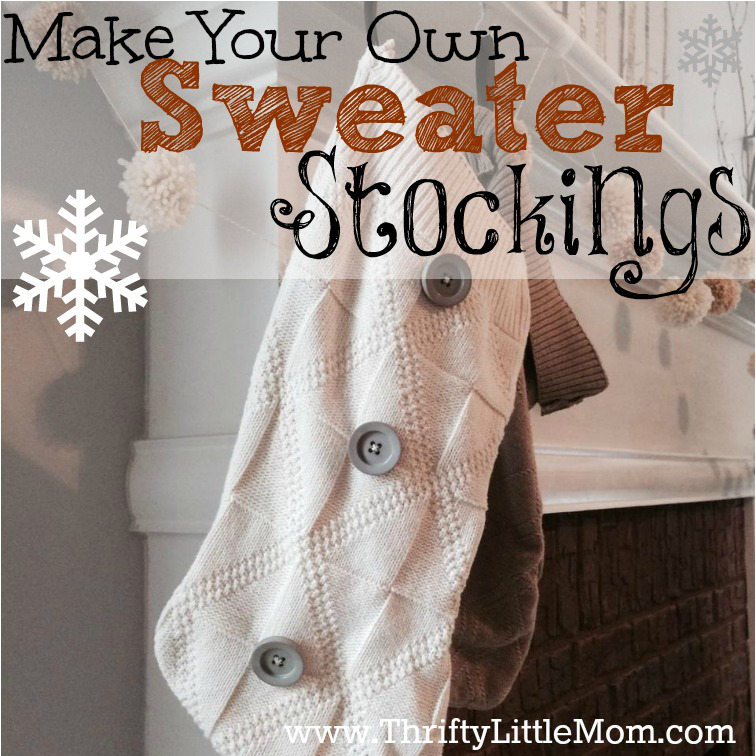
Make Your Own Sweater Stockings
 This post on how to make your own sweater stockings was written my life long friend Jessica.
When Kim asked me to contribute to Thrifty Little Mom’s “Getting Into the Holiday Spirit” series, I knew exactly what I wanted to create. I’ve had these DIY sweater stockings on my mind for quite some time. However, sometimes my sewing machine and I don’t get along well so I kept pushing them to the back burner in favor of afternoons spent crocheting and watching television.
Before I knew it, December had arrived and I had an empty fireplace mantle area to show for it. If I had only known how simple these were to create and how much I would love the finished product then I would have gladly jumped on them sooner!
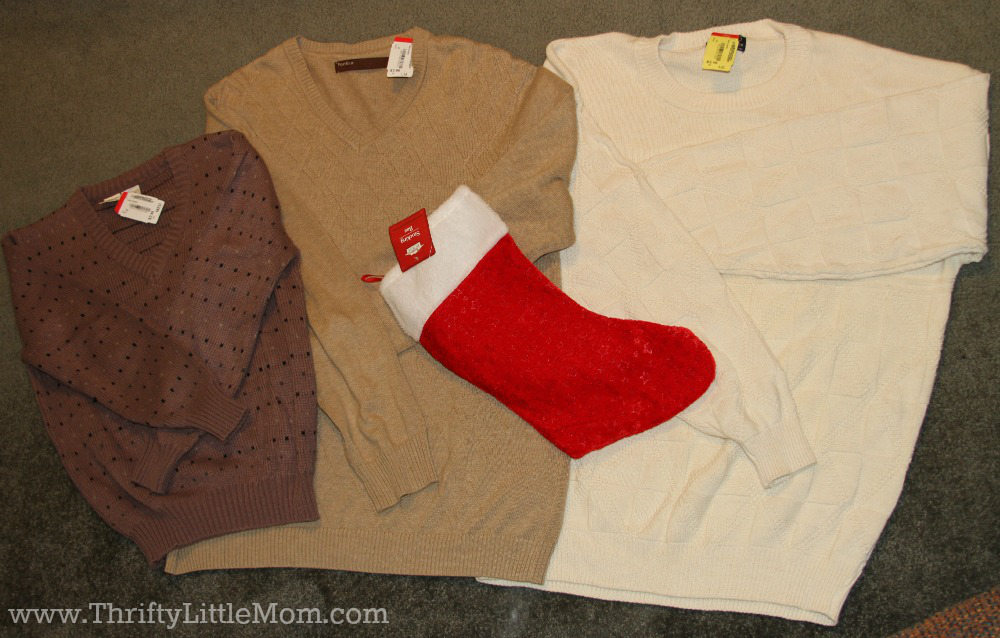
To begin, you’ll need some basic sewing skills, unused or thrifted sweaters and a stocking as a pattern.
Supplies:
- Sewing Machine
- Sewing Pins
- Marker or felt pen
- Old Sweater
- Stocking for pattern
- Scissors
- Thread
- Sewing Needle
- Optional: Ribbon or Buttons for embellishments
Step 1: Getting Started
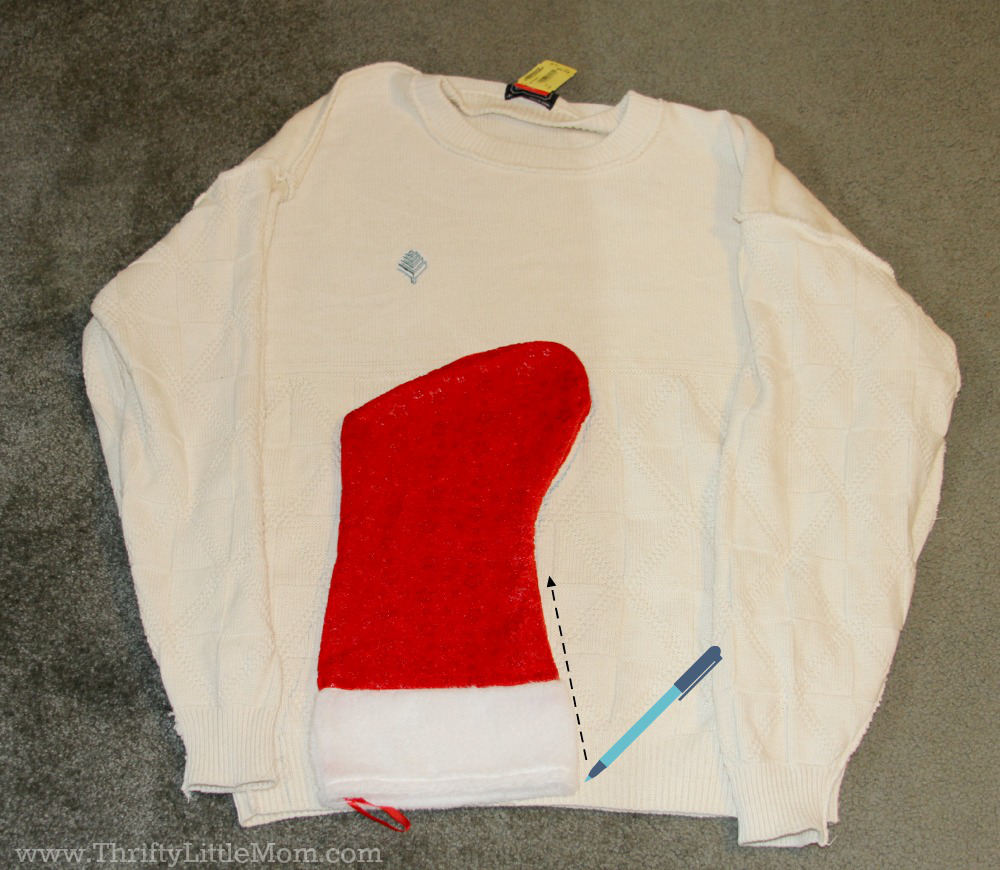
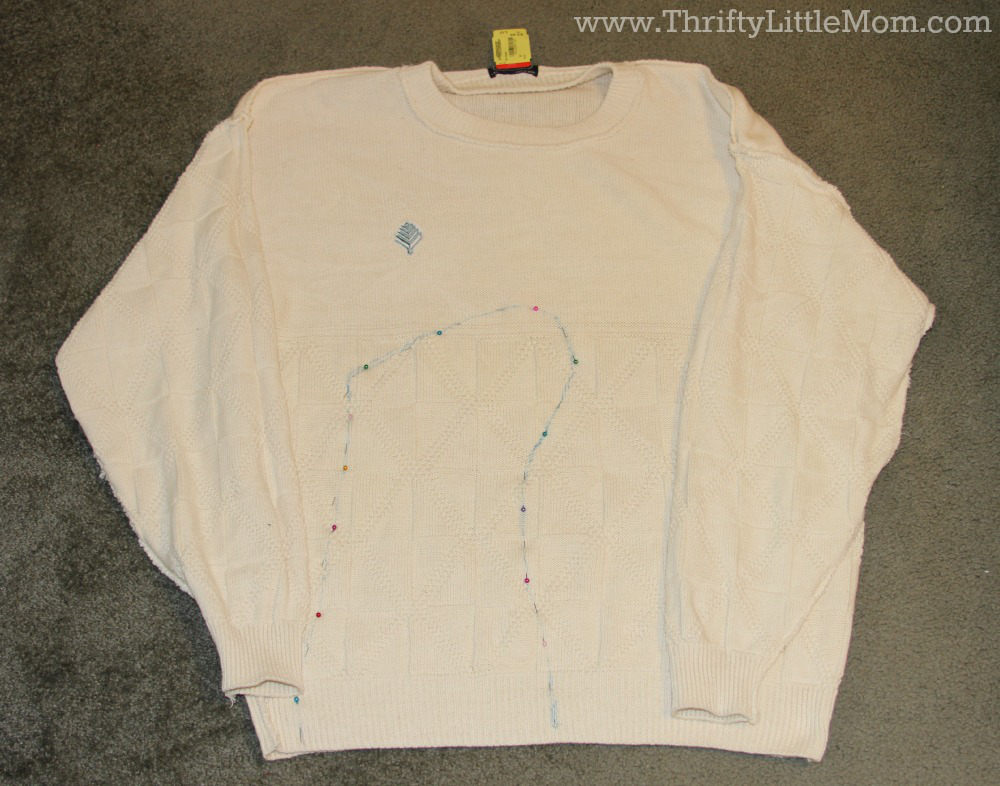
- Turn your sweater inside out and lay flat. I found I got the best results from using a men’s sweater as there was plenty of room to work with and no gathering at the bottom.
Step 2: Position Stocking
- Place the stocking upside down onto the bottom ribbing of the sweater and trace around it. Be sure to use a pen/marker that you can see well but be careful as it could bleed through the fabric.
Step 3: Pinning – Literally not digitally 🙂
- Once you have the outline traced, remove the pattern stocking and pin the sweater.
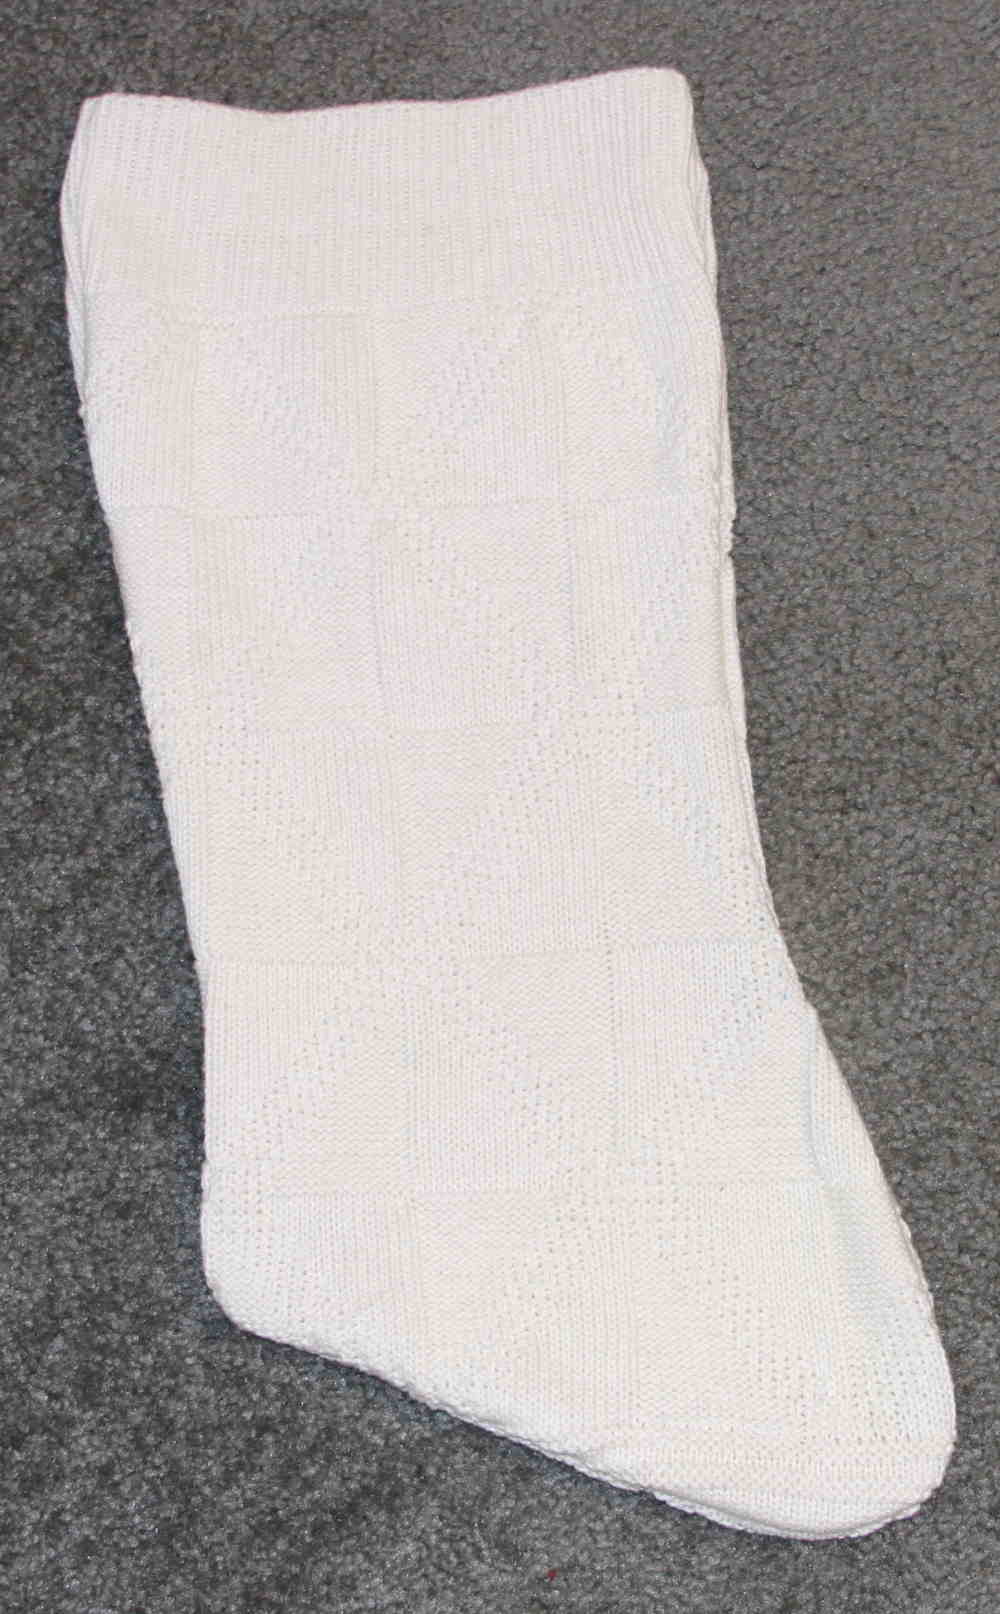
- It is important that you do NOT cut the stocking shape out before you have sewn.
- You’ll have a lot of sweater to work with as you’re sewing, but it will prevent the sweater from unraveling too far if you sew before cutting.
Step 4: Sewing
- Sew, then cut around the stitching, leaving a little space. Turn the stocking right side out and try not to squeal as you behold what’s in the works.
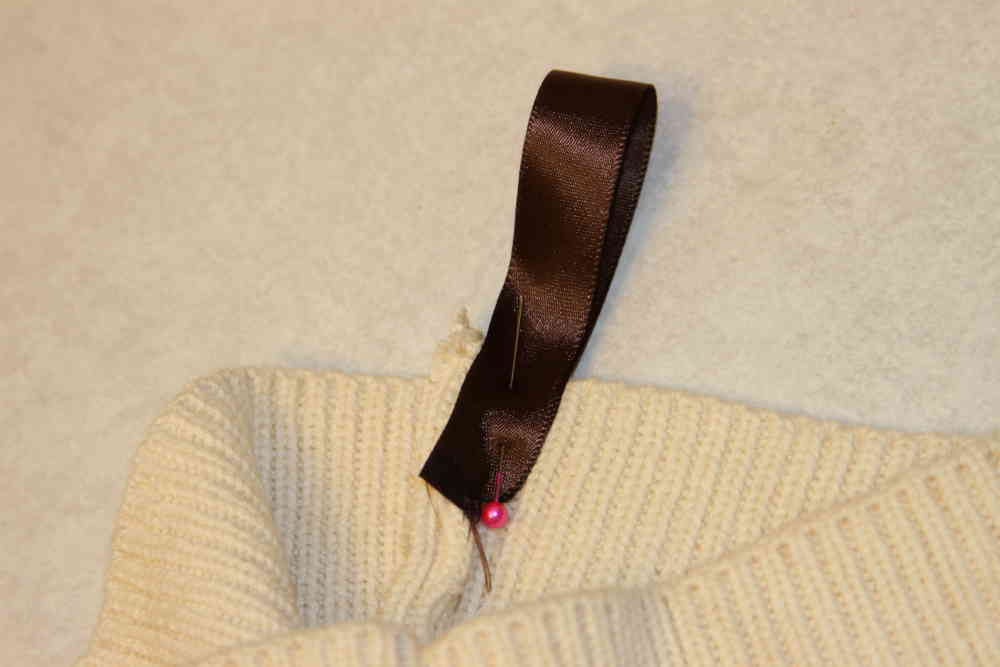
Step 5: Adding Ribbon Loop For Hanging
- I used about 6.5″ of ribbon as the loop to hang it with.
- I considered using a piece of the sweater but my concern was that there would be a lot of stretching over time as the stocking hung and as it was filled with gifts.
- Fold the ribbon in half and pin to the inside of the stocking, towards the top so it sticks out far enough.
- You may choose to hand stitch or machine stitch the ribbon into the stocking.
Step 6: Embellishments Optional
- I chose not to stop here and embellish my work a bit further by adding buttons down the middle. How adorable is this creation?
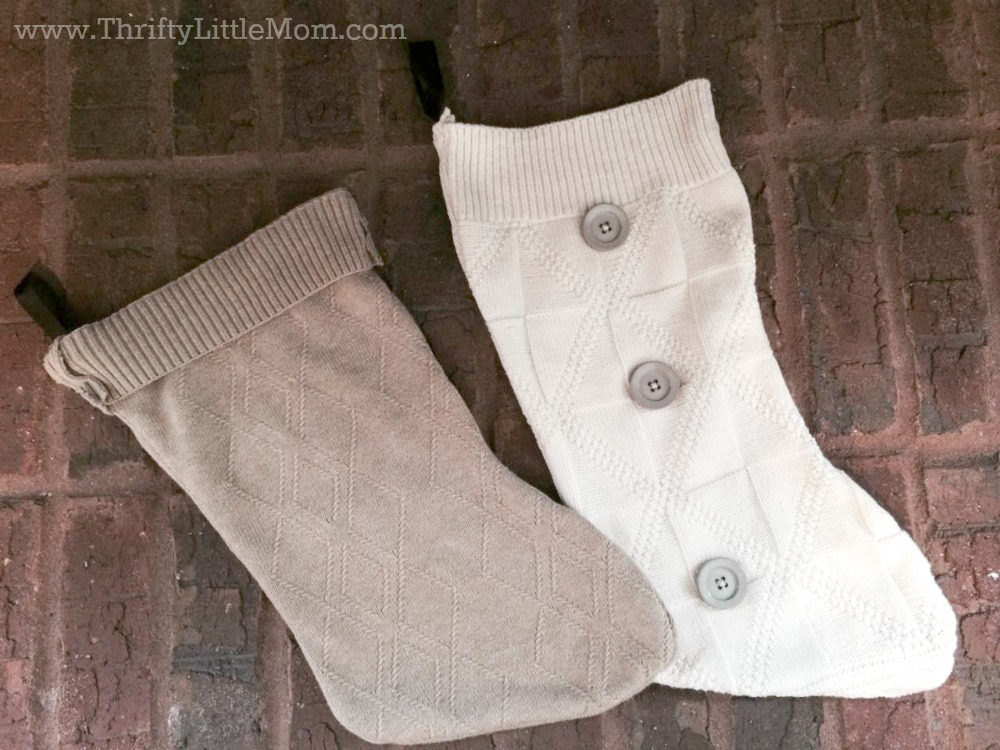
I’d love to try a few more and embellish somehow with pom poms or simple embroidery across the top. I also think an “ugly Christmas sweater” stocking would be hilarious! What do you think? I’d love to know some of your ideas to personalize your sweater stocking in order to fit your style.