
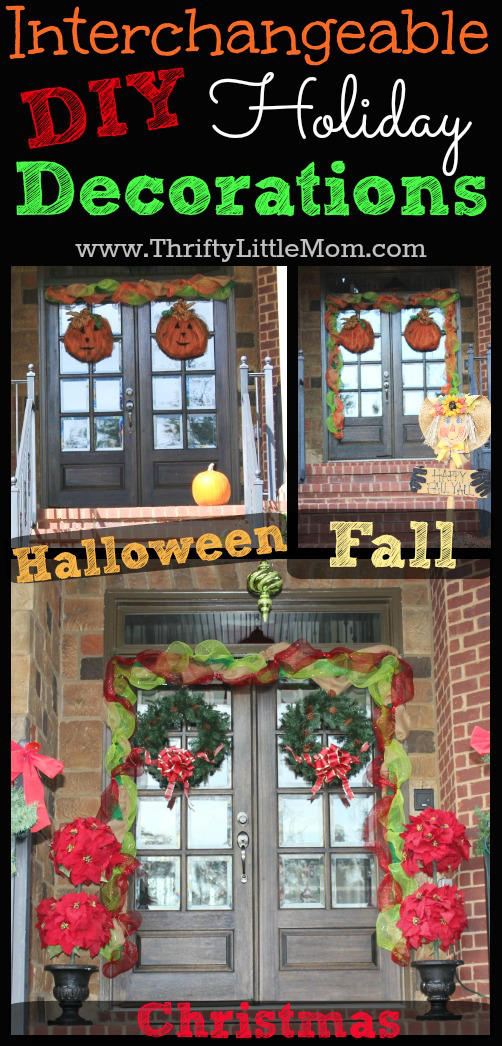
DIY Interchangeable Holiday Decorations
If you are looking for a thrifty and time saving way to decorate through the fall to winter holidays then you have come to the right post. This guest post by my good friend Rhonda will walk you through creating DIY interchangeable holiday decorations.

I often will see things that are aesthetically pleasing to me, but there is no way I would pay the asking price regardless of how deserving the compensation. My solution to this dilemma is to do it myself and this time of year is the ultimate in diy projects for me. I LOVE autumn and all of the holidays it hosts, but decorating for each holiday in the fall seems like such a waste of time since they are so close together and wasting time is second only to wasting money in my book! This year I came up with a solution and found an inexpensive way to make a beautiful display for my home’s front entryway.
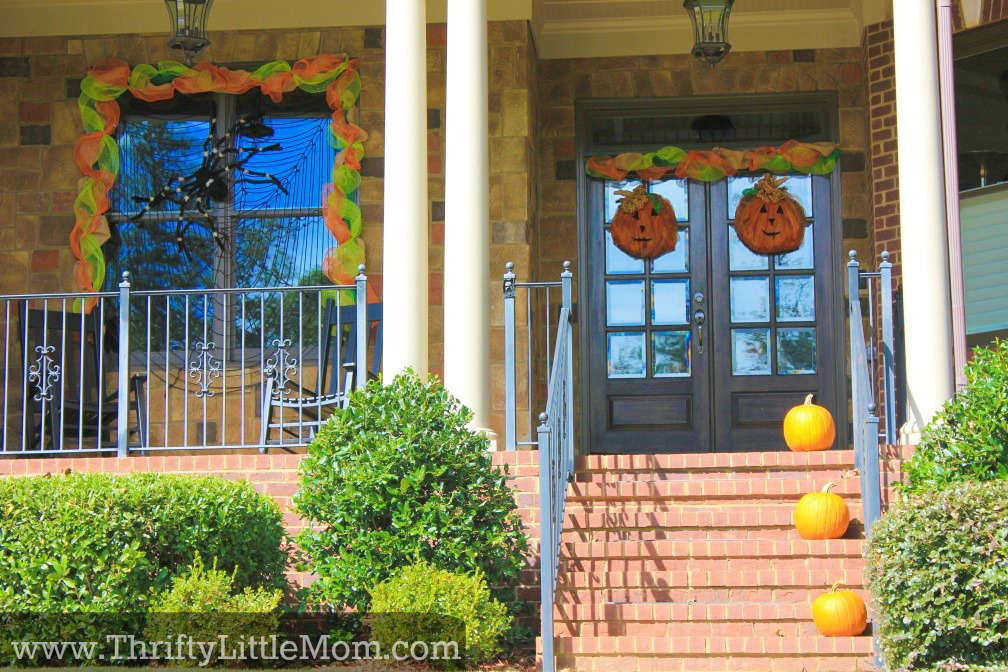
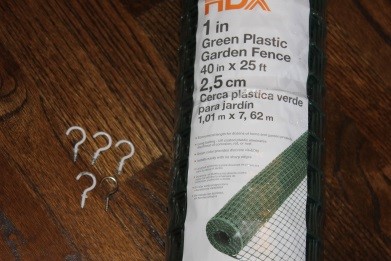
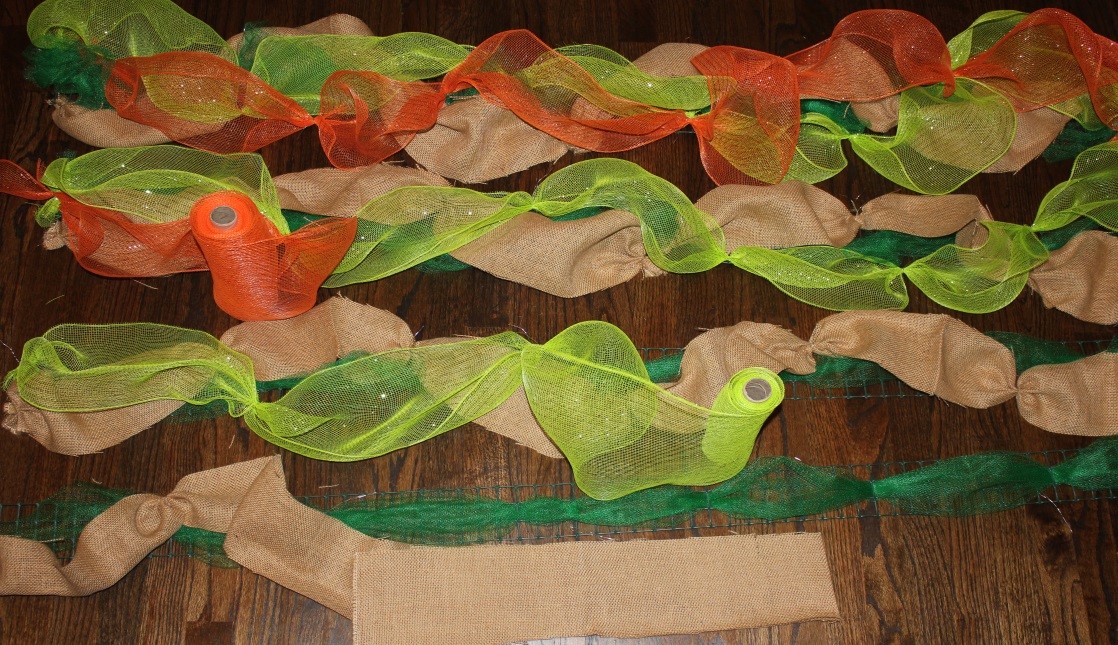
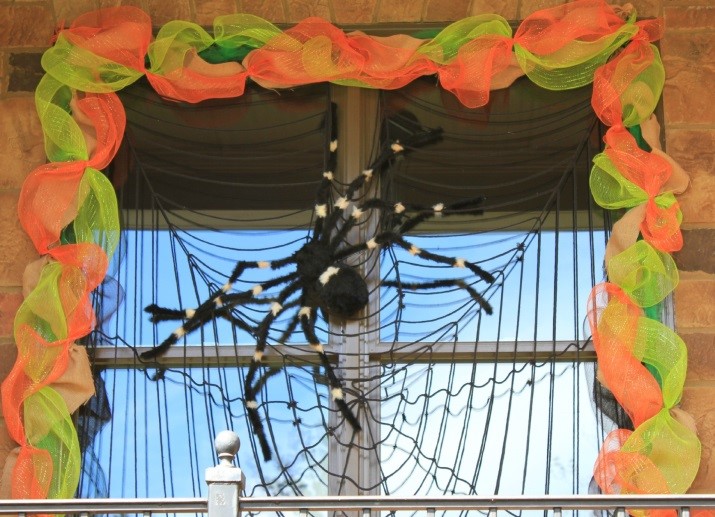
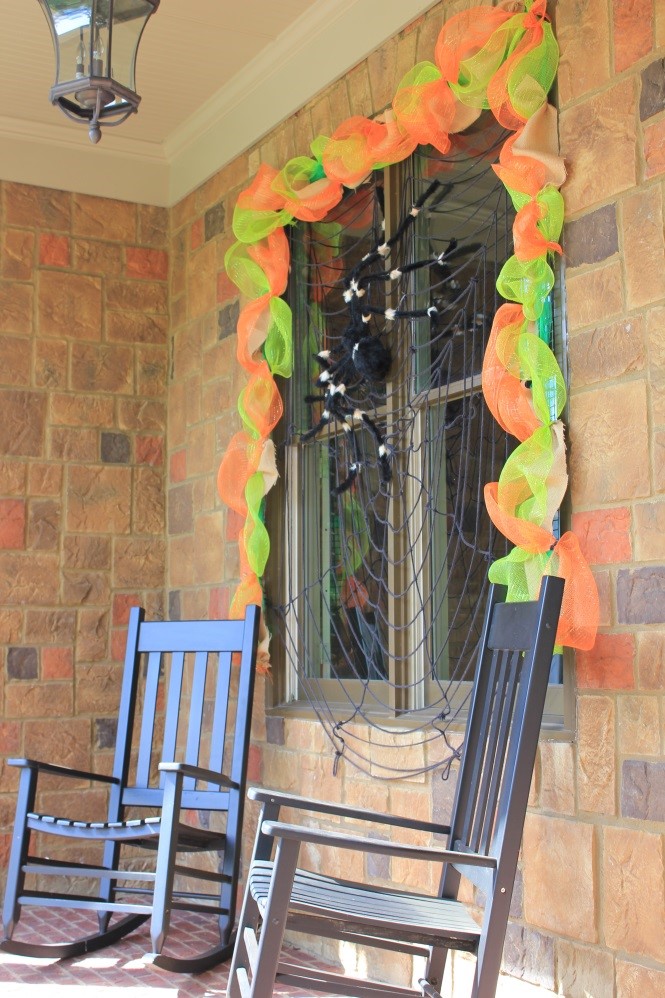
My inspiration for this year’s outdoor décor came from a few window displays I spotted at an apple festival last year. I’m not sure how they made their garland, but here is how I made mine…in true ‘thrift’ fashion! First I headed to my local garden center and purchased fencing material that I then cut to fit my window and door frames. I wanted to use fencing material because it is rigid enough to withstand the outdoor weather-whatever that may be for 3 months’ time! I found the least expensive & easiest to work with was under $10, but I literally needed only 1/6 of what I had to purchase so my suggestion is to get together with friends and split the cost!
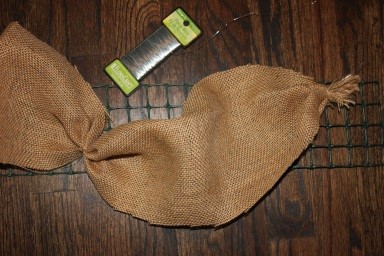
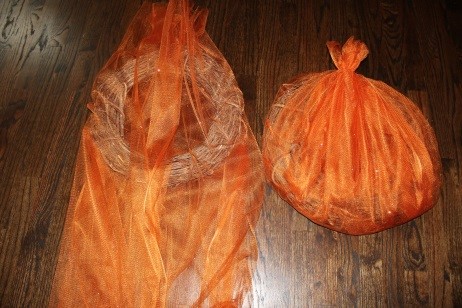
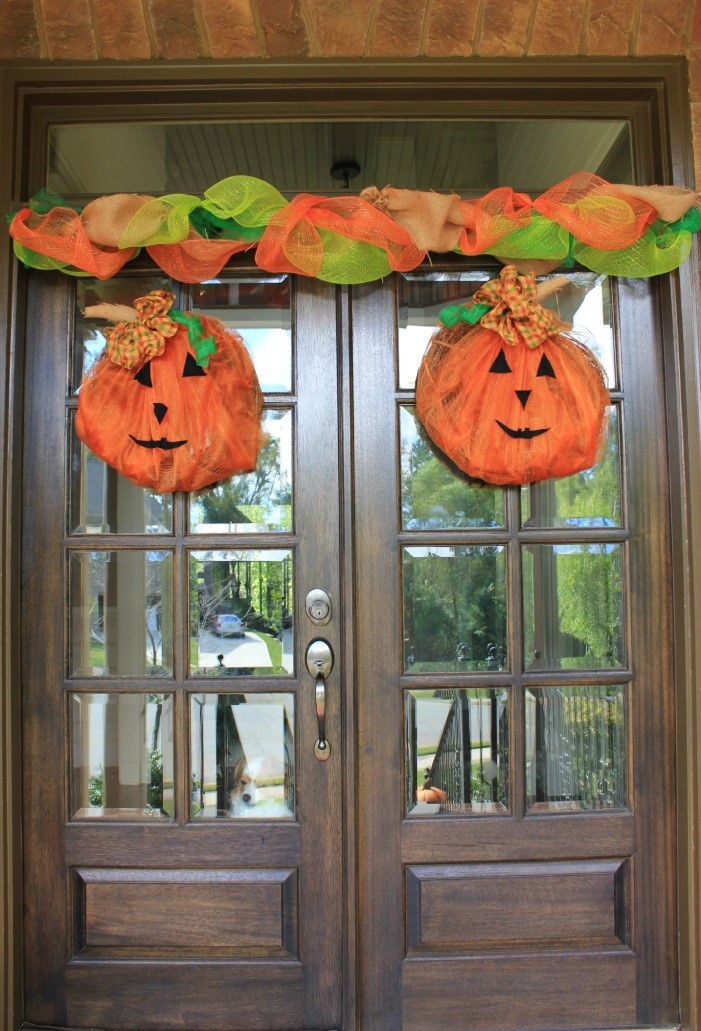
Next I attached burlap and green poly mesh. I used floral wire to attach the swags to the fencing because I already had it on hand, but after several pokes to my fingers I decided that the next one will be attached with curling ribbon! I layered the burlap and green decorative fabrics on first followed by an orange swag. The garland will now be able stay up for 3 months with only a quick change in December replacing the orange swag with red poly mesh. The fabrics cost me a total of around $10 at my local craft store (don’t forget to peruse for coupons because they are always available).
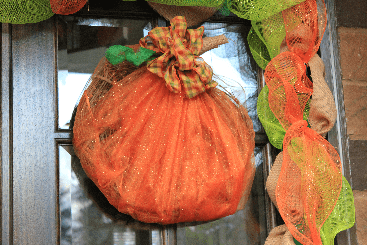
 In addition to the garland, I decided to cover my wreaths this year to make them look like pumpkins instead of the usual floral and autumn leaves wreaths that I hang this time of year. I am very pleased with the way they came out. I used orange tulle to cover the wreath forms and leftover burlap and green poly mesh for the stems & spiral. Finally I added jack-o-lantern features with black, scrap fabric that I will remove on November 1st and to display just the pumpkin wreath until Thanksgiving.
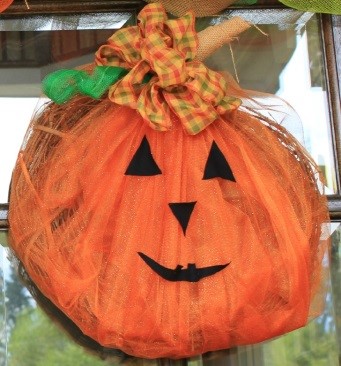
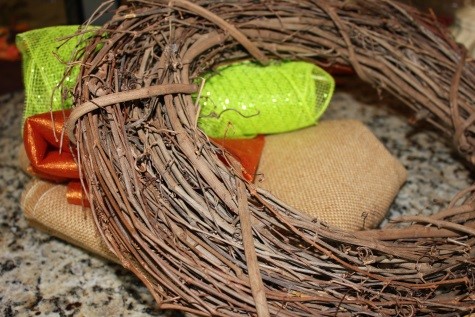
The grapevine wreaths were purchased at a local craft store for 40% off and they probably adorn the door 8 months of the year! The huge spider and web I purchased about 10 years ago for about $2 at a little boutique that was going out of business and was selling literally everything in their store, not just inventory!
I hope you enjoyed reading about how I created my outdoor décor for the holidays while budgeting time & money! Make sure you continue to follow Thrifty Little Mom’s blog so you can see pictures of how the display will change in November (with the addition of a haystack and scarecrow) and December (with candy cane columns and twinkling lights)!
November Decoration Swap and Update:
 The day after Halloween, the jack-o-lantern door wreaths lost their features and became plain old pumpkin wreaths for the month of November! In addition to the door decor (notice I finished the sides of the swag as well), I always display my cute scarecrow purchased from a local vendor at the apple festival along with the corn stalks that were purchased at JoAnn Fabric for 75% off in December several seasons ago. I usually either purchase hay or pine straw bales to stack and stick them in and the bales then get used in the yard on December 1st so no waste here! The best part of our Fall decorations are the dried yet colorful leaves blown all over the front stoop for free!
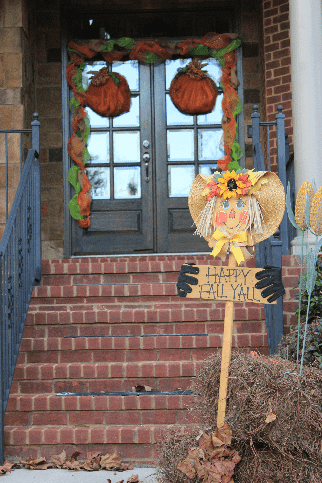
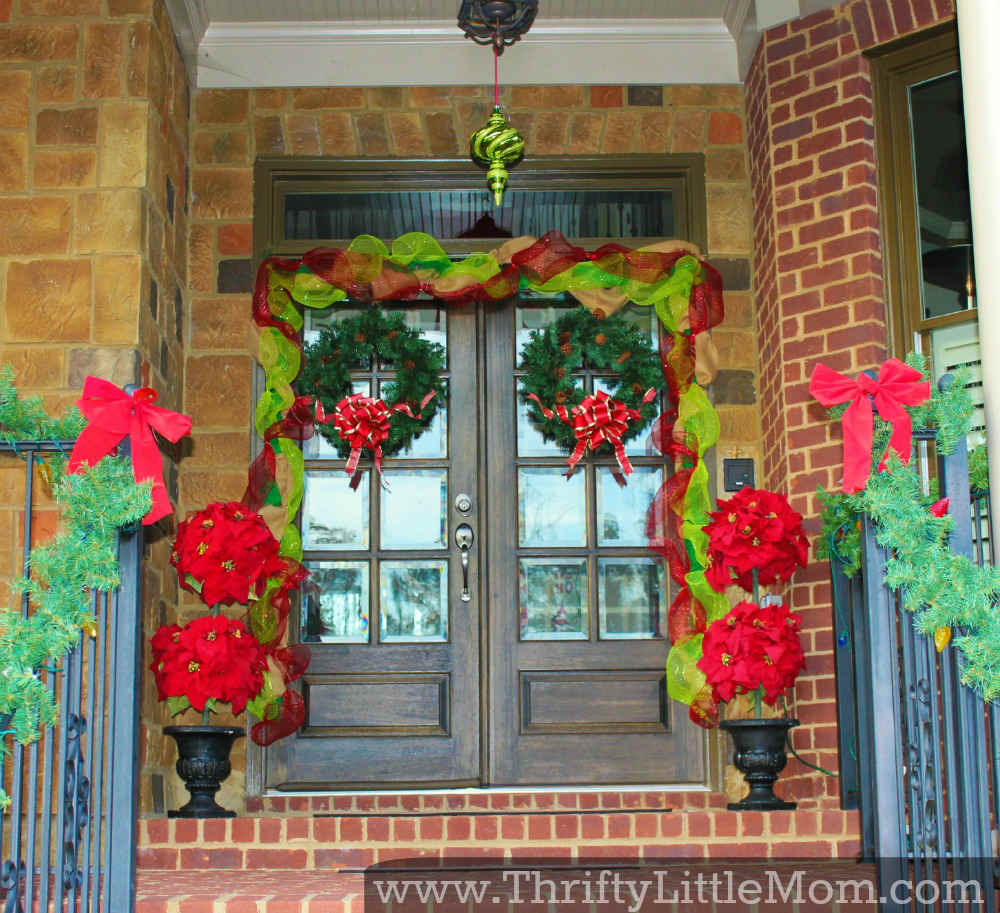
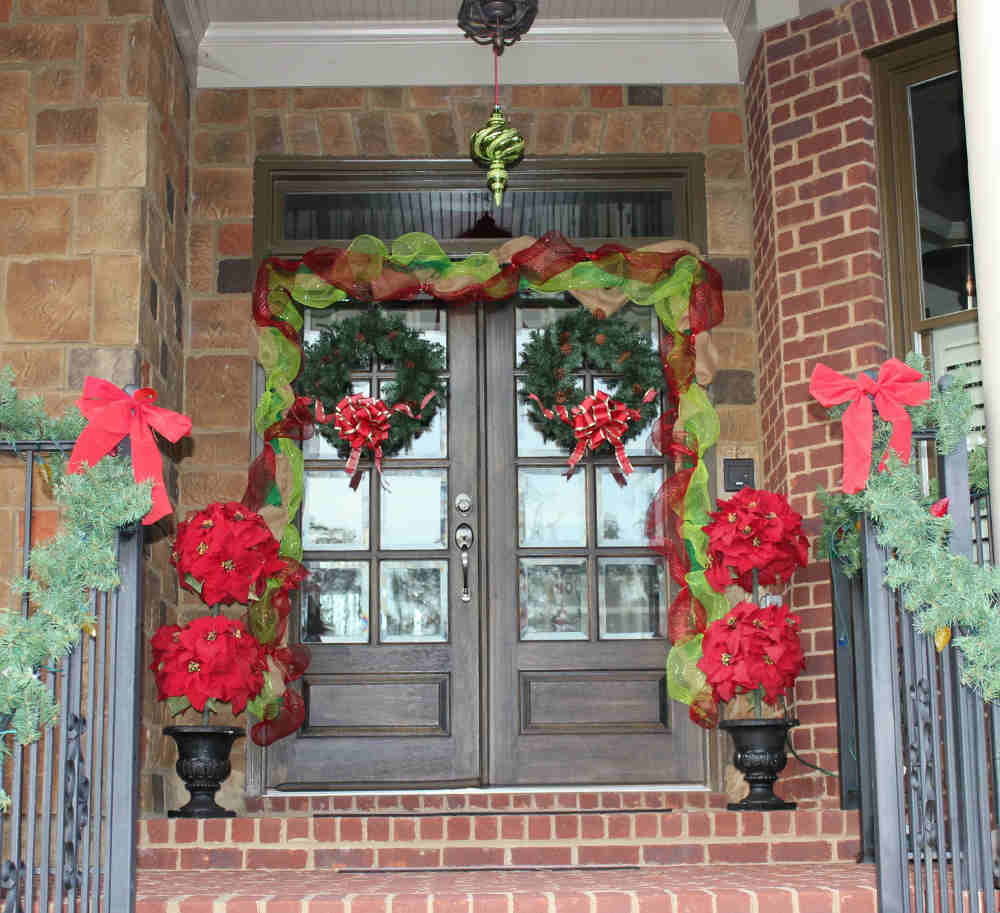
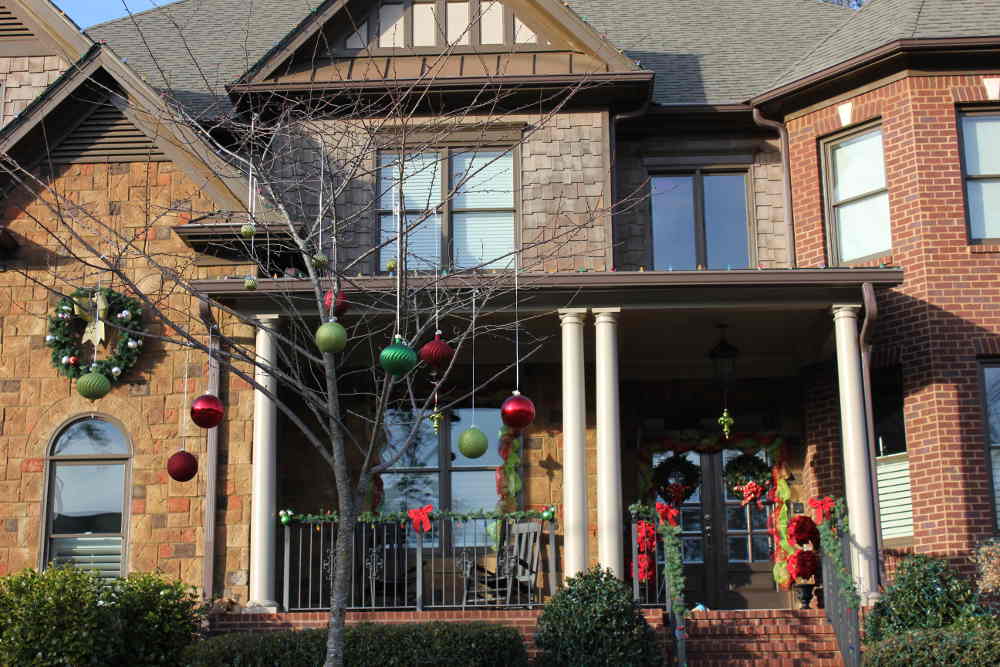
It was so simple to change the front view of the house for the Christmas holidays: I removed the orange poly mesh and added red poly mesh to the swag while a string of large bulb, multi-colored, Christmas lights tucked away behind the swag makes it pretty during the day and at night. 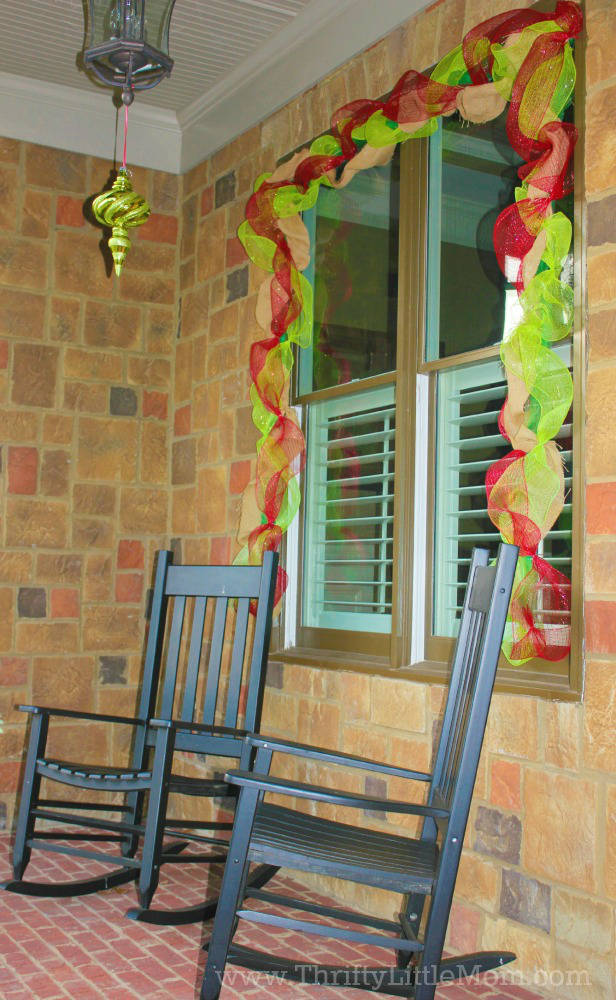 The pointsettia topiaries I bought from Michaels on Black Friday a few years ago. However, since I love to display them outside, my husband noticed that this year one side of the flowers were faded from the sun so I bought a can of spray paint and added a light layer to the topiaries where they were faded and they look brand new…even up close! The trick is to not get the nozzle too close and just go back and forth with a few light layers of continuous spray from about a foot away. I painted the bows on the garland in the same manner because they were also faded from years of exposure to the elements.

Check out Rhonda’s Bio Here


Rhonda is the owner of My Symphony Seasonings, LLC located in Georgia. She has a passion for good food, health & entertaining which was the perfect combination for creating My Symphony Seasonings, a company that encourages you to cook and eat whole foods, close to nature by providing original recipe blends of organic herbs & spices, free of fillers and artificial preservatives to add flavor, richness and health benefits to your dishes!