DIY Dry Erase Family Activity Calendar
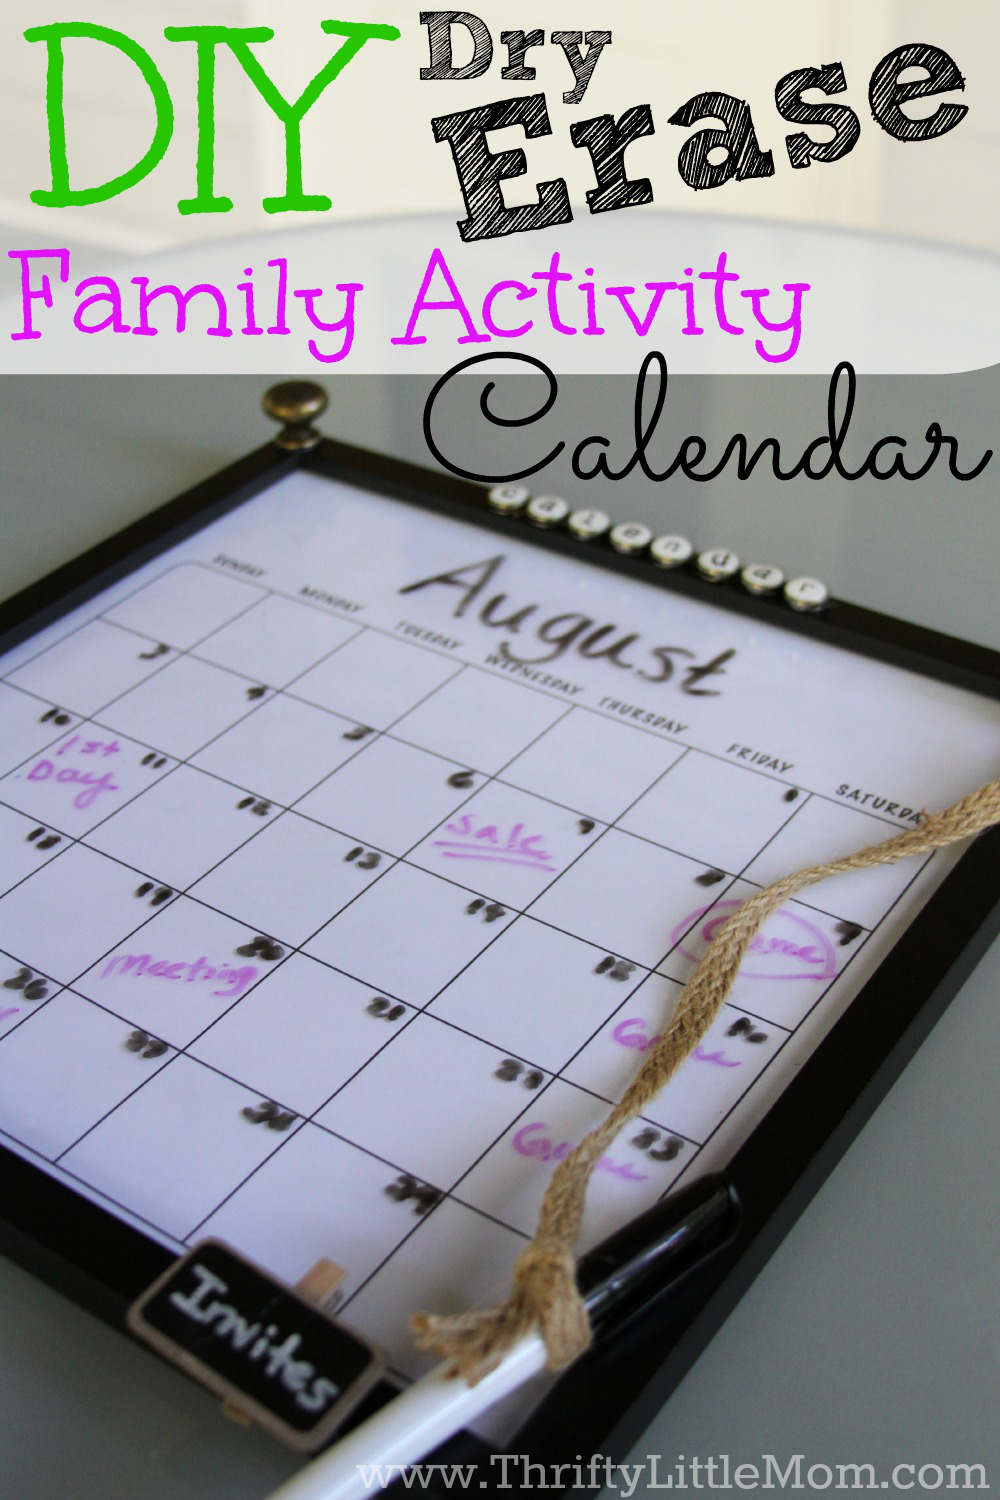
I really wanted to make a dry erase style calendar for my home office to keep all our events together but I wanted it to be decorative. Plus, I’m a PPO (Professional Pile Organizer). What’s that mean? I keep mail, fliers, schedules, bills and anything paper organized in avalanche ready piles all over the house. My special PPO problem situation demands that I find a way to keep really important things with my calendar at all times or else I’m going to loose it or forget it.
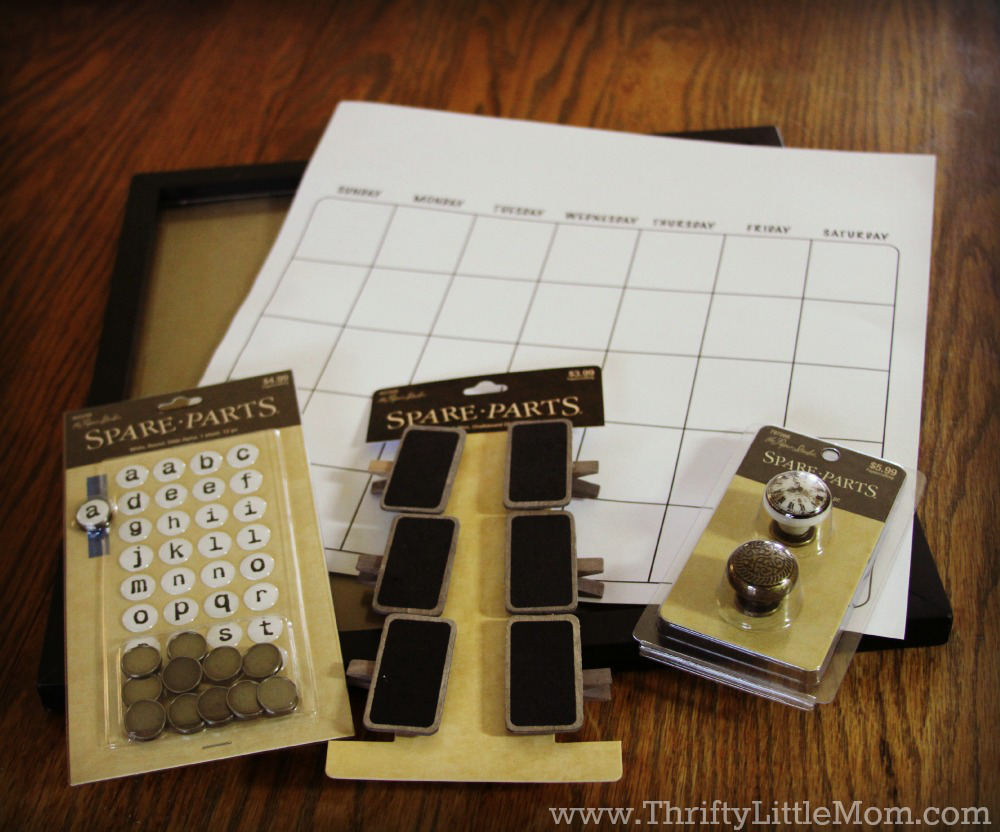
While exploring the scrapbook paper at my local Hobby Lobby, I came across a piece of scrapbook paper that was a blank calendar. I remembered that I had a 12 x 12 record frame not in use at home. As I stood staring at the blank calendar the thought popped in my head to combine the two and the DIY dry erase family activity calendar was born! Beyond just a calendar, I wanted a way to hang a dry erase pens and my important papers. I found so many cute add on’s in the Spare Parts brand section that I got everything I wanted to complete the project at a great value.
Here’s How You Can Make One
Supplies:
- 1- 12 x 12 Record frame found at Hobby Lobby $6 on sale. ($12 Regular price, but usually on sale at 50% off or with 40% off coupon from Hobby Lobby)
- 1- Blank Calendar Scrapbook Sheet- Hobby Lobby $0.59.
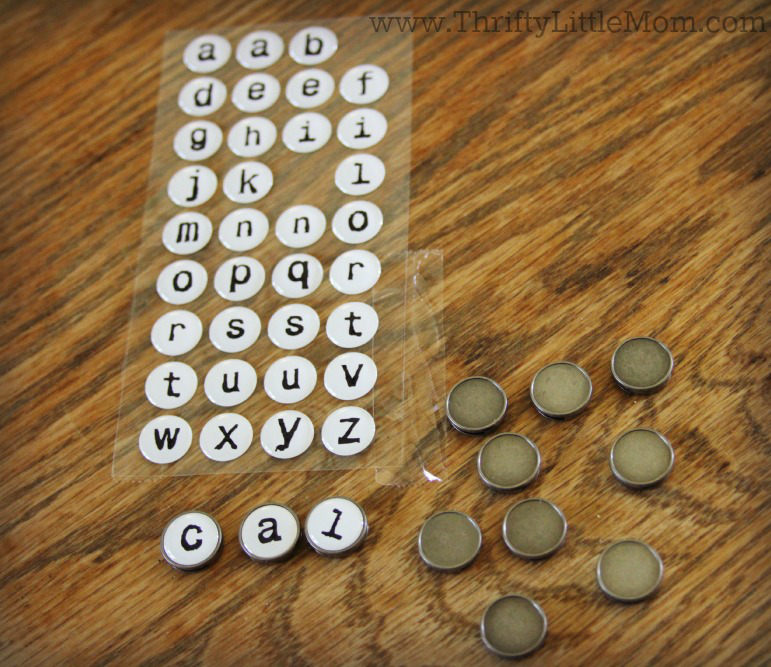
- Fun letters that can be hot glued down- Hobby Lobby Spare Parts brand were $2.50 at 50% off)
- Chalkboard clips- Hobby Lobby Spare Parts brand were $2 at 50% off.
- Small knobs- Hobby Lobby Spare Parts brand were $2.50 at 50% off.
- Total Project Cost- It cost me around $7.50 as I had previously bought the frame for my son’s room and decided to upcycle it for this project.
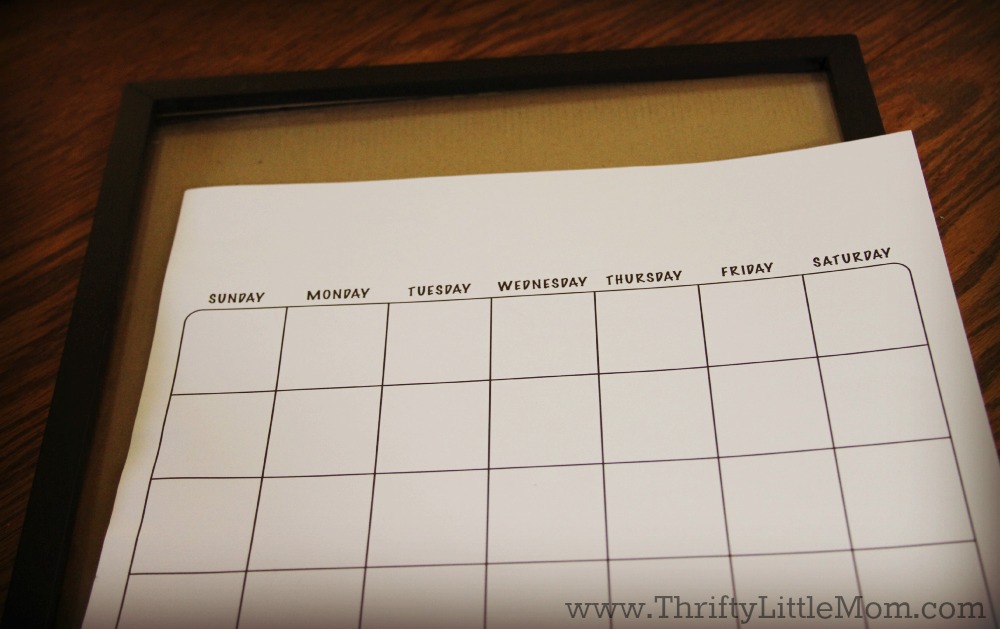
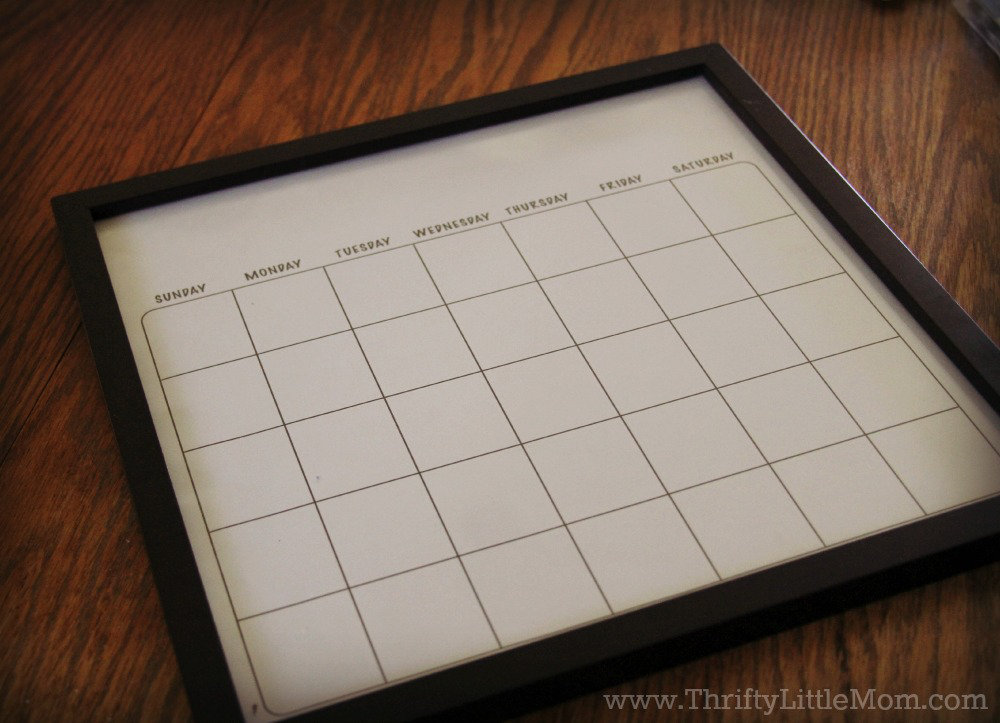
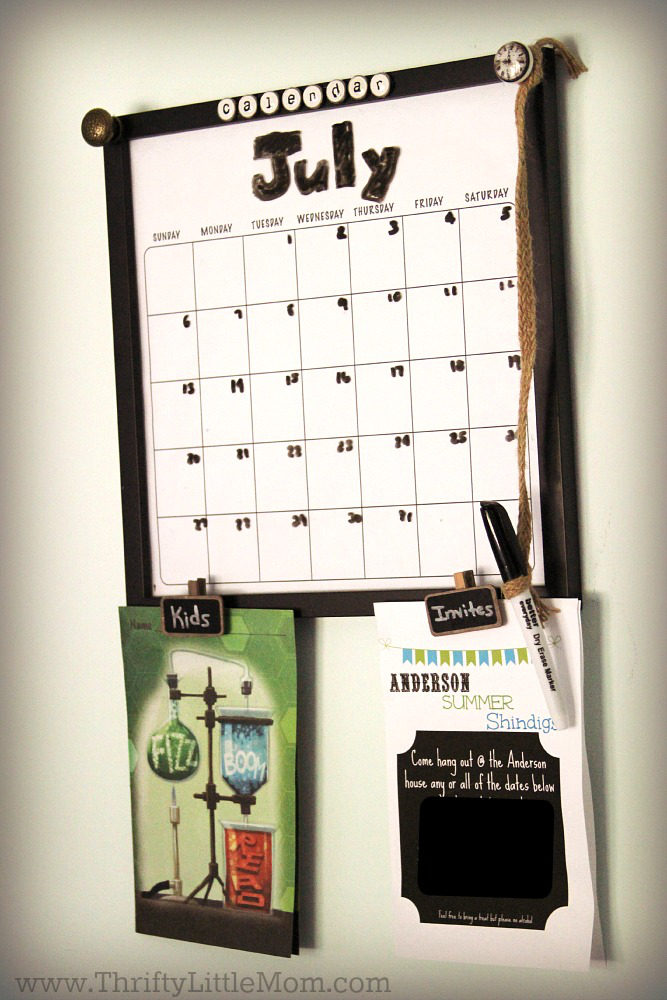
Step 1: Remove frame backing and place scrapbook paper in the frame as you would a portrait.
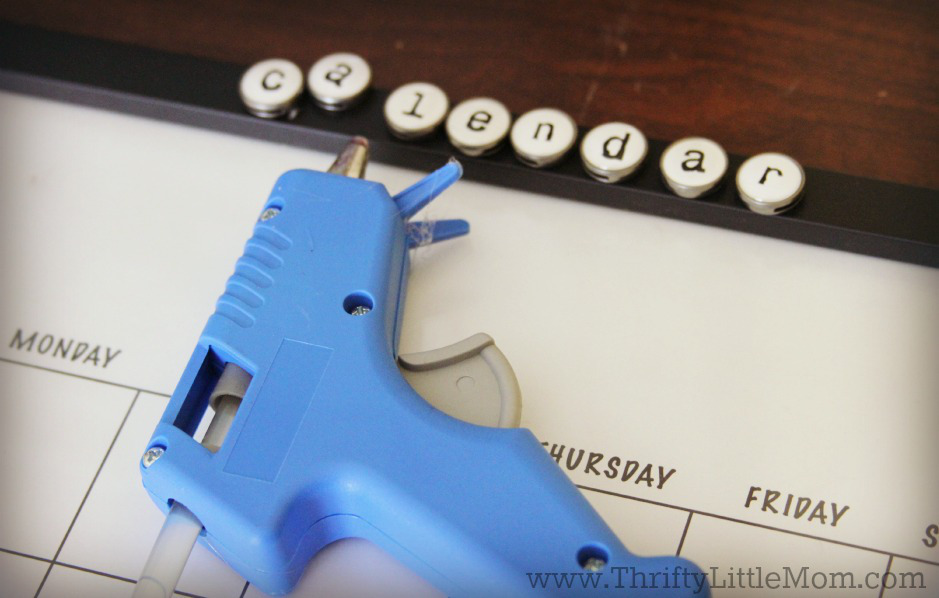
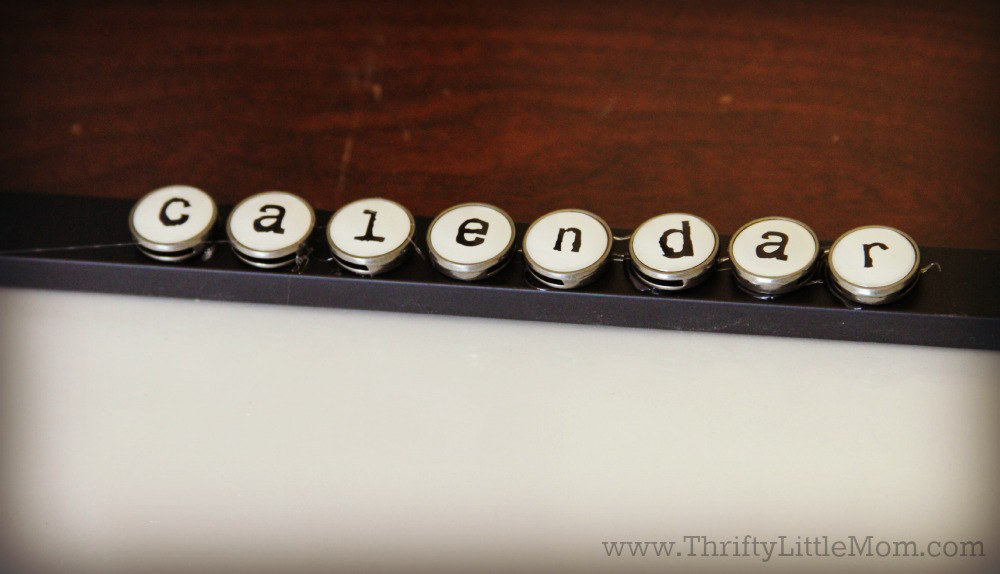
Step 2: Heat up your glue gun, gather your letters and attach the letters to the top of the frame using the hot glue.
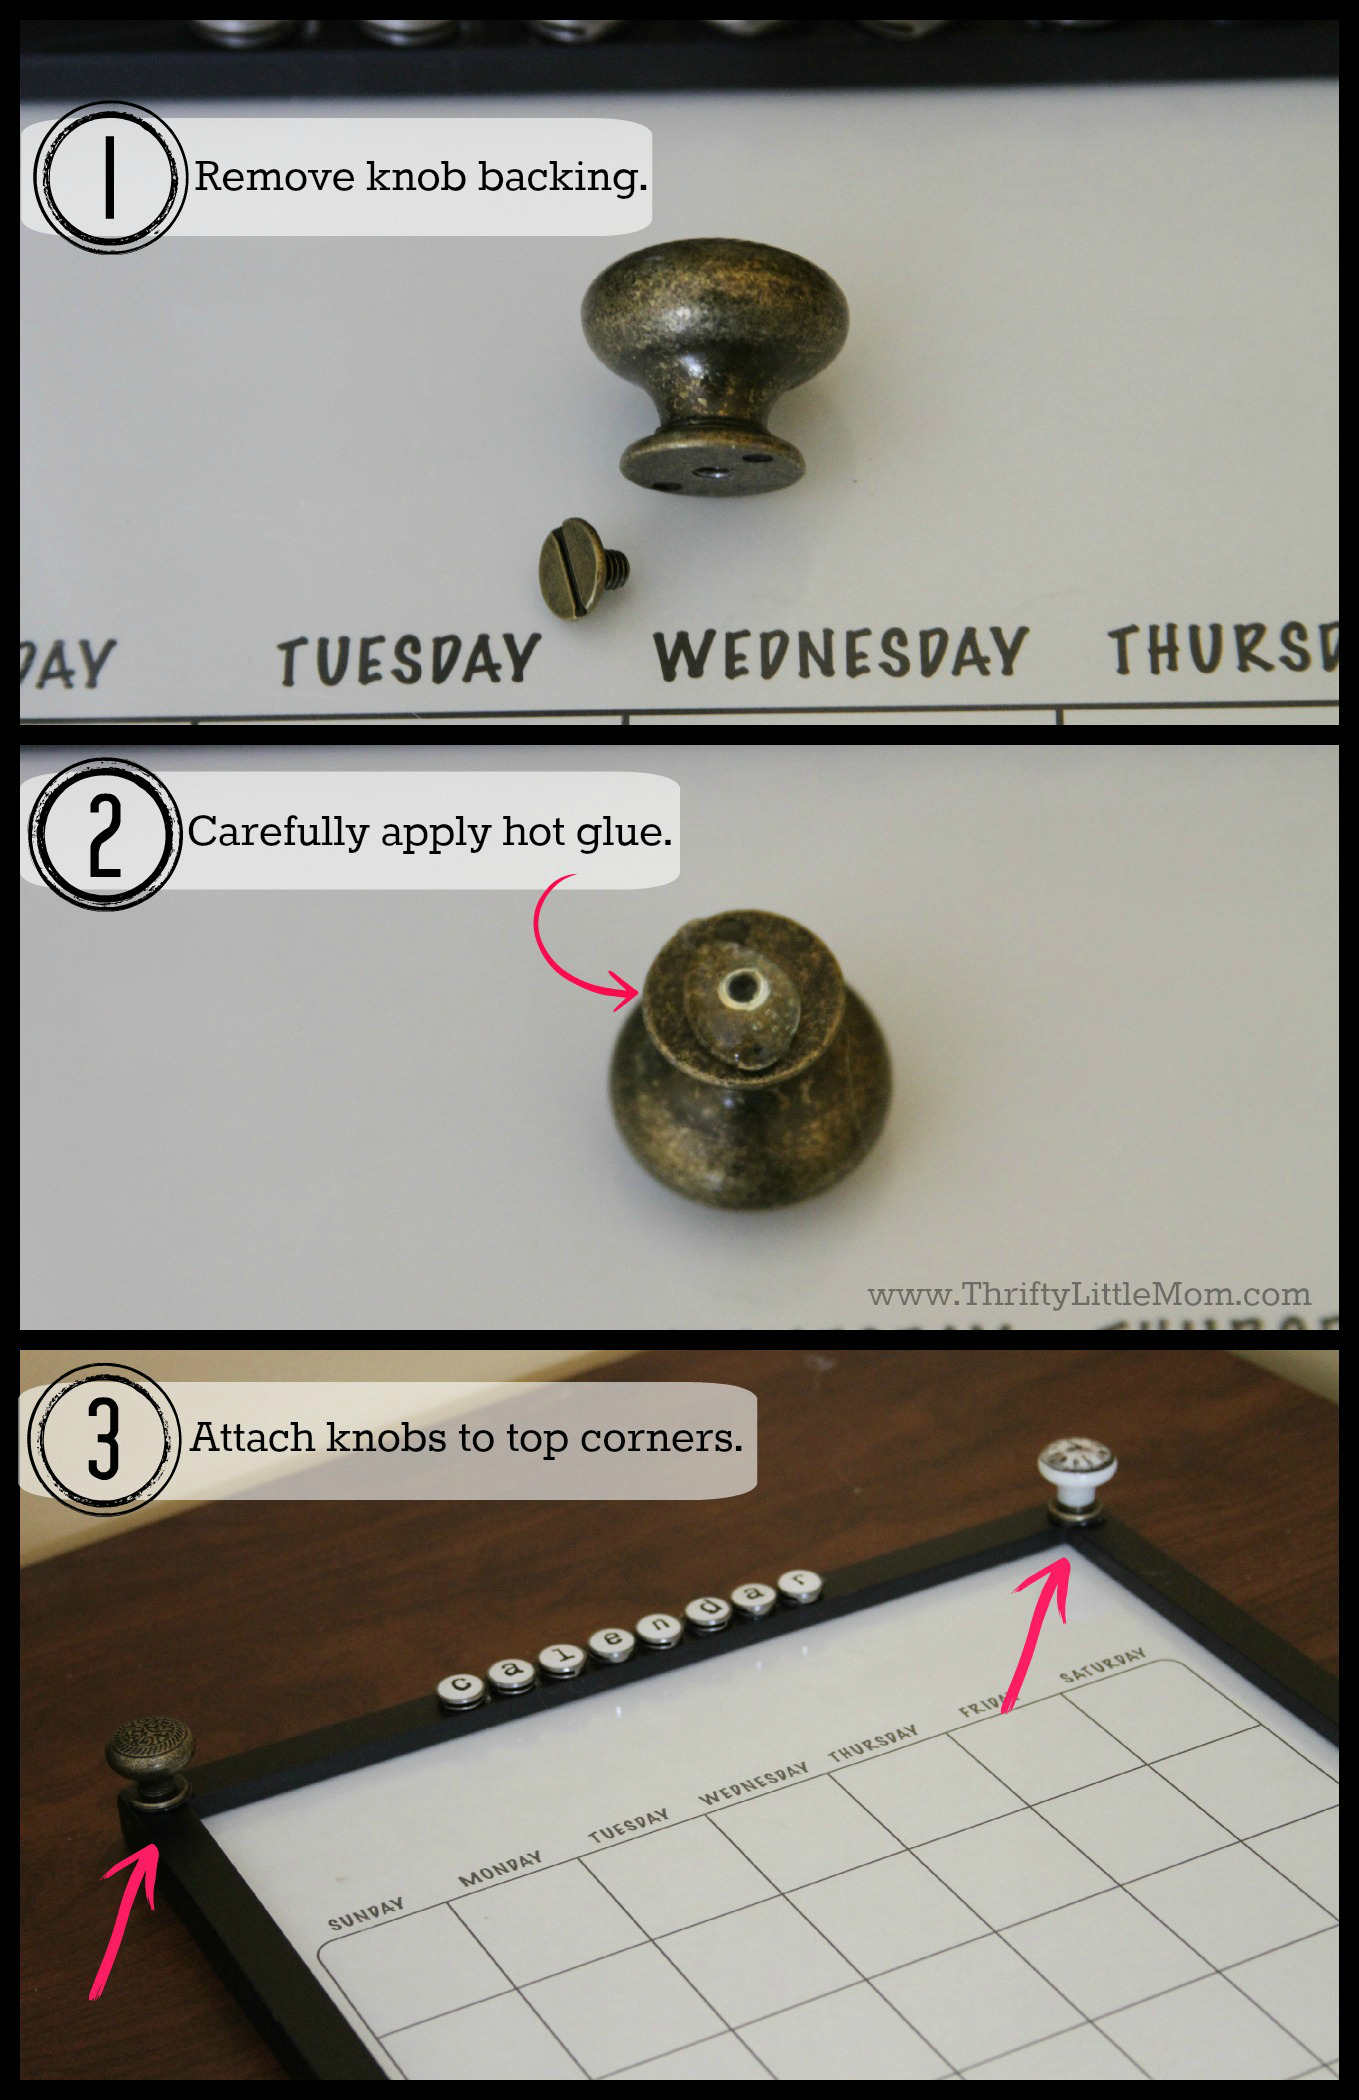
Step 3: Attach knobs to the top. These will serve an ornamental purpose as well as create anchors to keep your dry erase pens attached to your board by decorative string.
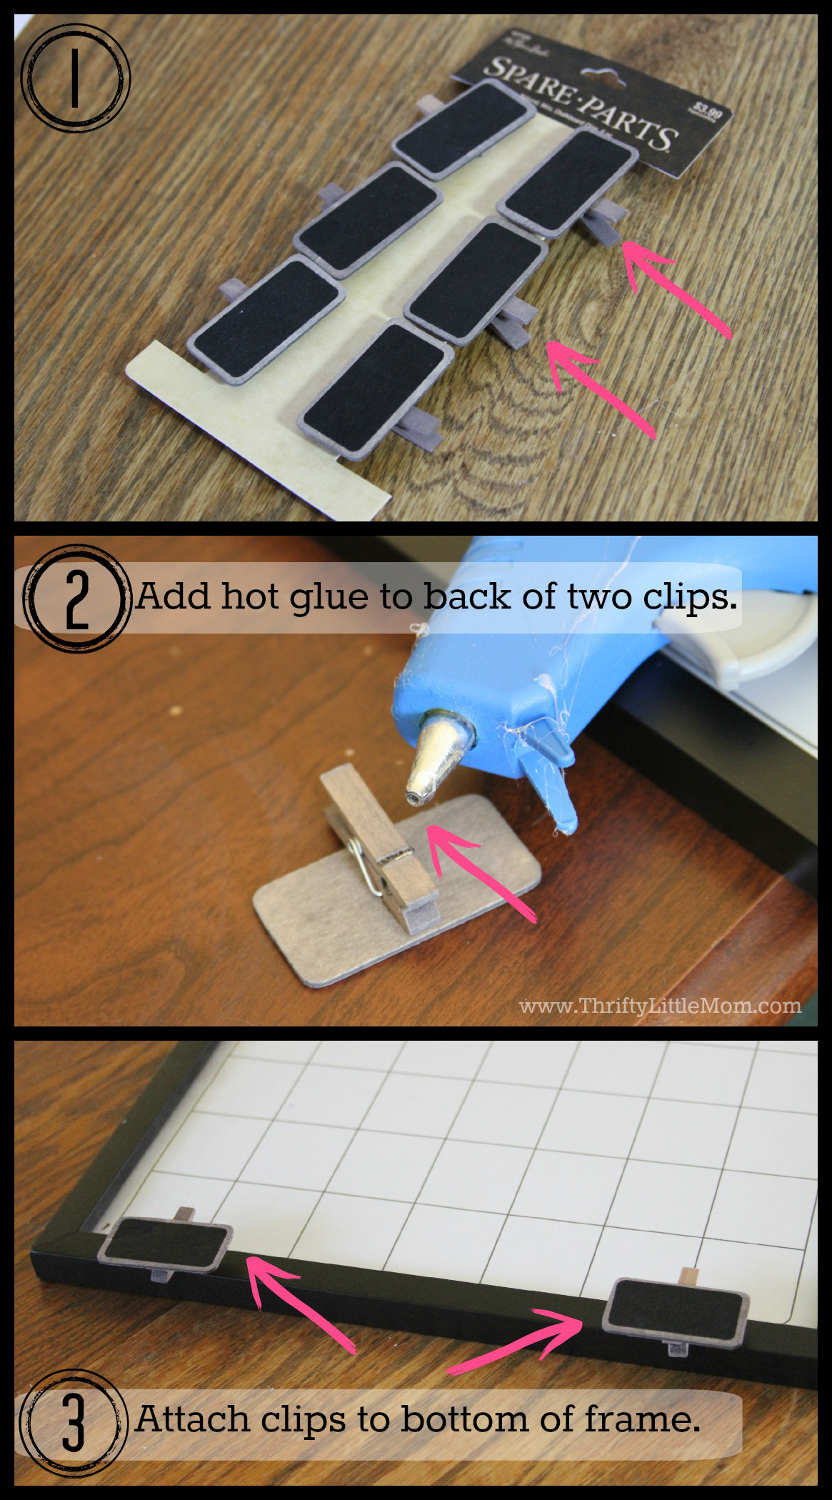
Step 4: Attach labeled clips to the bottom of the frame, making them far enough apart to keep your invites and reminders from getting too jumbled up. I limited my clips to two. One for family reminders and the other for kids reminders, invites & schedules.
Step 5: Attach a fun piece of yarn or string to one or both knobs and then tie the other end of the string around a dry erase marker.
Step 6: Fill in the calendar, attach your important documents with clips and hang it where you will see it and remember to use it!
There are bazillion different ways you could make this your own and I hope you will give it a try! Visit your local craft store and find ways to make this to match your own home style. If you like what I did to make my family activity calendar, just take stroll down to Hobby Lobby and don’t forget your 40% off Weekly Coupon!

Kim Anderson is the organized chaos loving author behind the Thrifty Little Mom Blog. She helps other people who thrive in organized chaos to stress less, remember more and feel in control of their time, money, and home. Kim is the author of: Live, Save, Spend, Repeat: The Life You Want with the Money You Have. She’s been featured on Time.com, Money.com, Good Housekeeping, Women’s Day, and more!

