How To Upcycle Your Thrifty Furniture Finds
This is a sponsored post written by me on behalf of CORT for IZEA. All opinions are 100% mine.
Sometimes you find you have a space in your house that just needs a little TLC. A lonely corner, a blank wall or an empty spot begging for decorative attention. If you’re a creative DIYer like me, you enjoy the hunt for a piece of discount furniture but you don’t limit your imagination to the piece sitting in front of you, you see the piece for what it is AND what it could be.
In this case, I really wanted to find a TV stand size piece that I could use for multiple purposes. I had a blank space in my living area that really needed something to add a little charm. So I decided to go on the hunt for the perfect piece for this spot.
I had recently heard about CORT Clearance Centers. I’ve seen these stores before but never stopped into explore! They offer affordable furniture for your living room, bedroom, dining room as well as office furniture and accessories. One of the perks of buying from CORT is through CORT Certified, they guarantee that if any product is found to be defective within 90 days of purchase we will repair or replace it.
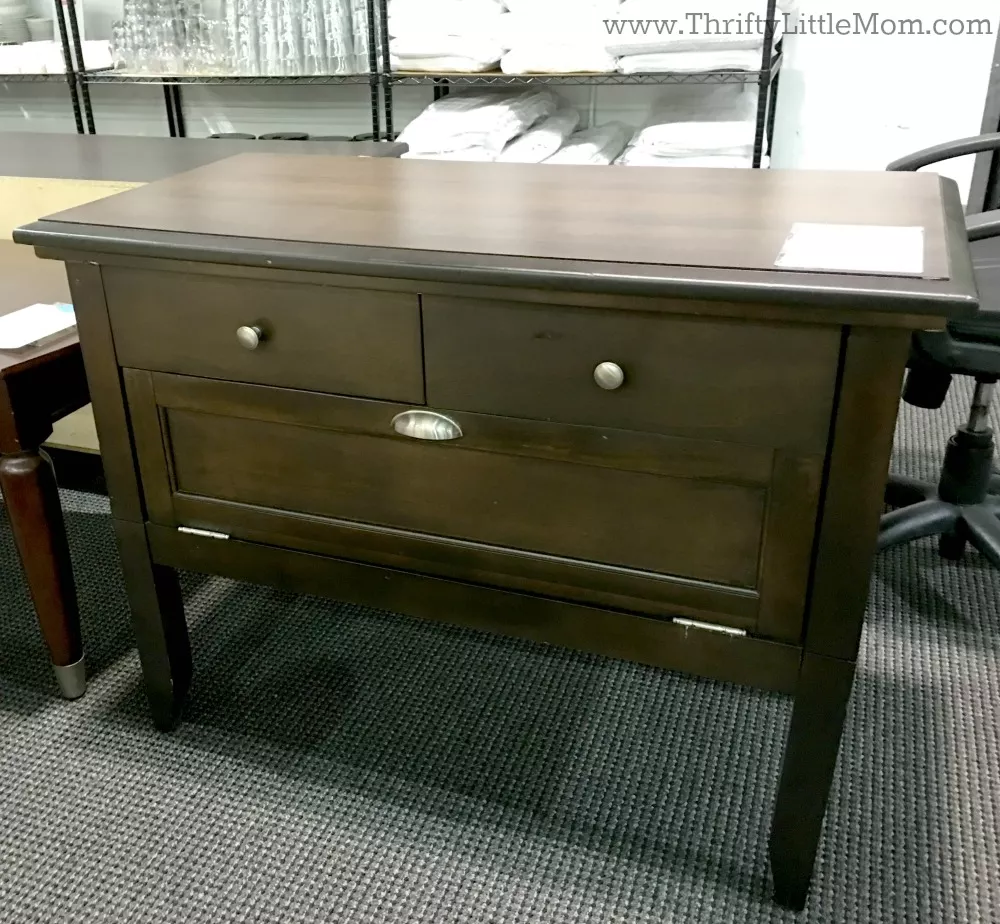
So my best friend Rhonda and I loaded up in her crossover and we went on the hunt together at our local CORT Clearance Center hoping to find that perfect piece of furniture for my space.  Within just a few minutes we both spotted this TV Stand. Rhonda proposed that it would make a gorgeous little coffee bar and that I could store my coffee maker, coffee and even china in the chest for everyday use and parties! I loved this idea so we snagged it for $100, CORT staff loaded it in the back of the vehicle and we were on our way to the home improvement store to grab some paint to up style this piece to make it match my home and give it even more charm.
Here is the BEFORE:
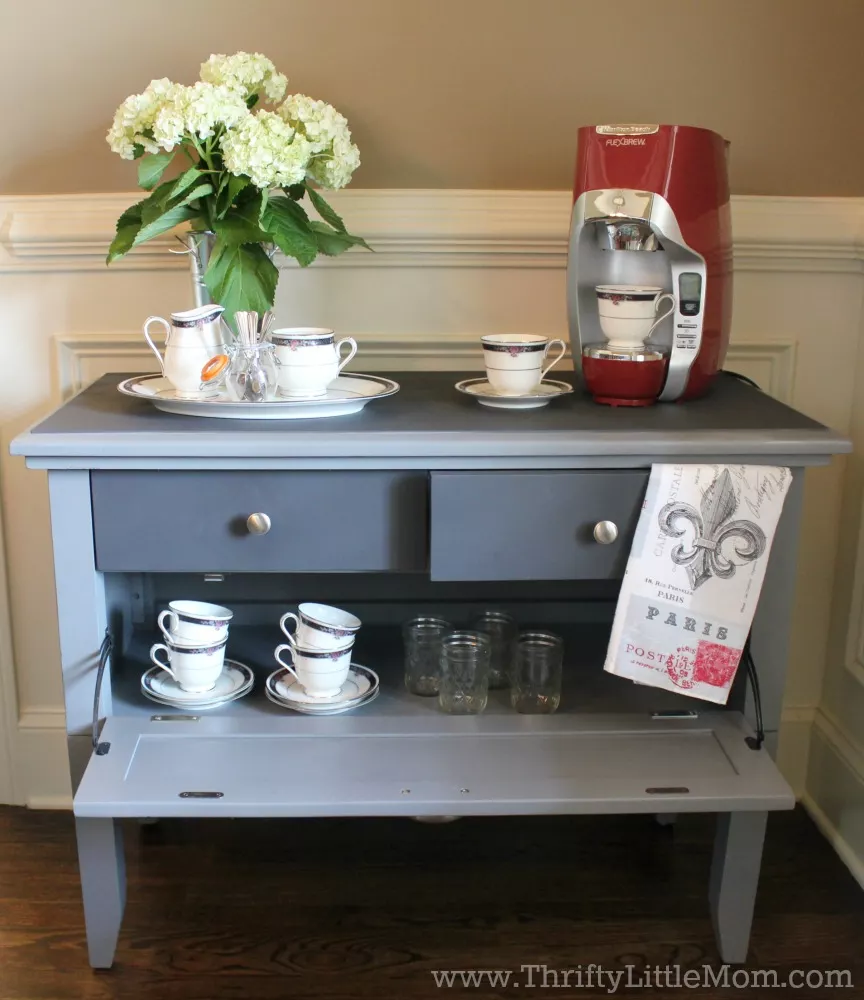
Here is the AFTER:
Here’s What You Need:
- Piece of furniture
- Tools for removing hardware
- Camera Phone (To take a picture of where all your hardware was originally)
- Painters Tape
- Plastic Paint Tarps
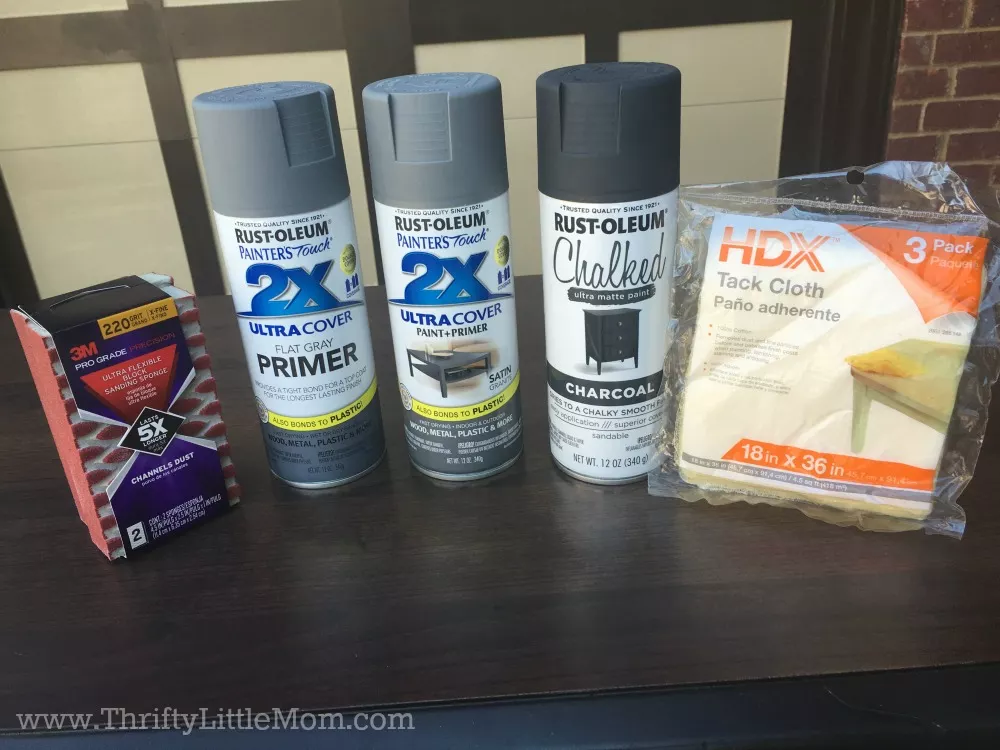
- 220 Grit Sand Paper
- Tack Cloth for cleaning surface after sanding
- Spray Paint Primer (made for the material your furniture is built out of)
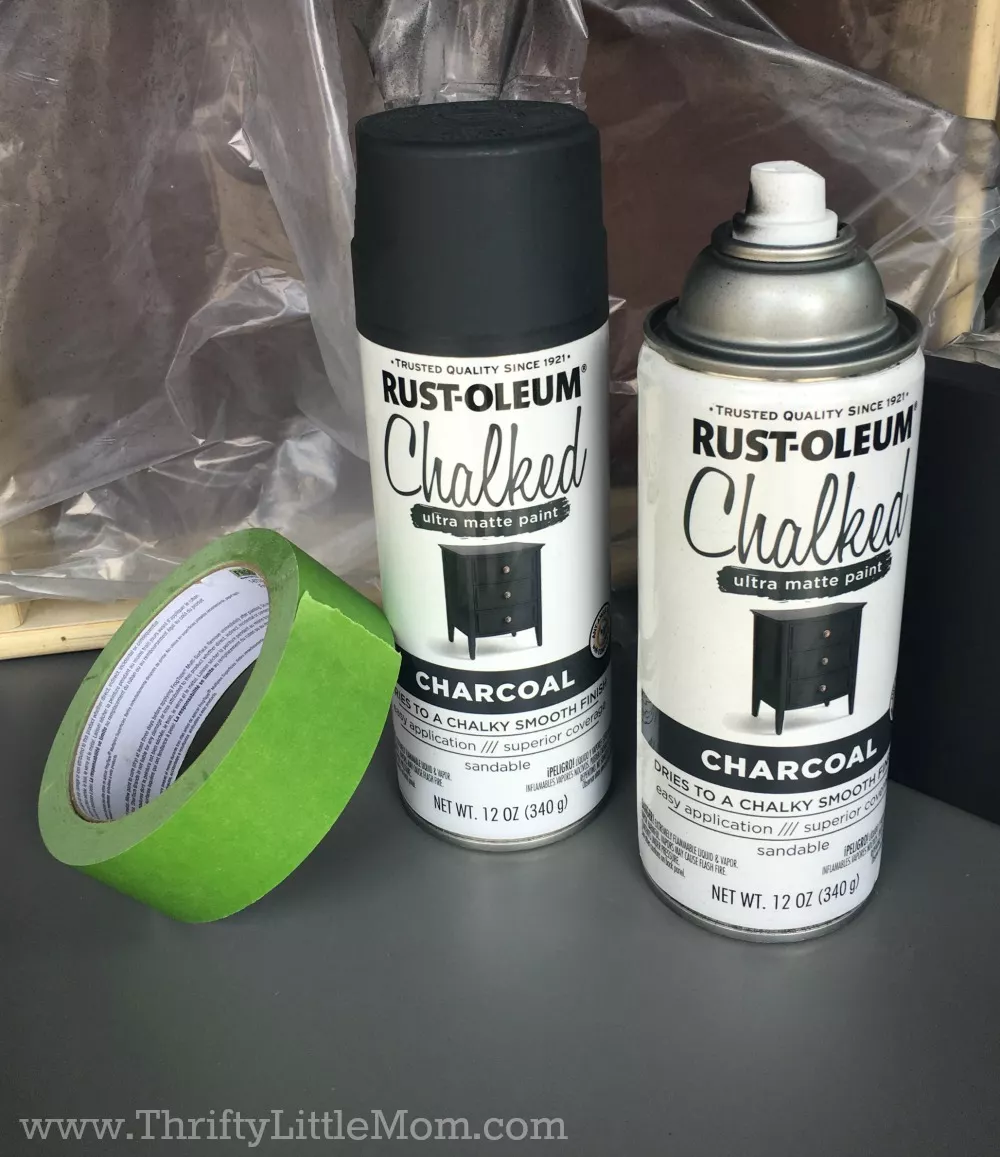
- Spray Paint in Color of Your Choosing
- Chalkboard Spray Paint in a monochromatic tone to your main paint.
How to Up Style Your Own Furniture:
Step 1: Take BEFORE PICTURES! Not just so you will have something to brag about, but also so you can quickly identify all of the hardware that you remove and know where it goes
Step 2: Speaking of that, REMOVE HARDWARE! It’s so much easier to just remove the hardware than to attempt to cover then clean paint afterward. As you remove everything, place in a zip top bag so it doesn’t get misplaced. Another tip is to place a piece of tape over the screw heads so the pieces stay together and you can easily see which screw goes with which hinge, etc. 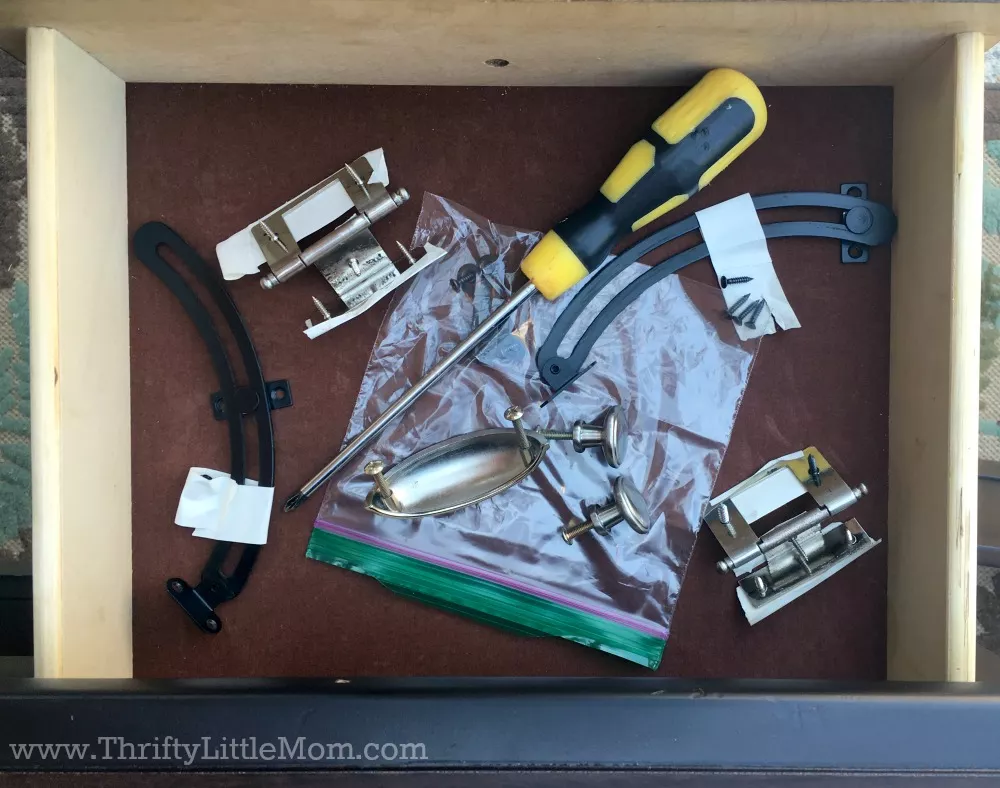
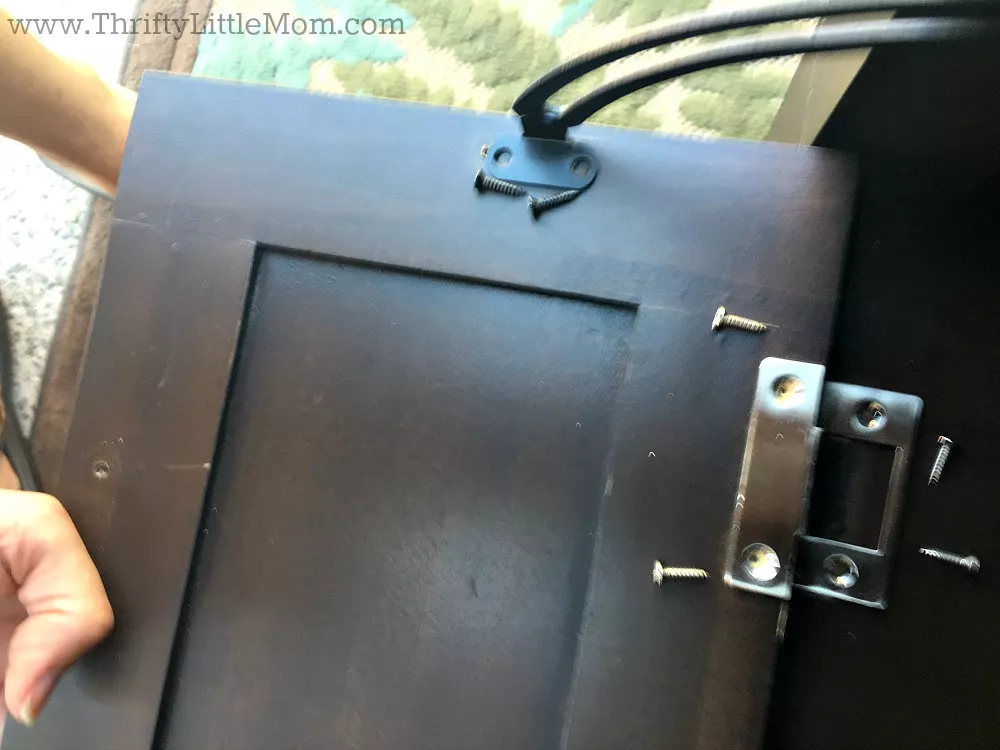
Step 3: Use a mild detergent to gently wash all areas to be painted and allow to air dry.
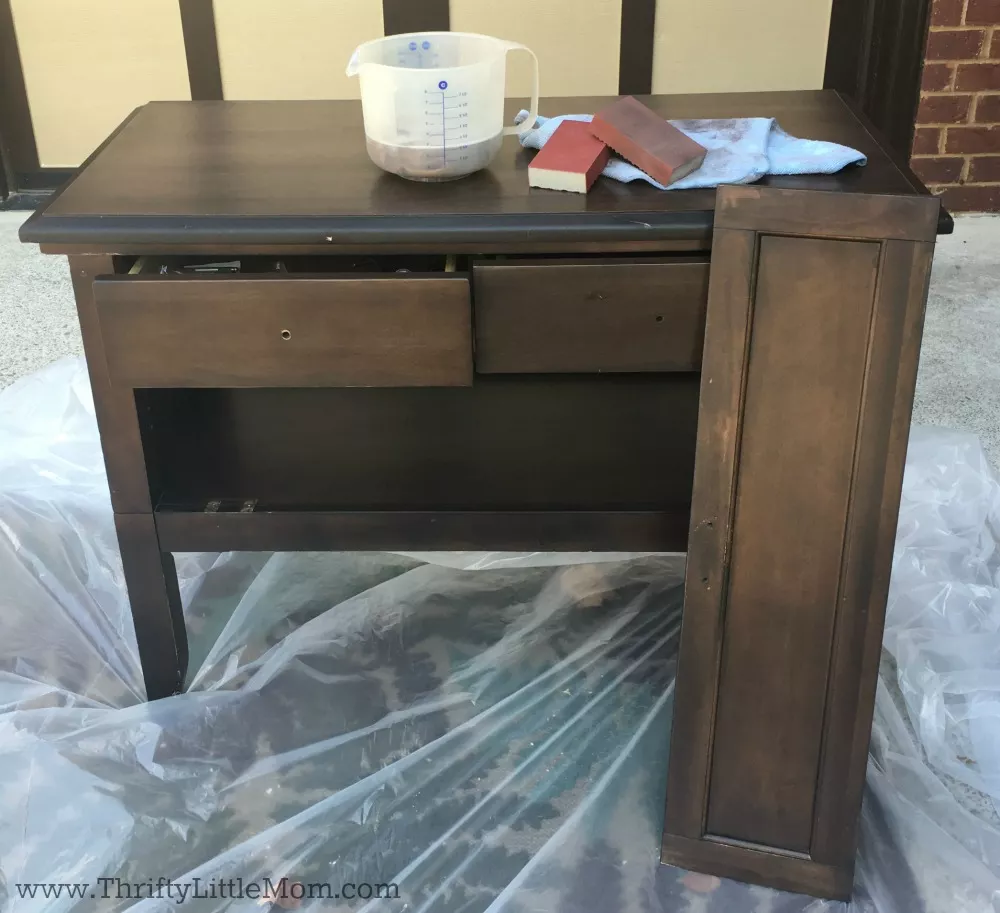
Step 4: Use a fine grit sanding block like 220 grit if you are prepping veneered wood or previously finished wooden surfaces. Sanding is a quick step that will allow the paint to adhere better as well as smooth the surface.
Step 5: Use Tack cloth after sanding and before painting to wipe away loose dust or dirt particles for a clean finish. It’s an inexpensive cloth that’s treated with a tacky material to attract and wipe away any dust quickly.
Step 6: Put down plastic sheeting to protect the surface around you from paint overspray.
Step 7: Prime the furniture with a spray paint primer to insure the paint you’ve selected shows up with the finish and color you are going for. It’s a step I think most people skip but it’s really important to a nice looking finish! 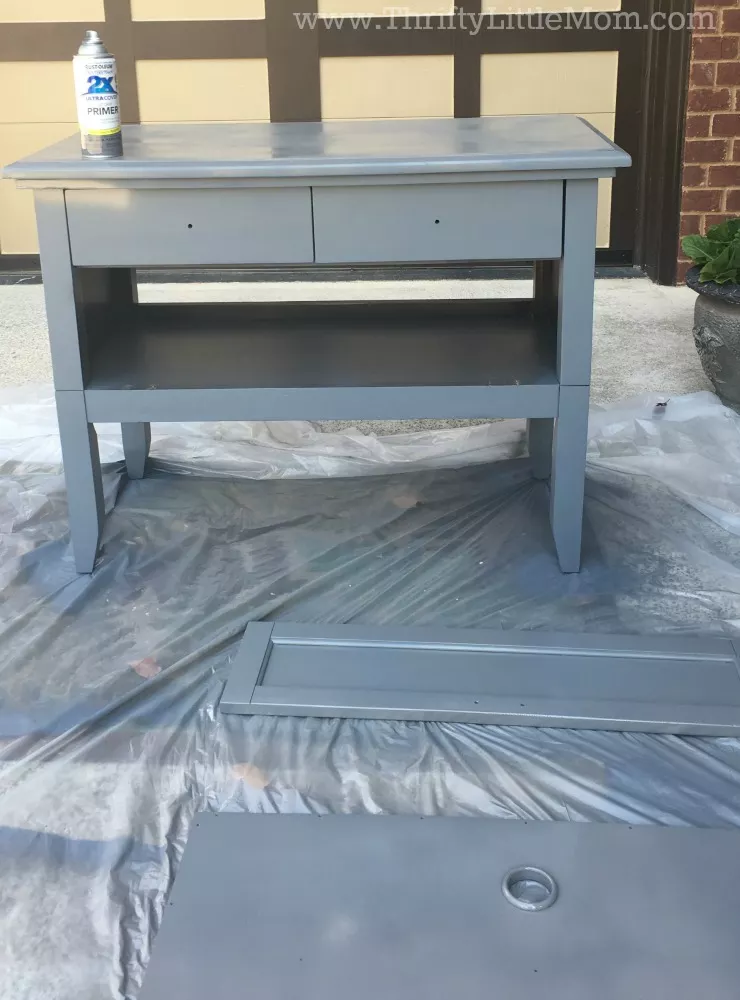
Step 8: Spray paint the whole piece the color you want it to be after it is primed.
Step 9: If you decide to do a two toned piece as we have where some part of the furniture is a complimentary or monochromatic color to your main color, then you’ll need to use painter’s tape to section off areas that you do not want overspray. 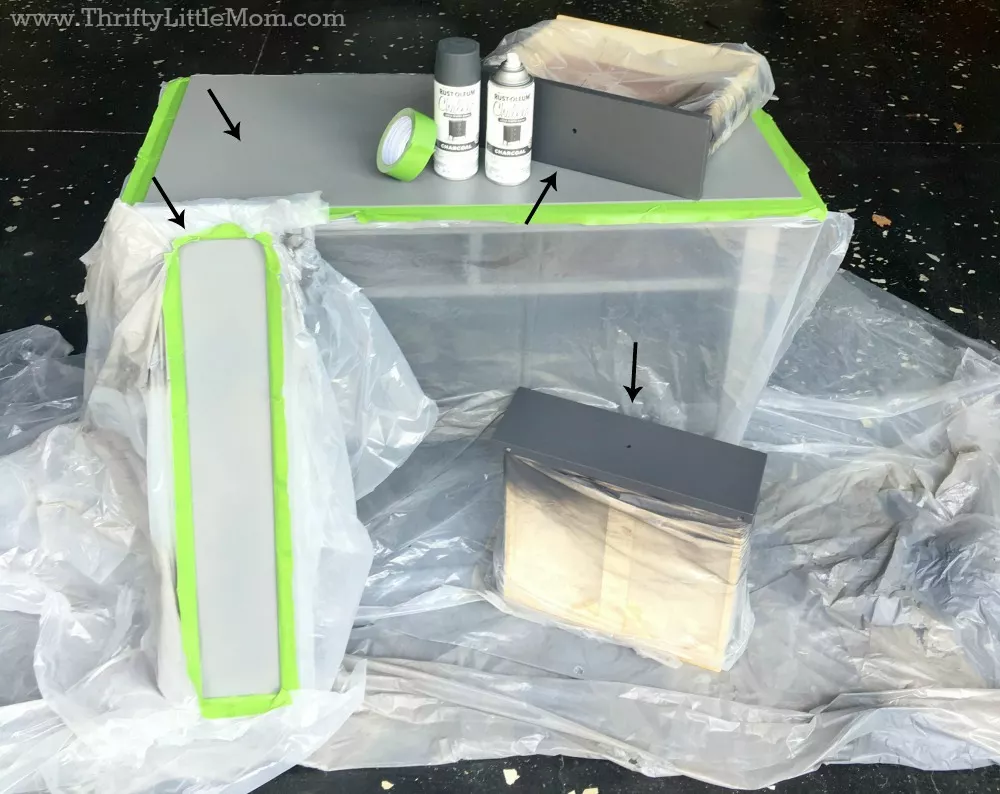
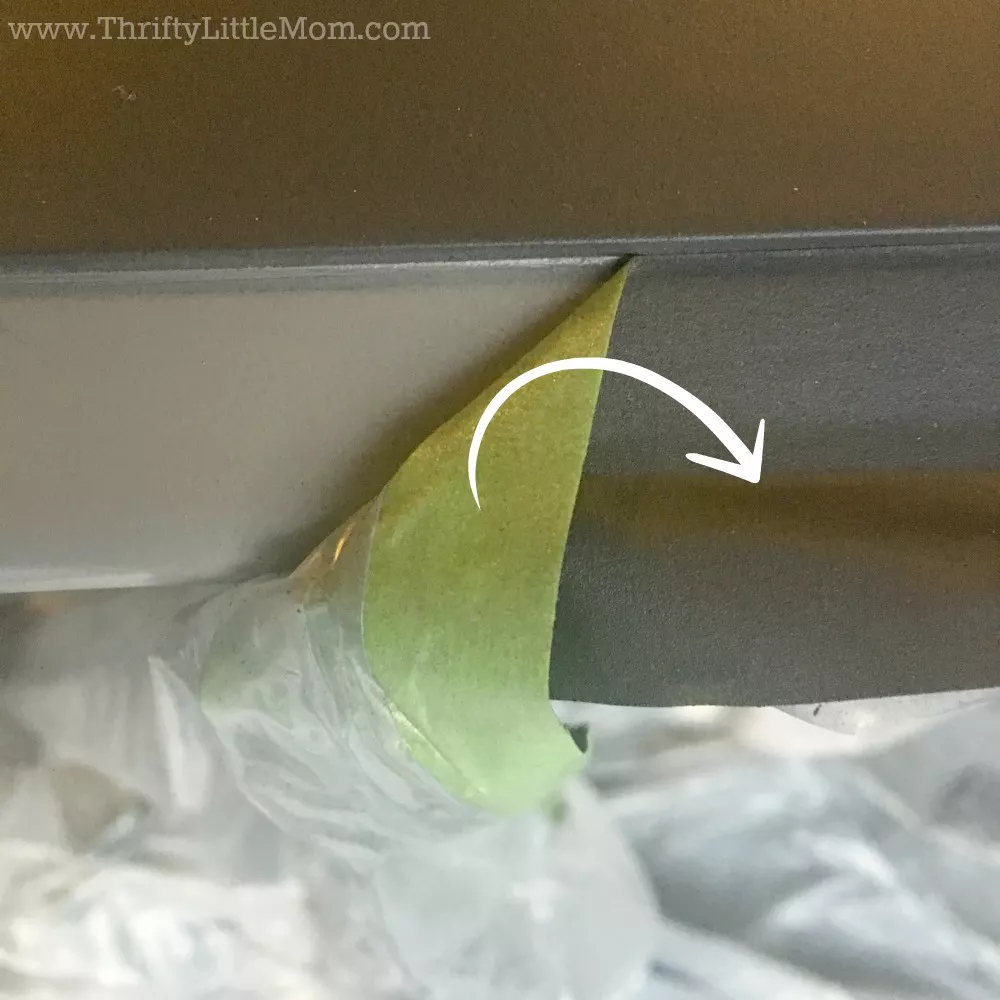
I have used several brands before, but now I only use FROGTAPE brand. It’s a superior tape! While you are applying the tape use several manageable short pieces and overlap the edges rather than trying to use one long length of tape. If you try to use only one piece for an edge, you will quickly find out how straight or warped your furniture is…just trust me! When it’s time to remove the tape hold the end of the tape at a 90⁰ angle to remove the tape as well as the layer of dried paint cleanly.
PAINTING TIPS: READ and adhere to the recommended conditions for painting that is printed on the paint can! Because it’s so hot in Georgia, I literally had a few hours to work on the piece each day because the paint would bubble or web when it was too hot or too humid. If that happens, allow the surface to dry, lightly sand, use your tack cloth to wipe away the dust particles and repaint-when the temperature is appropriate.
Wait the recommended time between coats of paint. Sometimes the surface may look dry and may even be dry to touch, but will not withstand another coat of paint properly. Patience is best!
Step 10: Once everything is dry, put your hardware back on and place your furniture in its new home! 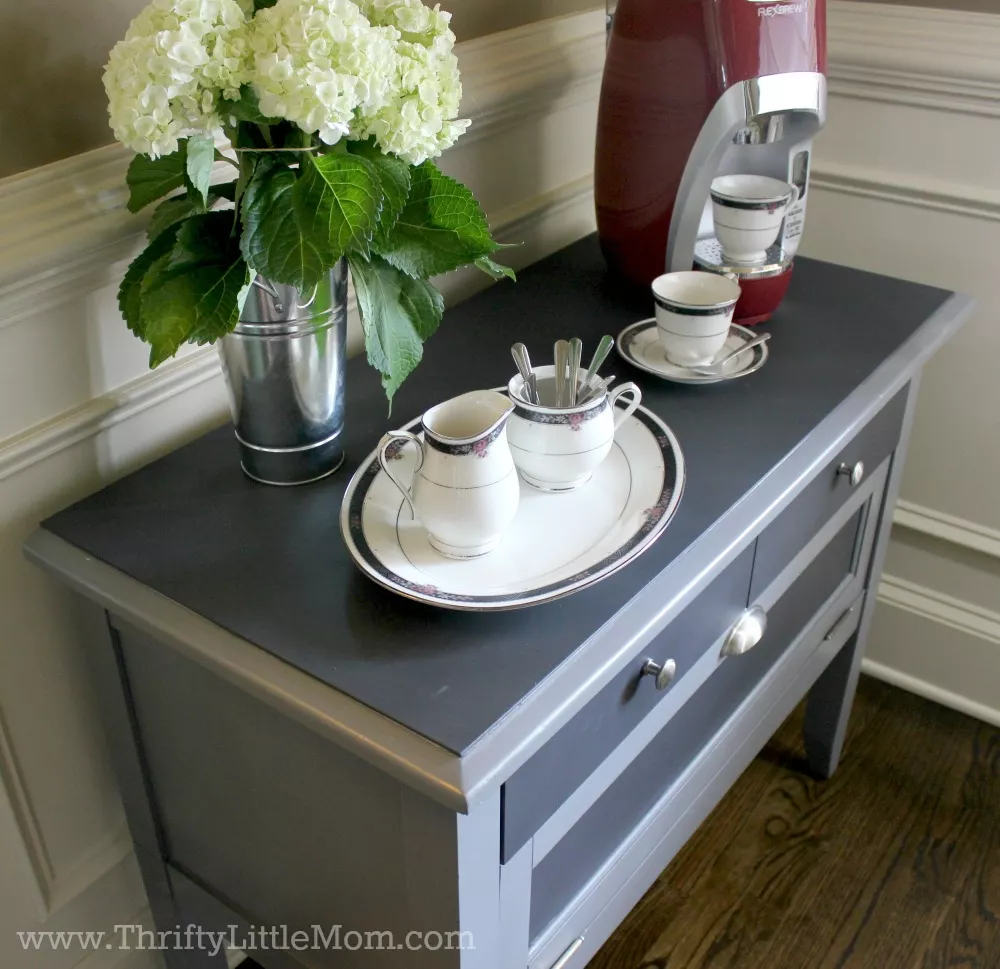

Remember, get creative! Don’t be afraid to go out of your comfort zone with paint. You can always recover with a different color of paint if you end up not liking the outcome of your first choice.
The next time you are on the hunt for fun or functional furniture, be sure you visit your local clearance center. You can also find extra discounts when you buy in sets or “home to go” packages so if you are looking to do some serious decorating, this a great place to start your quest! Have you recently done a furniture project you were proud of? Tell me about it in the comments section below. 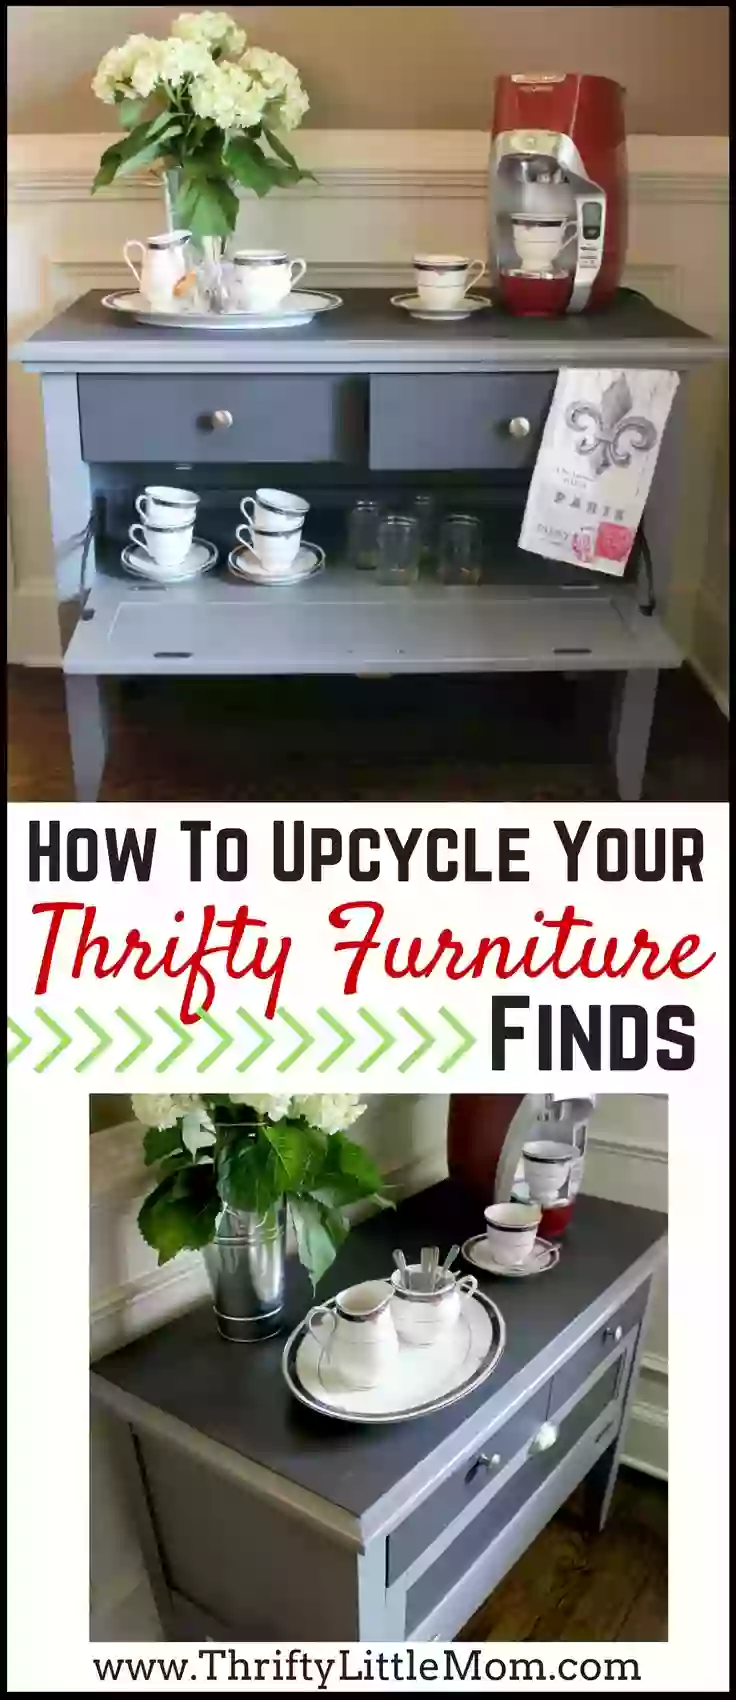

Kim Anderson is the organized chaos loving author behind the Thrifty Little Mom Blog. She helps other people who thrive in organized chaos to stress less, remember more and feel in control of their time, money, and home. Kim is the author of: Live, Save, Spend, Repeat: The Life You Want with the Money You Have. She’s been featured on Time.com, Money.com, Good Housekeeping, Women’s Day, and more!

