
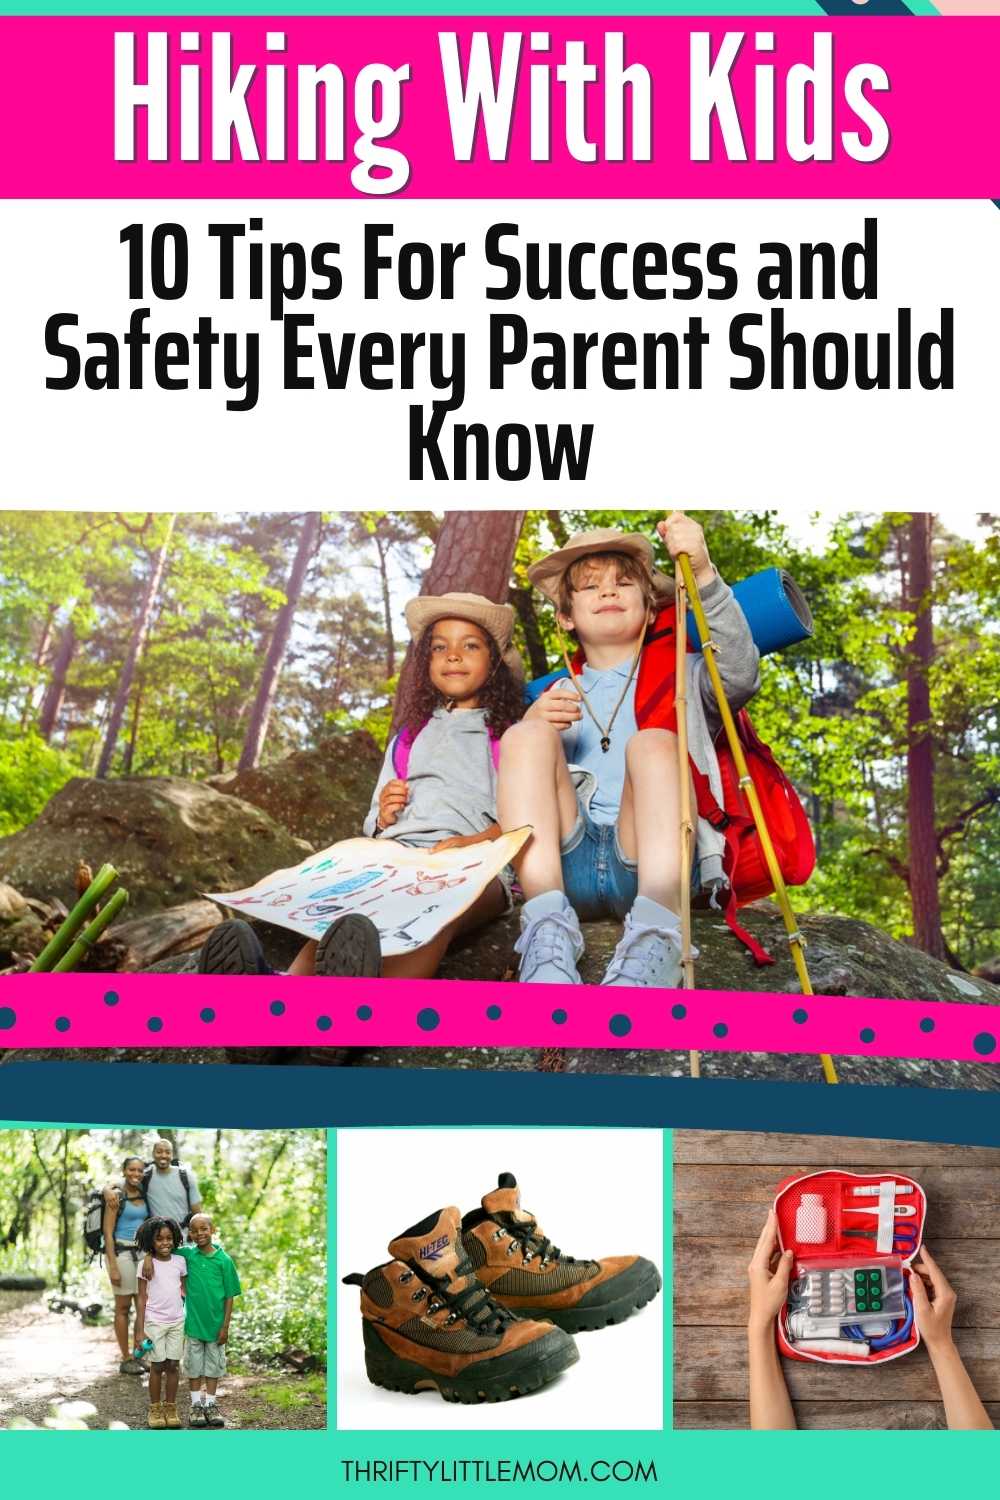
Hiking with Kids: 10 Tips For Success & Safety Every Parent Should Know
It started in the fall of 2020. We needed to GET OUT. We needed to GET OUTSIDE. We needed to see something other than our living room. That’s when I became mildly obsessed with weekend hiking with kids.
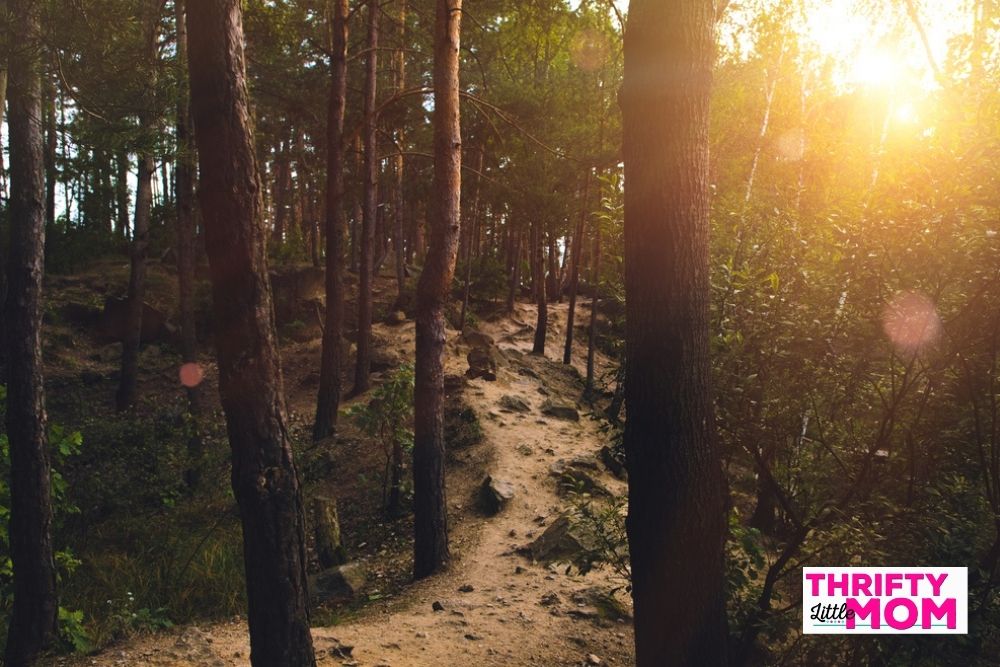
Where we live near the mountains of North Carolina, the hiking opportunities are almost endless. It’s an amazing FREE form of entertainment that puts the devices out of sight, get’s us out in the fresh air, and helps us spend quality time together.
But that doesn’t mean that’s been easy and I want to share some key things that I’ve learned as a parent who hikes almost every weekend with twin 4-year-old girls and a 9-year-old boy that I hope will help you plan your outings a bit more carefully than we did.
1. ALWAYS Check the Weather.

Dear parent friend, the number one thing you can do to set yourself up for a fun day is to check the weather for where you are going to be hiking the day you go hiking.
This may seem like a no-brainer but where we live, you can go from warm fall temps to winter temps and snow if you aren’t paying attention. So I always check and double-check the weather for the area we will be hiking and that helps me better know whether to go, switch trails or pick a different day.
Check the Weather City & State:
For whatever reason, North Carolina also has a lot of towns that share the name of towns in Tennesee and South Carolina. For example, there is a Boiling Springs, NC and Boiling Springs, SC and there have been a few times when I was checking the weather and realized that Google weather results were for the South Carolina or Tenessee town and not the one we were headed to. So when checking the weather, don’t just enter the city, also pay attention to the state (just in case Google is confused about where you are when you are searching).
In one situation we drove to a town that was supposed to be fairly sunny and warm and when we got close it was snowing so I knew I’d gone awry somewhere and when I pulled back up my Google weather results I saw the wrong state listed.
2. ALWAYS Research the Trail Ahead of Time.
Next up, ALWAYS research the trail you plan to hike ahead of time! Most trails out there are part of public parks and so visiting the website for that park is the first place to go.
Look for information about:
- parking access
- closures
- warnings
- possible entry wait times depending on where you live
- procedures
- bathrooms
- park opening and closing times
One thing I’m looking for most of all is the difficulty level of the trails, estimated time to complete, and kid-friendliness. Most park websites will give you this information on each trail and then it’s up to you to pick the one that you think you and your kids can do.
Don’t forget to check out any photos from hiking blogs or Google results as they may give you a “behind the scenes look” at some parts of the trail you want to be aware of.
It may take some practice but I recommend starting with shorter trails and gradually increasing the length of the hiking trails as you practice to see how far your kids can go.
3. Always make everyone use the bathroom BEFORE you start the trail.
In my case, I have two girls who do not understand the concept of using the bathroom outside yet. So we HAVE to be sure that we hit a bathroom before we set foot on the trail just in case.
4. Always Bring Snacks & Water When Hiking with Kids
Again, this may seem like a no-brainer to some while others may wonder why you’d worry about it if you are going to a local park.
Kids (and spouses) in my experience get hungry during and after hikes. So having something handy can help keep everyone marching on and keep the hanger from rearing its ugly head on the drive home is vital.
Consider packing a picnic lunch and leaving it in the cooler in the car and after the hike, find a picnic table and eat together.
I try to pack snack baggies of things the kids will eat:
- Pretzels
- Gold Fish
- Trial Mix
- Granola Bars
- Fruit Bars
With a family of 5 in the woods, water bottles get a little heavy and clumsy to handle so I recently invested in a water camel backpack. It’s a backpack that you can fill with water and keep on your back and it has a straw.
Here’s an example from Amazon:

4. Make Sure that You and Your Kids Have Decent Footwear
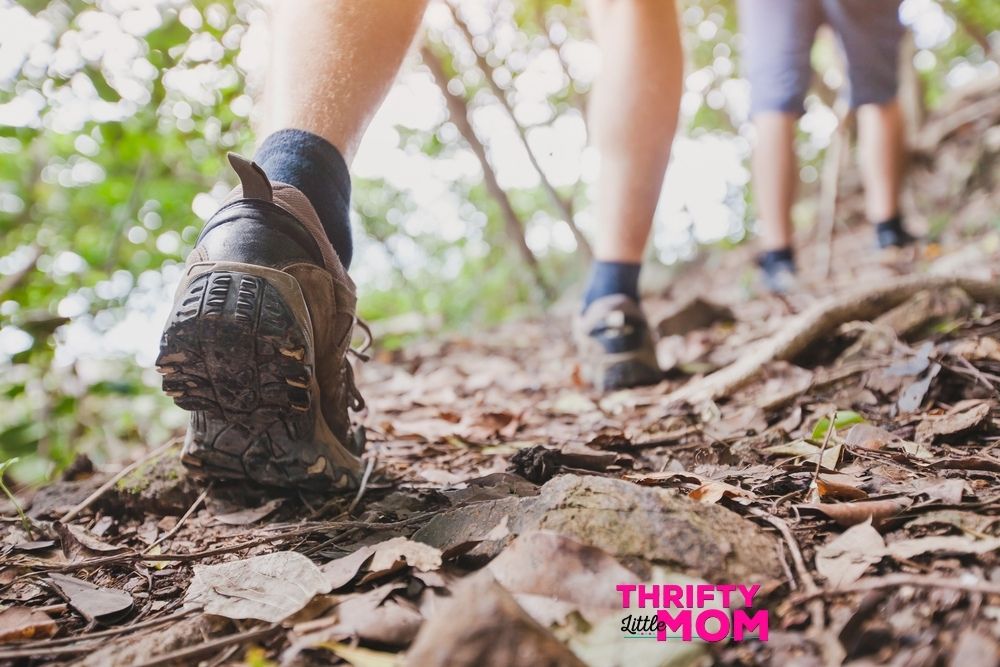
Having decent footwear doesn’t mean that the whole family needs to run down to REI to buy $600 worth of hiking shoes and $500 in hiking accessories. In fact, I’ll give you a list of items that I think are basic essentials that will come in well under $200 total at the end of this post.
Things to think about when buying shoes for hiking with kids:
- Think about what’s inside the boot. For example, here in NC, I don’t really need fur-lined or wool-lined hiking boots because we don’t get a ton of snow and I don’t hike in that cold of weather.
- Go for water-proof. (My kids love water and puddles and they will find them).
- Waterproof is also good because there have been occasions when I’ve had to cross creeks and other areas that were wet without choice and I was glad I had waterproof shoes on everyone.
- Choose shoes that fit and don’t hurt your feet. If you order some boots, have the family wear them around the house to break them in before you wear them on the trail. That way you can see if they are rubbing a toe or ankle in a way that would be problematic out in the wilderness.
Here are examples of the shoes that I ended up buying for my kids off Amazon:
This is the Mishansha Brand and after ordering these three items I will say that the ones that have double velcro straps are the easiest for the kids to get on and off by themselves. The one with stretchy laces and velcro usually ends in tears and me looking like Prince Charming trying to put the glass slipper on one of the step sisters feet in Cinderella.


5. Expect Unexpected Terrain
Boy oh boy, one thing I’ve learned is that you CAN 100% research the hike that you are about to take. Some guides online are better than others. But when you head into the great outdoors you’re playing in nature and nature can be a bit unpredictable.
In my experience, unpredictability usually comes with water crossings. Whether it’s a creek or stream, sometimes the water levels may be higher than normal or you may run into spots that an adult could cross with normal length legs but are difficult for kids to cross on their own.
Just last weekend we went out on a seemingly easy trail only to get almost to the turn we needed to head back to the start and found a wide creek that was just too wide, with rocks a bit too small to cross without some kids (or me, if I’m being honest) falling in. We had to turn around and make it an in-and-out trail instead of a looped trail.
My husband and I have had our fair share of terrain navigation on even easy trails due to crossing water with kids. In the summer it may not be as big of a deal as the winter, but in colder months you have to be careful about getting wet.
This leads me to my next point.
6. Always Be AWARE of the Time When Hiking with Kids
When you pick a trail and do the research, consider the time of day you are stepping up to the trailhead. Sometimes wrangling kids and supplies for a casual hike can turn into a morning of wrangling that leads to you starting the trail later than anticipated.
When doing your research for the day, check the park hours as well as take a peek at the time the sun will go down that day.
Think about the estimated time for completing the trial and factor that into how much time you have before it gets dark or before the park closes. Build in a buffer for a situation like I described where you might have to backtrack the trail if you run into an unexpected spot you can’t cross safely.
7. Bring hiking sticks.
I recall a few years ago, we decided to go on a hike with some friends. It was a hike that I had been on before but apparently didn’t remember how strenuous it was. In fact, my fit friend got out of the car with two hiking sticks and I remember thinking that seemed overkill for this trail.
So we proceeded to strap one twin to me and one twin to my husband in a very basic baby backpack sling and hit the trail. All I can say is thank goodness he had those sticks because coming back down that trail was DANGEROUS and it not been for those sticks I would have probably sat down and cried for fear of falling with the toddler.
Now that my kids are older, I decided to invest in the hiking sticks because a few weekends ago we got to the very end of a trail (I mean I could see my car from the side of the creek I was standing on) and it was dicey.
There was no better crossing area in sight and we had to get across a creek using rock that was slanted in the wrong direction for how we were taking the trail. As in, if you were coming from the other side, you could step on it, balance and jump. But our angle required a good bit of child slinging.
And then I was on my own. Since we were at the end, I just removed my shoes and crossed in the fridged water but that day I realized that there are times when, having upper-body support from a hiking stick, can help you get balanced enough to tackle situations like that with ease.
So now, we have sticks.
I bought these from Amazon: TheFitLife Nordic Walking Trekking Poles

6. Snap a shot of the trail map with your phone.
One thing that we have learned to do is take a picture of the trail map at the trailhead with our phone. It’s just a simple prepper practice in case you lose cellular or GPS on your phone and you need a visual guide.
We did this the day that we ran into the uncrossable river and were able to look at the map to see how far we had come and calculated if we didn’t cross, about how long it would take us to get back.
Which leads to the next good idea.
7. Note the start time of your hike.
The day that we ran into the uncrossable creek situation we were able to turn around and use it to walk back out with confidence because we knew what time we had started. We were able to look at the time and see that it had taken us 45 minutes to come this far so it would take us 45 minutes or so to get back.
8. Text A Friend or Family Member
This may seem totally overkill but anytime we are going on a new hike with kids I’ll usually text grandma and grandpa and type something like, “Hey! We are headed to Kings Mountain Gateway Trail today! What you are you guys doing today?”
So that at least I’ve told someone elsewhere we are going just in case. I know for some families that text is totally overkilled but I’ve been in enough unexpected, uncontrollable, problematic situations in my life to know that sometimes those simple details can be worth the efforts to solve problems before they arise.
9. ALWAYS have a first aid kit.
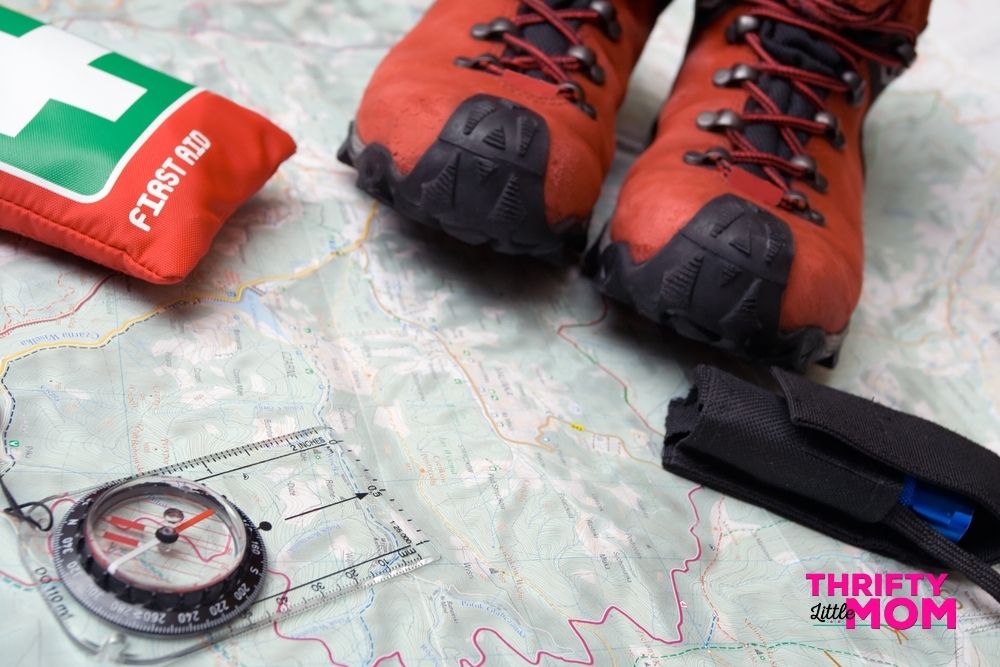
This was a lesson that my husband learned when we were dating. We once went on a day hike and decided to take on a moderate trail. Once we got in it and started getting to the more strenuous parts about 1.5 hours in, I cut my hand on a rock and we had nothing but a steep incline and 1.5 mile hike back to the car in order to take care of it.
As soon as we got back to the car we drove to Walmart and picked up a lightweight first aid kit to keep in our bag.
We’ve carried on this tradition with our kids because when they get a cut they usually cry until they get a bandaid. First aid kits are a wise hiking prep investment for any hike with kids.
Last but not least, consider having some bug repellent along for the hike. Vanessa gives some great options over at NaturalWorkingMom.com in her article titled, The Best Natural Mosquito Control For Those Annoying Bugs.
I hope that you have found these tips helpful as you intentionally plan to spend time with your kids in the great outdoors!
Are you ready to bust some boredom around your house this summer?
Grab my One Happy Summer Week at a Time Planner and you’ll get 9 weeks of themed fun including activity ideas, printables, chore charts, reading trackers, activity trackers, and even themed streaming movies!

Kim Anderson is the organized chaos loving author behind the Thrifty Little Mom Blog. She helps other people who thrive in organized chaos to stress less, remember more and feel in control of their time, money, and home. Kim is the author of: Live, Save, Spend, Repeat: The Life You Want with the Money You Have. She’s been featured on Time.com, Money.com, Good Housekeeping, Women’s Day, and more!