
Easy DIY Magnetic Word Board
This post contains Amazon affiliate links. (That means if you click on an Amazon link and buy something, I get a small commission (less than 6%) to support my blogging.) Feel free to view our privacy policy here.
I’m always on the look out for fun things for my toddler to do. On my last expedition to the dollar store I picked up an adorable mini baking pan. Lately, my son has been a little obsessed with how magnets work. I hoped that some of our fridge magnets would stick well to the baking pan. I was pleased to find that my magnet items all stuck to the pan as I had hoped. My toddler was occupied by this activity for around 30 minutes.
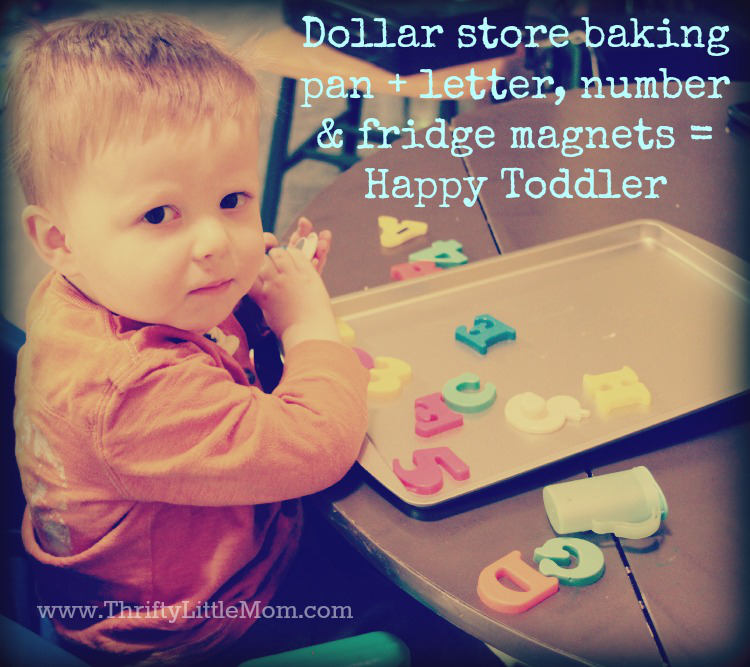
Magnets- I just used ones from my fridge and found a pack of letter and number magnets brand new in package for $0.99 at my local Thrift Store (never be afraid of digging through the bins, they are a gold mine of good stuff). If you want some cuter ones, check out these Melissa & Doug magnetic letters. Keep an eye out for these types of items at kids consignment sales and you could save 70% off retail prices.

Make Your Own Felt Magnets- My best friend made these magnets for my son last Christmas. They are adorable and simple to make. You could make letters, numbers, colors and even shapes yourself with a little felt. The learning possibilities are endless!
Supplies:
- Felt in your favorite colors
- Needle
- Thread
- Round Magnets
- Stuffing Optional (stuffing will make the magnets plumper but will probably be a beast to sew.)
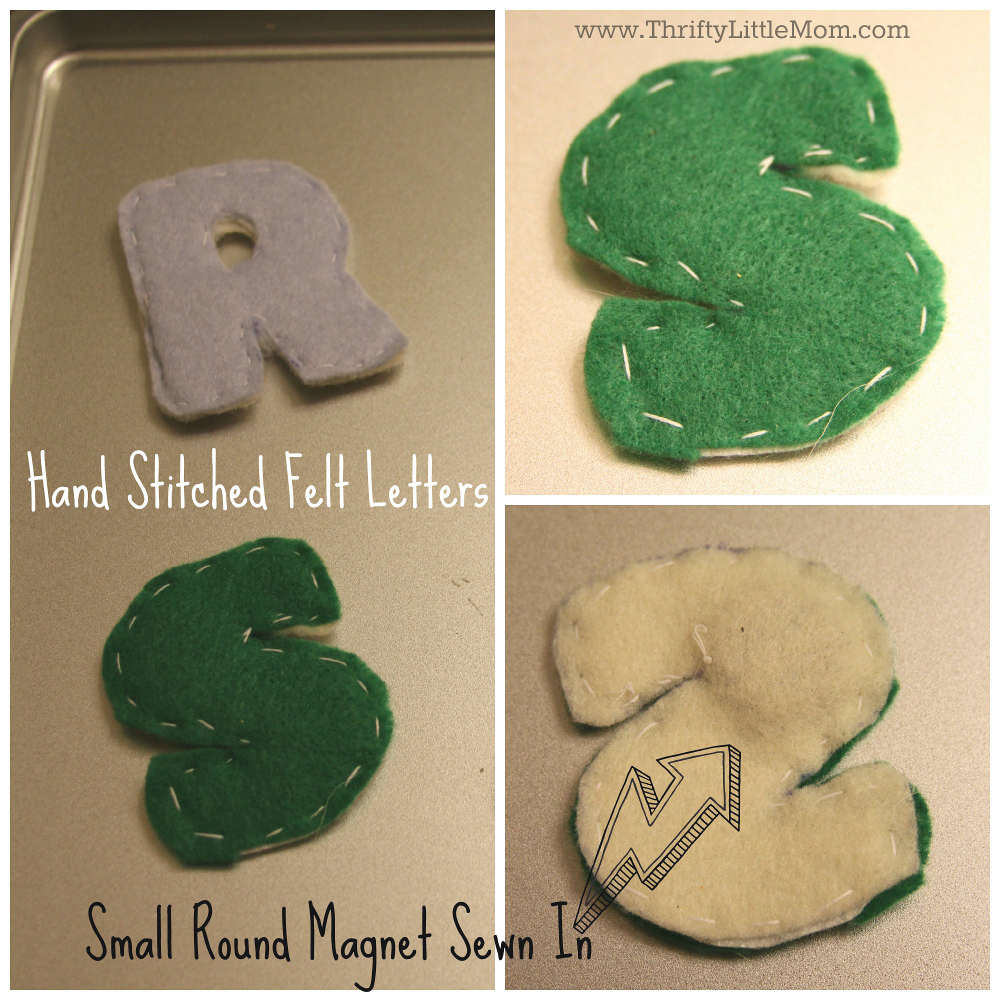
Step 1- Cut your letters, shapes or numbers out of your favorite felt. You will need two of each item cut out to form the front and back with the magnet sandwiched between.
Step 2- Put your two letter pieces together and add a magnet in the widest spot on the letter. This would be the part you could attempt to add a little stuffing just to keep things puffy and in place if you wanted to mess with that.
Step 3: Hand stitch around the edges of the numbers/letters as seen in the image above. Tightly secure the end of your thread to keep the letter from coming apart. I might even go around twice.
Step 4: Remember to make sure your seams are secure as the magnets could be choking hazard for kids under 3 if they slipped out.
Step 5: Let your kid go to town spelling words, matching letters, matching colors and learning from your thrifty creation!
Felt is wonderful material to use for crafts like these because felt won’t unravel or fray. No finishing is needed to the edges of the fabric. I hope this post inspires you to develop a thrifty, inexpensive activity for your kid! Please share any other ways you have found to entertain kids with magnets or word boards in the comments below!
Kim Anderson
About Me

Kim Anderson is the organized chaos loving author behind the Thrifty Little Mom Blog. She helps other people who thrive in organized chaos to stress less, remember more and feel in control of their time, money, and home. Kim is the author of: Live, Save, Spend, Repeat: The Life You Want with the Money You Have. She’s been featured on Time.com, Money.com, Good Housekeeping, Women’s Day, and more!