Design Your Own Wall Art In 3 Easy Steps
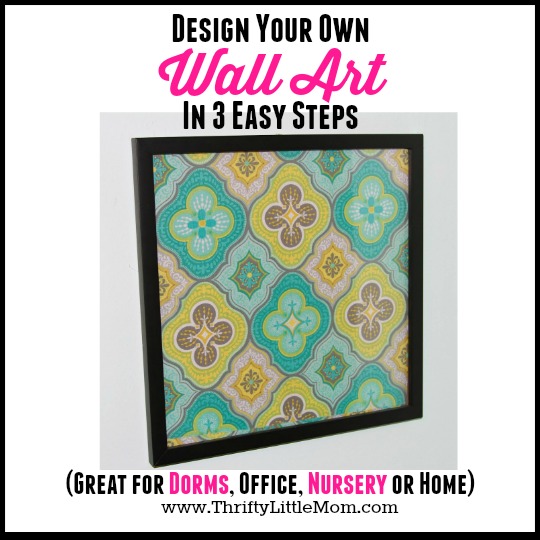
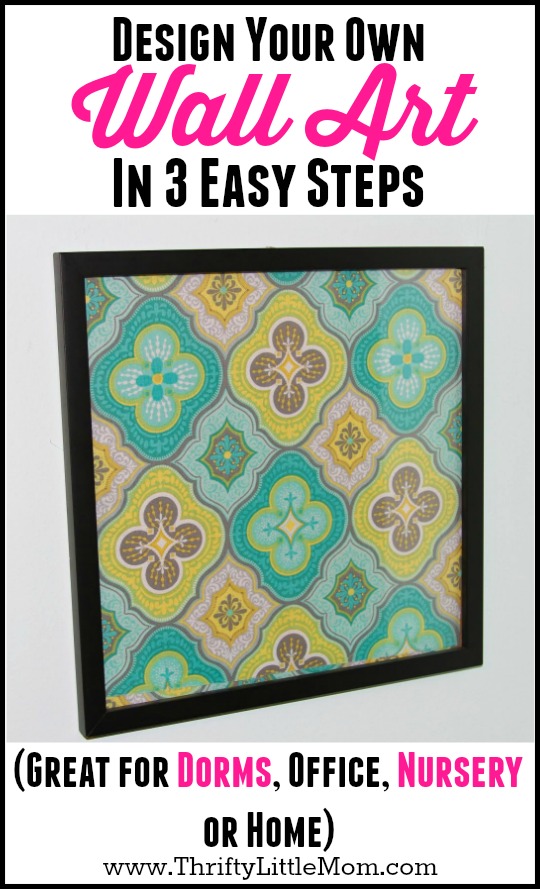
I have found a really simple way to make artwork for your house, dorm room, nursery or office. It started with a stroll down the scrapbook isle at my local craft store. I really loved so many of the prints I found. There have also been many times I’ve been in the fabric department and wished I could design a room around some of those adorable patterns I came across. One Christmas, my new brother in law put record frames on his wish list. I had never heard of these but I went into the local craft store and checked in the collector and display frame section and found them. They were 12″ x 12″ created to display record covers as artwork. But my brain saw 12″ x 12″ and immediately started seeing all those amazing scrapbook patterns hanging in my house! The beauty is, if you find a paper you like better or decide to redecorate, just swap out the paper and you’ve got brand new art instantly! This project cost me around $6.50 to make.
Supplies:
- The 12″ x 12″ frames are $10 but Hobby Lobby and Michael’s always have 40 % off coupons online and they often put the frames on sale for 50% meaning you never have to pay over $6 for the frames.
- 12″ x 12″ scrapbook paper or fabric cut to 12″ x 12″.
- A screwdriver (to help you get the back of the frame off).
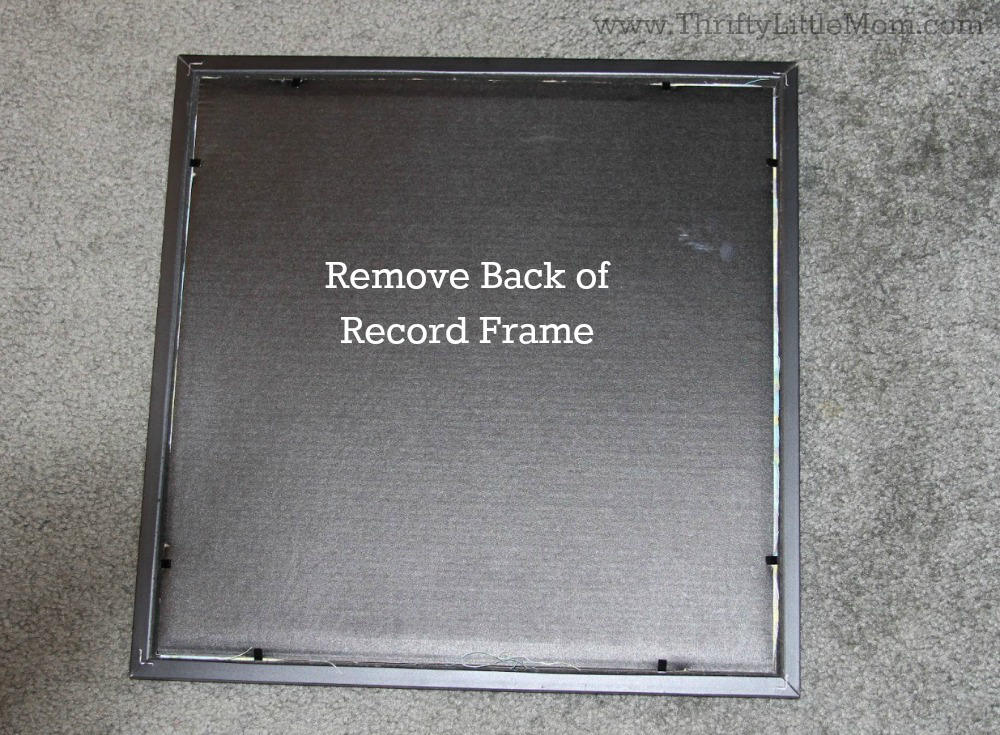
1) Remove the back of the frame by bending back the black barbs with a screwdriver. I don’t recommend using your fingers for this.
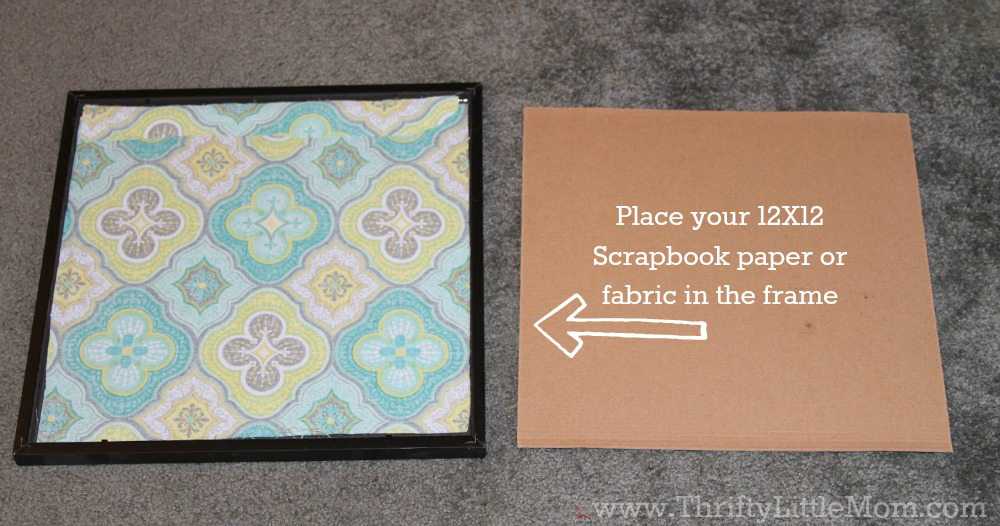
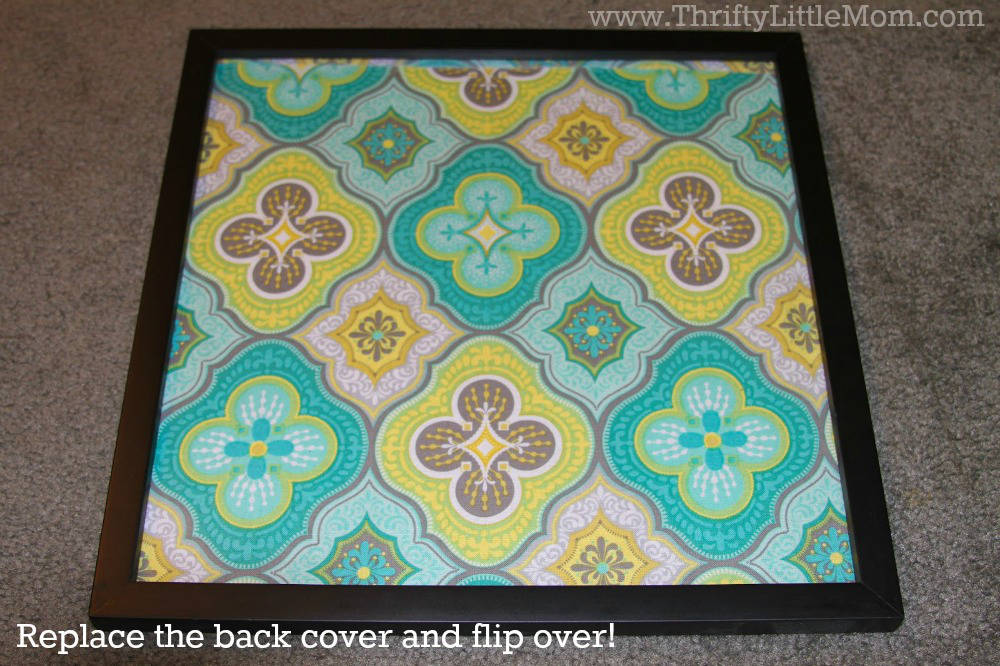
3) Put the back of frame back on & turn over. Then hang it where you want it. In my apartment days, I used to hang everything up with bulletin board push pins!

Kim Anderson is the organized chaos loving author behind the Thrifty Little Mom Blog. She helps other people who thrive in organized chaos to stress less, remember more and feel in control of their time, money, and home. Kim is the author of: Live, Save, Spend, Repeat: The Life You Want with the Money You Have. She’s been featured on Time.com, Money.com, Good Housekeeping, Women’s Day, and more!

