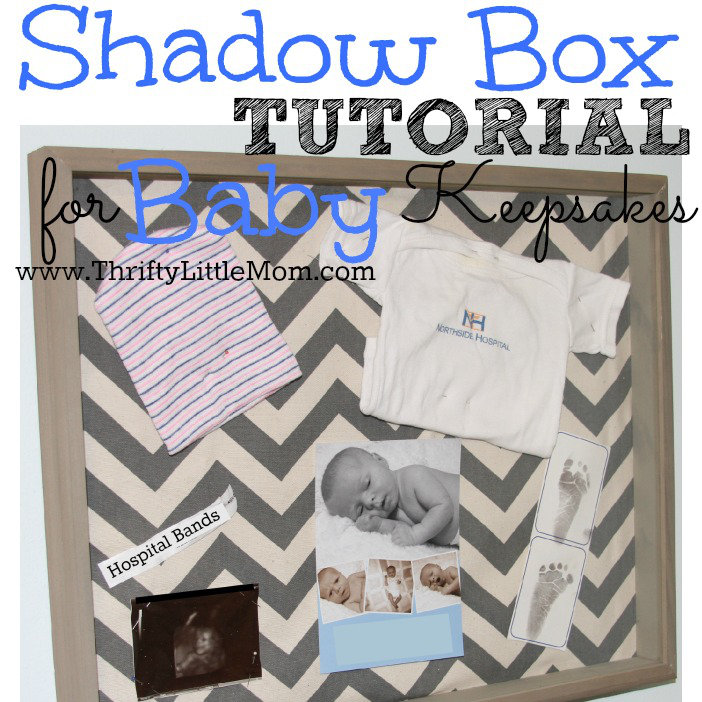
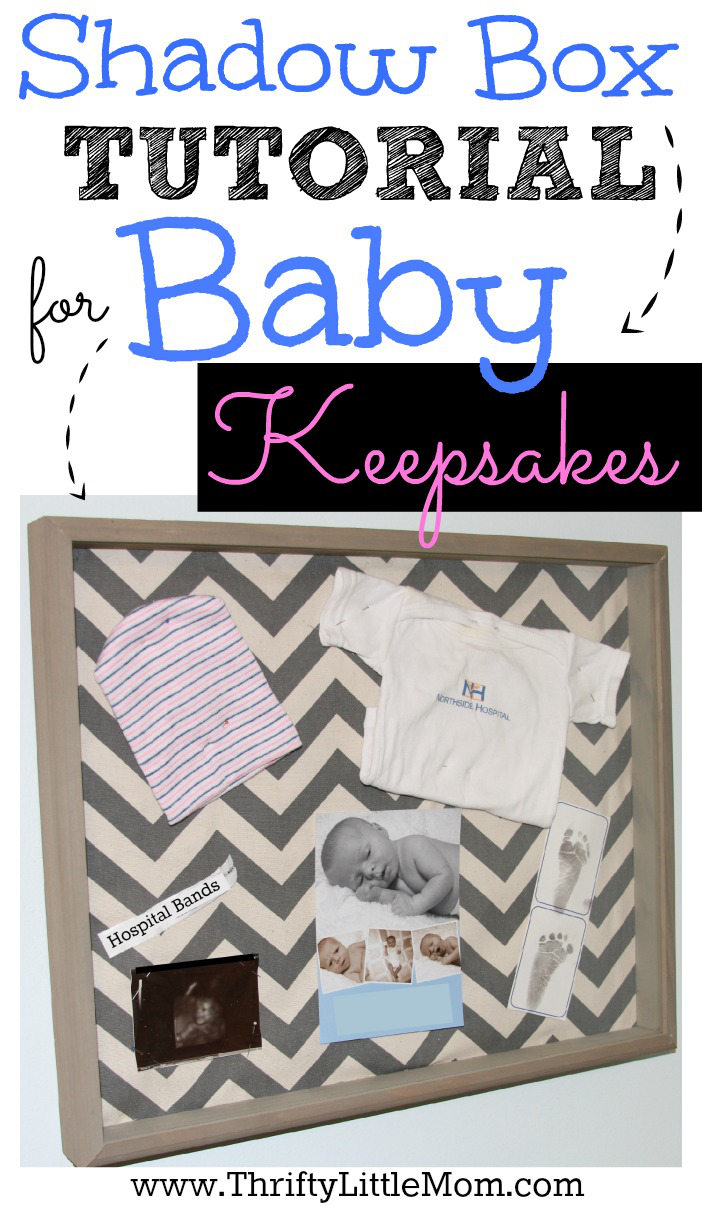
Shadow Box for Baby Keepsakes

I had never thought of creating a baby shadow box until I recently went through my toddler’s room in preparation for the upcoming consignment sale. As I was working on this project I came across a box containing all my child’s baby keepsake items. It’s a cute box, but it just gets stored and all those memories are hidden away. I tend to “organize my clutter” in boxes instead of doing something meaningful with it. That also happens with my family pictures! I decided that I wanted to give the items a new home where I could see them and be reminded of one of the happiest days of my life! So I created a baby shadow box for my child’s newborn items. Here is how I did it!
How to Make a Baby Shadow Box
Step 1: Gather baby shadow box items
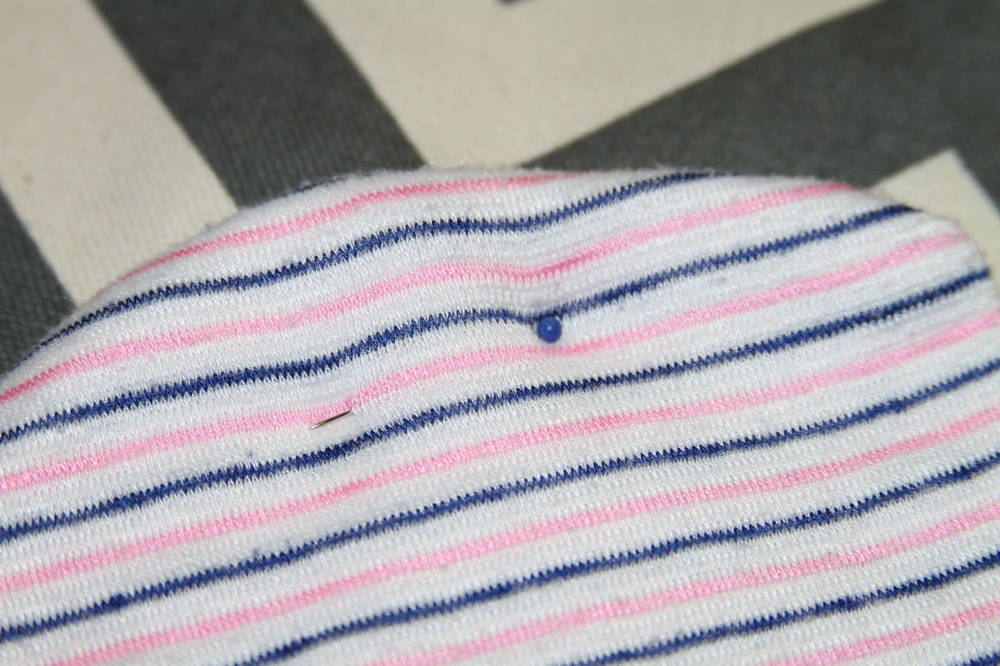
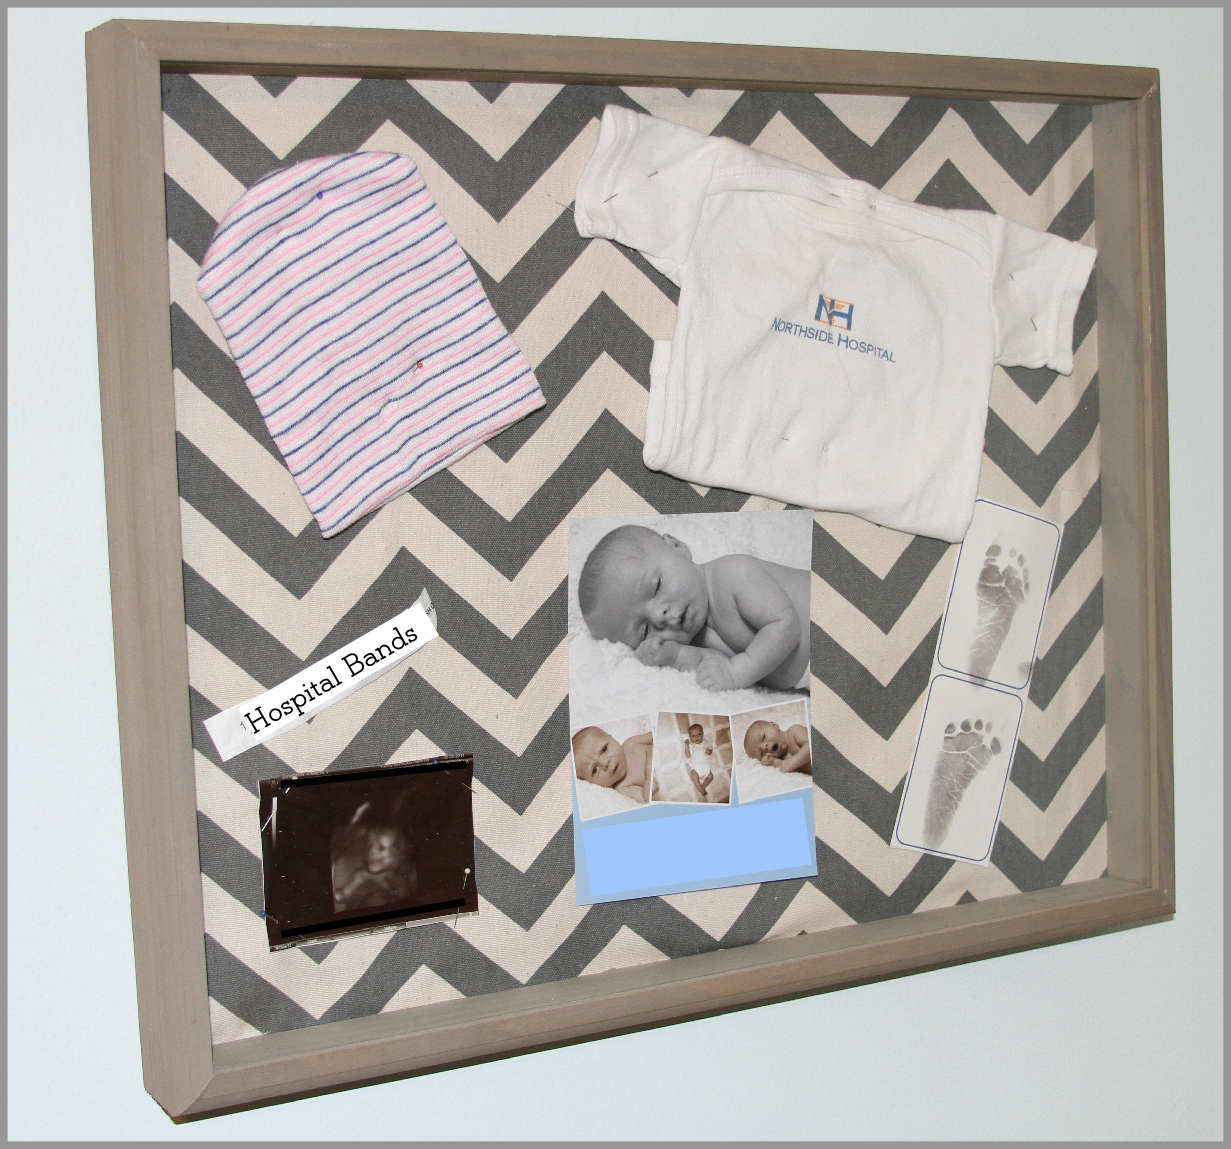
- Hospital Hat
- Hospital Onesie
- Hospital Bracelet
- Footprints
- Birth Announcement (I actually took my newborn pictures for this announcement myself. If you decide you want to include pictures in the frame that you take yourself, check out this great tutorial from It’s Always Autumn – How to Take Newborn Photos at Home.)
- 1 of my favorite Ultrasound pictures
Step 2: Shop for Baby Shadow Box Frame.
- Went to Hobby Lobby (or your local craft store).
- You can also find a nice variety on Amazon.com by clicking here.
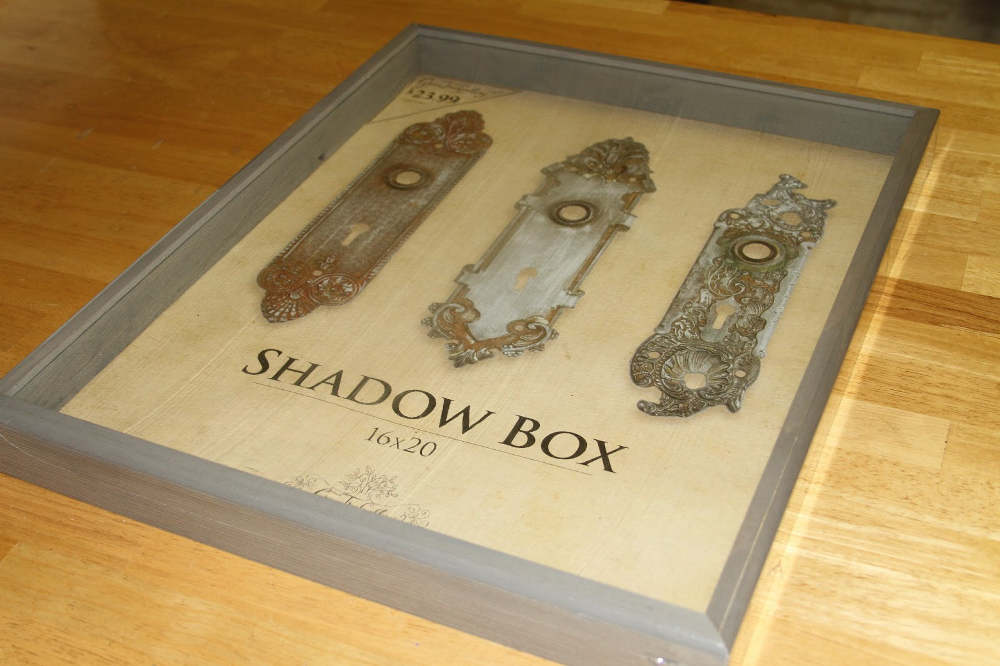

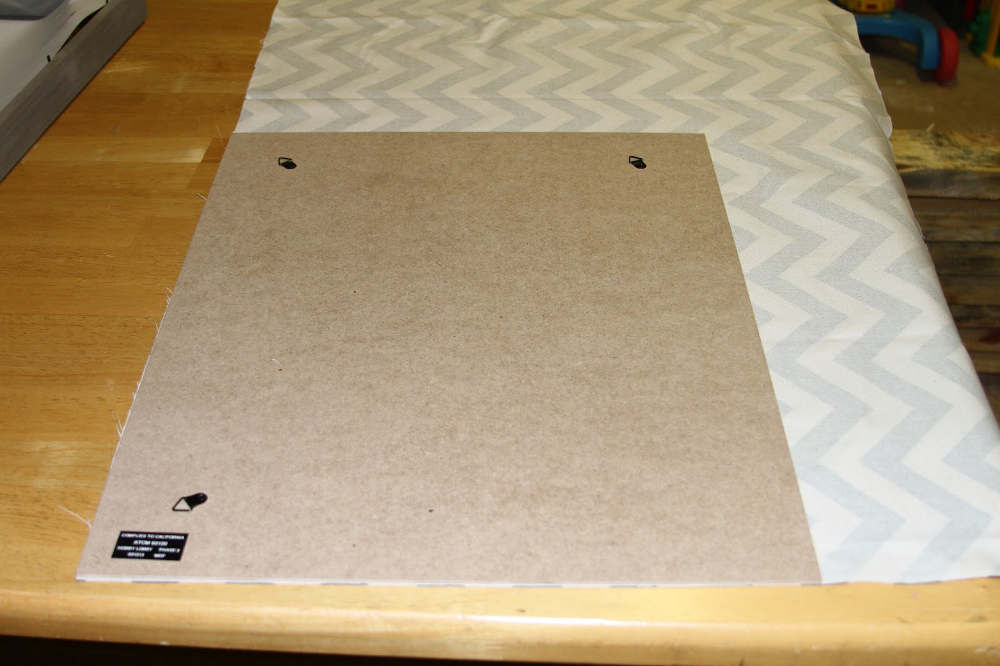
Step 3: Prep your baby shadow box frame.
- I picked a background fabric that I loved and would match the room I wanted to display the items in. I bought 16 x 20.
- You could consider using your child’s first receiving blanket as the background fabric as well!
- Ironed my fabric.
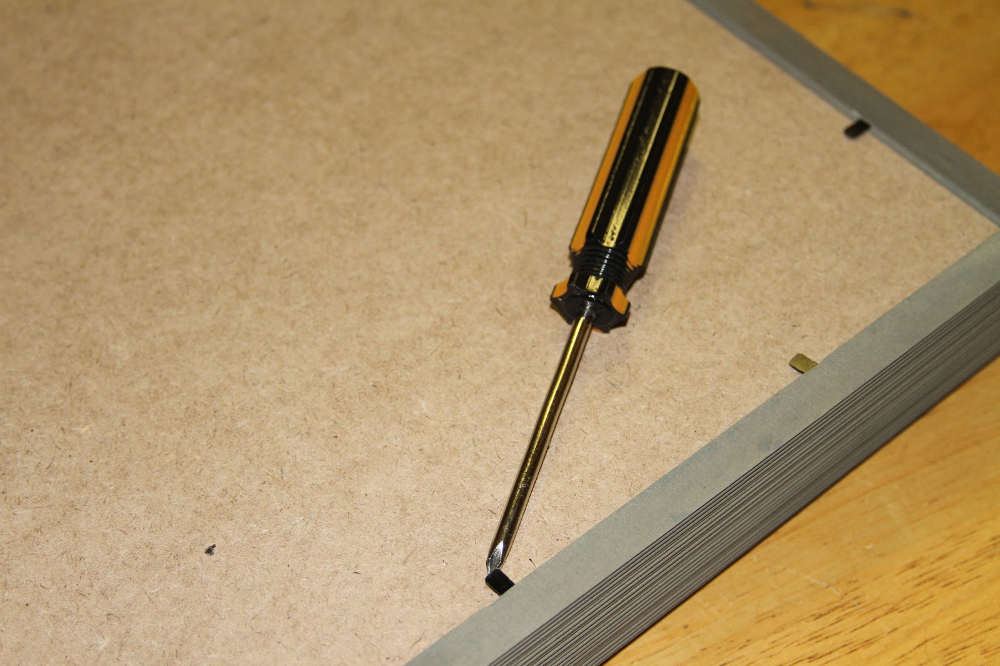
- Removed the back of the frame (Those little metal backing thingy’s hurt if you try to bend them back with your fingers. Use a screwdriver or butter knife to pry them back.)
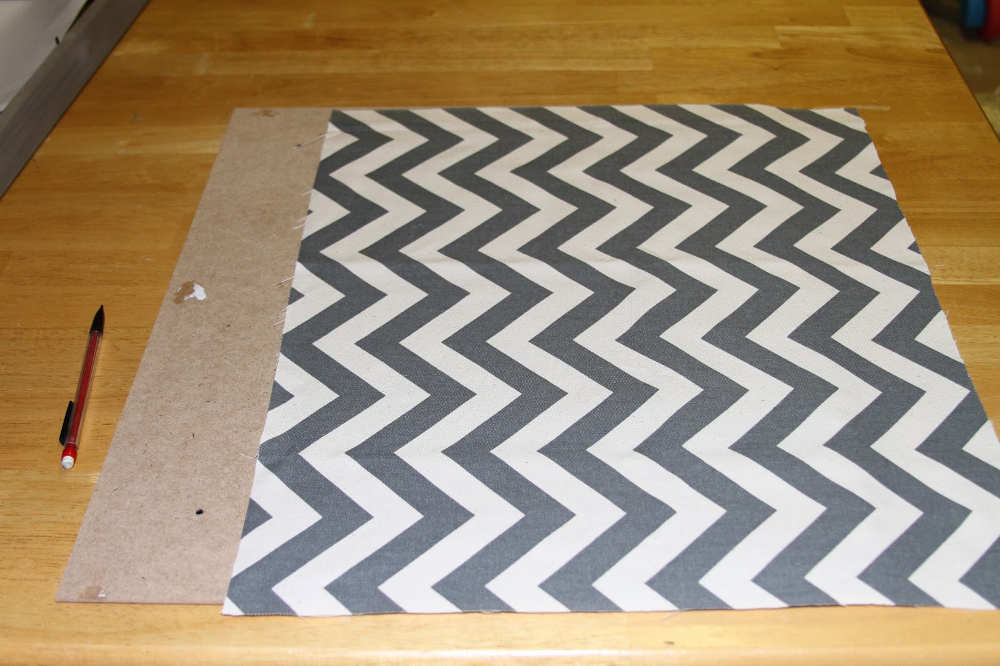
- I used the back of the frame as a pattern to cut out the fabric.
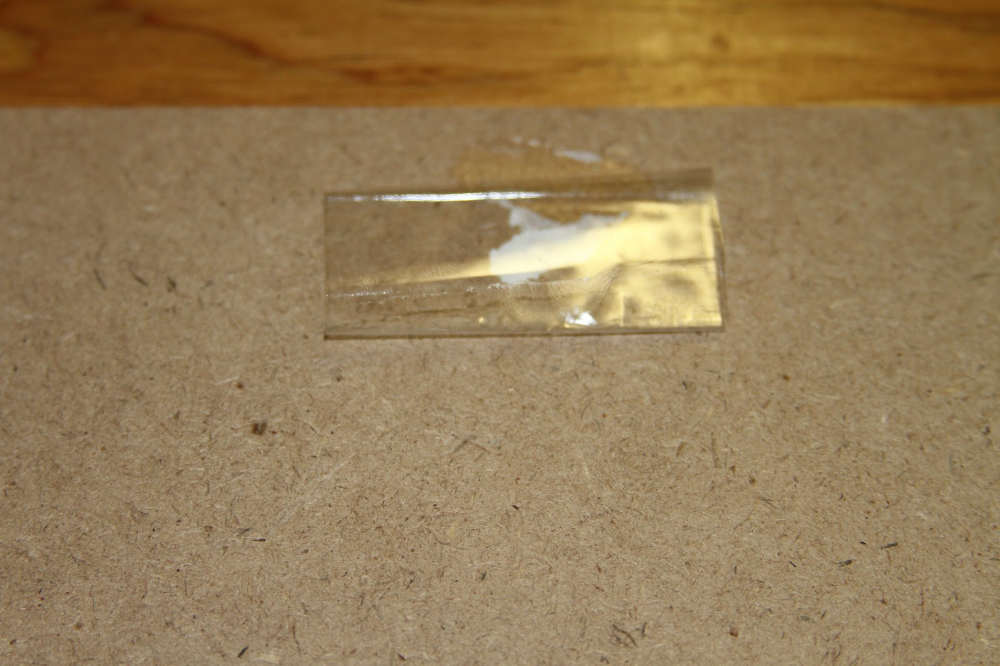
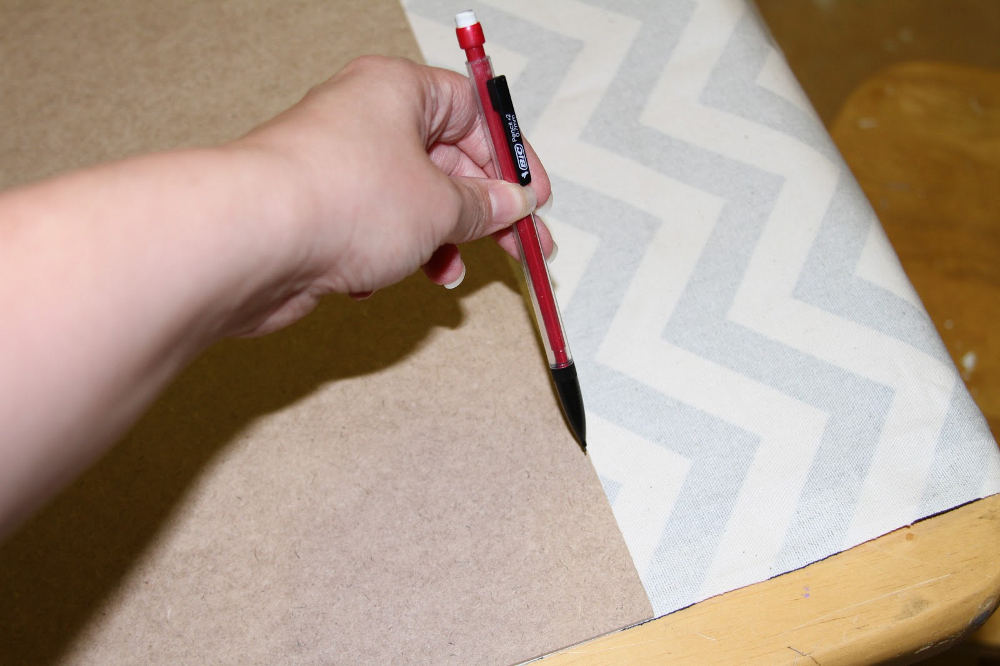 |
| Traced around the frame backing with pencil on “wrong” side of fabric. |
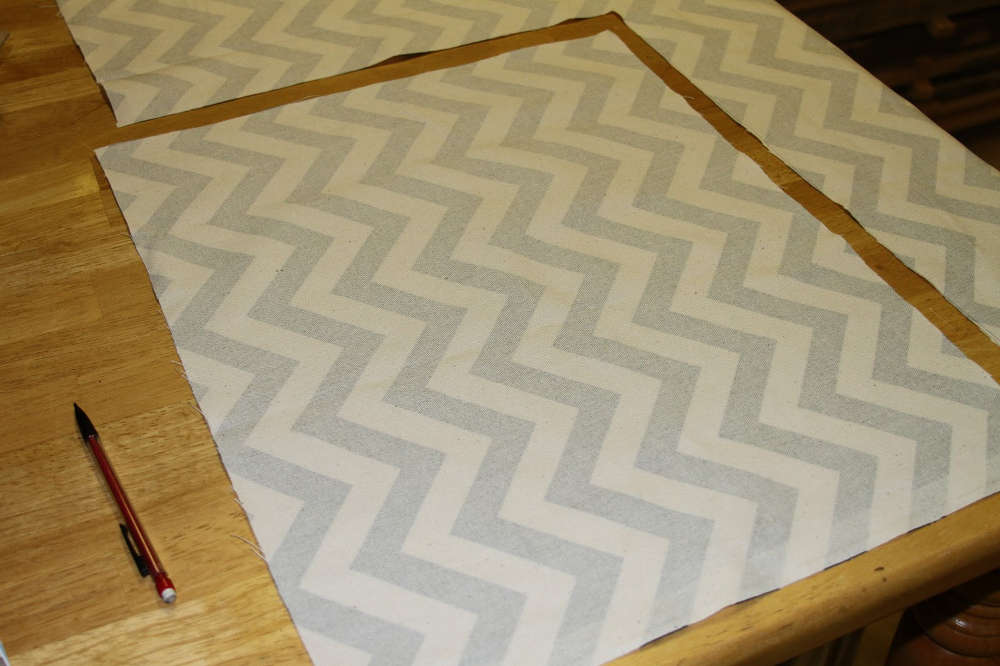
- I cut the fabric just inside the line I drew so that it would fit well when I went to install the display into the frame.
- Attached the fabric to the front side of frame backing (that sounds totally confusing- but I think you know what I mean. Attach fabric to the side of the frame backing that doesn’t have the wall hanging hooks & brackets.)
- Rolled up a thin piece of packing tape (sticky side out) to tape down the fabric and then followed up with a small piece folded over edges of the top, bottom and sides to keep the fabric from shifting. (I only did this in four places in the beginning. Don’t go crazy because you need enough room to get your hand under the fabric to help pin things down.)
 |
| Prepping to attach to front of frame backing. |
| I used rolled up packing tape to start with. |
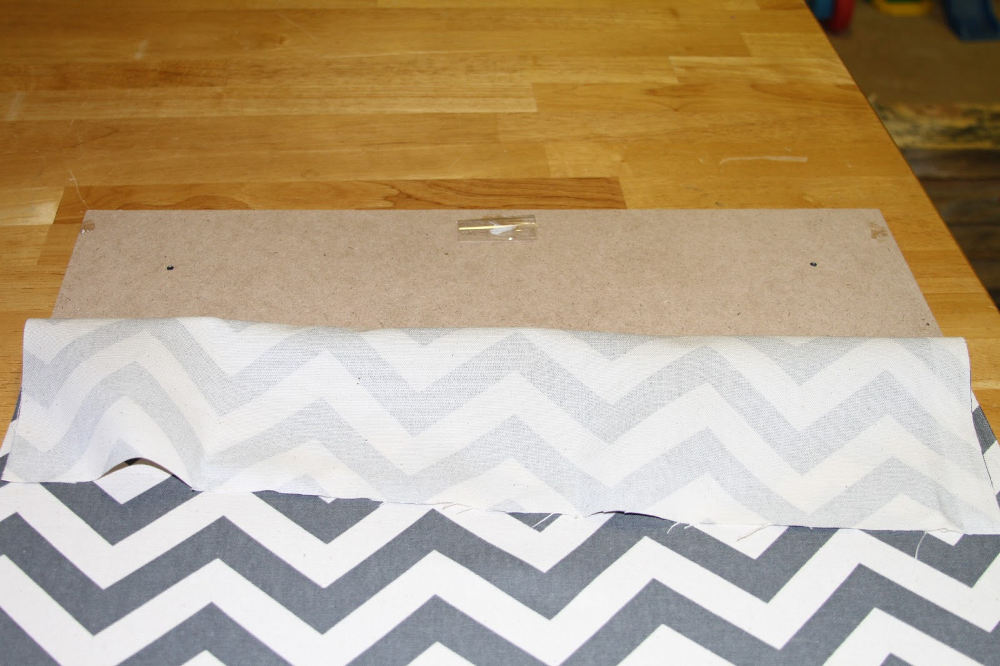
| Folded fabric forward as I taped and then laid fabric back down over tape to secure. |
Step 4: Personalize Baby Shadow Box
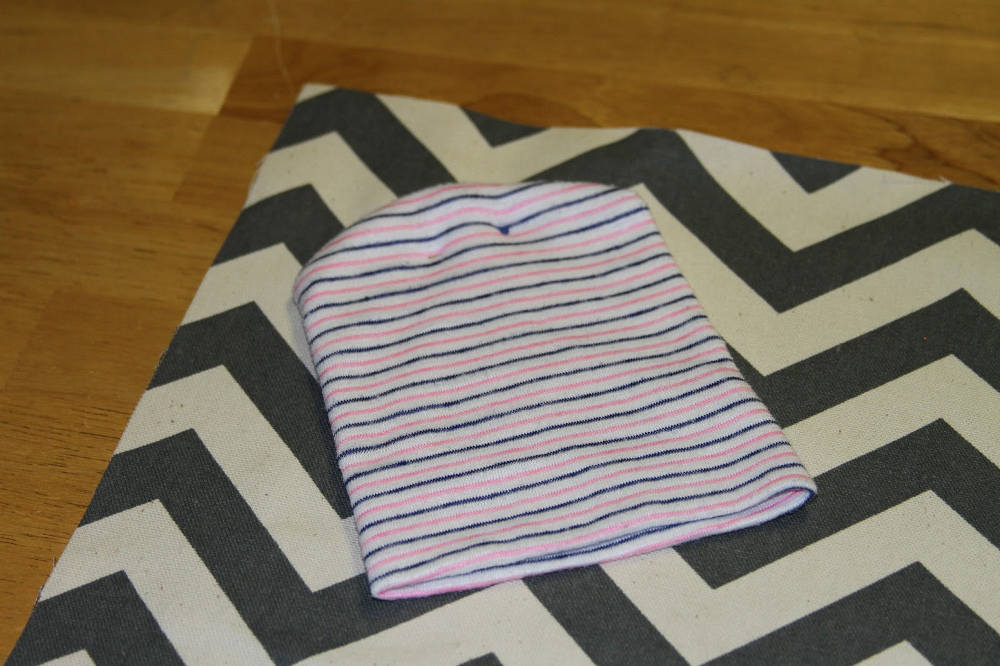
- Organize your items on the prepped surface to see what arrangement you like best. This is how I chose to arrange my items in my baby shadow box on the chevron background. (Do this obviously before you put it back in your shadow box frame…)

- Begin attaching.
- I used cute push pins to attach my clothing items. I went through the item and my chevron fabric to secure them.
- I used double sided tape or rolled packing tape to attach my paper items.
- In some cases I used pins for thin paper items.
Step 5- Reinforce
- Gravity is a beast with these things because once you get the clothes attached and into your frame, the fabric backing can start to droop.
- Go around and as discreetly as possible stick packing tape around the edges of each side. Putting about 1/8 inch of the tape on the front side so the frame edging keeps it hidden and wrapping the tape over the side to secure the other half to the back. No need to cover the entire sides with tape, just enough to keep fabric from drooping.
- Place finished piece back into frame (this can be tricky, but I actually held the frame and backing upright when putting them back together.)
- Press metal thingys back down with your screw driver or butter knife.
Step 6- Hang your baby sahd box frame and enjoy!
Just think of all the keepsake items you have stored away. It might be wedding items, vacation treasures or graduation memorabilia. You could create a shadow box that fits in with your decor and makes those memories a part of your home rather than your clutter. Please share any other newborn shadow box ideas you have in the comments section below.
If you enjoyed this article, please check out my other posts from Thrifty Little Mom.

Kim Anderson is the organized chaos loving author behind the Thrifty Little Mom Blog. She helps other people who thrive in organized chaos to stress less, remember more and feel in control of their time, money, and home. Kim is the author of: Live, Save, Spend, Repeat: The Life You Want with the Money You Have. She’s been featured on Time.com, Money.com, Good Housekeeping, Women’s Day, and more!