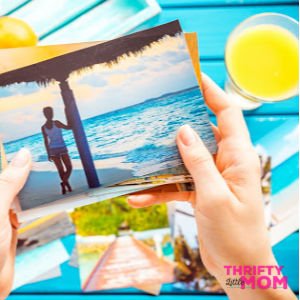
How To Organize Old Photographs In One Weekend
When you think about the stash of pictures you have around, how does it make you feel? One of the most overwhelming projects I can think of is sorting through decades of memories and trying to organize old photographs.
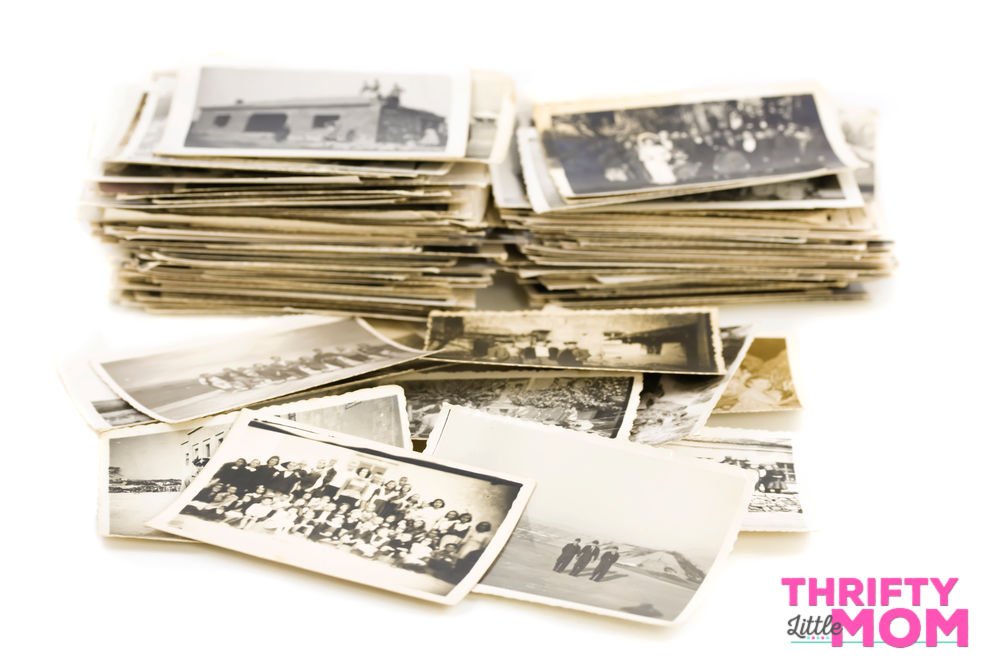
Unfortunately, there is no face recognition software to speed it all up and sort it for us. So we have to roll up our sleeves and fight to organize and preserve those family histories we care so much about in the most efficient way possible.
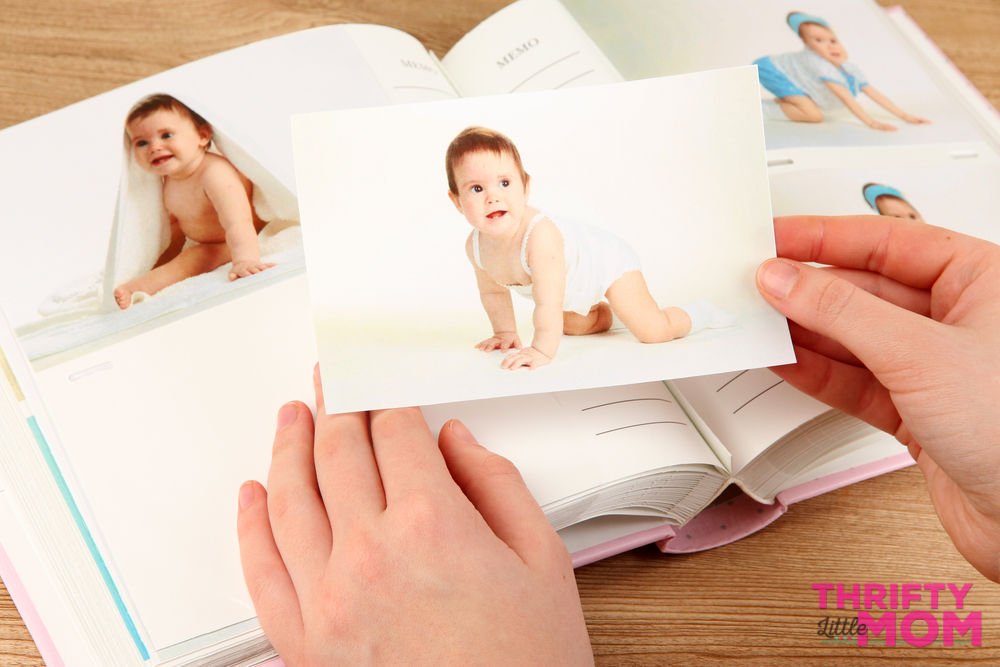
If you are reading this, I’m guessing you have tons of physical printed photos around?
- Maybe they are in those 80’s and 90’s sticky albums where the photos are yellowing over time or simply fall out every time you pick up the book.
- Maybe you have tons of photos hoarded away in boxes, bags or storage containers in the basement or attic.
- It could even be that you recently inherited family photos that you just don’t know how to manage!
No matter what kind of photo organization situation or straight-up mess you find yourself, I’m here to take away the overwhelm and help you tackle those stacks step by step and show you how to organize old photos so you can get them out storage and out where you can enjoy them.
Honestly, it might matter more than you think. At the end of this tutorial, I tell you how one scrapbook unlocked a hidden family secret!
But for now, let’s talk about a step by step strategy for conquering those photos!
Step 1. Organize Your Old Photos by Dividing and Conquering
- I think most people are looking for the best way to sort old photos and I think my system is pretty easy to do. It takes some time- but it’s easy to follow.
- Depending on the number of photos you have, this is going to be a pretty big project so if you struggle with finishing what you start, you might want to read my article: How to Finish Everything You Start.
- Get Some Entertainment Going- I struggle to stick with these long term types of projects without some form of entertainment going. So whether that’s music, tv shows or movies, I turn them on, grab a cup of coffee and get to work! I last much longer this way.
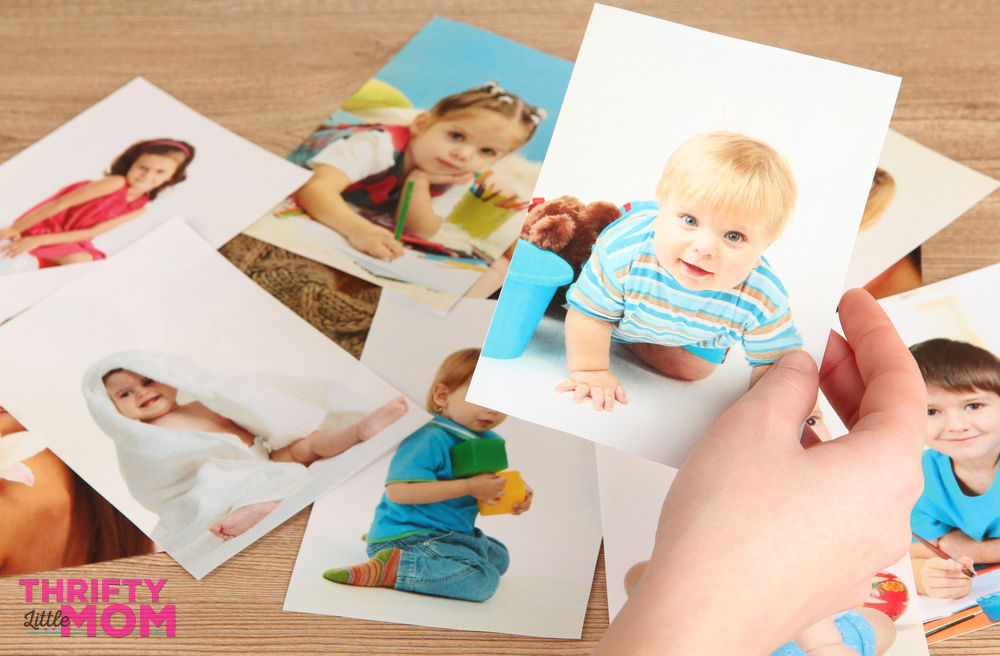
- Sort – This is the best way to sort old photos for me. Get yourself a few empty mailing envelopes, empty bins or just spots on the floor for sorting. Sort them into whatever system you want.
- Here are some ideas: Family, friends, year by year or holidays. It totally depends on what you think will be the easiest way to enjoy your pictures.
- Once you have decided how you want to divide the pictures, start going through them one and one and placing them into the piles you have created.
- One more container you should be sure to keep nearby? A trash can…
Step 2. Minimize Your Old Photos
- Who IS that?– Let’s be honest here, there are pictures of grandma and grandpa and then there are pictures of that guy you had a crush on in 7th grade. Seriously, “what’s his face” has no real “meaning” in my life and I will never talk to him again. Therefore, I have to decide that he isn’t that big a deal and completely throw away the picture! GASP! Throw away a memory? No, if I could tell you what his name was and that he made a difference in my life, I would give him real estate in the remainder of my life, but he doesn’t. So out he goes!
- What does it mean?– Go through each picture and figure out its true meaning. Does it deserve a spot in storage? Will your child care a thing in the world about the picture, the place or the thing in it? Does it bring you happiness to look at and reminisce about? If the answer is yes, keep it. If the answer is no, throw it away! Otherwise, you are storing garbage which is like the definition of “hoarder” (I’m not judging, I’ve stored plenty of 10-year-old receipts in my life).
Step 3. Go Shopping for organization solutions.
- Yay! The fun & easy part.
- Once you get through your organization nightmare, you can now get ready to give those pictures a home.
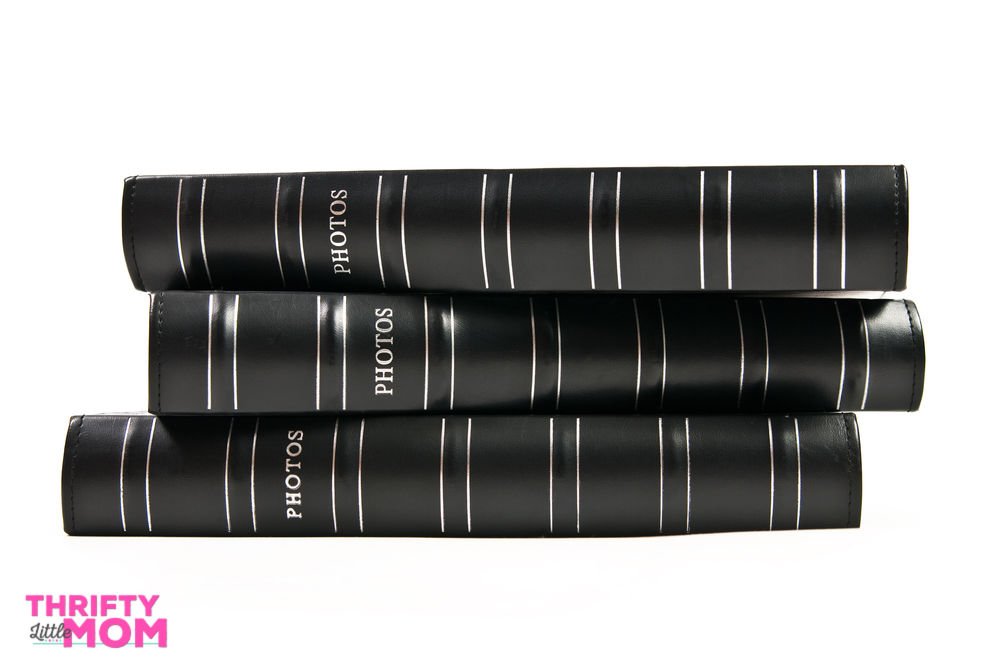
- I went down to my local “Ross” store since they are the cheapest and picked up some “Acid-Free” or “Archival Quality” photo books.
- Why Acid-Free? Family Tree.com offers some insight into their article on Why Acid Free In Scrapbooking?
- I tried to find ones in similar height and width so they fit nicely side by side on a shelf.
I did a little research and found that Amazon has a few albums with good reviews that also offer a place to write memo’s beside the pictures in case you don’t live near a craft store.
These Fabric Frame Cover Photo Album 200 Pockets Hold 4×6 Photos come in about 20 different colors, are safe and have spots for writing notes for under $13 each.

![]()
Like this Pioneer “Family” Text Design Sewn Faux Suede Cover Photo Album, Brown![]() at right around $15.
at right around $15.

![]()

![]()

![]()
- Those books with sticky pages and clear covers are the worst. Get ones that you can just slide the picture into.
- You can also get these at places like Kohls, TJ Maxx, Target, Micheal’s and Hobby Lobby. Ross and TJ Maxx are going to be the cheapest at regular price. If Kohls, Hobby Lobby, or Micheals are having a 50% off sale, you can get them at a good price too. I needed 3 and they cost anywhere from $9.99 to $12.99 each.
How to Choose Your Albums:
-
Appearance-
I started first at looking at appearance. I wanted photo books that were aesthetically appealing so I wouldn’t be embarrassed to have them out on a shelf in a public area of my house. Think about the style of your decor and go with neutral colors in case you re-decorate in the future.
-
Number of Photos-
I looked for books that held a large number of photos so I could buy fewer books.
-
Spaces for writing-
I looked for books that had a few lines to the side so I could write notes about who or what was in the picture.
You may hate scrapbooking, but at least this way you can leave a note about who’s in the picture for family historical evidence (although there are those cases where you wish you could erase certain historical moments of your past such as those awkward middle school pictures where you blinked just in time to make you look high).
-
Size & Shape-
Considering getting books that are all the same size and shape so that they look nice on the shelves you place them on.
Step 4. Start Loading Your Old Photographs
- This is going to be a moment you wish you had an “upload” button for your pictures. But alas, we have not lived in the digital age forever!
- Go through your piles and start loading and making notes as you go.
- If you have pictures that don’t fit well or ones you can cut down and slide two together, go for it!
- Your goal is to get those memories out where you can enjoy them. Not spend hours debating whether you should chop out the random person in the background. It’s okay to cut them up!
Note: If you get overwhelmed or have to stop in the middle…
If you get overwhelmed by the idea of putting all the pictures in albums and decide you’d like to know how to store old photos in boxes, consider a sturdy container system like this one from Amazon. IRIS Photo and Craft Keeper, Small.
If you’ve ever wondered how to store old photos in boxes, this is a good idea. I have all mine in these containers until I can get to them. You can sort them and then organize them for safe keeping. These cost around $10.
![]()

![]() And if your concerned about how to store printed photo negatives, there are also plastic protective holders for those too! Print FIle 35-7B25 for 35mm Film Negatives 7 Strips 25 Pack
And if your concerned about how to store printed photo negatives, there are also plastic protective holders for those too! Print FIle 35-7B25 for 35mm Film Negatives 7 Strips 25 Pack![]()

![]()
Step 5. Write important details down.

If you have a scrapbook system with lines or spaces for writing, consider getting out an acid-free pin and labeling the photos with names, dates (if you know them) and even relationships.
This will important to anyone who sits down to look at them, or if in my case, you get a family member to help before they can’t remember anyone themselves.
Step 6. Display Your Photographs
- Put your nice, attractive photo albums on a shelf or table in your family room.
- Donate your old suitcase.
- Breathe in a deep breath and feel the weight of old clutter leave your body!
- You just preserved your family history! Way to go!
- Now that you’re physical photos are sorted, have you thought about trying Digital Scrapbooking?
- Or if that project has you feeling like a weight has been lifted off your shoulders, consider using my tutorial for Decluttering Mementos and Keepsakes!
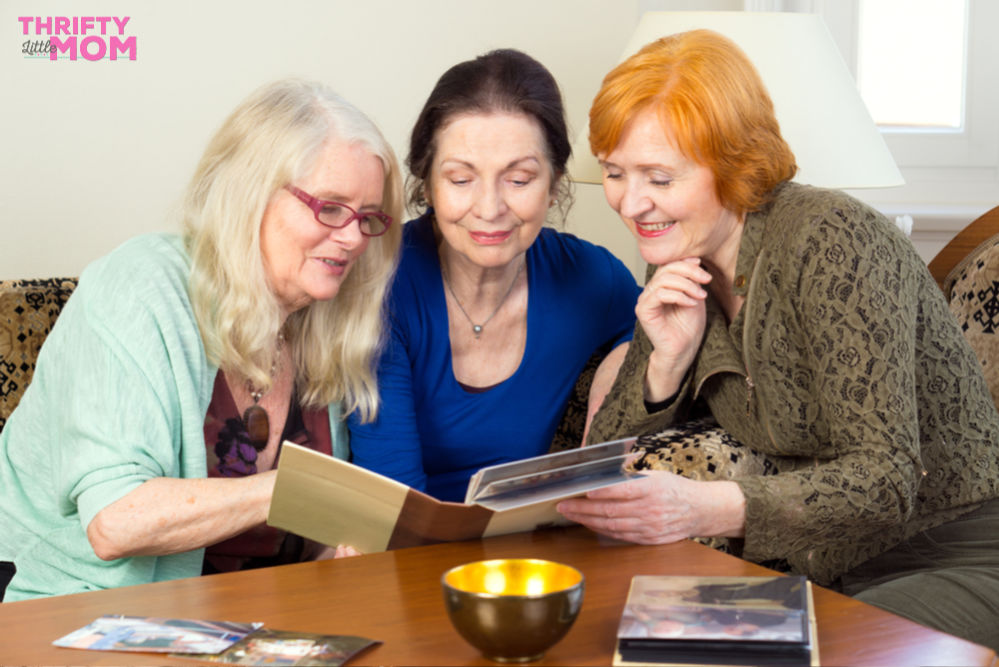
There are lots of methods for organizing printed photos. I hope you found this system helpful. Take it a little at a time and you’ll be on your way to properly stored, displayed and housed photos before you know it!
How a scrapbook uncovered a family secret…
I’ll never forget the day my mom sat me down at the kitchen table just 6 months after my grandmother passed away. She pulled out a large photo book that she had strategically built with my grandma a few years before the Alzheimer’s came along and stole all those memories from the recesses of her mind.
To my surprise, my mother pulled out an envelope and removed an Olen Mills professional photo of a baby that I had never seen before. She lay it carefully beside a picture of a baby inside the album. Beside the picture in the album was a hand written detail from my grandmother that simply said, “A baby I knew.”
I looked at my mom puzzled. She asked, “Does that look like the same baby to you?” “Yes of course- it even has the same Olen Mills stamp on the bottom but the baby is sitting in a different position! So what?” I replied.
My mom took a long pause and said, “This is your aunt”. I scrunched up my face (my dad didn’t have any sisters), “What are you talking about?” My mom went on to tell me a rather long story about a woman who had been searching for my grandmother for years.
That she was born in Mississippi at an unwed mother home and put up for adoption. This scrapbook had hidden clues throughout that my grandmother had a daughter she NEVER told us about and reunited a woman with the family she never knew.
Be passionate about preserving your family history too…
So consider how important physical photos are to your family’s history. Organize them, labeling them and making them important. Sit down with your parents, grandparents and get your family history before it’s too late. Keep the safe. Treasure them, for these pieces of history are easily lost in the bottoms of boxes. The names and faces of our family history are lost as the people who knew them are no longer here to tell us their story.
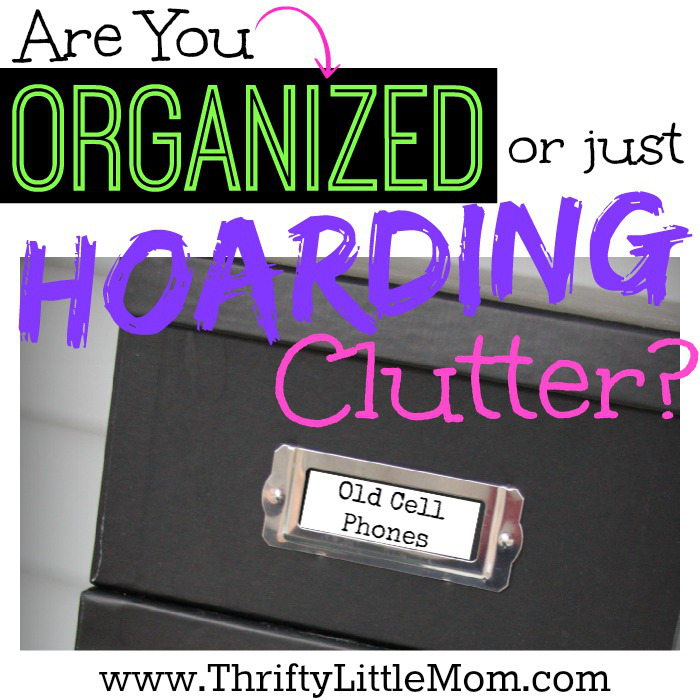
On the other hand, I recently stumbled upon hundreds of pictures from my childhood, tween years, teen years and college days before digital photos were a way of life. Over the years I’ve literally just dumped all these in containers and thought I was organized. However I wasn’t and I talk more about that in my post, Are You Organized or Just Hoarding Clutter.
Even though I love the idea of “scrapbooking” I’ve got a 5-year-old and twin baby girls around now and I just don’t have the time to do it! But I still enjoy the idea of being able to look back and reminisce without having to go through storage boxes to do it. So I figured out several quick and easy systems for getting my photo’s in a place I can enjoy them without scrapbooking for hours!
If you enjoyed this post consider taking my 5 Day Complete Life Management Course and Workbook. For years I struggled with being late, feeling overwhelmed with cooking and cleaning and keeping the family organized.
But then I developed a system that worked and you can too! If you struggle to keep your everyday life on time, organized and feeling put together, this course can change your life forever!
Pin this post for later!


Kim Anderson is the organized chaos loving author behind the Thrifty Little Mom Blog. She helps other people who thrive in organized chaos to stress less, remember more and feel in control of their time, money, and home. Kim is the author of: Live, Save, Spend, Repeat: The Life You Want with the Money You Have. She’s been featured on Time.com, Money.com, Good Housekeeping, Women’s Day, and more!