How To Successfully Sell at Craft Fairs

1) Pick a sale that you know will have some traffic.
- If no one shows up to the sale, you aren’t going to sell much.
- Look for an established sale that seems well-organized. Sales that are well-organized usually have a contact person that actually gets back to you via email or phone, they have a website and have application forms that need to be completed.
- You can contact the sale coordinator and asks questions like:
- How many people usually attend your sale?
- How many vendors do you have?
- How many years has the sale been going on?
- Who normally shops the sale? (Moms, grandma’s, families, members?)
2) Consider space sizes and prices.
- Local craft fairs are going to charge around $25-$70 for a space.
- If spaces are more like $75- $150, the sale is looking for more pro-crafters, businesses or retail type sales, not usually people who have a hobby. That’s just my opinion though.
- Remember, you’re looking to make money. You need to be able to make at least the cost of the space back from your sales.
- If a table is included, great! That’s a bonus. If not, see if someone can let you borrow a 6 foot table before you rent one for extra money.
- Don’t get electricity unless you plan to bring along a credit card machine. If you have a credit card machine, I’m not sure why you’re reading this because you are probably a pro- crafter.
- Follow the application directions exactly. Read them thoroughly. Follow up if you haven’t heard from sale coordinator in a week or so.
3) Figure out what you’re going to sell.
Ask yourself the following questions about what you plan to sell:
- Have I looked on Pinterest for craft ideas? (It is an amazing generator of new and current ideas. Use it to your advantage!)
- Is this usable and/or gift-able?
- Is it current or out of date?
- How long does it take me to make this? (Time is money.)
- How much does it cost to make this? (Will I be able to sell these at a price that I can get the cost of materials back out + a profit?)
- Is anyone else going to be selling this? (Beaded jewelry will always have tons of competition at sales…fyi.)
- Is what I’m doing unique?
- Is what I’m making going to stand out?
- Will I have fun making these?
- Do I have enough time to make enough of these to sell (Example: Quilts take serious time to make. Can you make enough to have inventory by the sale date?)
4) Setting Up Your Table
- You will be at a table mixed in with many other tables.
- Do you have a really unique table-cloth or twin sheet that would make your table stand out without being too busy?
- Print out signs with prices that are easily read from several feet away. People don’t often want to get too close to tables for fear of being put on the spot to buy something. If they can comfortably see the price from several feet away, then they will approach you with more confidence. They know what they are getting themselves into.
- If your items are individually priced, attach price tags to them. You can make your own or pick them up in the office supply section at your local Walmart. Again, people don’t want to ask how much something costs.
- As you price the items, think about how much you invested in the supplies and how much you would like to get out of each item. Be realistic.
- What would you be willing to pay for what you are making? If you decide to do research, you could check out Etsy for similar items but I don’t know if that will give you a good price point. I feel like Etsy has an online advantage of all the time in the world and you have only a few hours. But hey, you could set up an Etsy shop afterwards if you have items left over.
- Bring along a few empty shoe boxes to put under your tablecloth to add dimension and professionalism to your table. This allows you to put product at various levels on the table.
- Don’t get things too cluttered on the table. Keep them spread out and easily identifiable. No one wants to untangle your stuff to get to the item they want.
5) What to bring along:
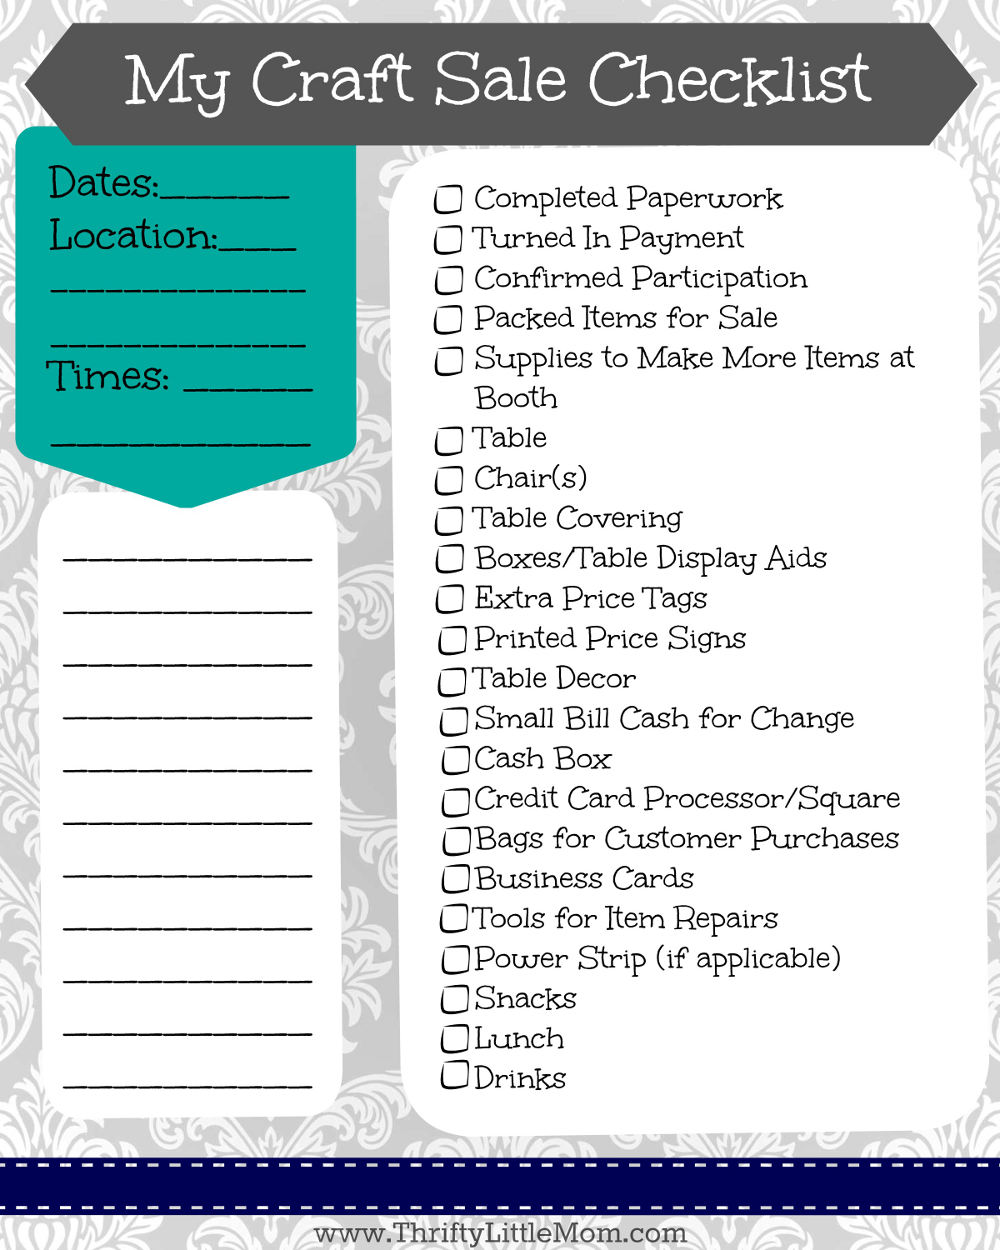
Below you will find some general things to bring along including information on processing payments. If you want a free printable list to help you get organized go to my post titled, Free Printable Craft Sale Checklist and print a checklist for your upcoming sale.
- Go to the bank and get plenty of small bill change. If 10 people hand you $20’s that they got from the ATM before coming to the sale, you need to have plenty of change on hand or you could lose some sales.
- Credit Cards Update: A very smart lady named Tracy shared in the comments section that she accepts credit cards with her mobile phone using a device called “Square” that is basically free. I didn’t know how many readers would read the comments so I wanted to include it in the text here. For more info, check out Tracy Evans comments at the bottom of the page.
- If my items are simple, hand-made things, I bring along my extra materials to make more as I sit there. One year I sold adorable sock monkeys and dogs that you could adopt. I didn’t finish 2 of the items but I brought them along anyway. While I sat at the table all day, I finished them and it was great because I literally sold out and had people asking for more. As I finished them, people came up and bought them.
- It might also attract people to your table if they get to see you doing what you do.
- I also recommend bringing along tools that might help you repair something should it rip, tear or break.
- Bringing along lunch, drinks and snacks is a good idea too. If you spend $20 on concessions at the sale you’re sort of taking 2 steps back.
- I bought a cheap pack of brown paper bags to put my customer’s purchases in. If you’re selling bigger items, save up your grocery bags.
- Be friendly to the vendors around you. You might just make a few extra sales to them!
I hope these tips help you prepare a little to sell at craft fairs in your area. If this is your first attempt, have fun with it! If anyone else has any tips they have learned, please feel free to share in the comments section!

Kim Anderson is the organized chaos loving author behind the Thrifty Little Mom Blog. She helps other people who thrive in organized chaos to stress less, remember more and feel in control of their time, money, and home. Kim is the author of: Live, Save, Spend, Repeat: The Life You Want with the Money You Have. She’s been featured on Time.com, Money.com, Good Housekeeping, Women’s Day, and more!

