
11 Thrifty Tools Every DIYer Needs


I love crafting and creating. There is so much joy in using your creativity to make something beautiful and fulfilling. There are many talented people in the world making so many beautiful things, at times it can be overwhelming to think about all the tools it takes to create the projects you dream about. We all know that most of those dream seeds are planted from Pinterest.
This post about simple, thrifty tools to equip you to create all kinds DIY projects from curtains to wall hangings.
A Little Planning Ahead Saves $
If you really want to start a DIYer tool collection, one thing to keep in mind is that you don’t have to rush out and get them ALL today. Some of these you may already have. With a little planning, you can get all the tools you need and never pay retail. Under each tool, you’ll find a thrifty money-saving tip to help you get the tools you need frugally.
1. The Glue Gun

- A simple tool, yet powerful. The glue gun can take the place of sewing seams & waiting long hours for fabric glue to dry. Use it to attach details and make many quick, easy and solid repairs.
- Thrifty Tip- If you don’t have one of these, they are available and most craft stores. If you live near a Hobby Lobby or Micheal’s craft store, be sure you print off their weekly 40% off coupon and you can usually get a glue gun under $5. (If you click on the above links for either store, you’ll got straight to their coupon pages.)
- Don’t forget extra glue sticks!
2. The Rotary Cutter & Quilting Mat

- Like butter… A rotary cutter can shave hours off fabric cutting projects. Imagine cutting felt, flannel, cotton, silk and fleece like butter. When I first used one, I realized I had never fully lived until that day. They are amazing and do far more than cut quilt squares. Any fabric project can be made more efficient with one of these cutters.
- They look like a tiny pizza cutter but cut like a ninja sword.
- I recommend a large quilting mat to put under your projects as this little knife is SHARP. I have cut my hands many times using one of these. If you use one with anything other than thick sheets of plastic underneath you’re going to cut right into your table. These mats will also not dull your knife like cutting on concrete or other hard surfaces might.
- Thrifty Tip: I suggest getting these at a local craft store like Hobby Lobby or Micheal and using a 40% off coupon when you go.
3. Scissors: Fabric & High Quality Regular


- If you ever had a mom who was a sewer, you know you should never ever cut anything other than fabric with fabric scissors.
- My favorite is the all metal Gingher brand fabric scissors.
- Since you can’t use fabric scissors for anything other than fabric, you will have projects that require you cut paper or other types of materials. Invest in a decent pair of regular scissors.
- Thrifty Tip: The best times to pick up great regular scissors are during “Back To School” sales or even post “Back To School” clearance.
- Thrifty Tip: Fabric scissors can cost between $12 and $30. I recommend getting a solid, middle of the road pair with a coupon to your local Hobby Lobby or Michael’s craft store.
4. Sand Paper
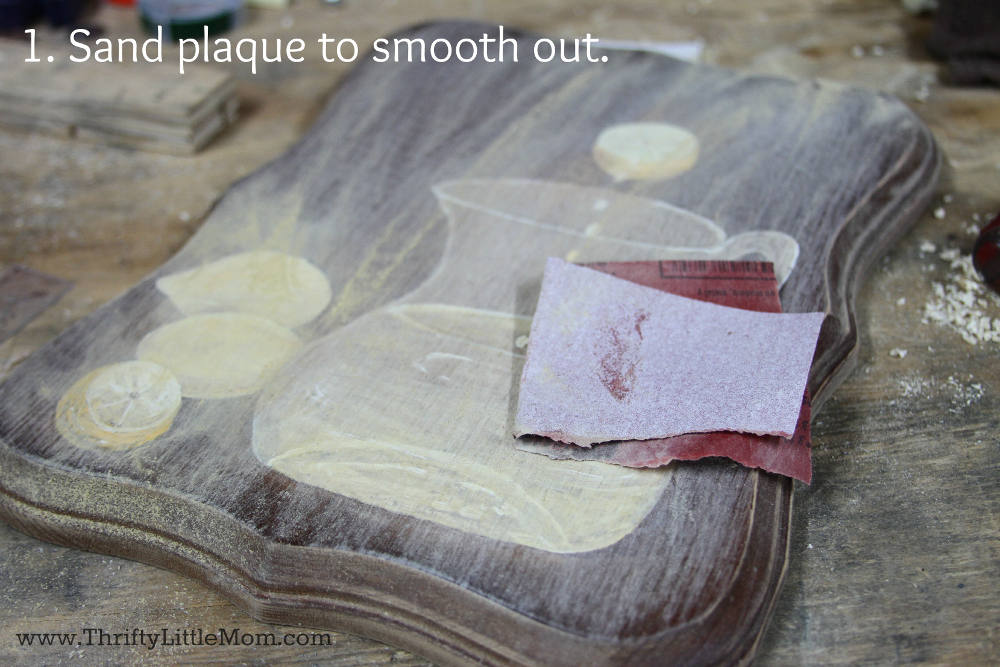
- If you ever plan to up-cycle anything from wood to plastic, you need some good sand paper. Sanding surfaces before painting them helps the paint adhere better to your surface.
- Thrifty Note: Sand paper is generally under $5. If you want to get a fancy hand-held sanding device, you will pay a little more but might just save your hands from being scraped.
5. Paint Tarps

- Most DIYers paint, glues or need to do something with their project outdoors at some time.
- The best way to be prepared for these projects is getting a nice size tarp.
- Preferably one that is plastic or has a strong plastic backing so that your paint doesn’t seep through the fabric once you lay it down.
- Thrifty Tip: A great inexpensive place to get tarps at a super low price is Harbor Freight Tools. If you sign up for their emails you will regularly get 20-25% off coupons to take along with you.
6. Painter’s Tape

- I have to admit that this is one of those items I loathe purchasing. I often wonder if the tape is laced with gold or something. Painters tape always seems really expensive to me. When we paint a room, I hate paying $6 a roll for it.
- Despite the price, it’s made to go down and come back up without destroying your work/project whatever it may be.
- It’s a good item to have in your DIYer tool box.
- Thrifty Tip: The thinner the tape you purchase, the cheaper it will be. If you need it for small painting projects, you’ll get the tape for less that $4 at most Home Improvement stores.
7. Permanent Markers

- Mark it, draw it, design it or write, it a permanent marker is a DIYer’s BFF.
- You never know when you will need them, but you always do for various projects.
- This is a relatively low-cost item at around $1.99 for a two pack at most mega stuff mart type stores.
- Thrifty Tips: When back to school sales roll out, check out the ads for Office Supply stores as they sometimes have coupons for free or almost free Sharpies.
- I recently invested in Sharpie Paint Pens for some of my projects. I bought them with a 40% off coupon at Michaels and they cost me around $8.

8. Simple Sewing Kit

- A simple sewing kit can provide you with all the simple tools you need at a reasonable cost.
- Seam rippers are necessary for sewing mistakes.
- Measuring tape, needle threaders and a variety of thread colors help out with your simple hand sewing projects.
- I’ve use mine for many projects and couldn’t live without it!
9. A simple tool set

- Some people have access to their spouses tools while others wouldn’t dare touch anything in the garage.
- If you would be better off using your own, consider getting yourself a starter tool set.
- My mom bought be one of these and I keep it in the laundry area.
- A simple kit would include a hammer, screwdriver set & measuring tape.
- Thrifty Tip- You could buy this as a kit but you could also head over to a store like Harbor Freight and pick up each item individually and save some money. That allows you to customize your own tool set rather than pay for a whole set that may contain items you will never use.

10. A sewing machine-

- My DIY projects usually involve sewing to some degree.
- Maybe your’s don’t. Maybe you are more of a wood-shop person and need a drill more than a sewing machine.
- A simple basic function sewing machine will handle most jobs that you throw at it. If you just need really basic stitches you can get out for less than $90 for a machine.
- Thrifty Tip: If you don’t do a lot of sewing projects, but need one every once in a while, see if you can borrow a friends. My best friend and I regularly shared my machine.
- Invest: If you plan to buy a machine, it is my opinion to get a new one. Read lots of reviews on the one you are considering. Used sewing machines are fine and all, but in general they aren’t usually that expensive new and you will get far more life out of a new machine.
- Fancy Schmancy: I recently took the plunge and got a more advanced machine by Brother that is digital, push button with 100 stitch options. It even does basic letter monogramming! You can use a pedal or a take the pedal off and control the speed and action by pushing a button.
11.Stitch Witchery-


- This is an iron-able webbing tape made for fusing fabrics.
- In other words, if you don’t have any idea how to operate a sewing machine and yet need to finish edging or fuse some things together, this stuff is for you.
- You simple place the tape in-between your fabric pieces & iron over the fabric following the instructions on the packaging. Just don’t touch the iron to the webbing or you’ll have a bit of a gooey mess on your iron.
- It comes in various widths, just like ribbon.
- I can sew, but I still use this when I’m in a hurry or don’t feel like messing around with my machine.
I hope that this most has given you some simple tips on building a DIYer tool box. I guess it would have to be more like a DIY chest given the size of some of these items, but you catch my drift. These are all tools that can help you get most of your DIY projects off your boards and into your real life! Please share any tools that may have improved your DIY project life in the comments section below!

Kim Anderson is the organized chaos loving author behind the Thrifty Little Mom Blog. She helps other people who thrive in organized chaos to stress less, remember more and feel in control of their time, money, and home. Kim is the author of: Live, Save, Spend, Repeat: The Life You Want with the Money You Have. She’s been featured on Time.com, Money.com, Good Housekeeping, Women’s Day, and more!