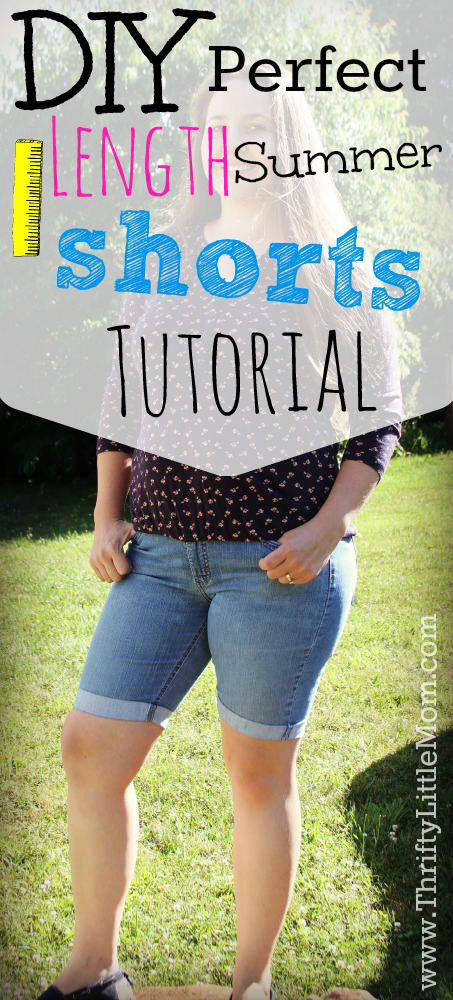
DIY Perfect Length Summer Shorts
There is just one thing I hate about summer shorts shopping. Finding shorts in the length I like! I don’t know if you struggle with finding shorts that fit just right, but I came up with a way that I can wear shorts that fit perfectly and they are just the length I like. Here’s my DIY perfect length summer shorts tutorial.
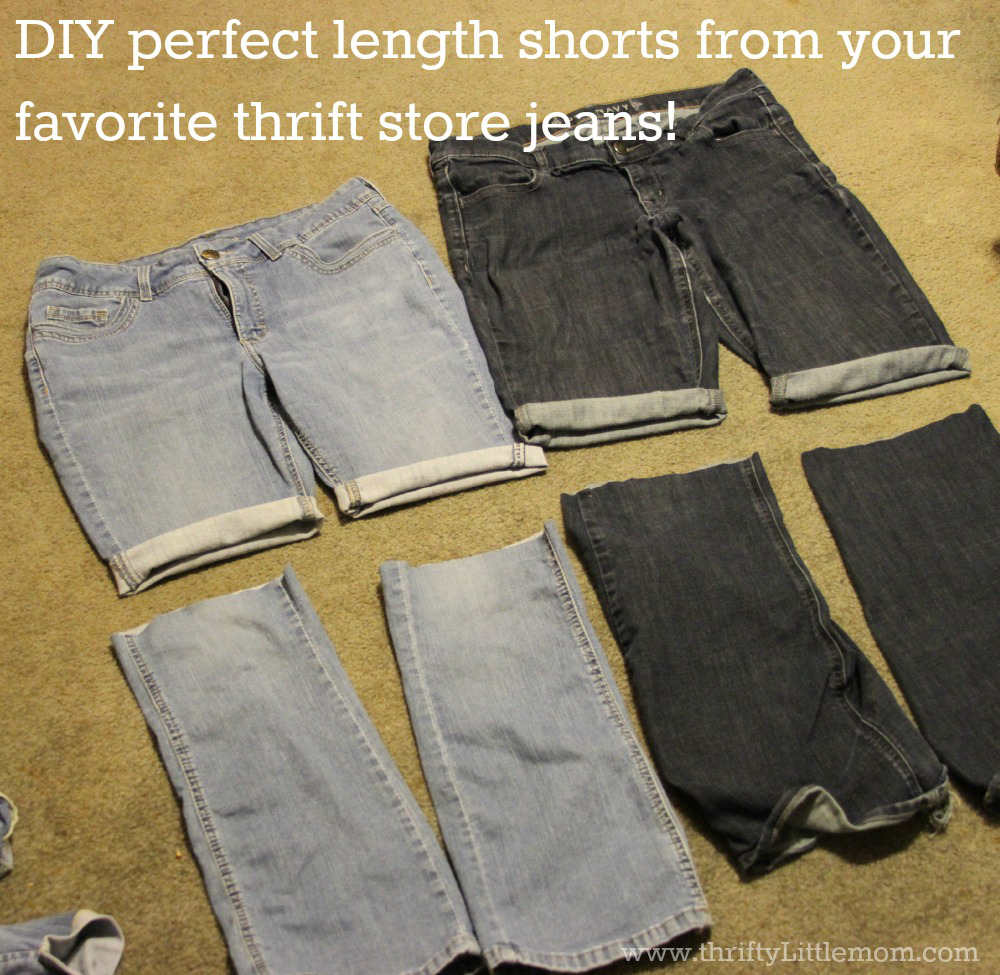
It’s not complicated. It all starts with you finding a pair of shorts that are your ideal length and then using them as a pattern. This idea hit me one day when I was putting away my laundry. I laid out my jeans in a stack and then put a pair of my favorite summer denim shorts on top of the pile to be hung.
As I went to hang the shorts the thought hit me that I wish I could just cut the legs off my favorite thrift store jeans and have the exact same length as the shorts I loved.
And why not? I thought. They are thrift store jeans. I only paid about $4.00 for them so why not experiment? So I did! I love all my new shorts.
When it gets cold again, I’ll just go back to the thrift or consignment store and get some new ones. (Although I have to confess that I got two pair of skinny jeans from Kohls last weekend for $4.00 each! In fact jeans at my local Target are $6.68 on clearance right now too so I could just go “splurge” on new ones.)
Supplies Needed:
- Your favorite shorts.
- Scissors
- Marker or Pen
- Needle & Thread
Step 1: Lay your favorite pair of shorts on top of your favorite jeans and make a mark where the shorts stop. My shorts roll up so I had to unroll the shorts hem a little to get an idea of how long the fabric was BEFORE it was rolled up. I had to add about 2 inches of fabric and make a small mark.
Step 2: Cut the pant leg off as straight as possible at your mark using some sharp scissors.
Step 3: Fold the pants you are cutting in half (along the butt crack seam is the best way I can describe it) and line up the now short side with the long side and make your mark again.
Step 4: Cut off the other pant leg using the mark you made from the short side. (That should make both sides pretty even.)
Step 5: Roll up each now short leg to the length you like and get ready to tack in place with needle and thread. Make sure both legs are even before you start tacking the roll in place with the thread.
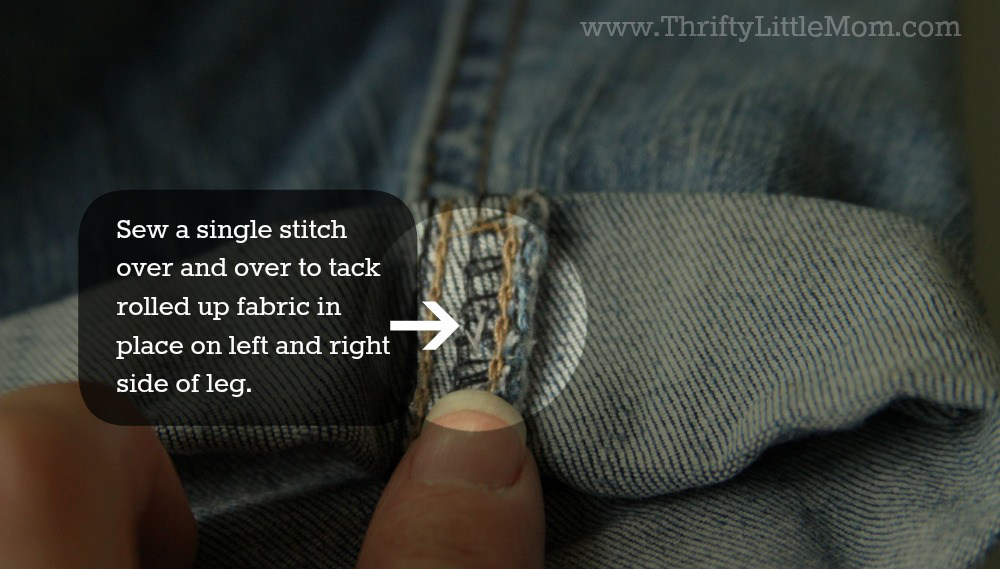
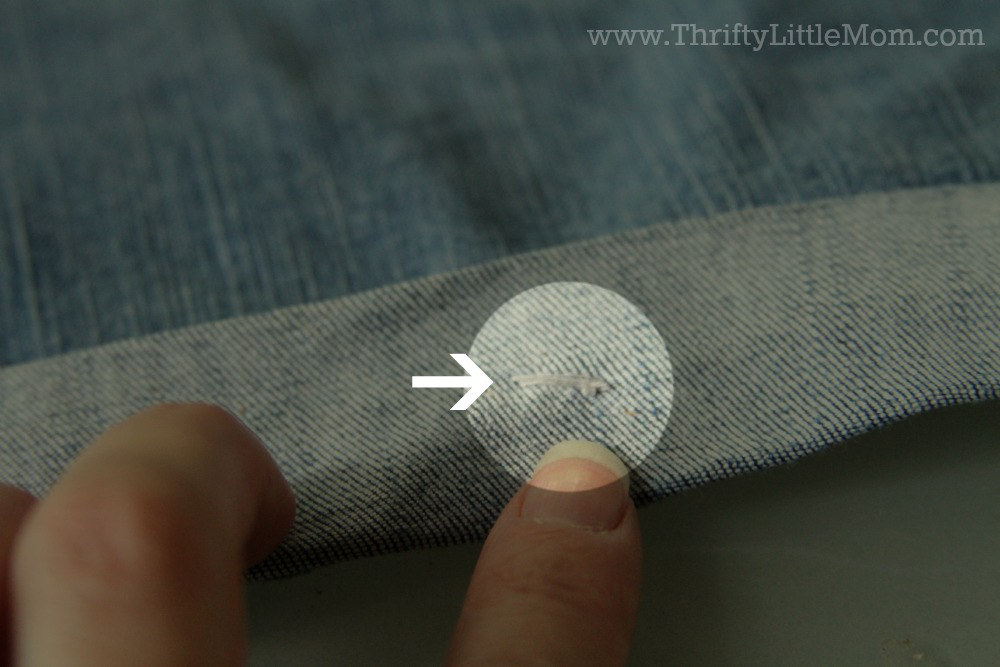
Step 6: I used needle and thread to tack the short roll in place by making a small single stitch over and over in the same spot. I did this on a small spot on the front of the shorts leg roll, the two sides and the back. This will keep the shorts from unrolling on you while you wear them or when you wash them.
The picture below shows you how I tact the rolled short leg in place on the front and back of the shorts legs.
WEAR YOUR NEW SHORTS!
I know this project is totally simple and may even be a no-brainer for some but for others it might just be what you need to get through the summer months with shorts a length you can live with and feel good in. I hope you can use this DIY perfect length summer shorts tutorial. Please feel free to share your own short making ideas in the comments section below.

Kim Anderson is the organized chaos loving author behind the Thrifty Little Mom Blog. She helps other people who thrive in organized chaos to stress less, remember more and feel in control of their time, money, and home. Kim is the author of: Live, Save, Spend, Repeat: The Life You Want with the Money You Have. She’s been featured on Time.com, Money.com, Good Housekeeping, Women’s Day, and more!

