
Make A Decorative Hanger For Kid Art
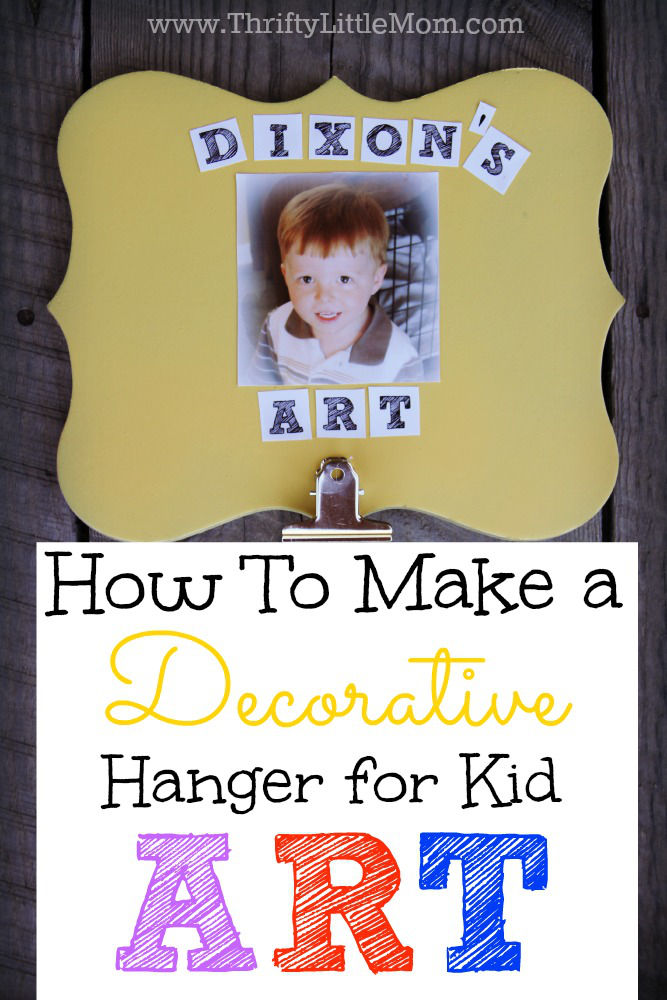
School is in the air. Can you feel it? Can you smell it? The summer is winding down and retailer’s back to school departments are winding up. For me that means that my son is going to start preschool 2 days each week to give me time to write. Since he has been in a preschool before what I know is that I’m going to be hanging up a sweet piece of artwork created by my son at least once a week. I don’t want those beauties to end up smashed and forgotten in the floorboard of my car so I decided to make a decorative hanger for kid art that matched my home decor. Here’s my tutorial on how you can make one thrifty and fast.

Supplies:
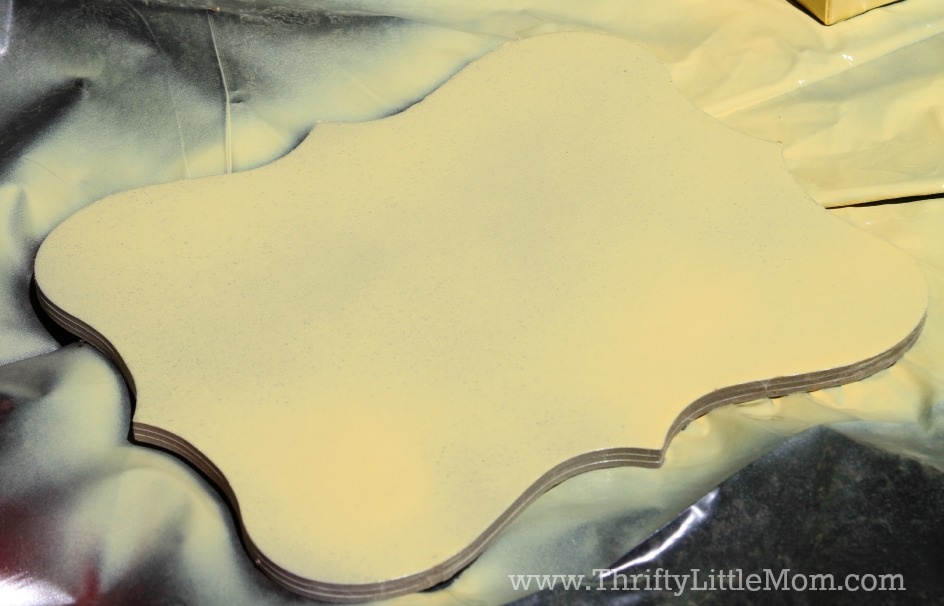
- Fun Shaped Hang-able Chip Board (Hobby Lobby $2.99)
- 1 Can of Krylon Color Master spray paint to match my home color scheme. (Walmart $3.67)
- A Current Picture of My Kid (I edited in pic monkey and printed it myself)
- Printed Phrase (I used pic monkey to make phrase with my child’s name and printed it on the photo paper I had in my craft closet)
- Metal Clip (Spare Parts Brand Hobby Lobby $1)
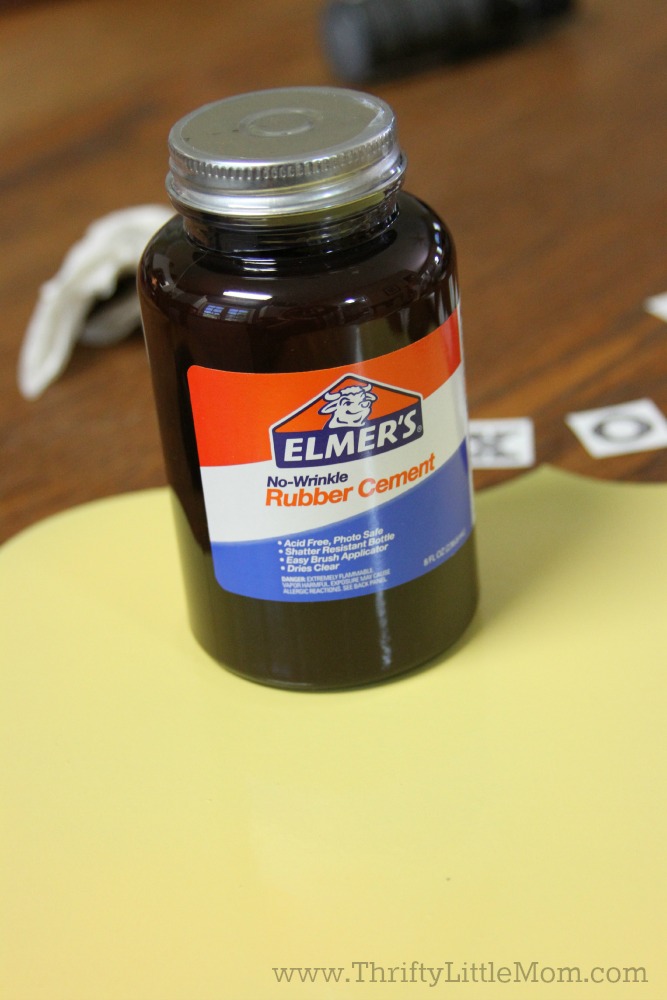
- Elmer’s Brand Rubber Cement Glue
- Laquer is pictured but I didn’t end up needing it. I tested it on a small spot of my “photo paper” letters and it kind of soaked into the sides of the paper so I didn’t use it.
- Don’t forget your Hobby Lobby 40% off coupon!
Total Project Cost = $6.67
Step 1: Lay down a trash bag, place your chip board on top and spray paint. I did 3 coats following the dry times on the back of the can. This yellow coordinates with the colors in my home.
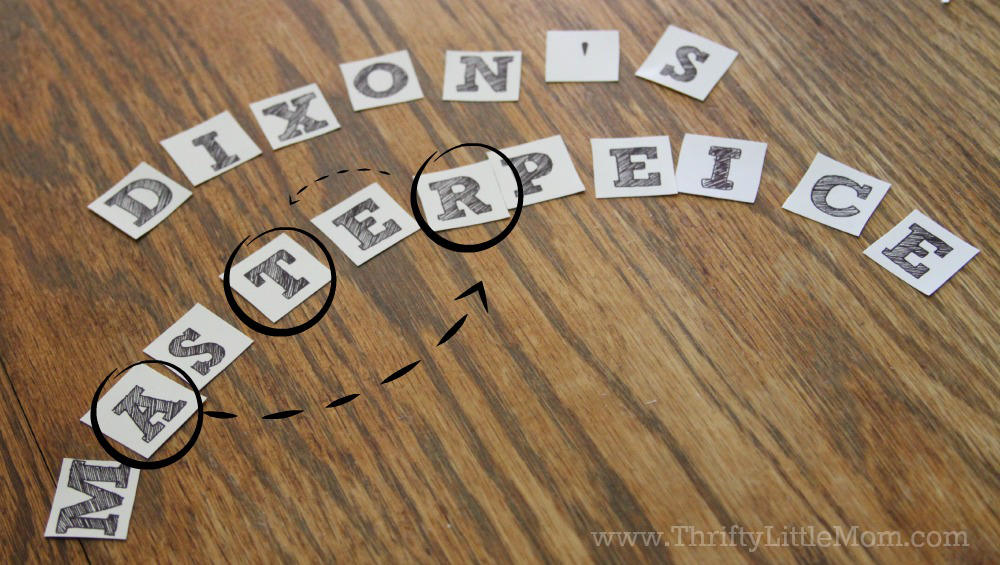
Step 2: I planned to spell: Dixon’s Masterpiece (which if you look at the picture you can see that #1- I haven’t mastered the whole “i” before “e” except after “c” rule and #2- that the word “masterpiece” won’t fit on my chip board.) Therefore with a little luck, I had a letter A, a letter R, & a letter T. Did I mention I made these on vacation and had to prep all the supplies before I left? So plan B was to spell “Dixon’s Art”. HA HA! Those problem solving skills do come in handy!
Step 3: Using Elmer’s Brand No Wrinkle Rubber Cement glue you attach the letters to the board. (On a side note- If you have a kid in school who does lots of projects, you must keep a jar of this on hand at all times. It doesn’t bubble and wrinkle like the Elmer’s white school glue but it is really stinky).
Step 4: Glue your letters down around your cute little picture.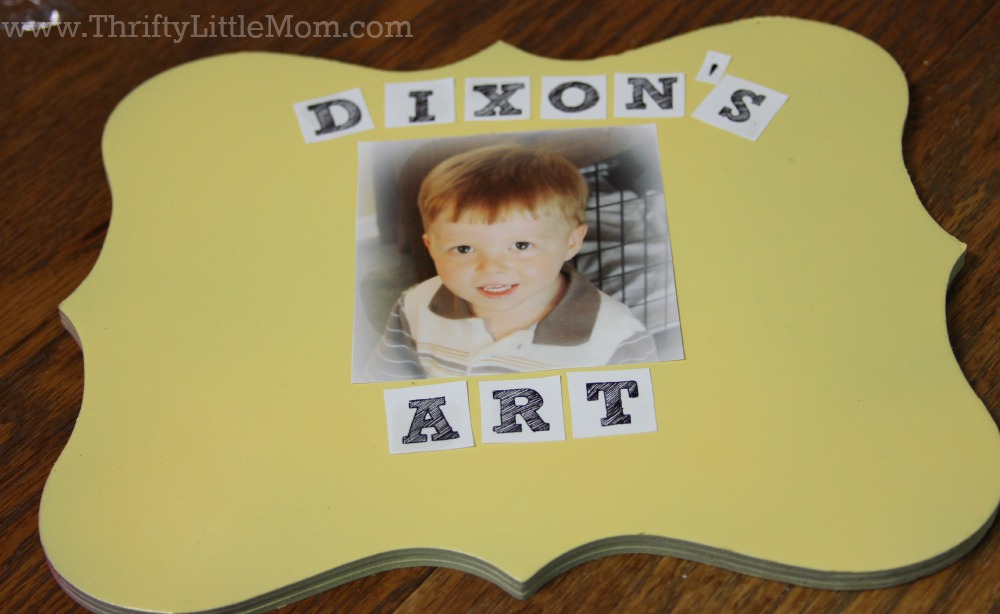
Step 5: Attach your clip using hot glue.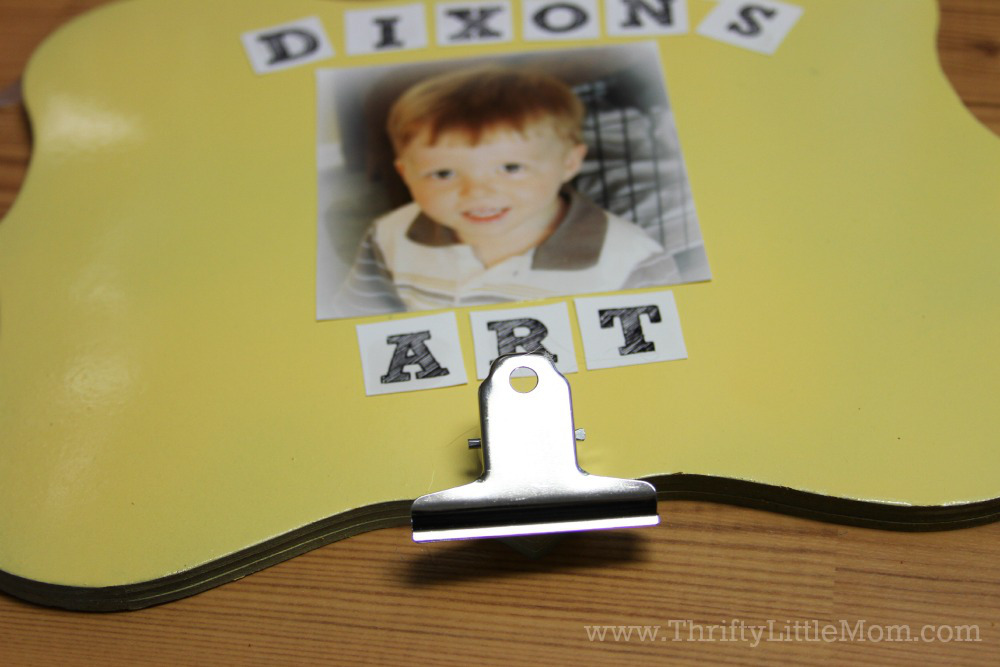
Step 6: Hang the chip board on your wall and then clip in your kids latest masterpeice masterpiece.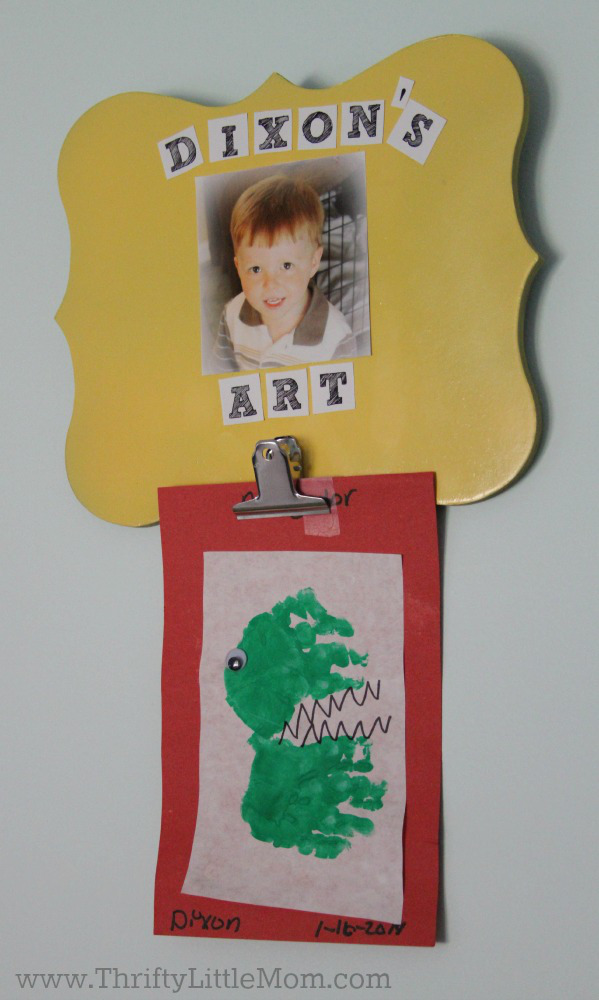
I am pretty excited about this very usable and decorative craft. I can’t wait to hang my son’s artwork up this year. Hopefully this post will inspire you to make a decorative hanger for kid art for your home. You could create one for each of your kids and hang them in a row which I think would be ADORABLE!

Kim Anderson
About Me

Kim Anderson is the organized chaos loving author behind the Thrifty Little Mom Blog. She helps other people who thrive in organized chaos to stress less, remember more and feel in control of their time, money, and home. Kim is the author of: Live, Save, Spend, Repeat: The Life You Want with the Money You Have. She’s been featured on Time.com, Money.com, Good Housekeeping, Women’s Day, and more!