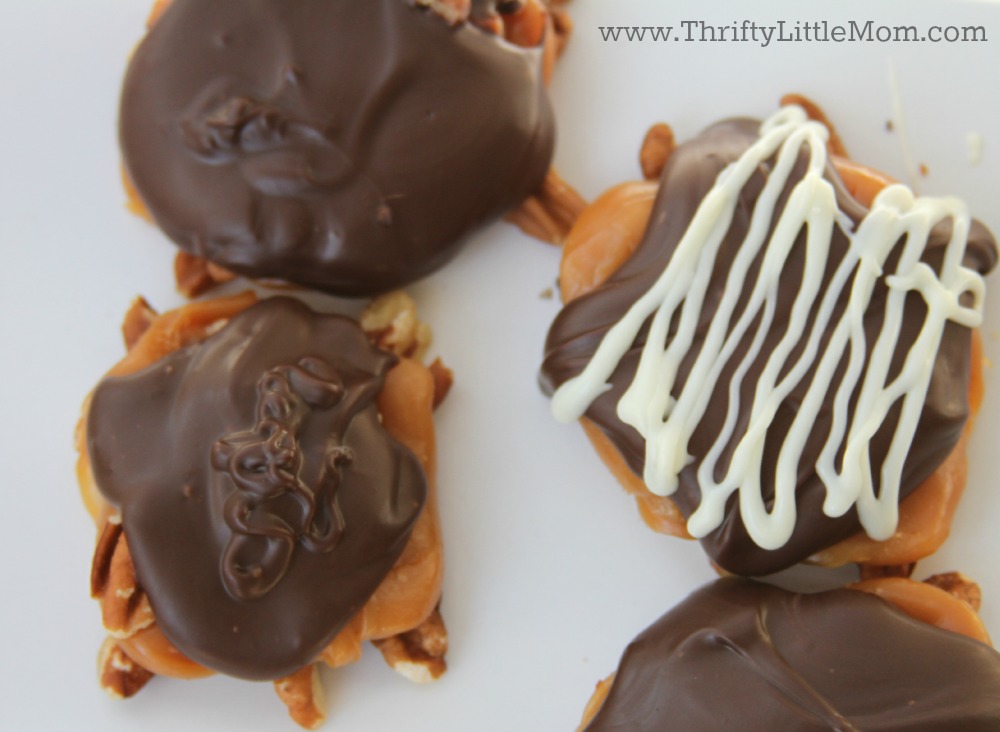
Really Simple Pecan Turtle Candies
Year after year I strive to come up with really thrifty gift ideas. During the Holidays I often find that there are people on my list that I buy nice gifts for and then there are people that I do nice things for. This is simply because I don’t have the cash to give everyone a gift. Making a candy gift can be used for both scenarios. Whether it’s a simple supplement to another gift or to create a little holiday treat for your neighbors or teachers, this gift works great. In fact it was so easy that I can’t believe I’ve never done it before.
If you don’t know me, I like really simple, really fast projects because otherwise I loose interest quickly. I wanted to make some things this year that I knew I could deliver on and these were one of them. It also helped that Chocoley, a gourmet chocolate company, contacted me about a month ago offering to send me products to try out for free. Since I was planning to do this post anyway, and their supplies are already thrifty, I happily agreed.
After using the Chocoley products for several posts at this point, I’ve come to the conclusion that having the right tools for the candy making job really matters. Last year I tried several of these experiments only to find that I scorched the chocolate or it didn’t set correctly. I can honestly say that these materials are made for candy making and they work, just like they should, right out of the package. That’s because these chocolates were created for these projects and made so that you don’t have to mess the “tempering” process. The chocolate holds its shape, has a nice sheen and doesn’t get all melty on you when you touch it. (That’s my best explanation anyway.)
Pecan turtles are my most favorite candy and the only candy I’m willing to buy at those “pay by the pound” candy stores at the mall. Therefore this is one thing I’ve always wanted to try making myself.
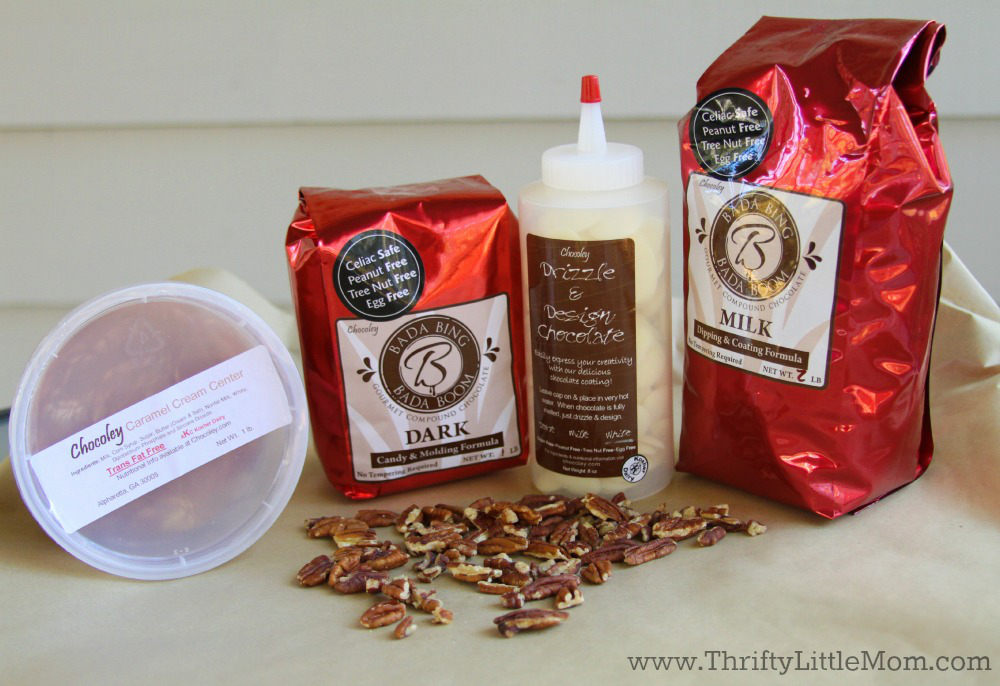
If you would like to try making these really simple pecan turtle candies this is what I used:
 Ingredients & Tools
- 1 lb Caramel Cream Center (Retail: $7.61 for 1lb tub)
- Bada Bing Bada Boom Dark or Milk Chocolate (Retail: $6.29 for 1lb bag)
- Chocoley Drizzle & Design White Chocolate (Retail: $5.75)
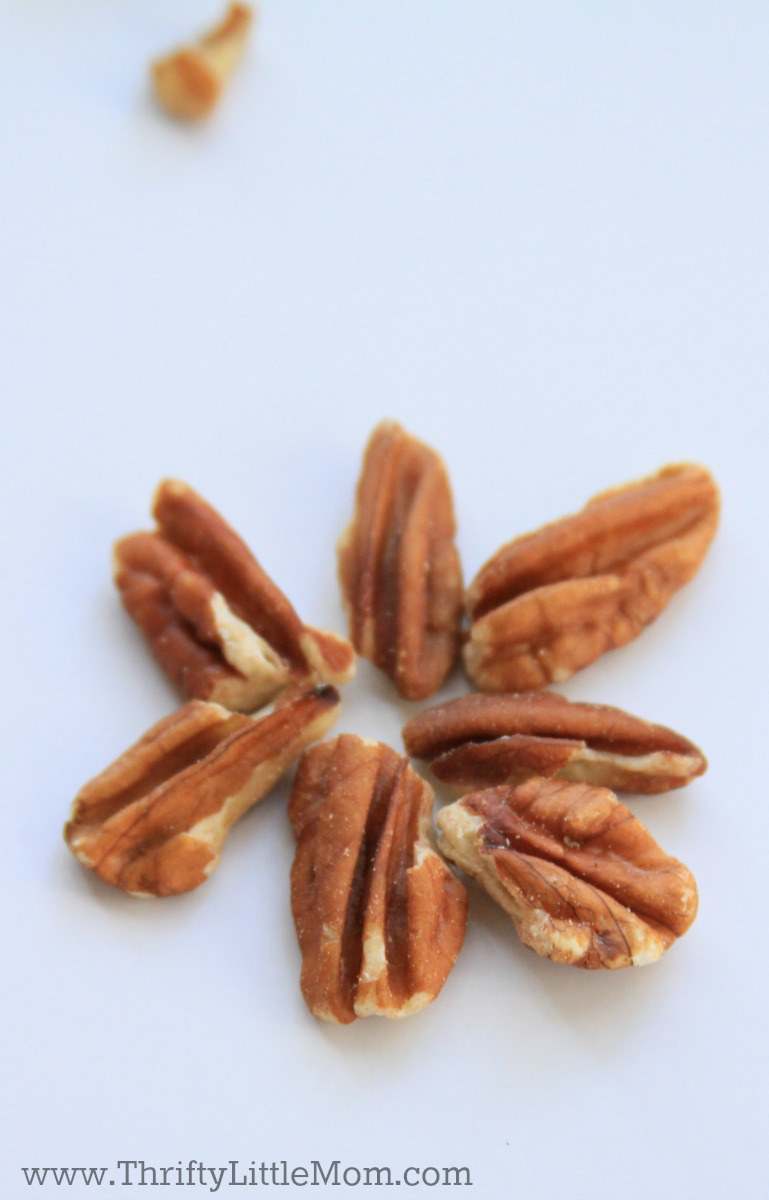
- Pecans
- Heavy weight dipping sheets
- Double Boiler Insert (This is the key to the whole project, you use your own pot and set this on top to create a double boiler that melts the chocolate fast without burning it)
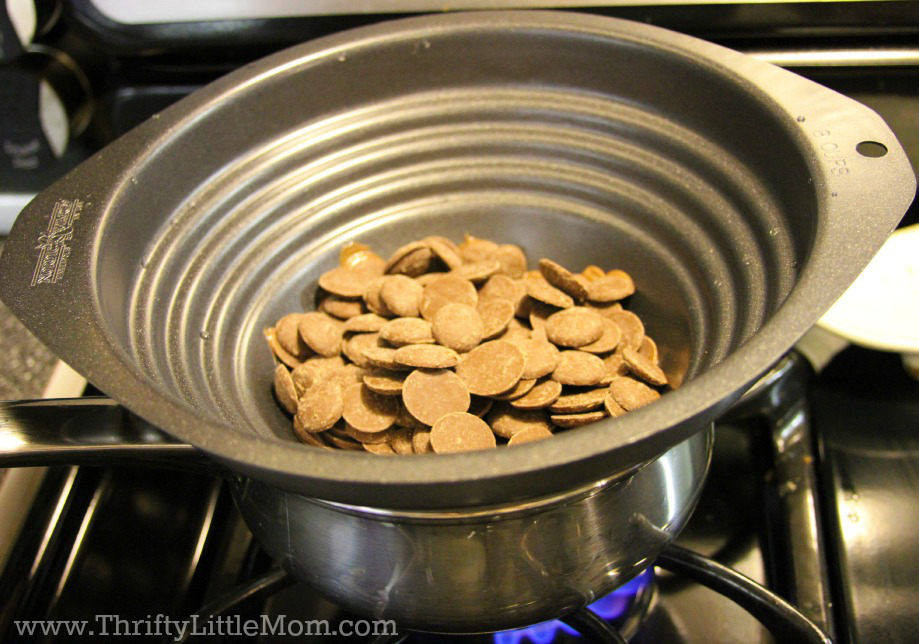
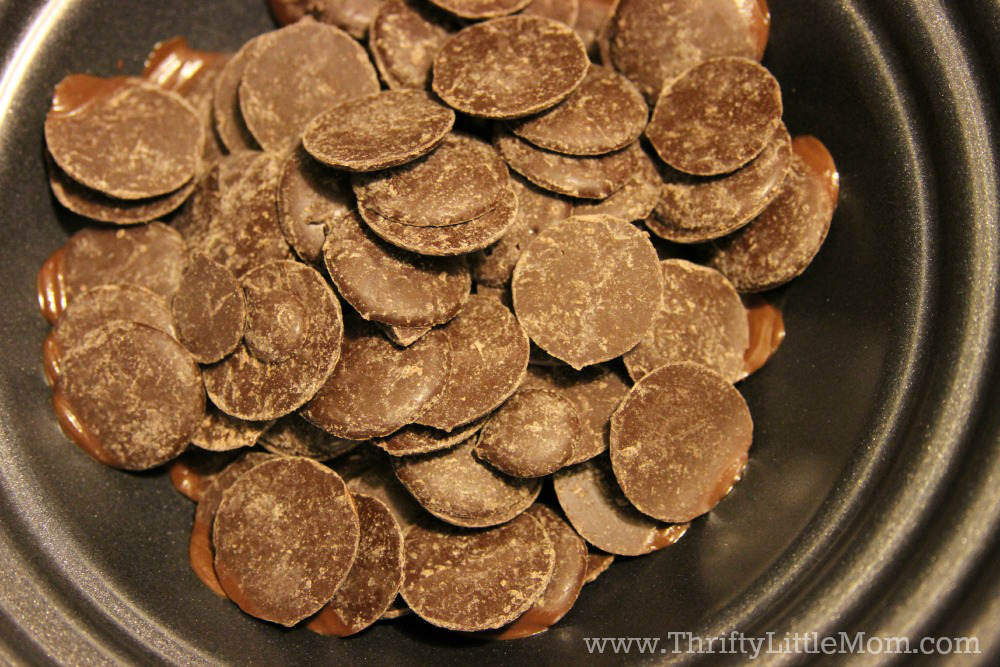
Step 1: I put water in a pan and let it heat until simmering. I then set the double boiler on top and put my the Chocoley discs into the insert. The directions from the Chocoley website remind you not to let the water boil (to avoid scorching) and not to allow the water in the pan to touch the bottom of the insert.
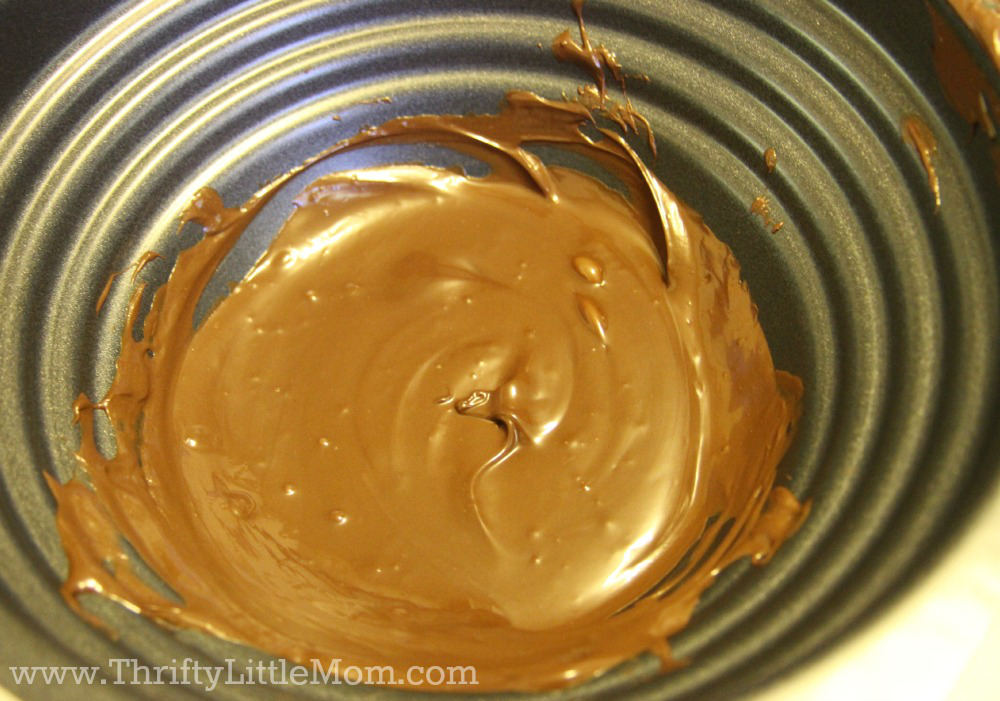
Step 2: Using a high heat silicon spatula I stirred the chocolate as it began to melt. It took 5-8 minutes for all my chocolate discs to melt down.
Step 3: Scoop about 1/2 tablespoon of caramel out of the tube. I used the Heavy Weight Dipping sheets mentioned in the tools list above as my working surface to keep everything from sticking.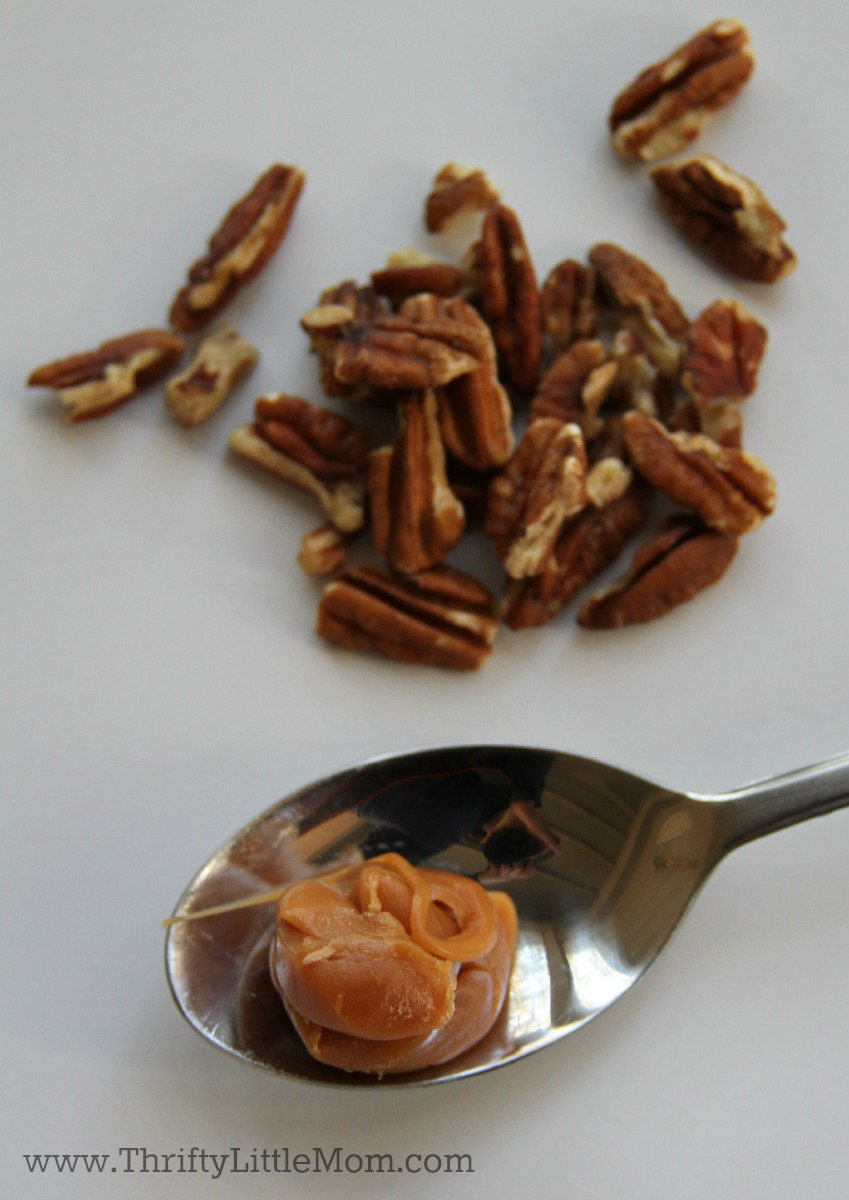
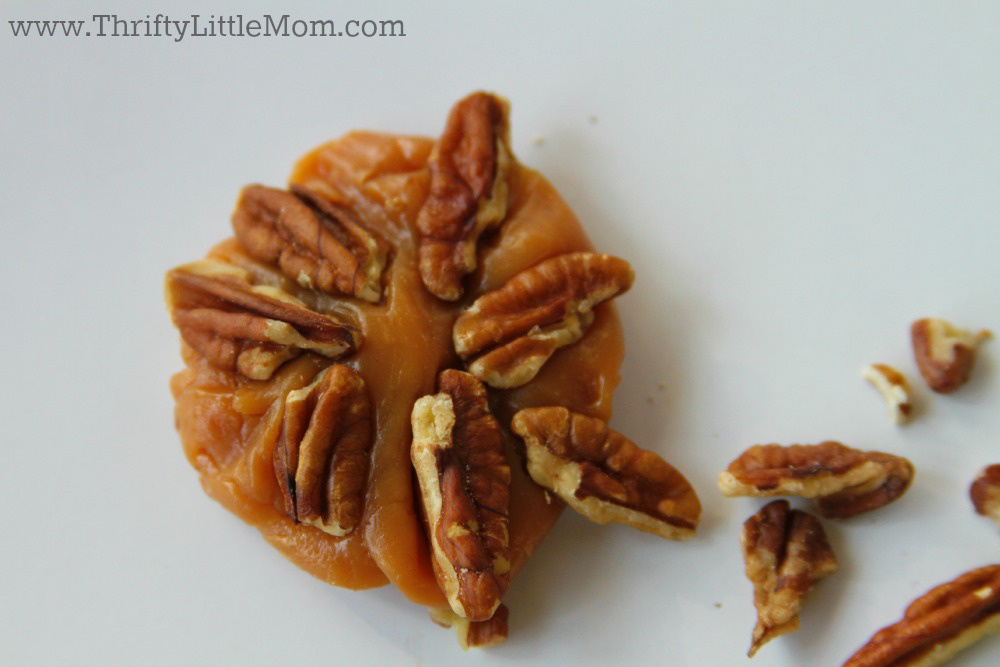
Step 5: I molded the caramel into a disc shape and pressed the pecans in to be sure they stuck. This caramel is so mold-able and work-able that I didn’t find that I needed to heat it up.
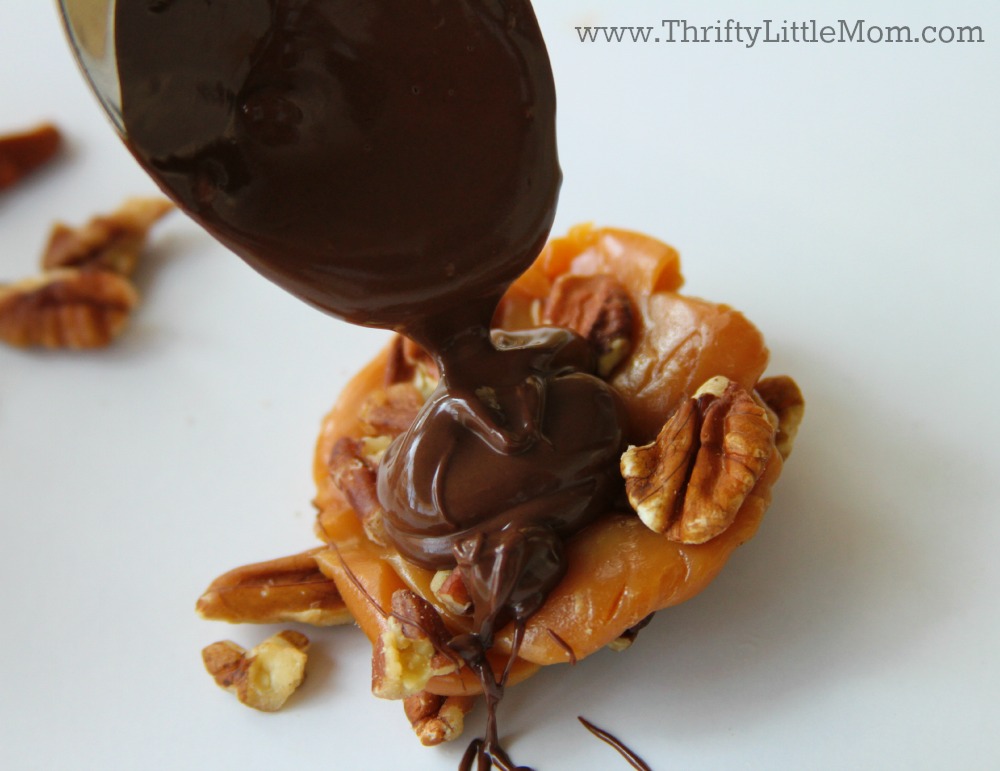
Step 6: With a spoon I gently poured melted chocolate in the middle of the turtle. The more chocolate I added the more the melted chocolate spread.
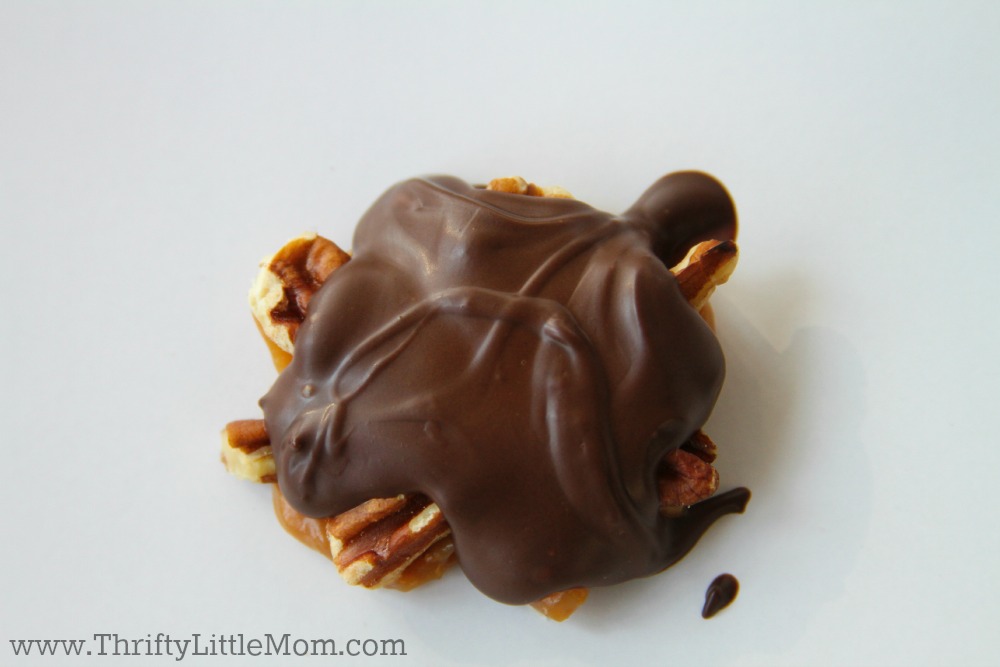
Step 7: I did this to all my candies, leaving them on the glossy side of the heavy weight dipping sheets and placing them in my fridge for about 5-8 minutes. I didn’t leave them in longer than that because you don’t want the chocolate to form condensation. It just needs to be in fridge long enough to harden.
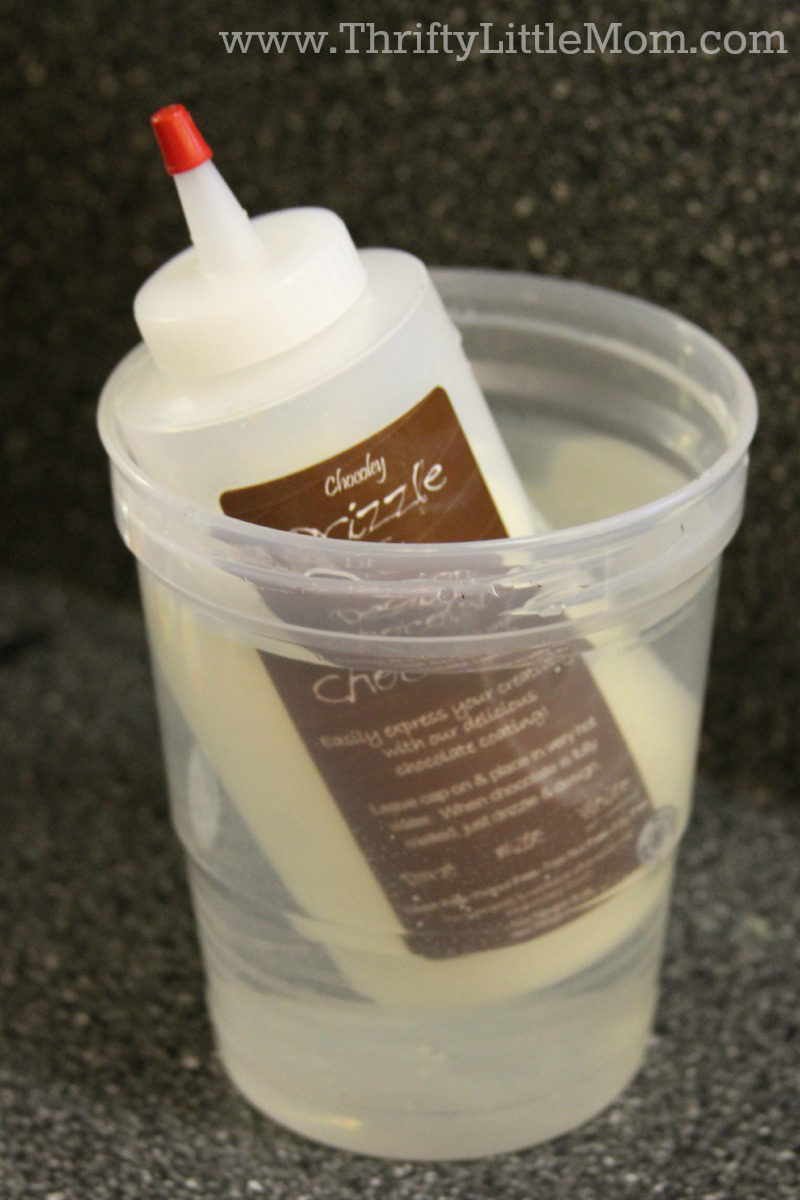
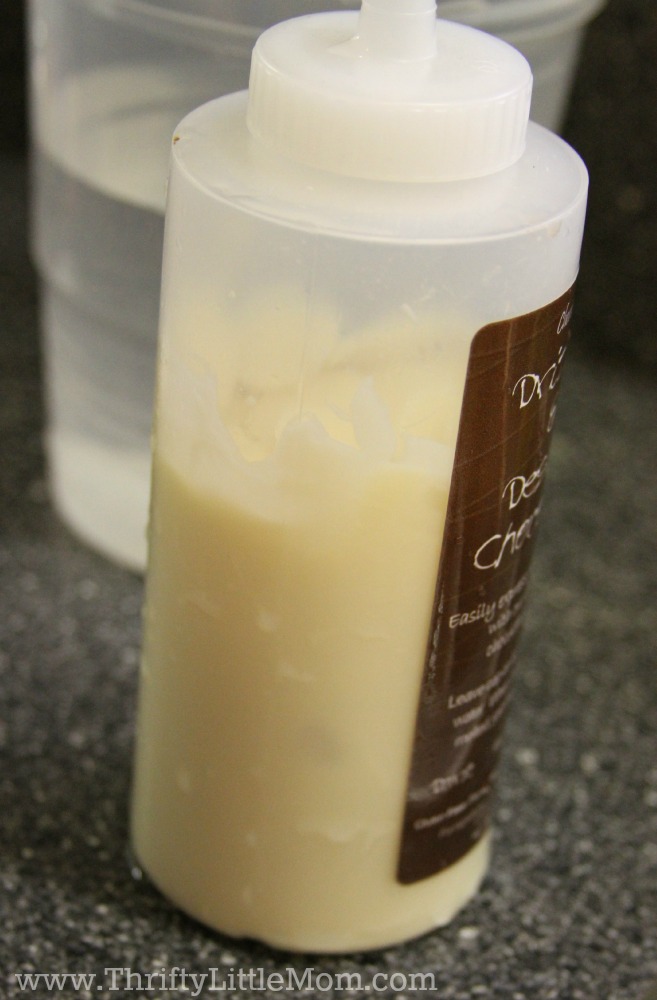
Step 8: Following the directions on the Chocoley white chocolate drizzle bottle, I put it in container of very hot water to make the contents melt.
Step 9: Once the chocolate appears to be melted you are ready to decorate.
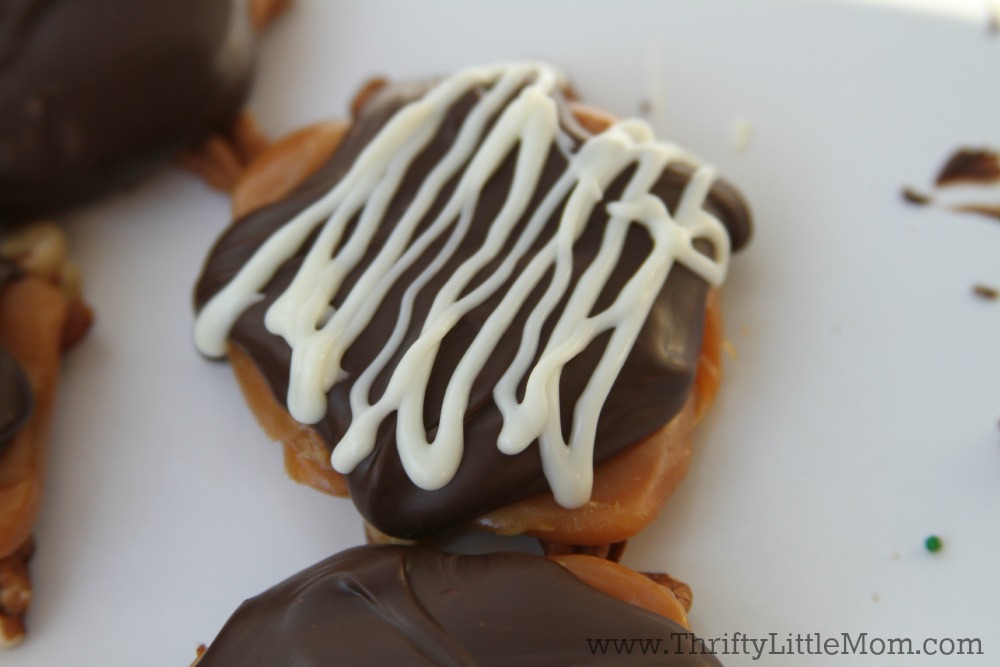
Step 10: The chocolate drizzles out easily and makes these really pretty designs in just a few seconds.
Step 11: I returned these to the fridge for about 3-5 more minutes and then stored them in airtight containers until I was ready to wrap them up in my gift boxes.
That’s it! These were so fast and they tasted so good! When my husband got home he grabbed one off the counter and asked me where I bought them from. I giggled and told him I had made them myself. He didn’t believe me at first and then he made some comment that he thought they would go viral on Pinterest or something. I just laughed. Husband tested and husband approved.
I hope that if you give making really simple pecan turtle candies that you enjoy the process and that your giftee loves them. Happy candy making!
Check out this Turtle Recipe (No Tempering Required) from the Chocoley website that guided my own candy making process. You can also print this recipe as you try it in your own kitchen.

Kim Anderson is the organized chaos loving author behind the Thrifty Little Mom Blog. She helps other people who thrive in organized chaos to stress less, remember more and feel in control of their time, money, and home. Kim is the author of: Live, Save, Spend, Repeat: The Life You Want with the Money You Have. She’s been featured on Time.com, Money.com, Good Housekeeping, Women’s Day, and more!


 Ingredients & Tools