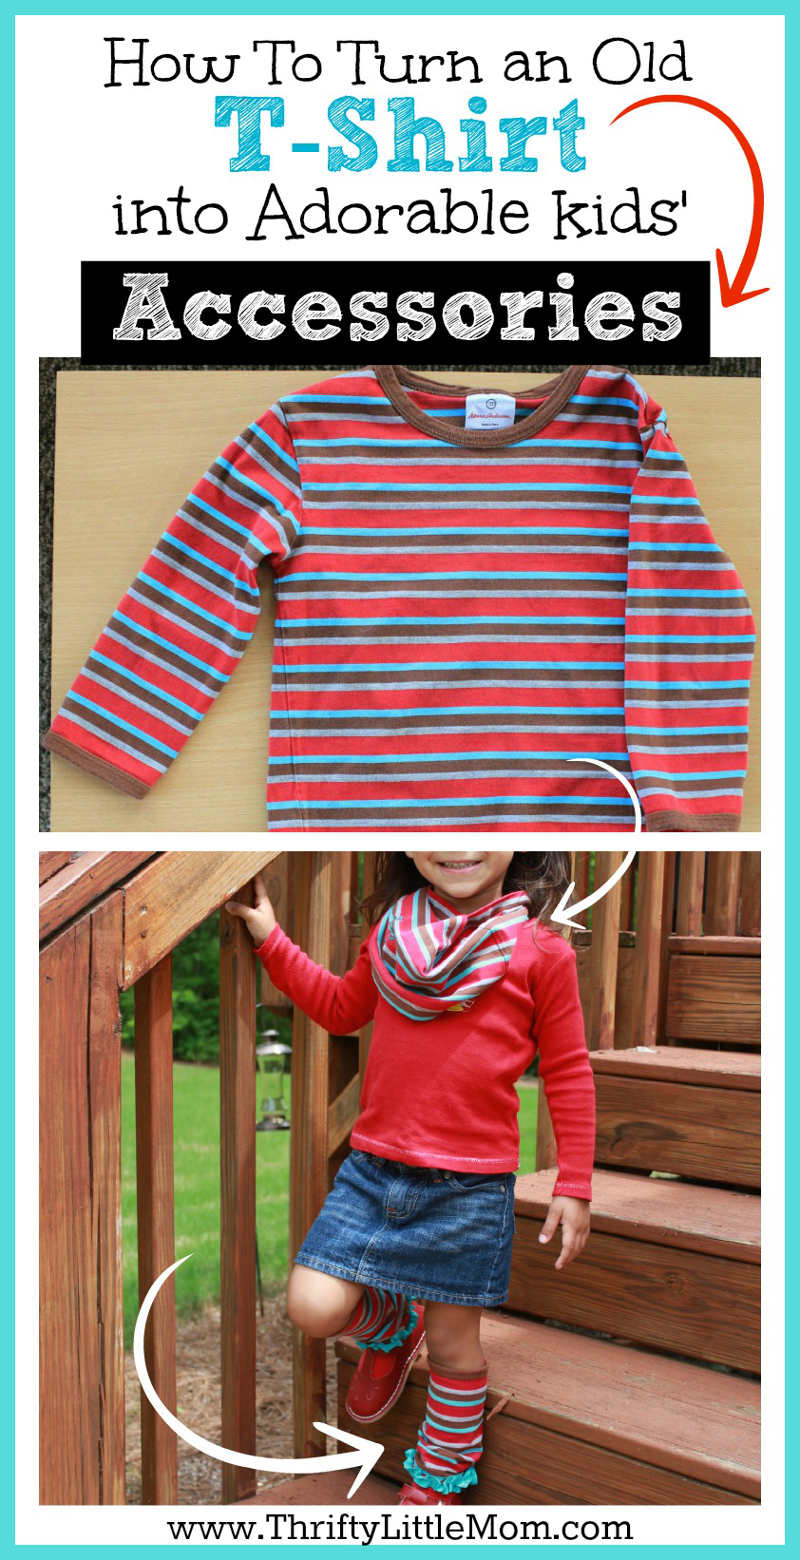
Turn Old T-shirts into Adorable Kids Accessories
With the change of seasons comes a wardrobe conundrum for parents: what can I dress my little girl in that is appropriate for the morning and the afternoon? Layers of course, but then they have to carry all of their morning’s warm clothing that they’ve shed by the afternoon. And if your child is anything like mine, they’re between sizes so they’ve outgrown winter clothes and it’s too early to buy summer clothes because they may outgrow that before summer gets here!
What to do??
Well, I have a solution that’s cute, fashionable & thrifty for any of you that have little girls!
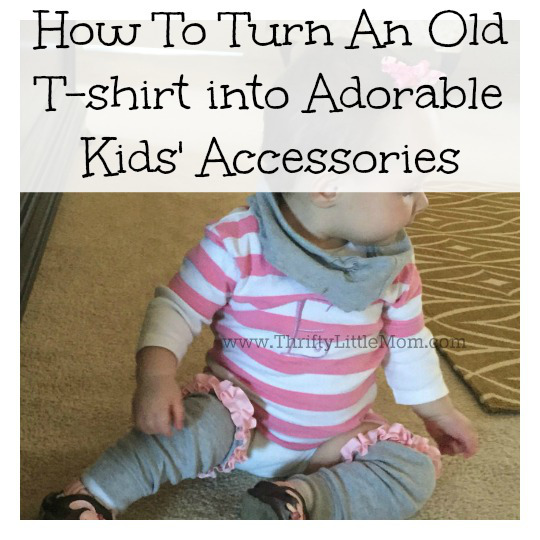
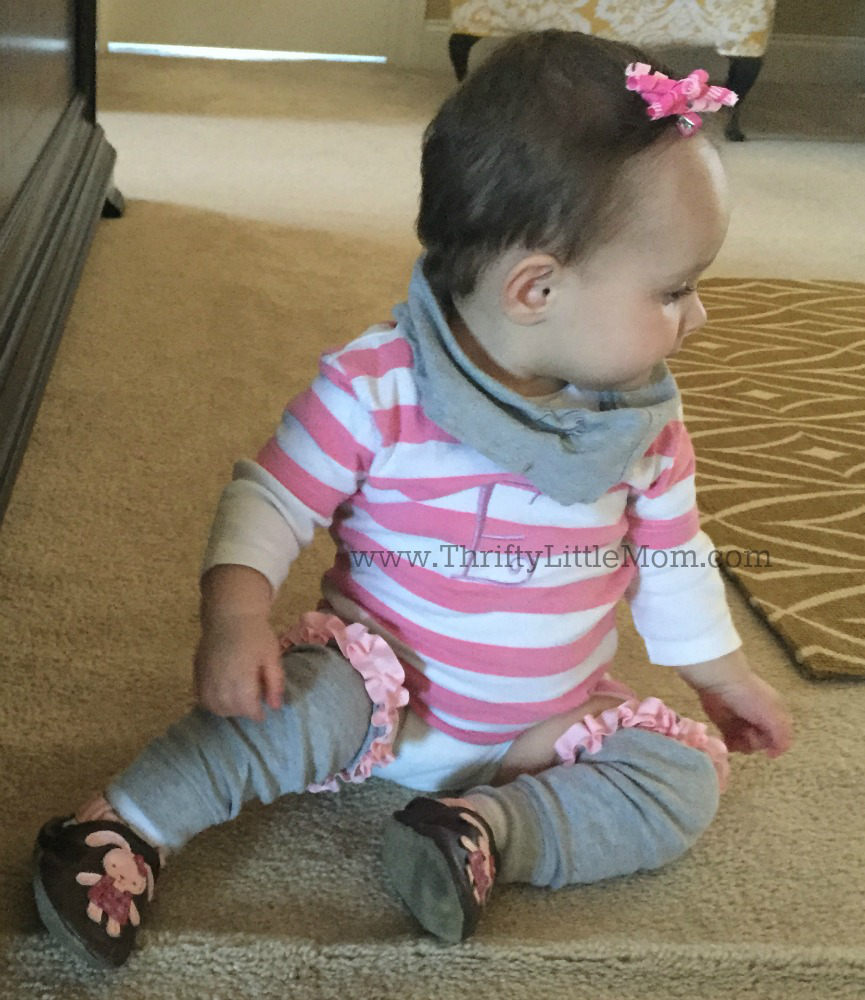
I made leggings, a scarf and a headband out of one kid’s long sleeve shirt! Here’s how you can turn old t-shirts into adorable kids accessories.
Step 1:
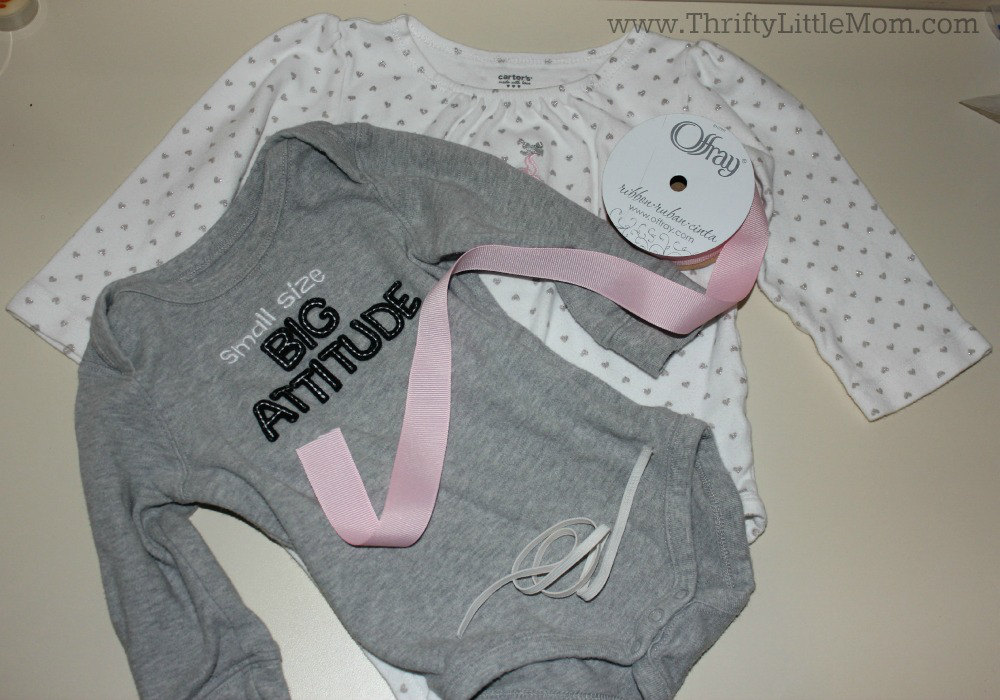
Purchase a long sleeve top (any size as long as the arm length is long enough). Peruse thrift shops, consignment sales, garage sales-I spent less than $1 on these!
Step 2:
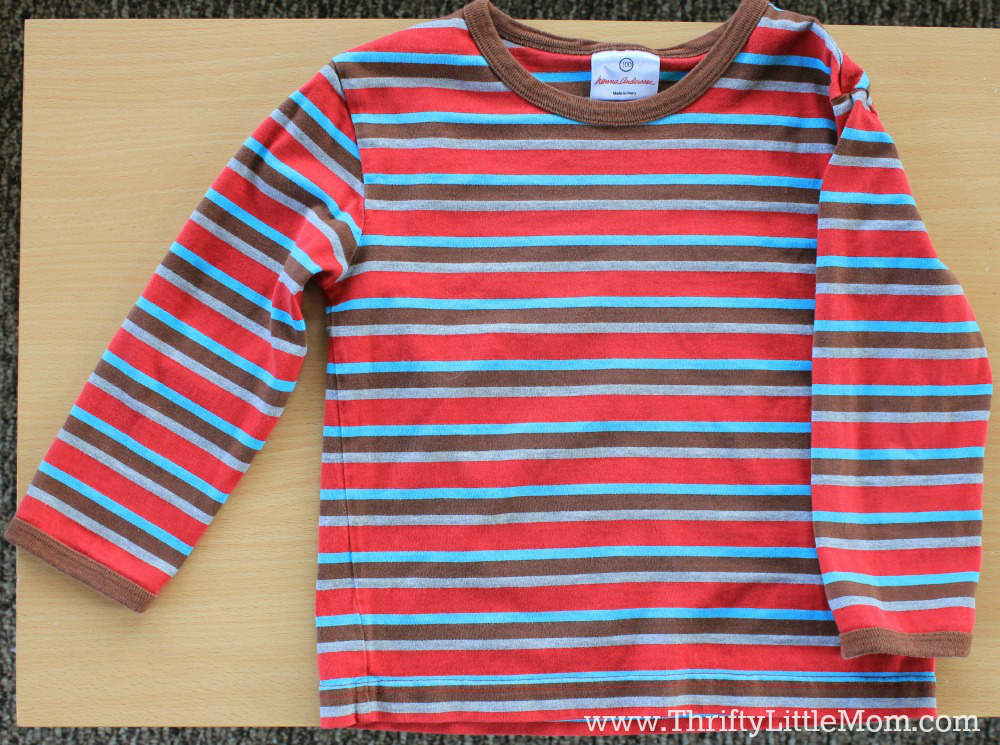
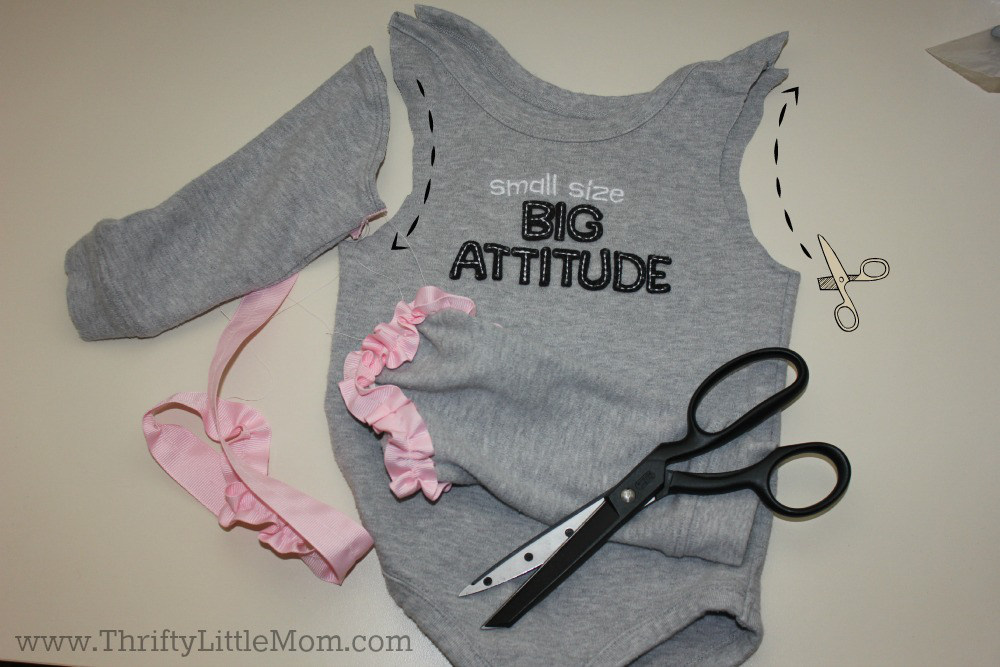
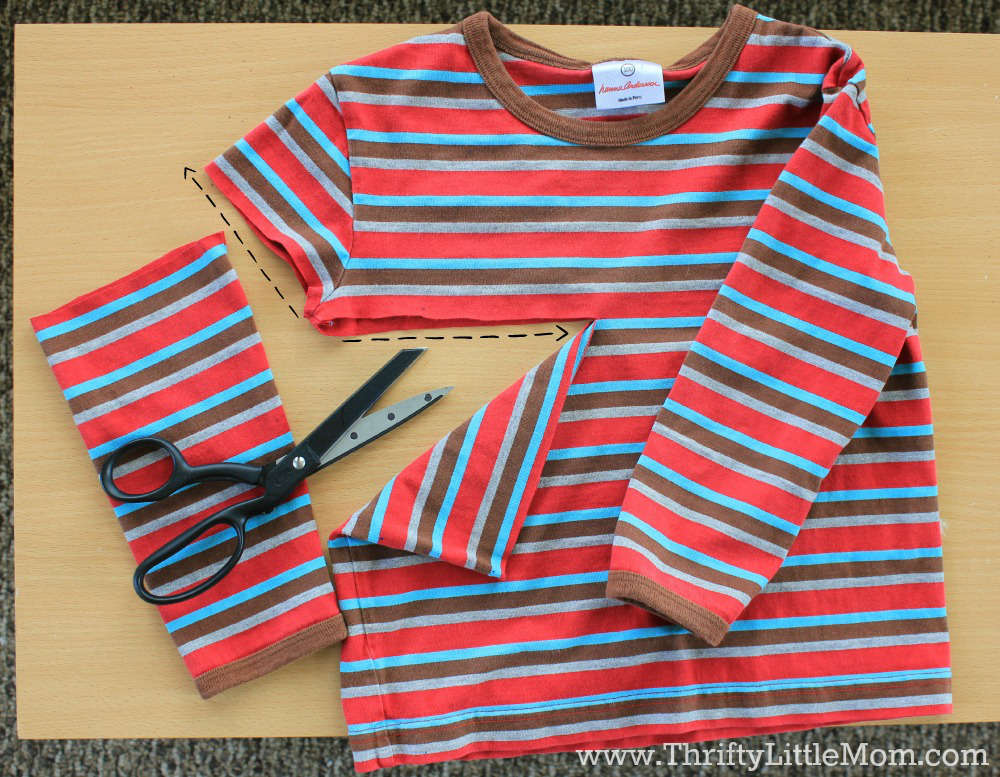
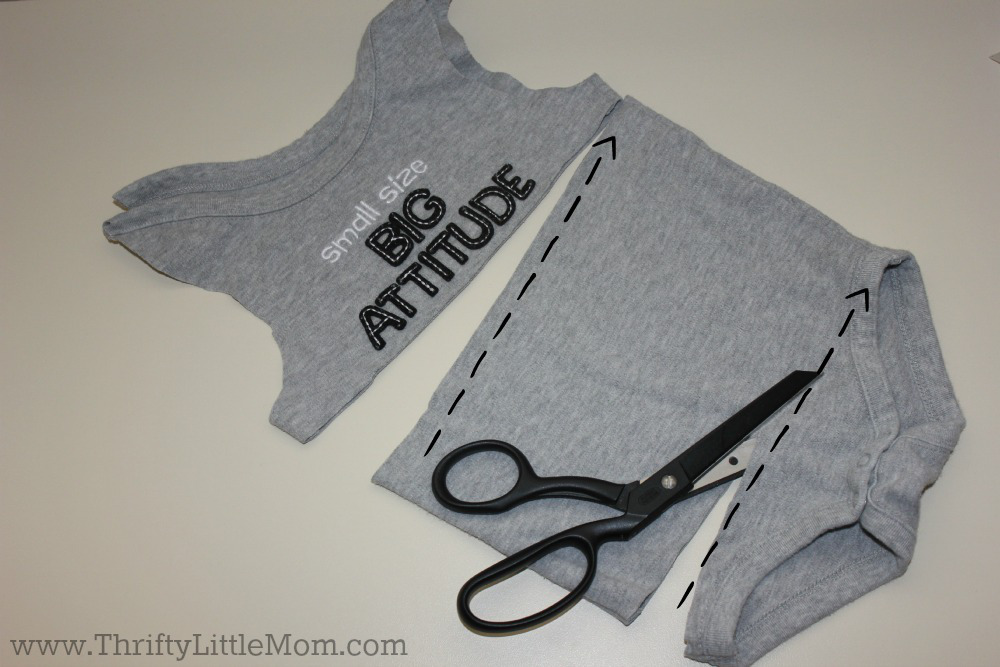
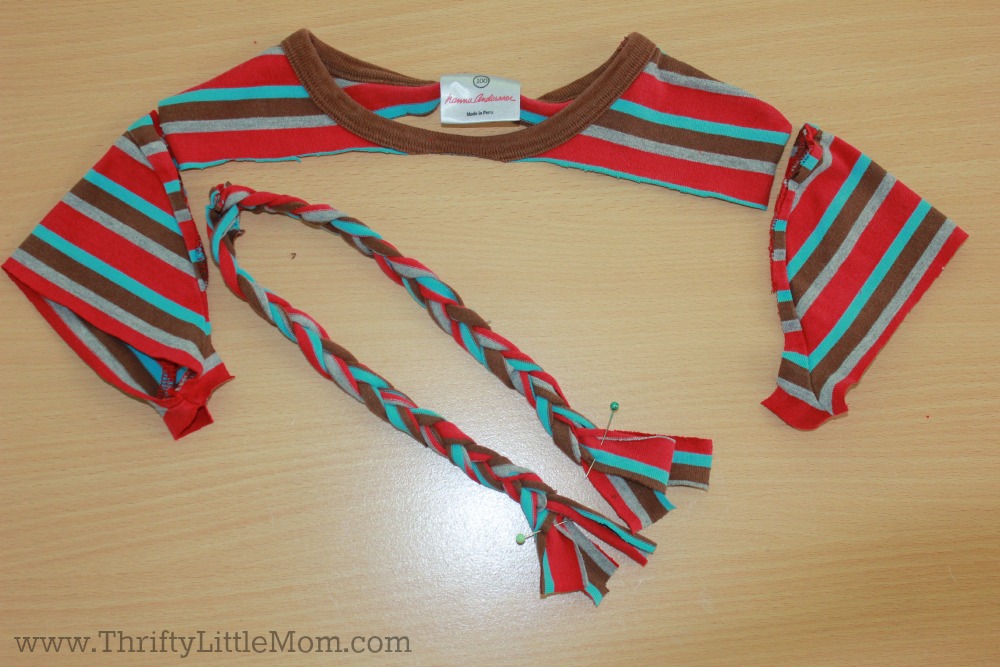
Cut the armhole above the seam so you don’t need to hem it if the seam has elastic like the grey onesie seen below. For the striped shirt I cut below the arm seam as pictured below. The arm is going to be the legging. I added ribbon to the wider part of the sleeve.
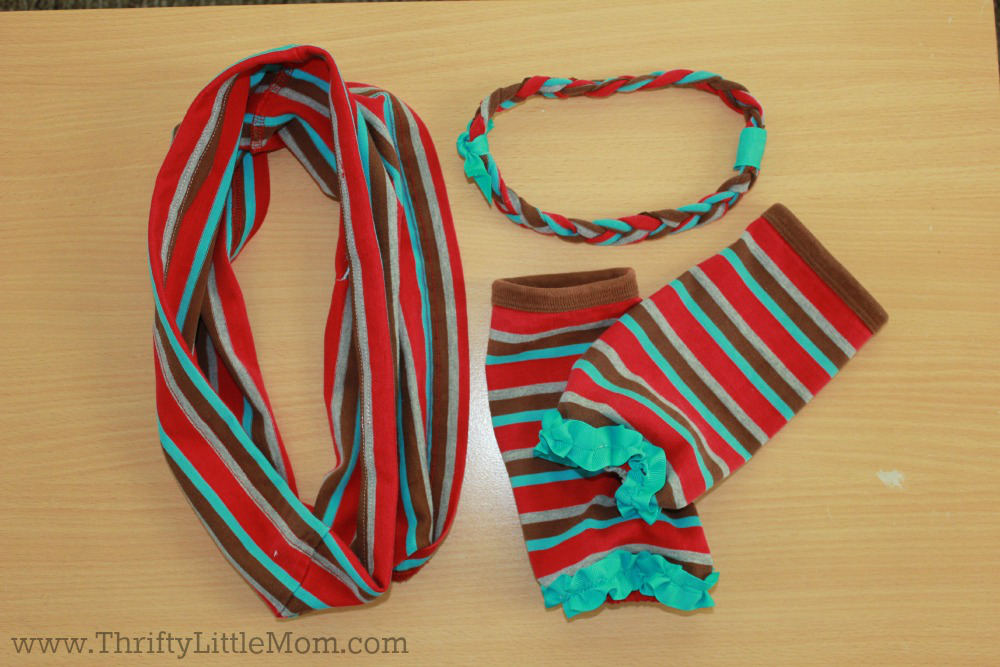
With the red stripe shirt, the sleeve becomes the legging and the lower part of the shirt becomes the infinity scarf. I did hem the side of the scarf that was cut away from the top to give it a nice finish but that is totally up to you!
Step 3:
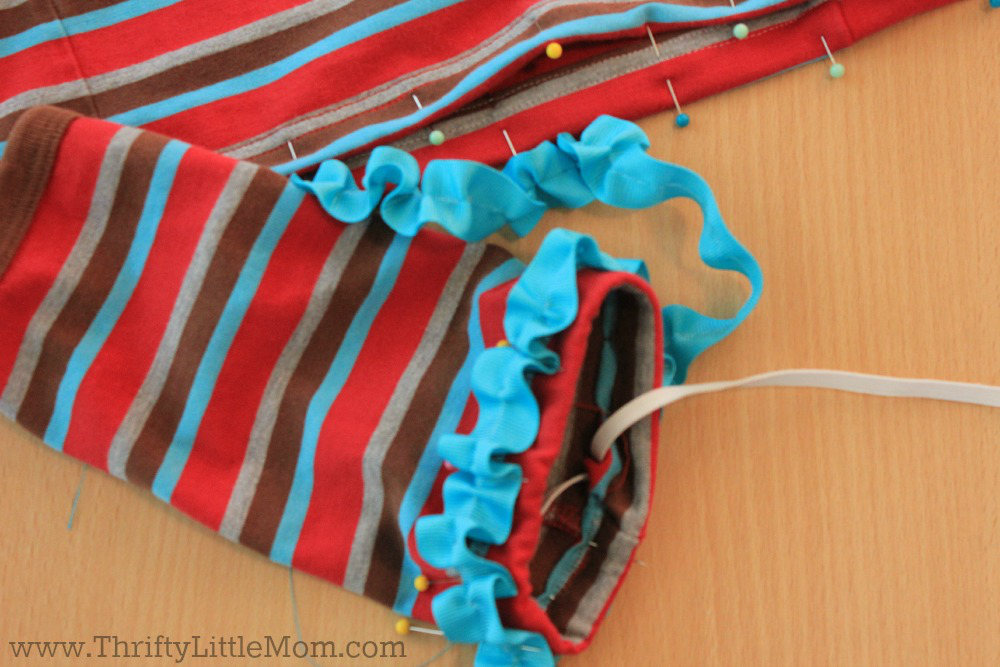
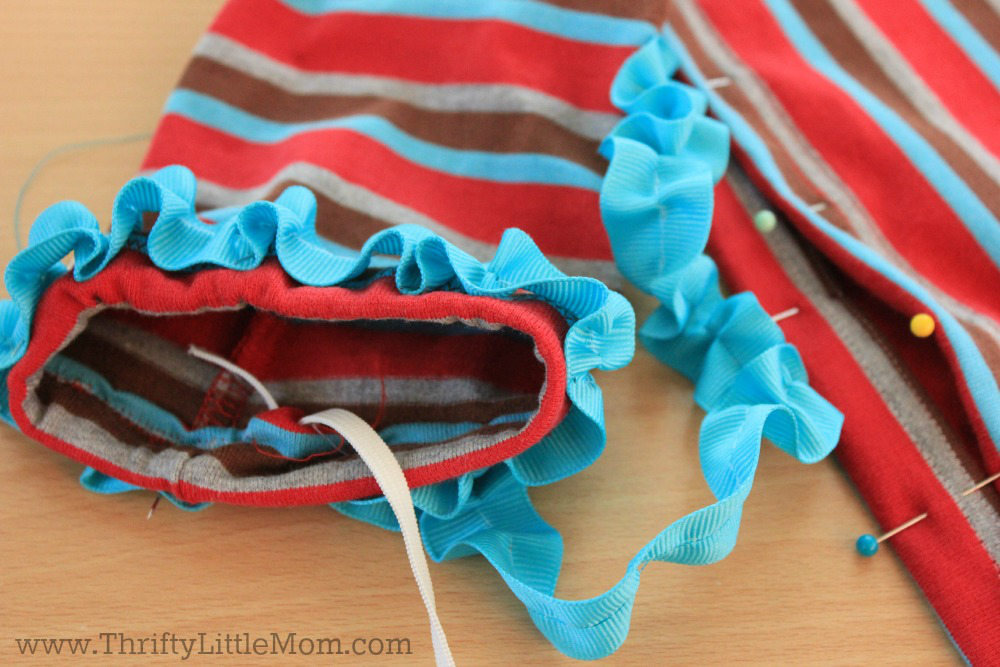
If you need to, you can make a casing to thread elastic into to keep the legging up.
Step 4:
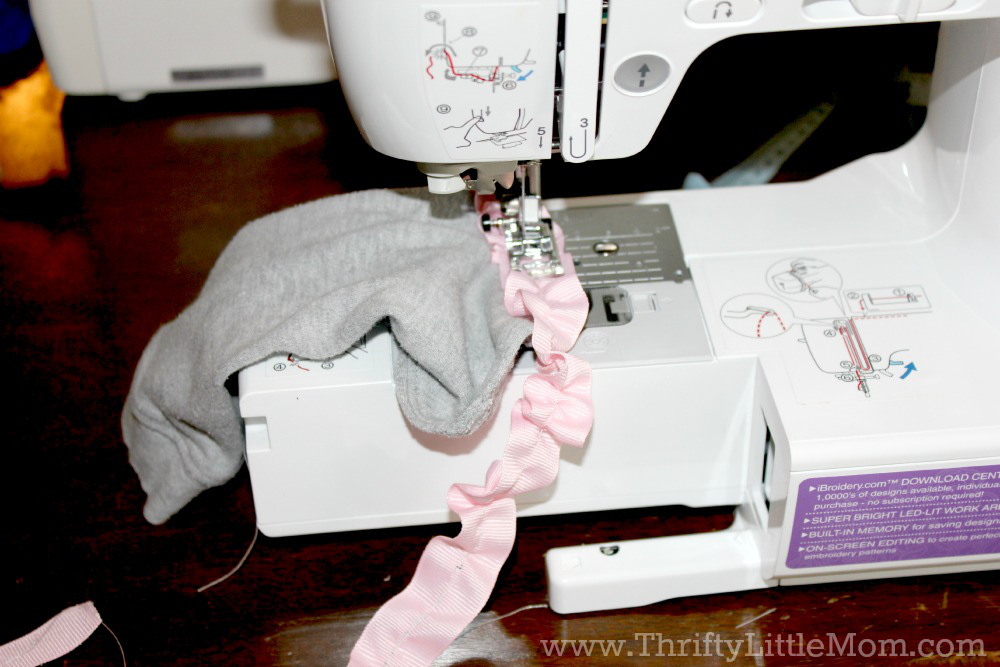
Adorn the seam with gathered ribbon. Again, less than $1 at your favorite craft, sewing store armed with your coupon, of course! I gathered the ribbon by simply folding the ribbon back and forth in an accordion pattern and then slipping a needle with thread through the center of the folds and gently pulling them so the ribbon bunches up before I sew.
Step 5:
For the scarf from the onsie, I hemmed the edges that I cut at the top and bottom just to make it look polished.
Step 6:
If desired, make a coordinating headband. I just cut and braided some of the leftover fabric and covered the seam with ribbon. I tied sewed the ends across and then tied them together on each end to make the headband.
Now if you’ve read my posts before, you know I don’t like to waste so any ideas out there for the leftover fabric? We’d love to hear from you!
I love the outcome so much, I’m going to make a few more of these sets; after all it was less than $2!
You may have a shirt in your child’s closet and some ribbon in your craft box that you can use, making it free!!!
Special thanks to guest poster Rhonda for another fun and thrifty tutorial!

Rhonda is the owner of My Symphony Seasonings, LLC located in Georgia. She has a passion for good food, health & entertaining which was the perfect combination for creating My Symphony Seasonings, a company that encourages you to cook and eat whole foods, close to nature by providing original recipe blends of organic herbs & spices, free of fillers and artificial preservatives to add flavor, richness and health benefits to your dishes!

