
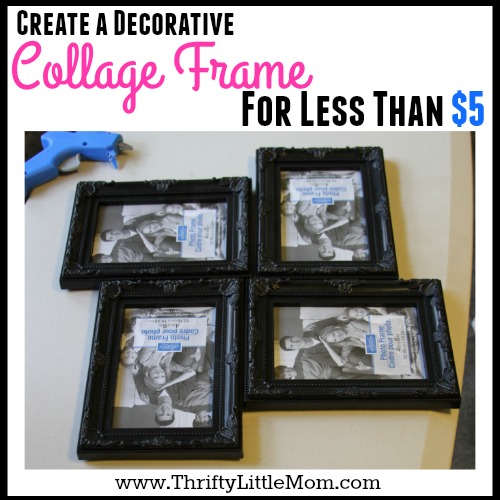
Create A Decorative Collage Frame For Less than $5
Awhile back I was in my local Dollar Tree store and I was looking for some craft ideas when these really cute and modern black frames caught my eye. I had recently spent close to $20 on a collage frame from my Ross and realized that these frames were very similar in style, size and design as the ones that made up the large collage frame. These frames were only $1 so I decided to buy 4 to make a smaller collage frame for my office. The project came out just as I had hoped and so I wanted to pass this tutorial along to you. 4 Frames was all I needed in my home office but you might want to go big and the beauty of that is that these frames are only $1 so even if you did 10 frames you’re still only spending $10! Here’s how you can create a decorative collage frame for less than $5.
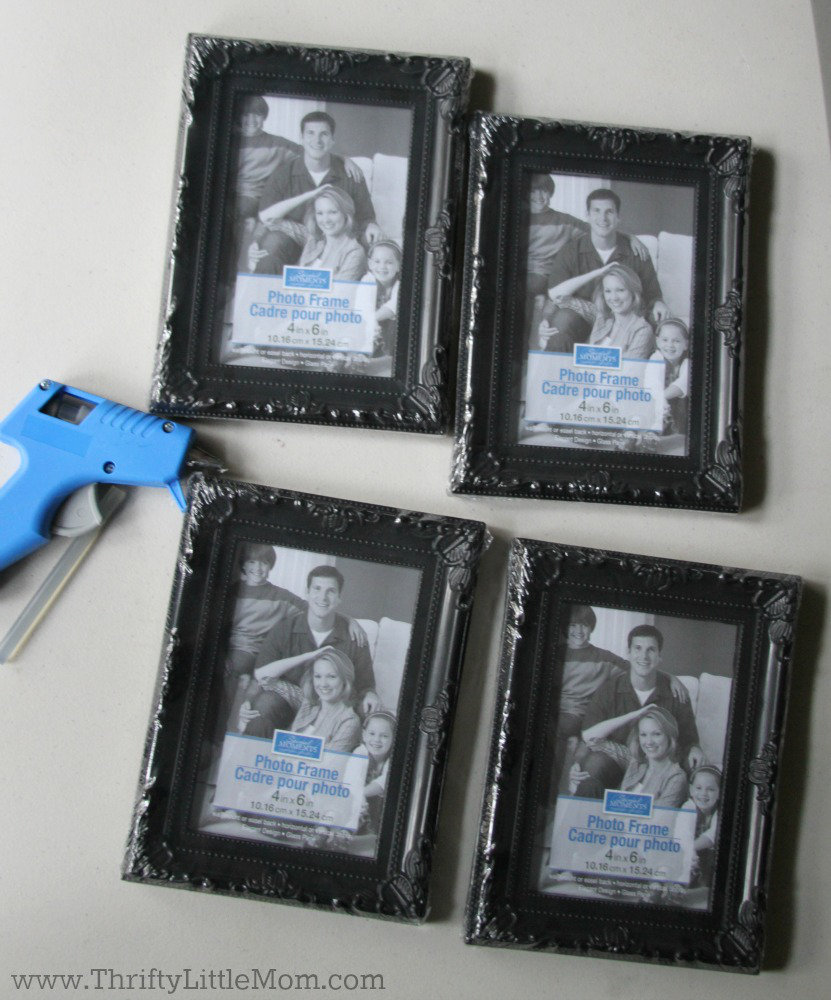
Supplies:
- 4 X 6 Dollar Store Frames (As many as you want).
- Hot Glue Gun
- Hot Glue Sticks
- Photos to match your vertical/horizontal arrangement
Step 1- Remove the protective plastic wrap from your new frames.
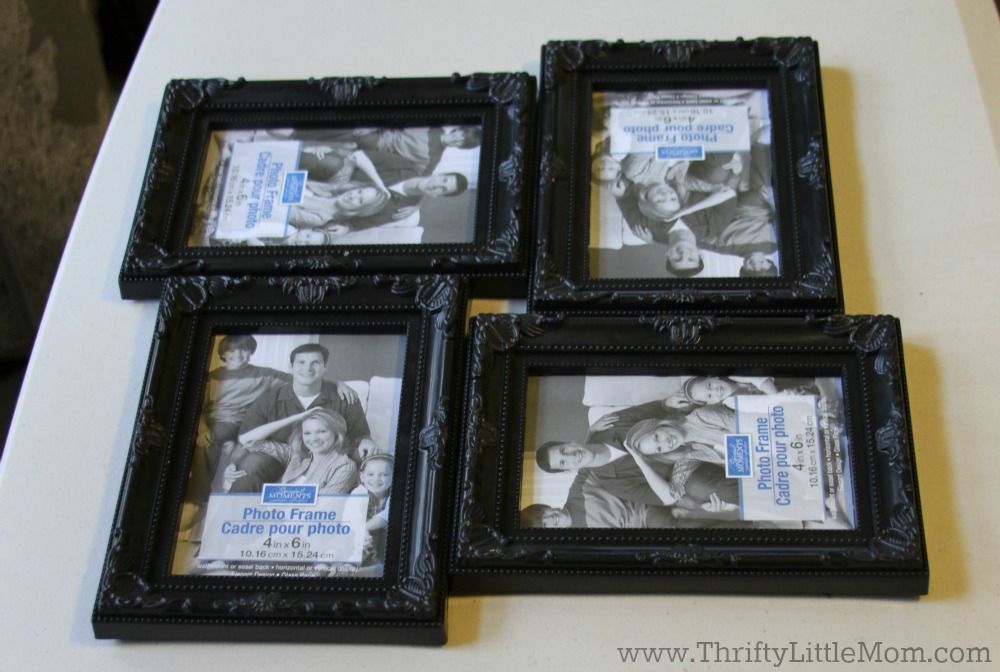
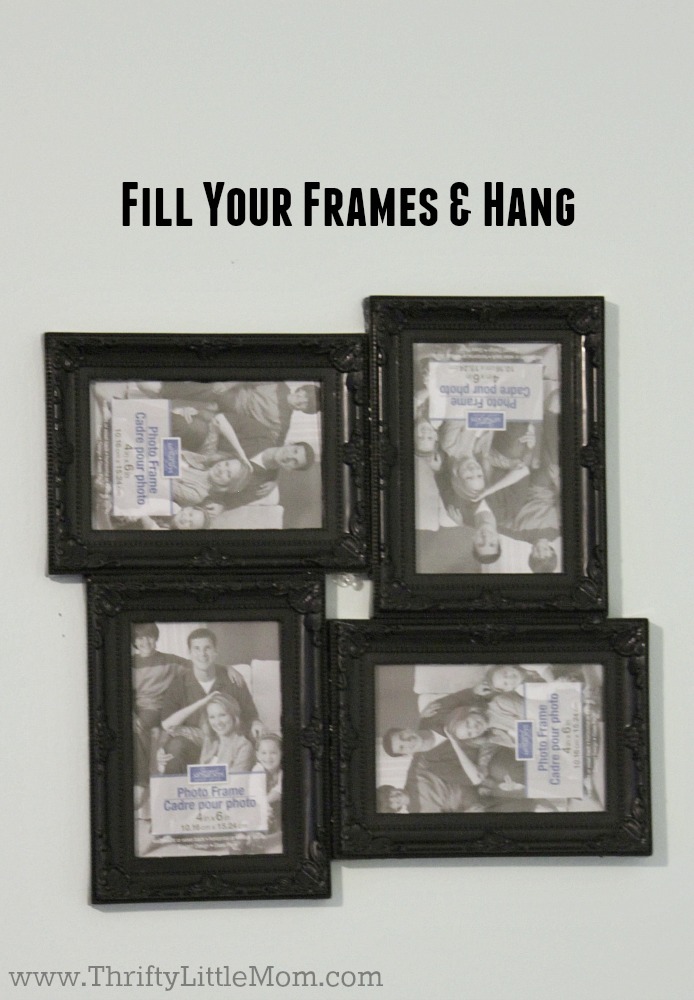
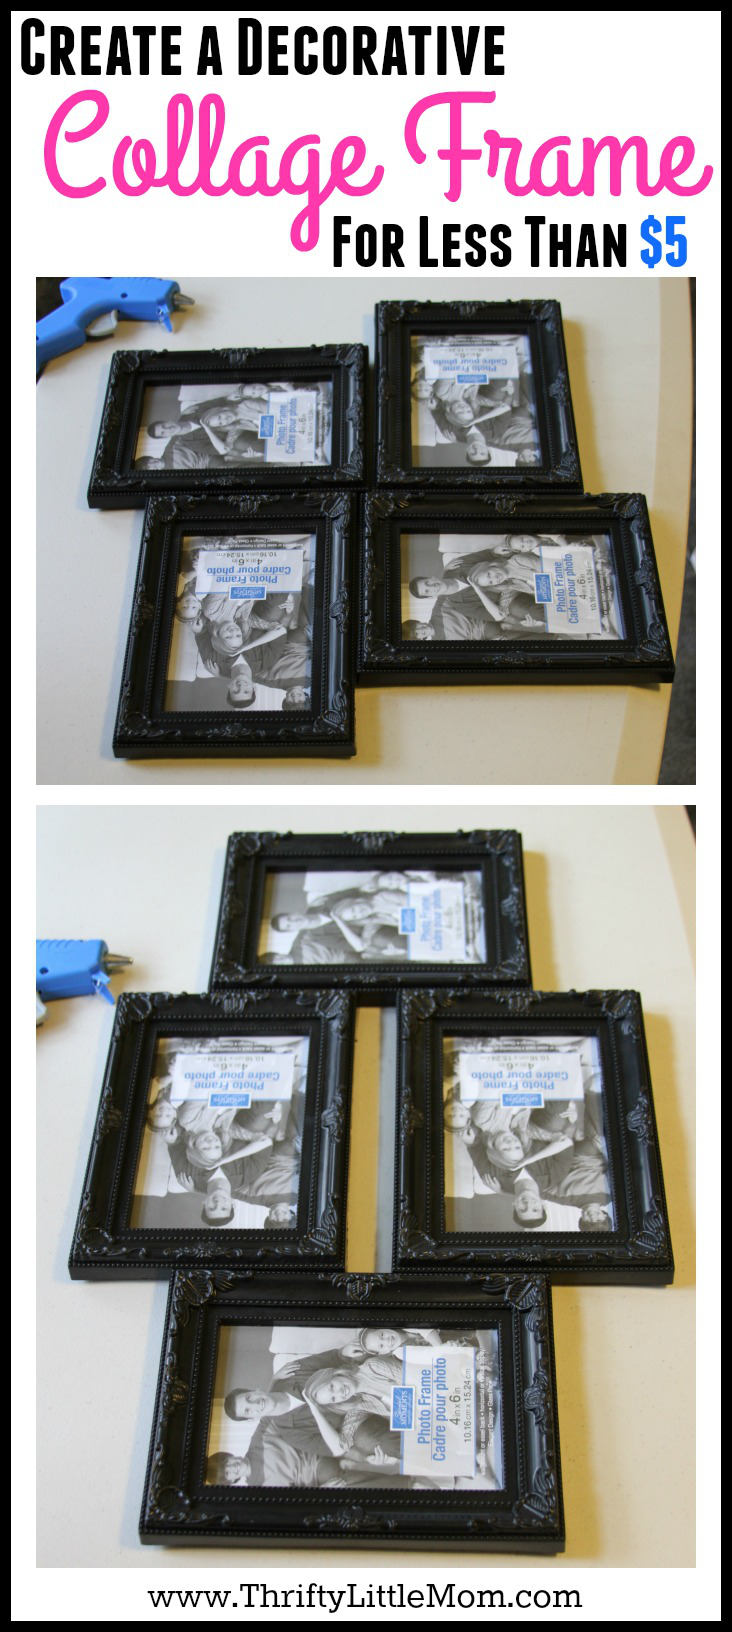
Step 2: Play around with frame arrangements before you start gluing. Here are 4 examples of how I arranged mine. Remember to print or grab all the picture prints you would like to use and see how many are portrait vs. landscape because that can effect your design needs. Once you have a design you like, go ahead and load the pictures into the frames so all you have to do is connect them.
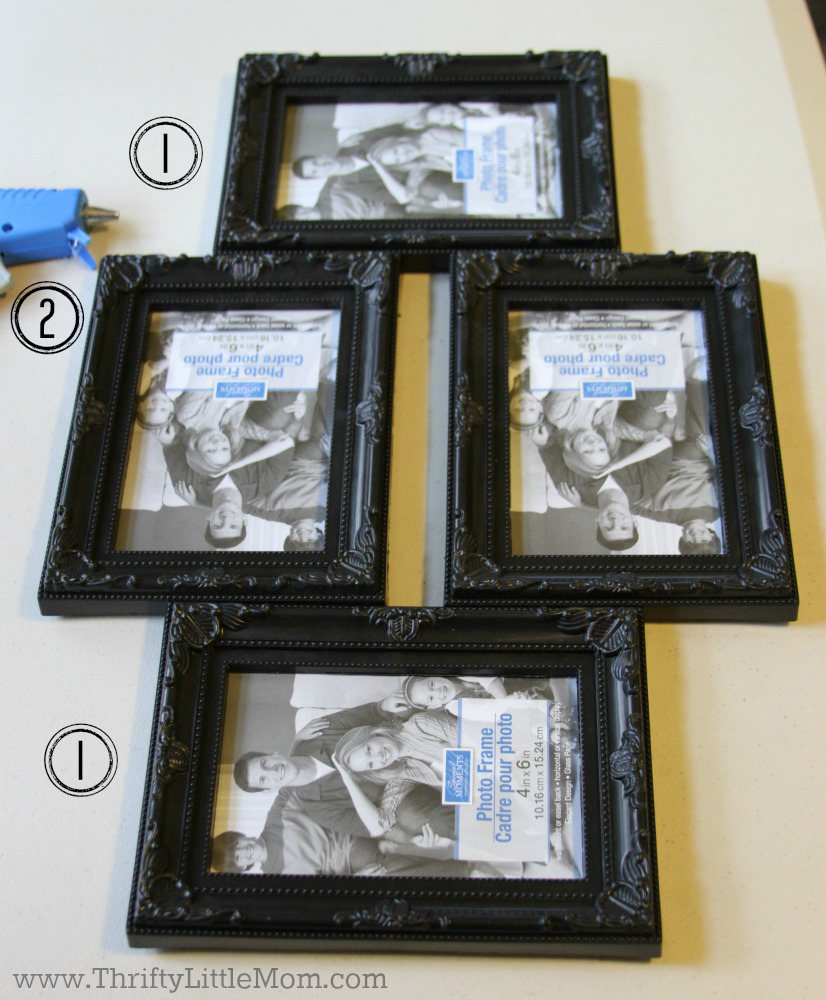
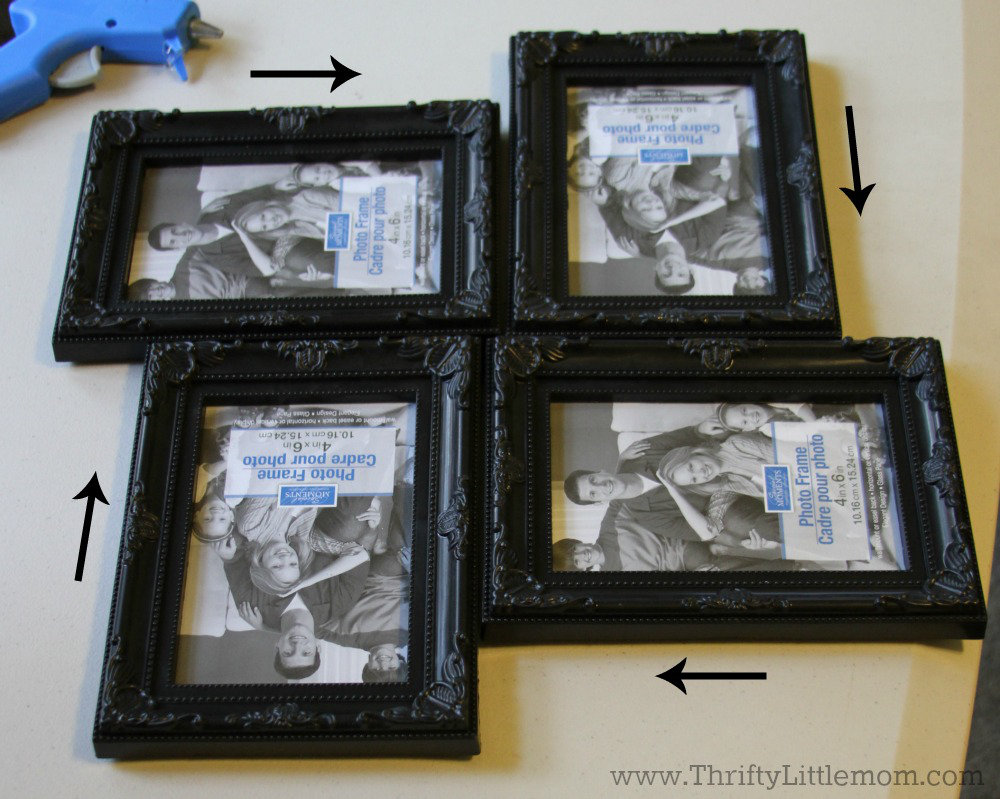
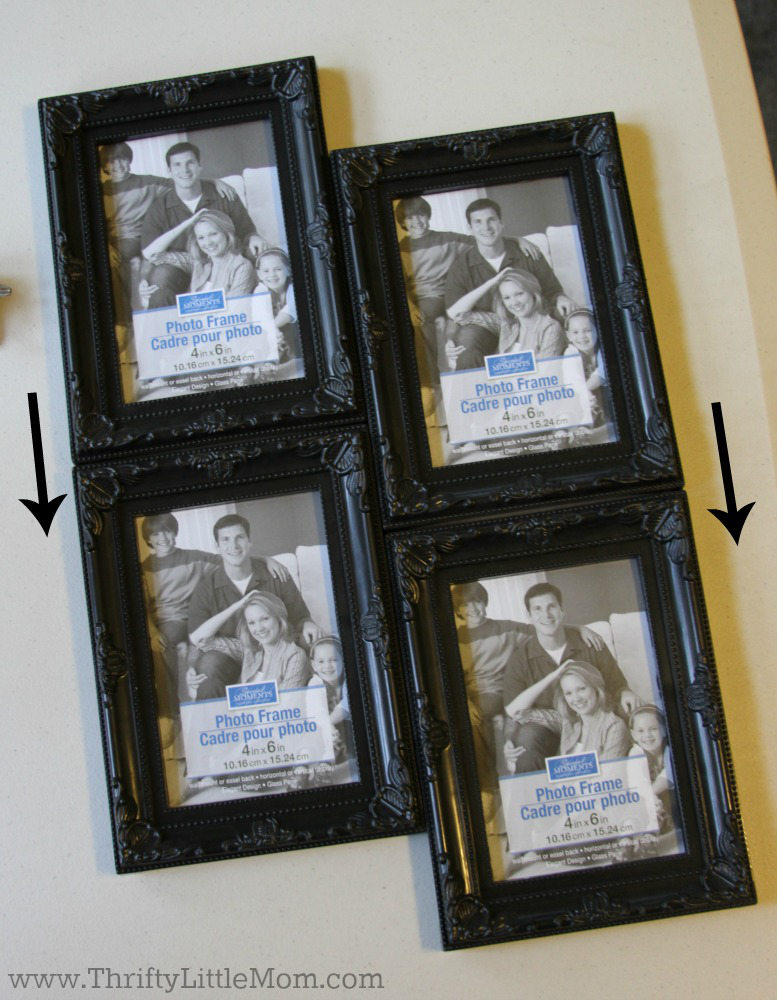
I personally liked this arrangement the best, so I started gluing.
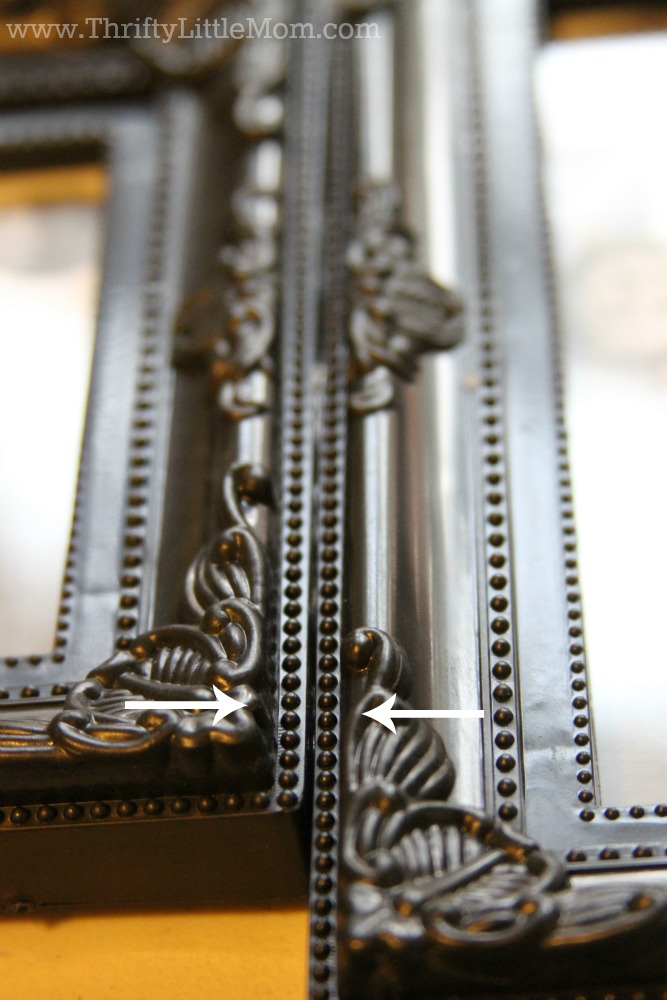
Step 3: Add a strip of hot glue along the side. Be careful not to place glue past where your adjacent frame will meet the frame your adding glue to. If you do, you’ll be able to see the glue once they are put together.
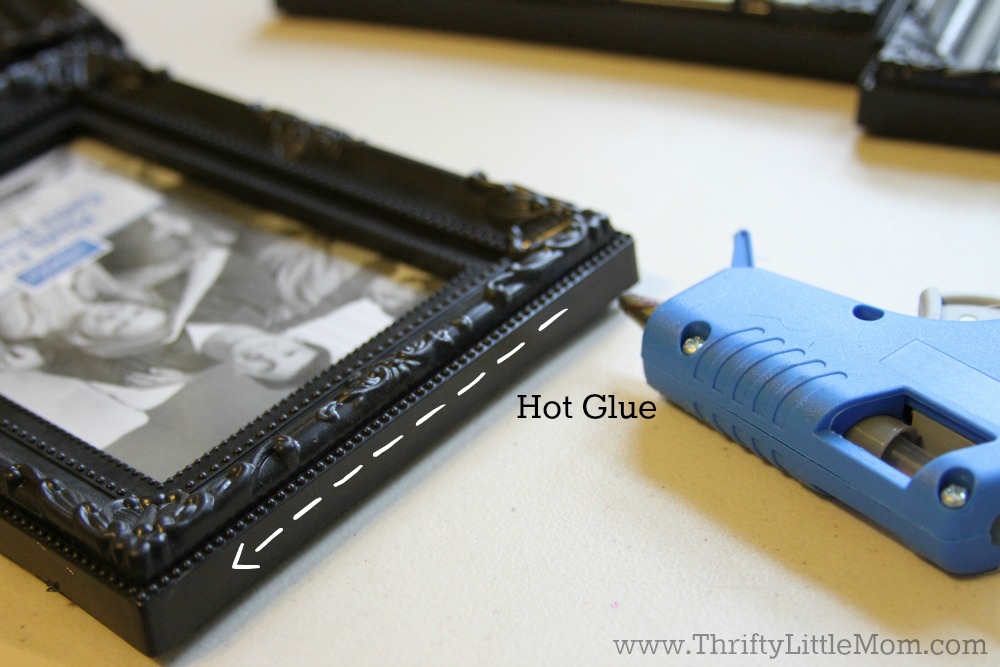
Step 4: Quickly press the next frame onto the frame with the glue and hold for about 30 seconds until secure. Leave it on a flat surface so you don’t end up with frames at a funny angle.
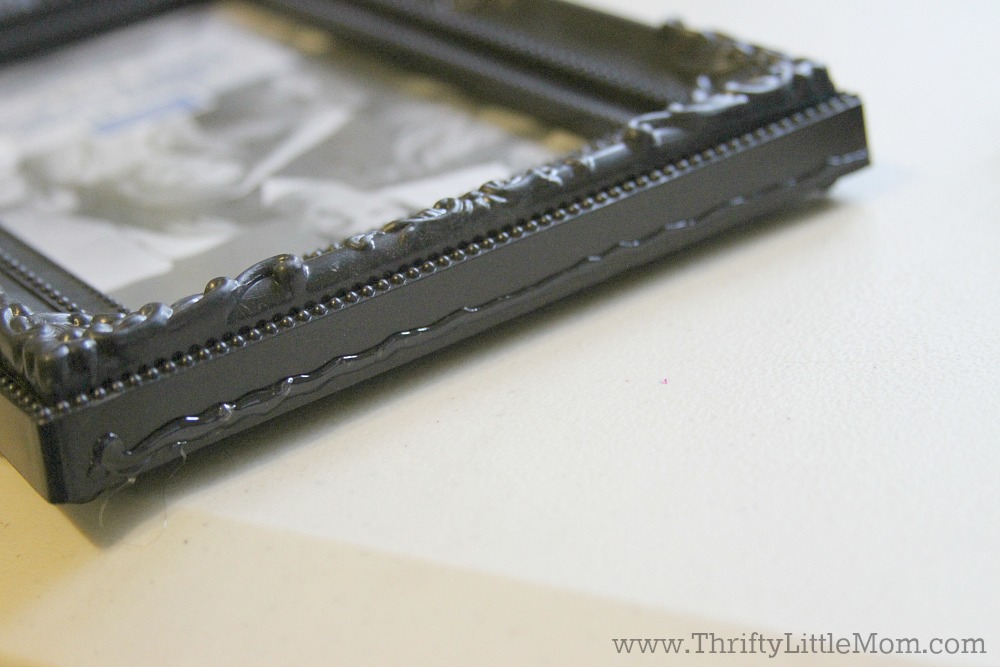
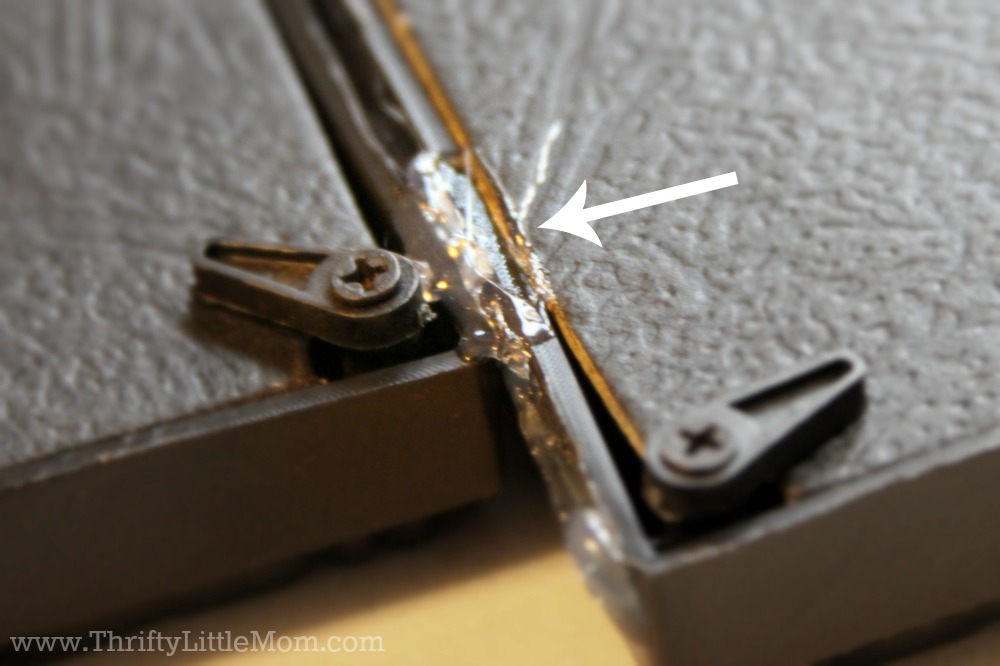
Step 5: Flip the frame over and use the glue to securely and obscurely brace the frames together with hot glue. Try to avoid getting glue on the cardboard picture backing or you have trouble if you ever decide to replace the picture you put in the frame. (As you can see I didn’t do a great job of this.)
Step 6: After you have connected your frames side by side with glue, go along the back and put a little extra reinforcement on seams that would easy pop apart. In my case, this is the spot where all the frames come together in the center. Therefore I reinforced the area heavily with hot glue.
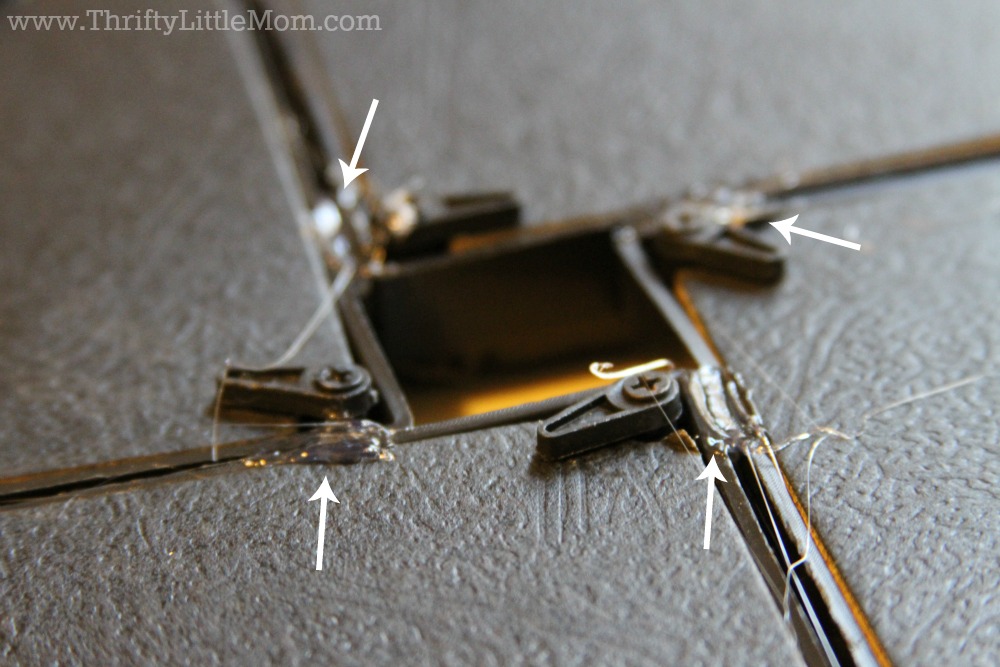
Step 7: Once you have the frames securely fastened to one another, remove all the visible hot glue “strings” and “webs” and hang your art proudly on the wall!

Kim Anderson is the organized chaos loving author behind the Thrifty Little Mom Blog. She helps other people who thrive in organized chaos to stress less, remember more and feel in control of their time, money, and home. Kim is the author of: Live, Save, Spend, Repeat: The Life You Want with the Money You Have. She’s been featured on Time.com, Money.com, Good Housekeeping, Women’s Day, and more!