How to Make the Best Iced Coffee
I’m not a fan of hot coffee. Don’t ask me why I can’t explain it to you. It’s just one of those things, like people who don’t like to eat fruit. Therefore I only drink iced coffee. If you are like me the one thing I get really tired of is making the perfect cup of coffee only to have it trashed by melting ice.
When I was in college I had a small obsession with those frapp-chocka-chino things which is exactly where my freshman 15 came from. That year, my friend and I met up for coffee one night and I was complaining that I really liked cold coffee but the frapp-chocka-chino things were too high in calories. So this friend (who happened to be barista) told me to try a carmael machiatto. It was love at first sip and half the calories.
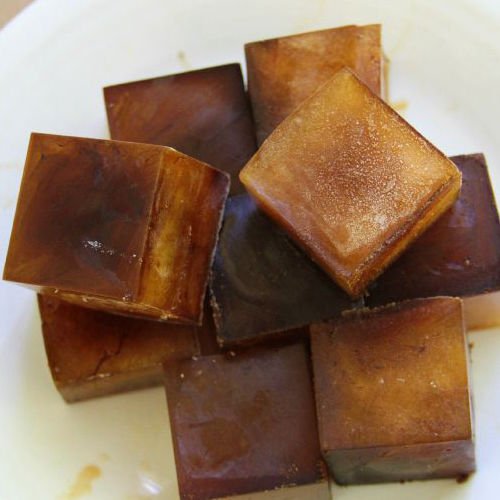
Over the years I’ve tailored my taste to enjoy a low calorie iced coffee. I’ve also perfected my own recipe over time. In this post I’ll share a link to my weekly supply cold brew coffee recipe and show you how I make my own cold brew coffee ice cubes which help me achieve the most perfect cups of coffee I’ve ever had the pleasure of gulping sipping.
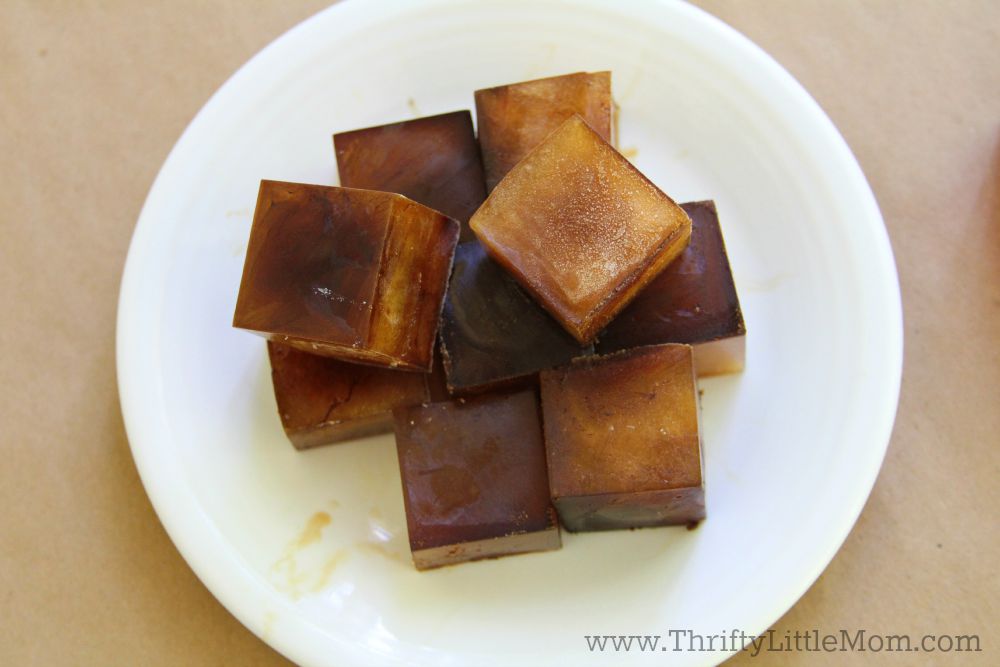
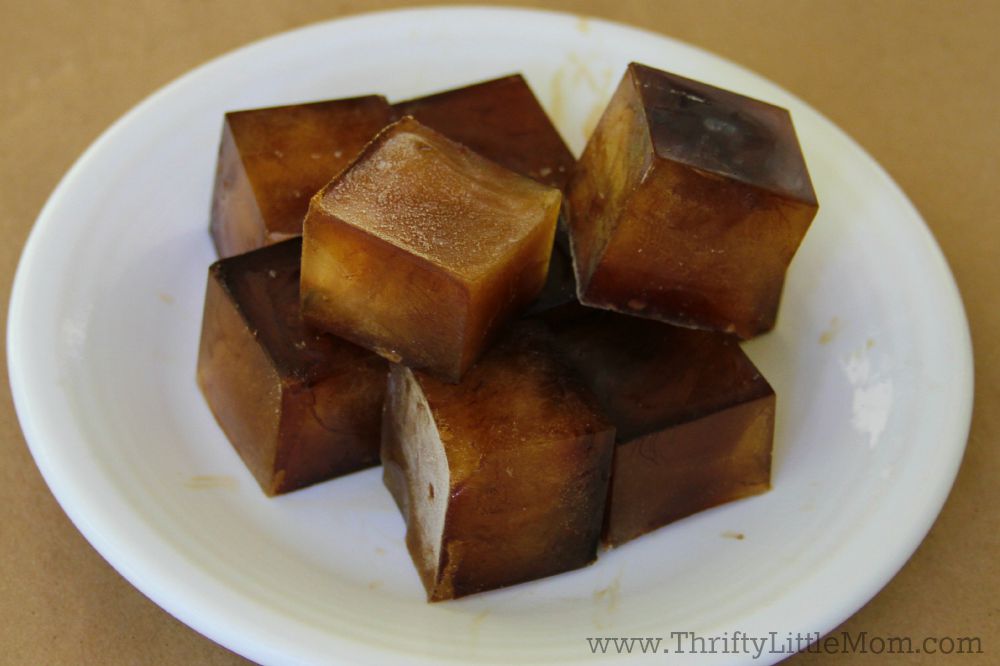
Regular ice cubes melt down over time leaving a watery layer on top of my perfectly concentrated cold brew. That’s no good. Keep in mind that these are also perfect for cooling down a cup of hot joe that’s a little too hot without waiting around.
Here’s how I made my own cubes and you can too!
Watch Step-by-Step Best Iced Coffee Video:
Best Iced Coffee Supplies:
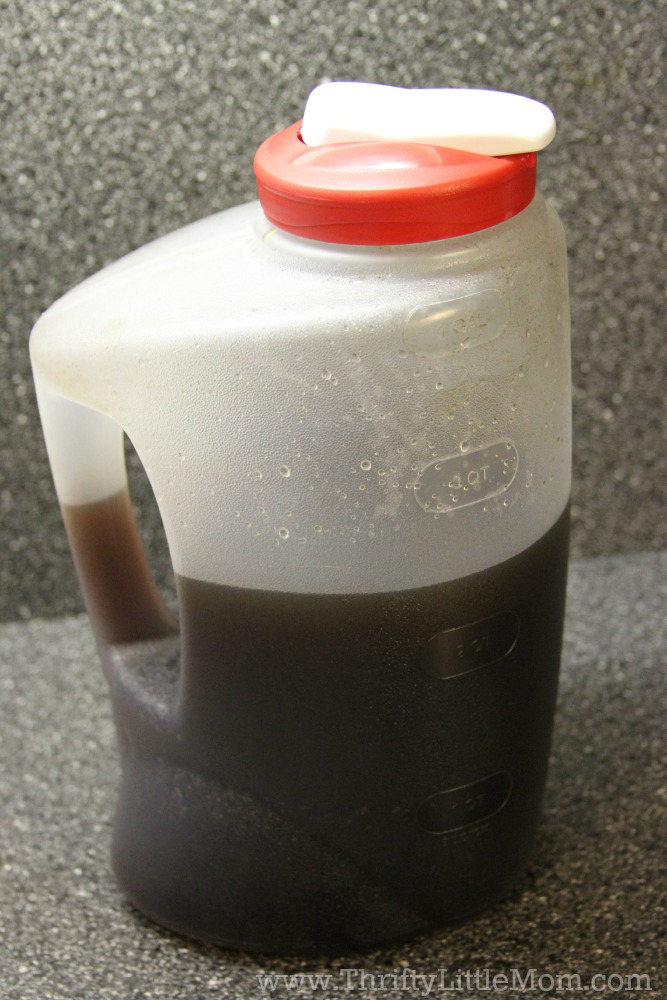
- Cold Brew Iced Coffee (Here’s my super easy recipe).
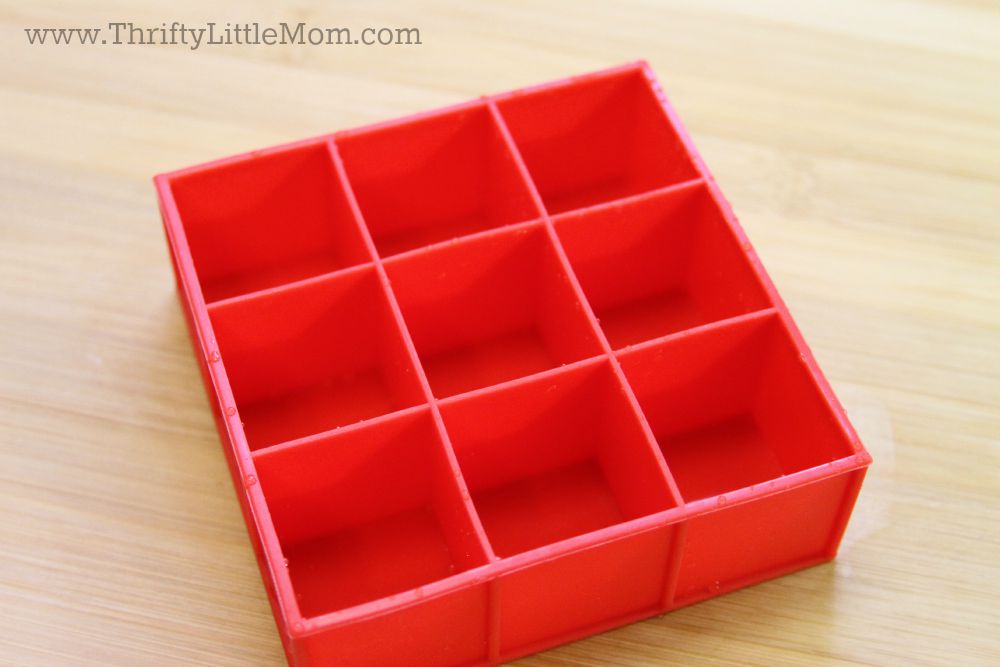
- Silicone Ice Cube Tray- I got mine at Target but you can also get them on Amazon in a 1 inch or 2 inch cube size. I prefer these over plastic ice trays. Arctic Chill Ice Cube Tray – 2 Pack – 1 Inch Cubes Keep Your Drink Cooled for Hours
- Drinking Glass
- Creamer
Iced Coffee Prep Step 1:
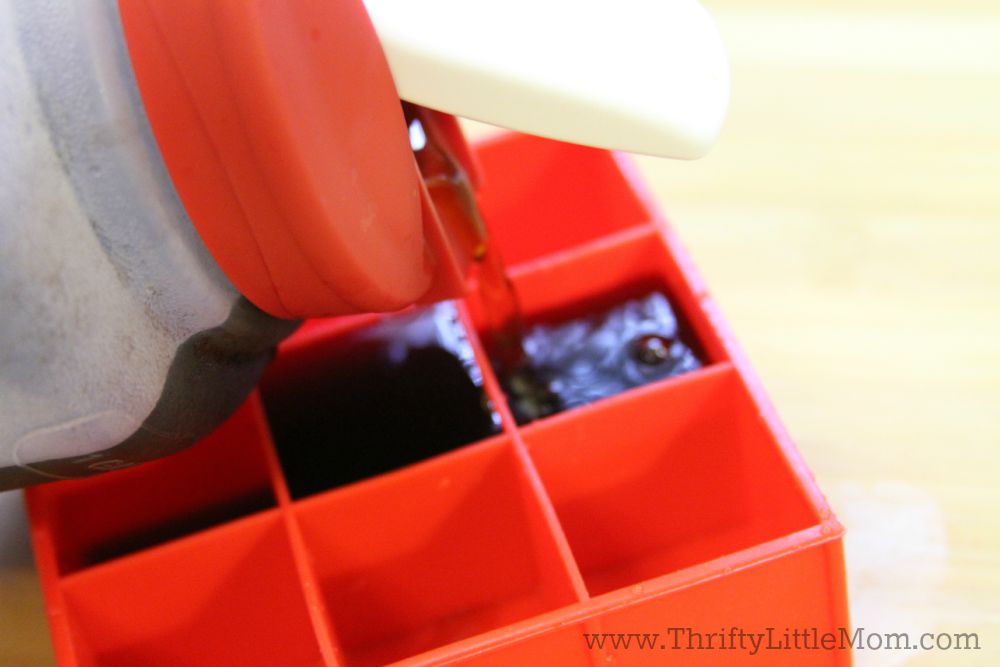
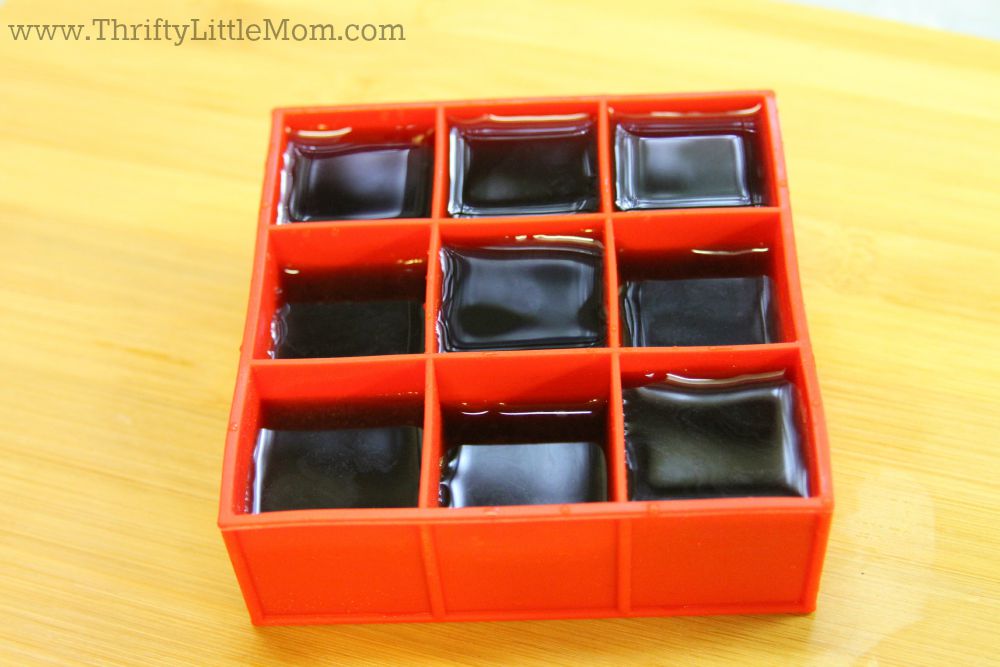
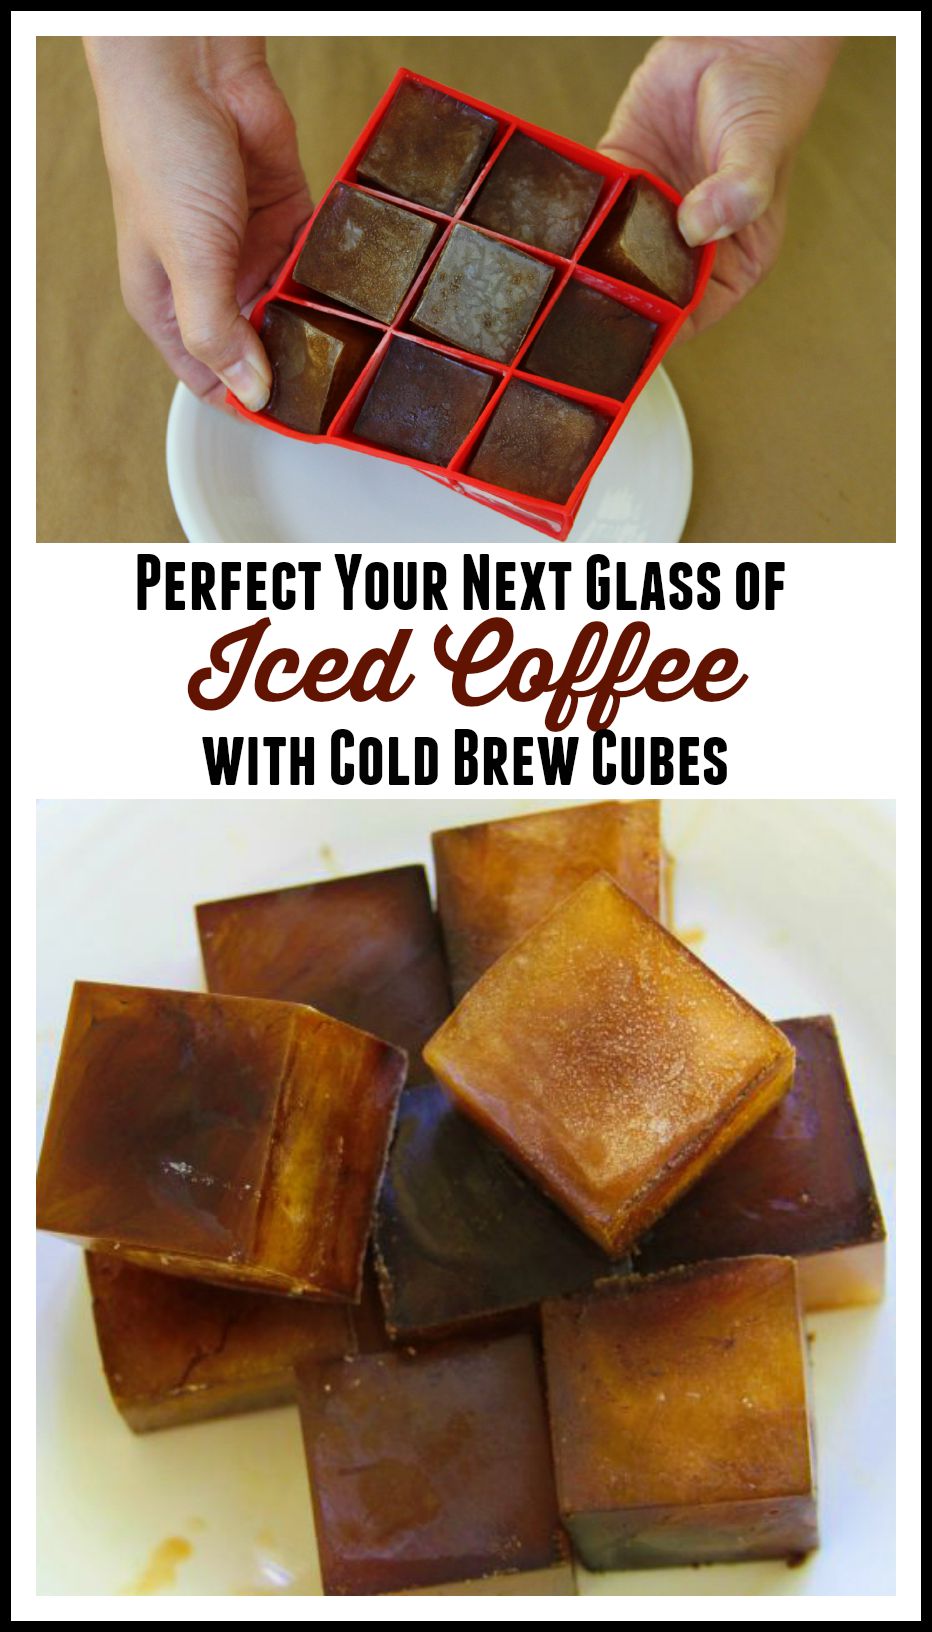
Fill your silicone ice cube tray with your cold brew coffee.
Iced Coffee Prep Step 2:
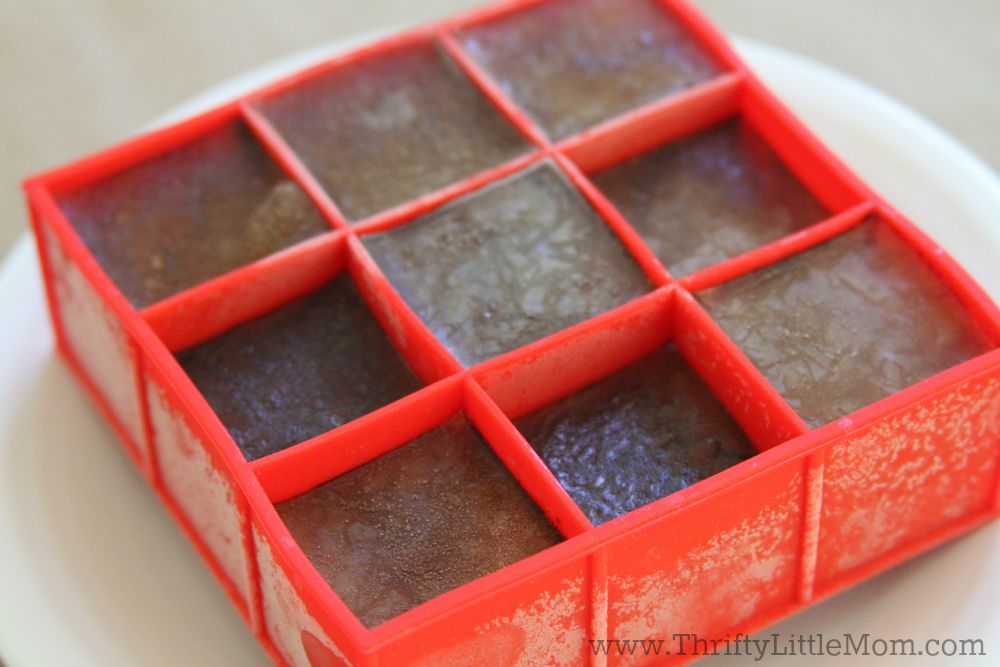
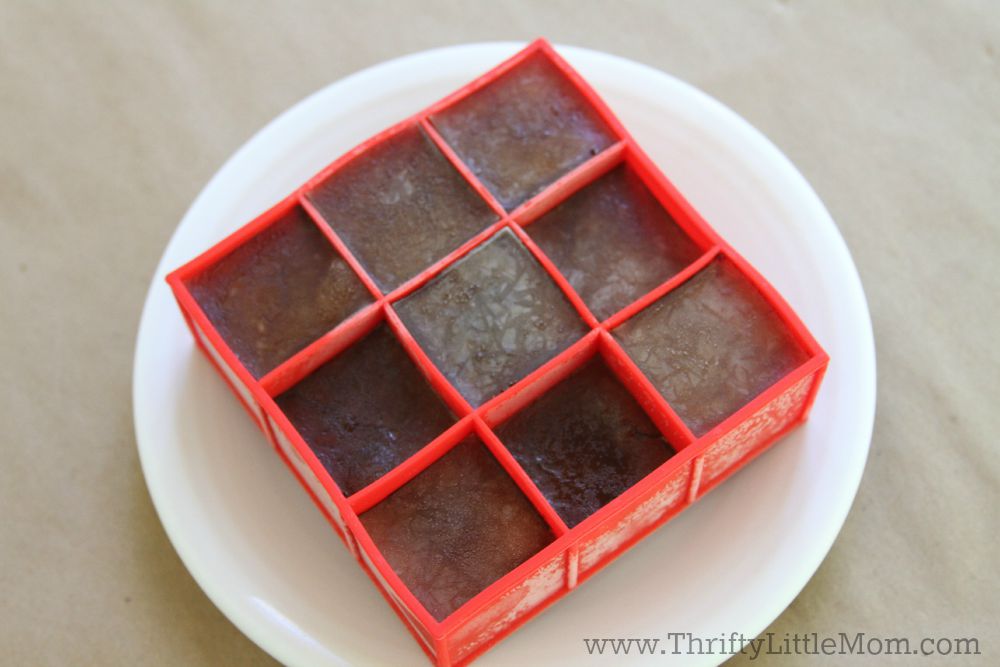
Place your silicone tray into your freezer
Iced Coffee Prep Step 3:
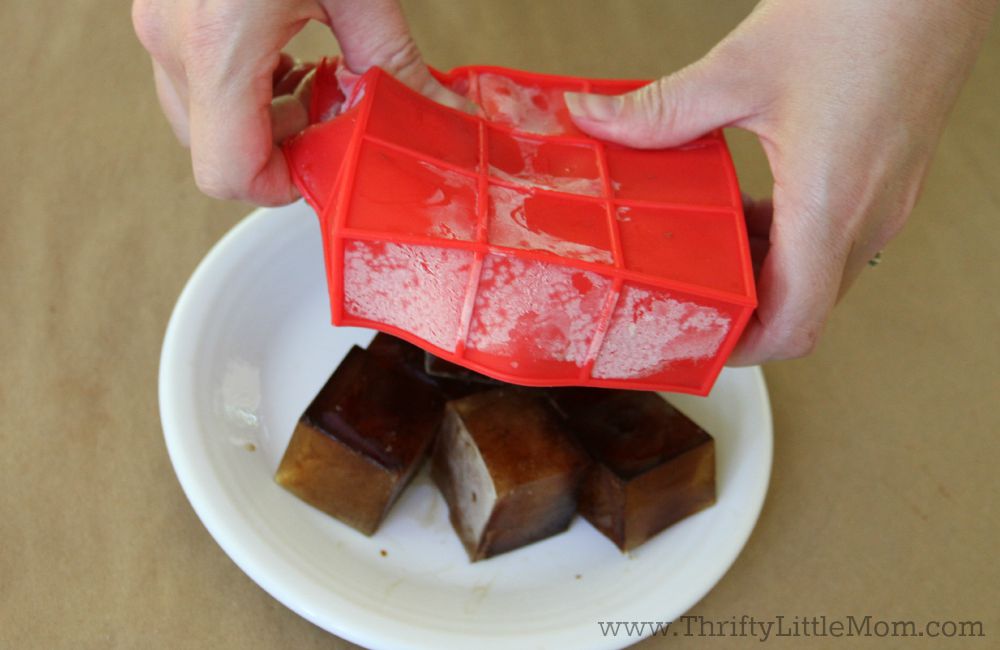
Remove cubes from freezer. Gently bend the corners of the silicone tray to loosen the cubes.
Iced Coffee Prep Step 4:
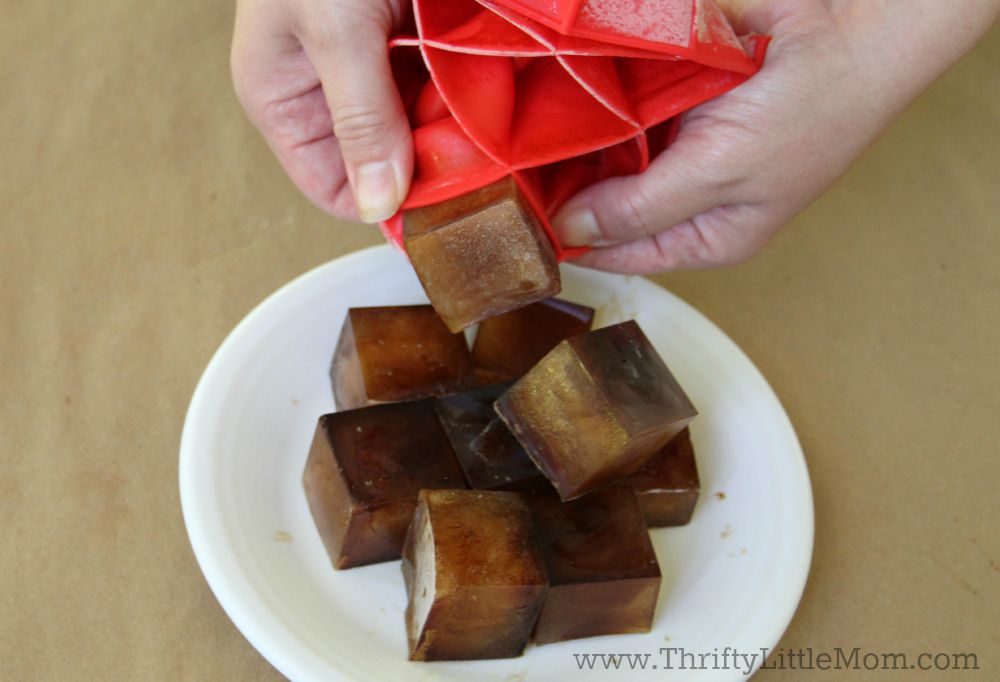
Flip the tray upside down and gently press each cube out (that doesn’t just slide out on it’s own).
Iced Coffee Prep Step 5:
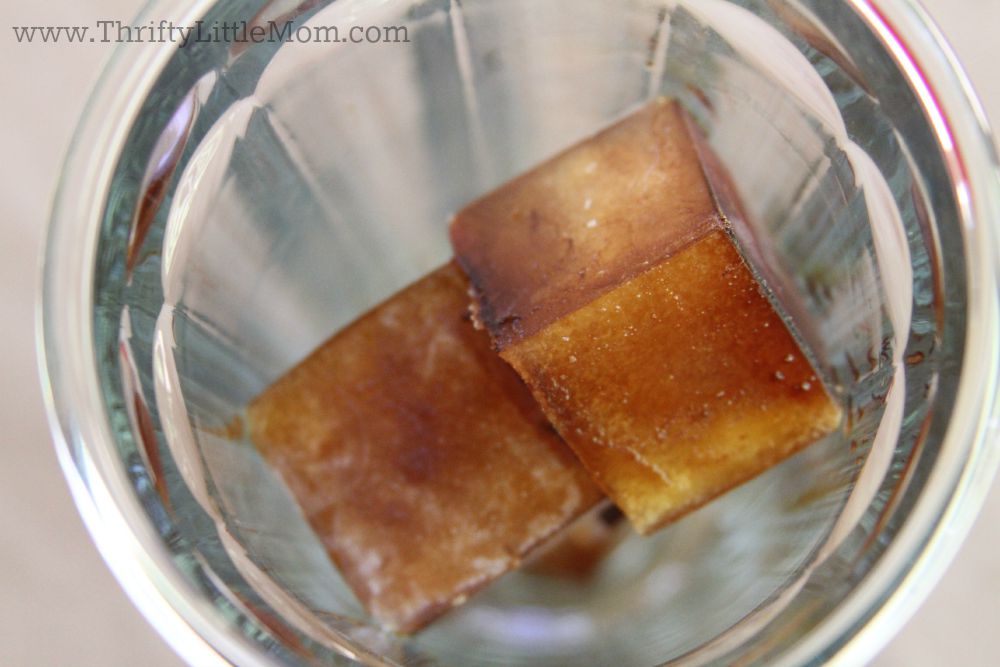
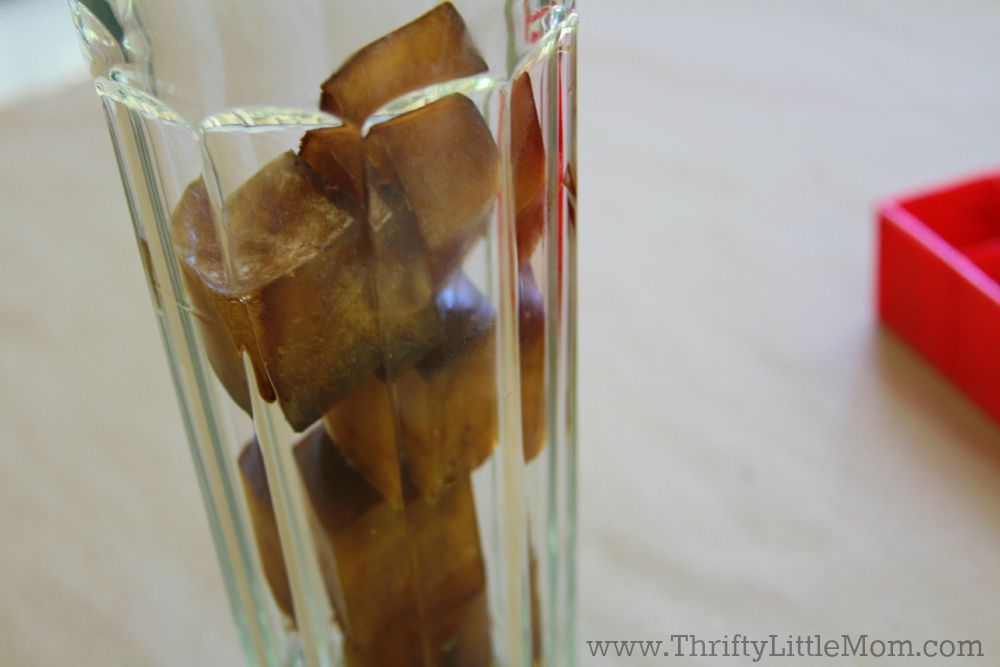
Add your coffee cubes to your glass!
Iced Coffee Prep Step 6:
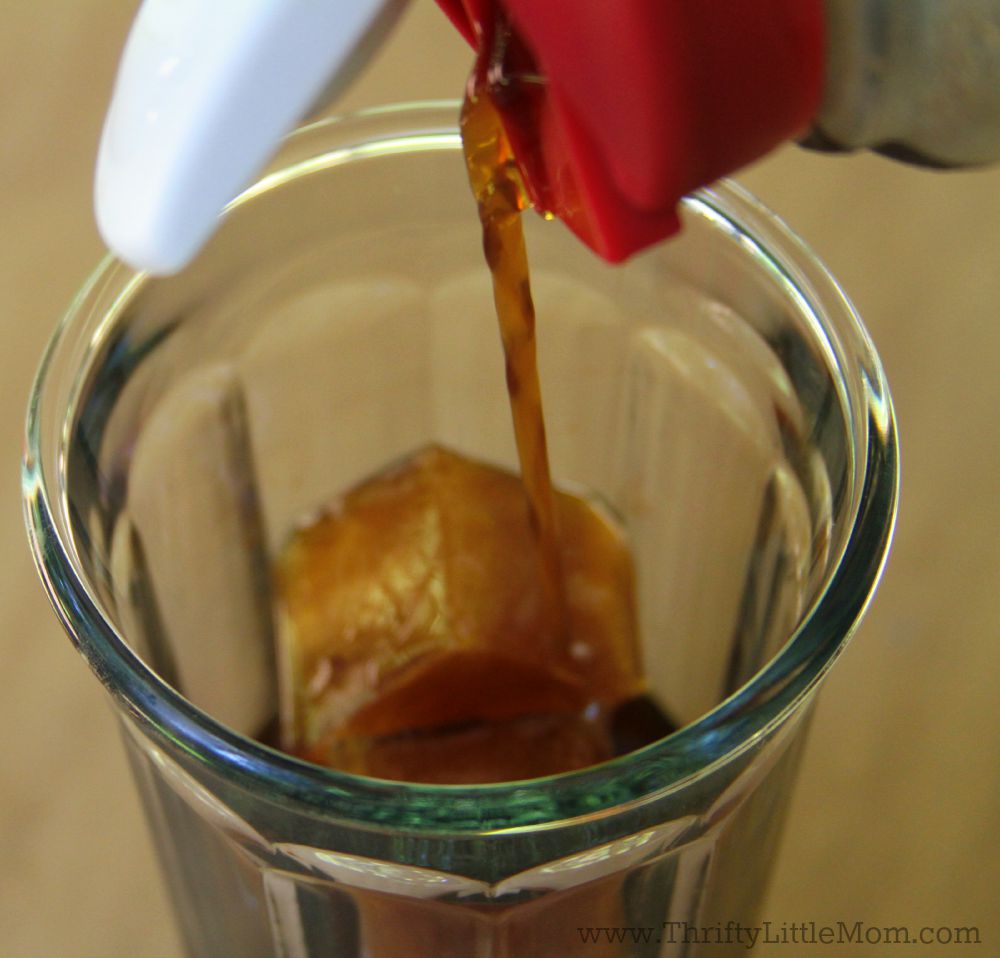
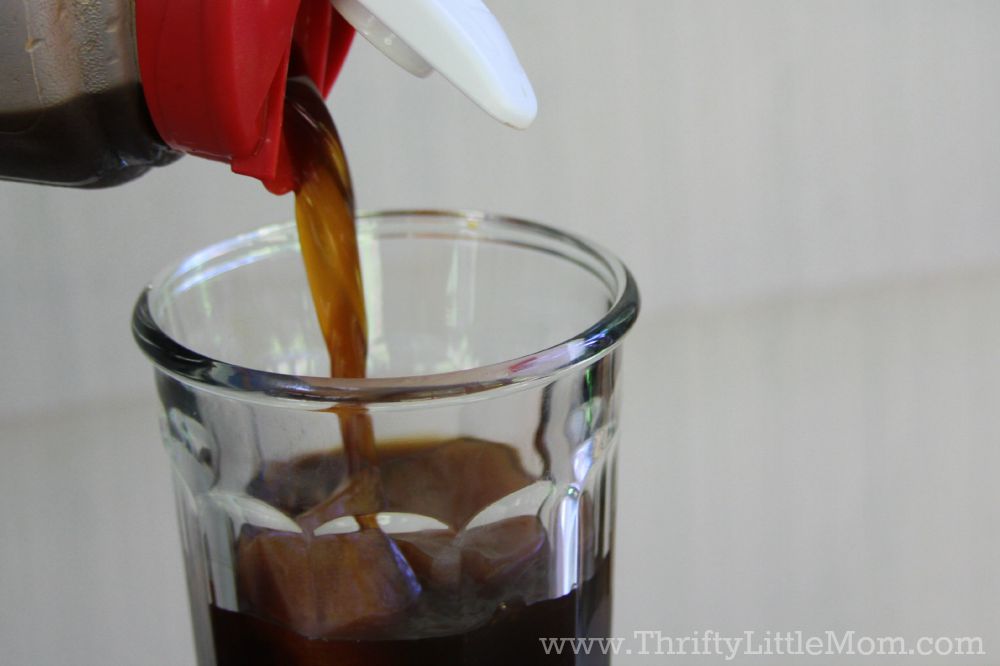
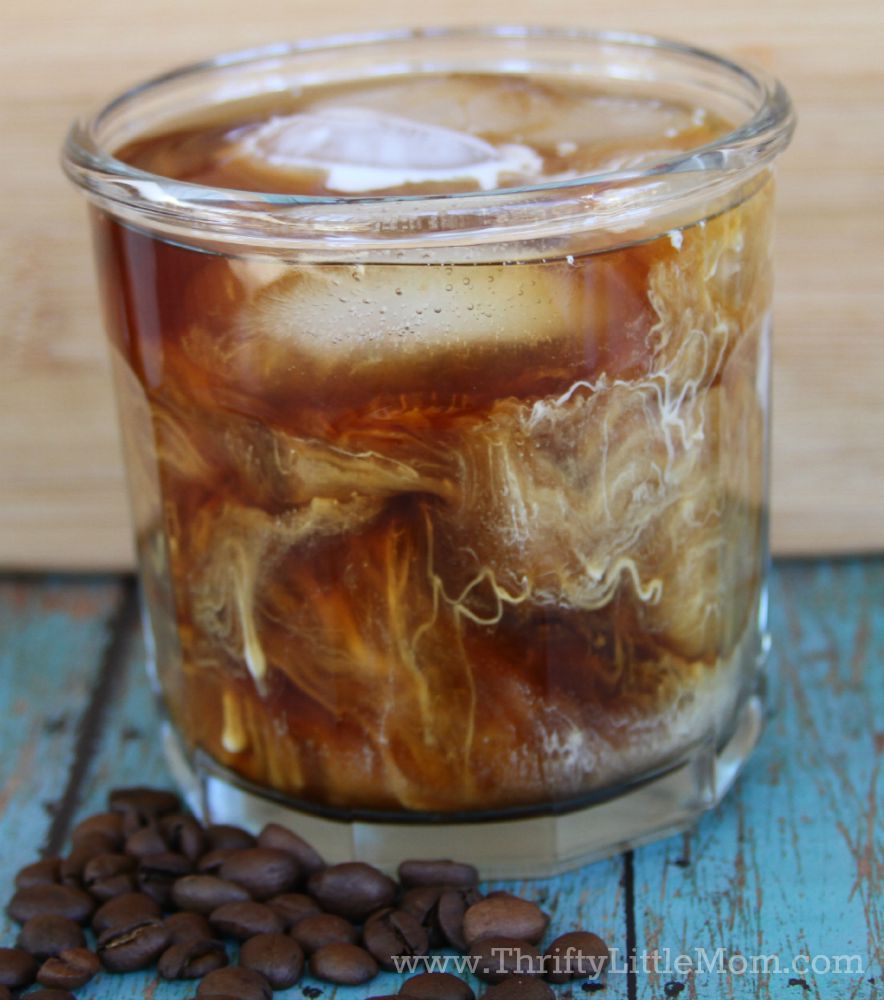
Pour cold brew coffee over cold brew ice cubes.
Iced Coffee Prep Step 7:
Add your favorite creamer (or just drink it plain) and enjoy!
I’d love to hear about your favorite brand of coffee as well as your favorite creamer in the comments section below! Oh, and be sure you pin this recipe for later!
If you enjoyed this post, you might also like these other posts from Thrifty Little Mom.

Kim Anderson is the organized chaos loving author behind the Thrifty Little Mom Blog. She helps other people who thrive in organized chaos to stress less, remember more and feel in control of their time, money, and home. Kim is the author of: Live, Save, Spend, Repeat: The Life You Want with the Money You Have. She’s been featured on Time.com, Money.com, Good Housekeeping, Women’s Day, and more!
