
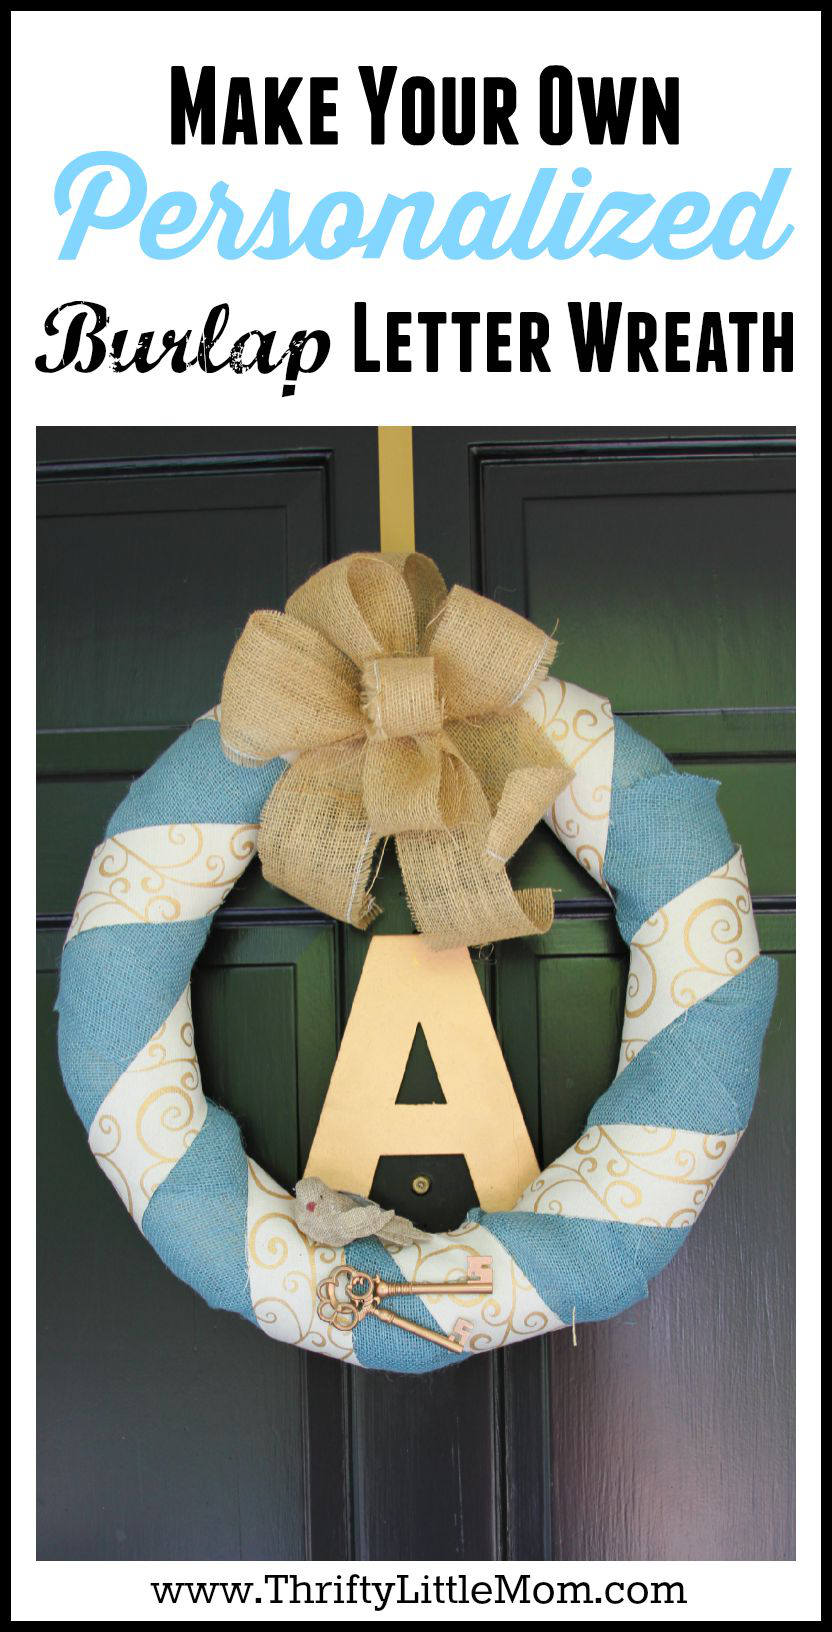
Personalized Monogram Letter Burlap Wreath Tutorial
I really love the rustic yet modern feel of a burlap wreath. Typically I try to hang seasonal wreaths on the door but there are parts of the year where I just need a neutral wreath to hang.
So on my last craft store adventure I was inspired by some robin’s egg blue burlap and some pretty bronze designed ribbon to create this perfectly neutral wreath.
Now you could replicate this for any major holiday simply by switching out the colors but I wanted to make something personalized with my initial with minimal design elements. I hope that you find this personalized burlap letter wreath tutorial helpful as you plan your next door decor project.
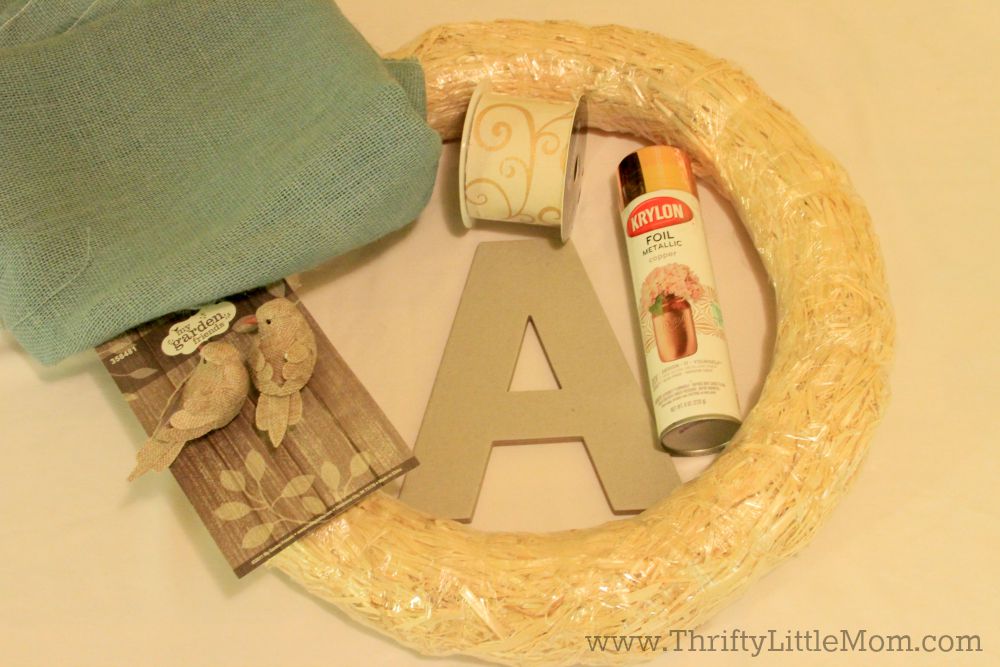
Burlap Wreath Supplies:
- 1 Straw Wreath
- 1 Yard of colored Burlap fabric
- 1/2 yard of Brown Burlap Fabric (I found mine in the pre-cut discount bin in the fabric department at Hobby Lobby)
- 1 Tag Board Letter
- Foil Metallic (Copper) Spray Paint by KRYLON
- 1 Set of Burlap Birdies from the floral department
- Hot Glue Gun and Extra Glue
- Sewing Straight Pins
- Flower, keys or any bling additions that you like
- A few pieces of craft wire or trash bag ties
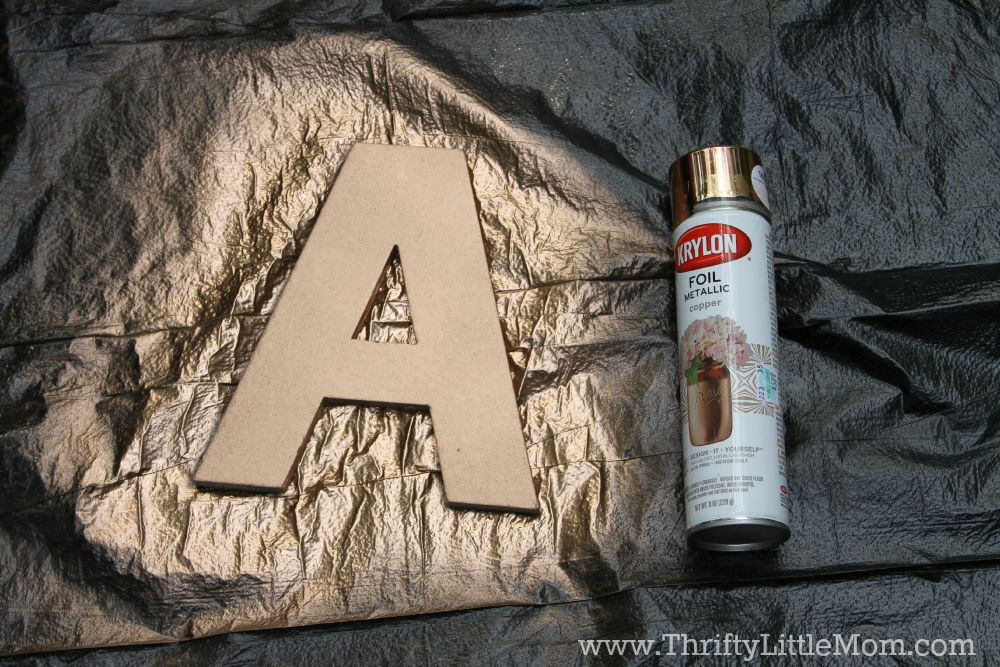
Step 1: Paint Your Letter
Go ahead and spray paint your letter first. This gives it plenty of time to dry as this wreath doesn’t take that long to make. I also had some decorative keys around from another project so I went ahead and sprayed them with the copper foil metallic paint too.

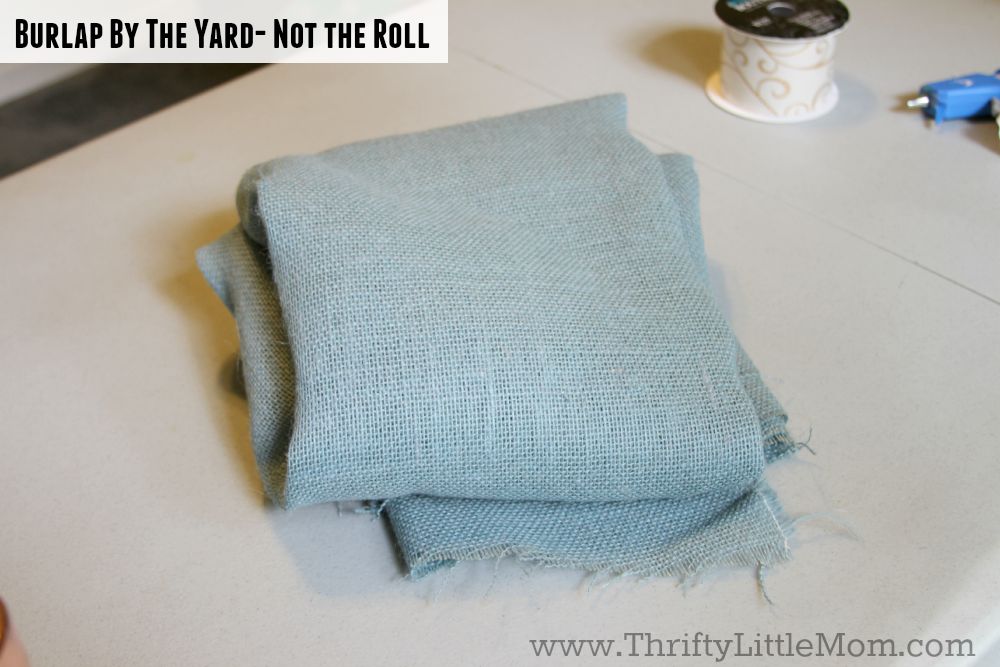
Step 2: Cut the Burlap for the Wreath
- I prepared my colored burlap for wrapping around the wreath.
- The last time I bought burlap by the roll cut into ribbon size, I barely had enough to cover the wreath.
- This time I bought the burlap by the yard. It also helped that I was particularly drawn in and inspired by the color of this burlap which I couldn’t find in a roll. (It’s also a little cheaper this way to ensure you get the coverage you need).
- I cut the burlap in a long 60 inch by 5 inch strip.
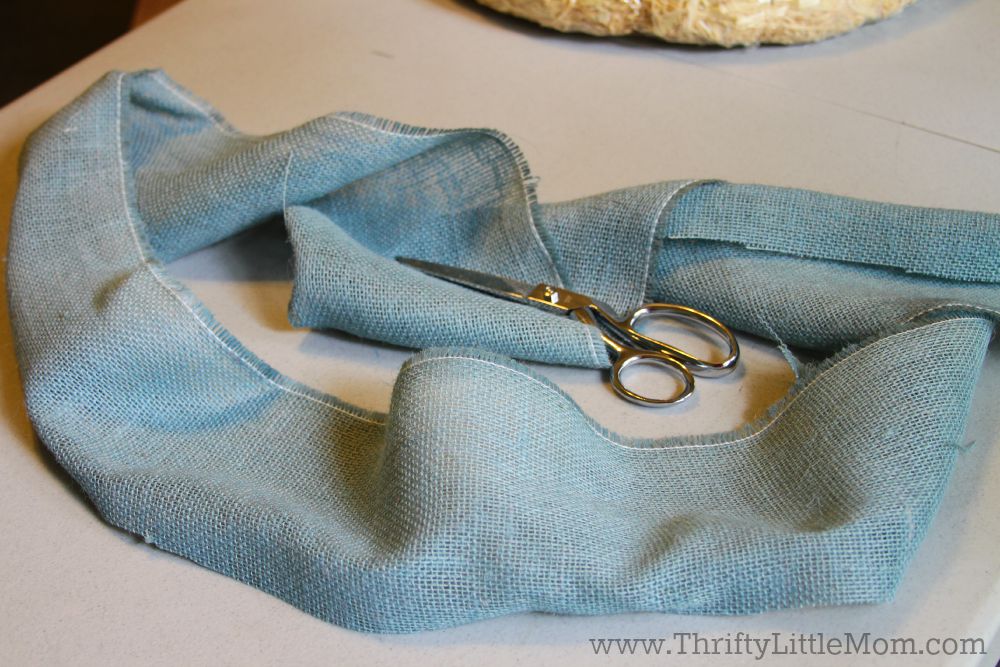
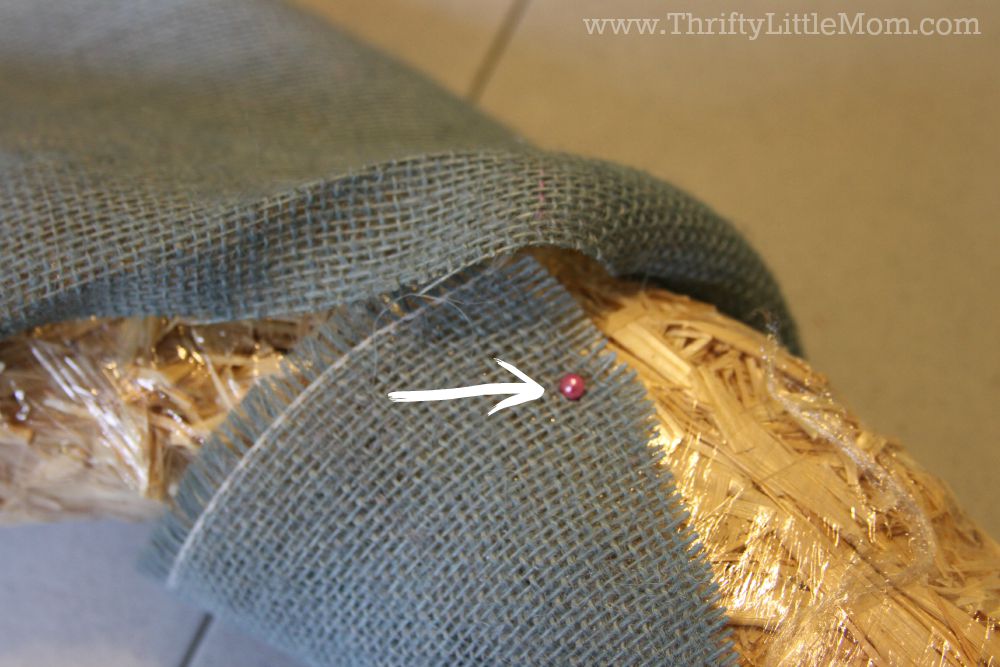
Step 3: Wrap the Burlap Wreath
- When you are ready to wrap, simply attach your burlap to the back of your wreath using a straight pin.
- Unlike using hot glue, using a straight pin allows you to start over if you run into an issue or problem with wrapping that you want to fix.
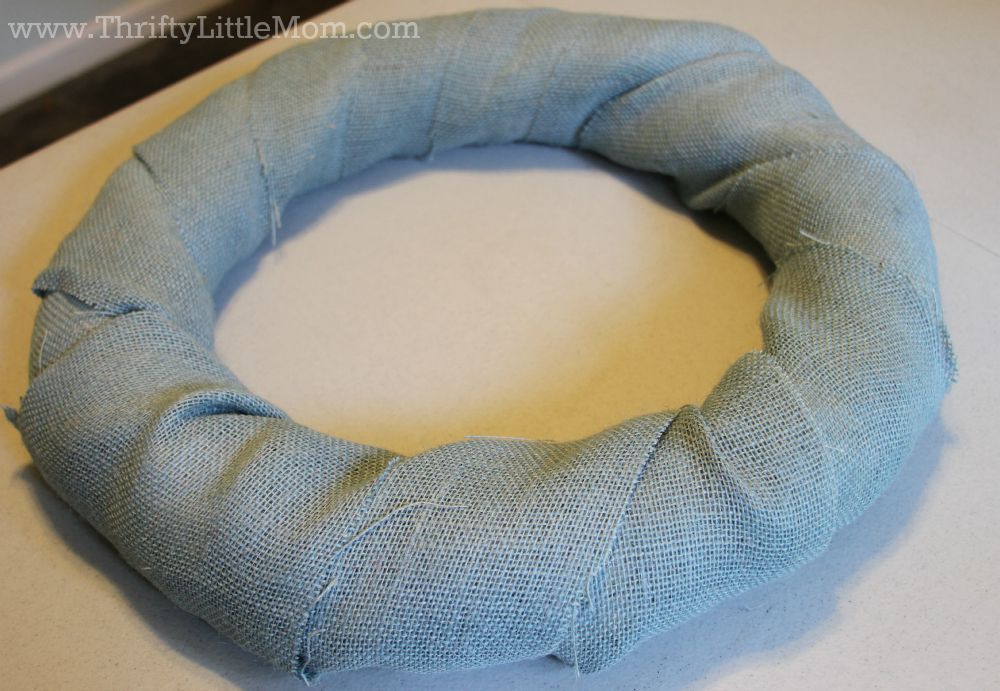
- Once you’ve got it pinned, go ahead and wrap the wreath until you can’t see any straw wreath peaking out.
- I prefer to leave the plastic wrap on the straw to keep it solid and held together.
I show this process in my Halloween Burlap Wreath tutorial video below:
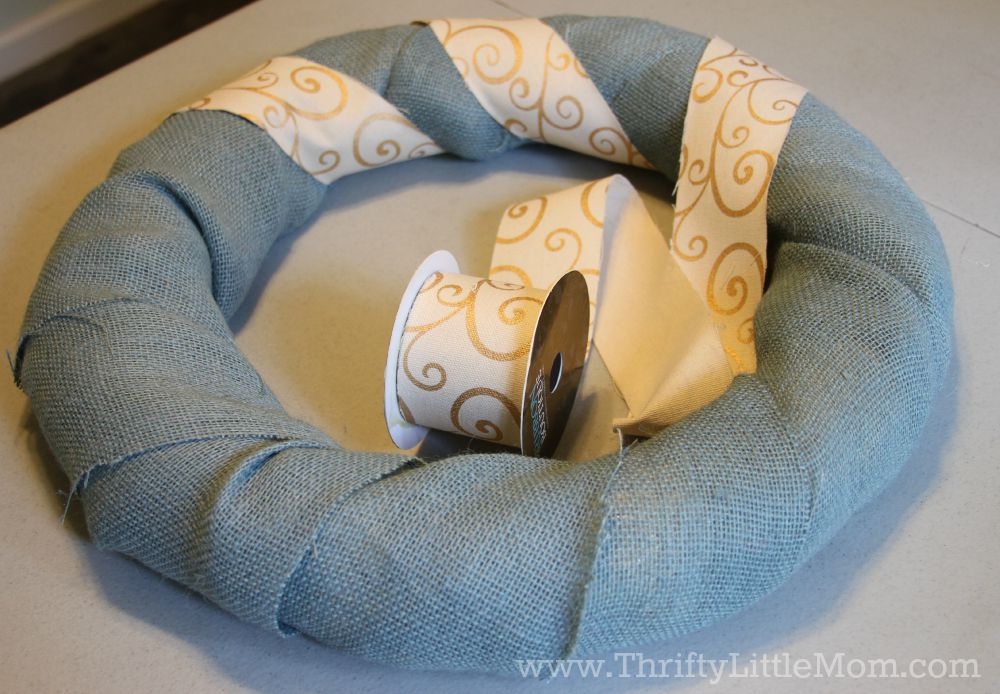
Step 4: Wrap the next layer of ribbon.
Once you’ve got your wreath wrapped, use a straight pin to attach your ribbon to wreath and start wrapping the ribbon at slight angle so that it hugs the wreath as it wraps around it.
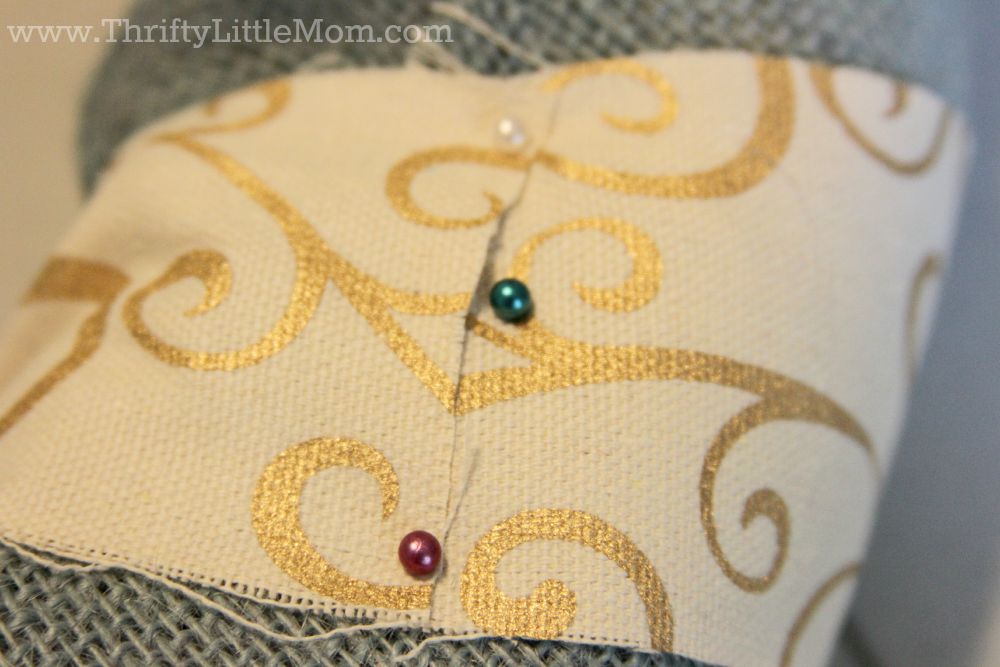
Step 5: Pin the burlap to the wreath.
Try to get the end of your ribbon line up and match with where you started wrapping. Finish it by placing a pin on either corner to keep it in place and securely wrapped.
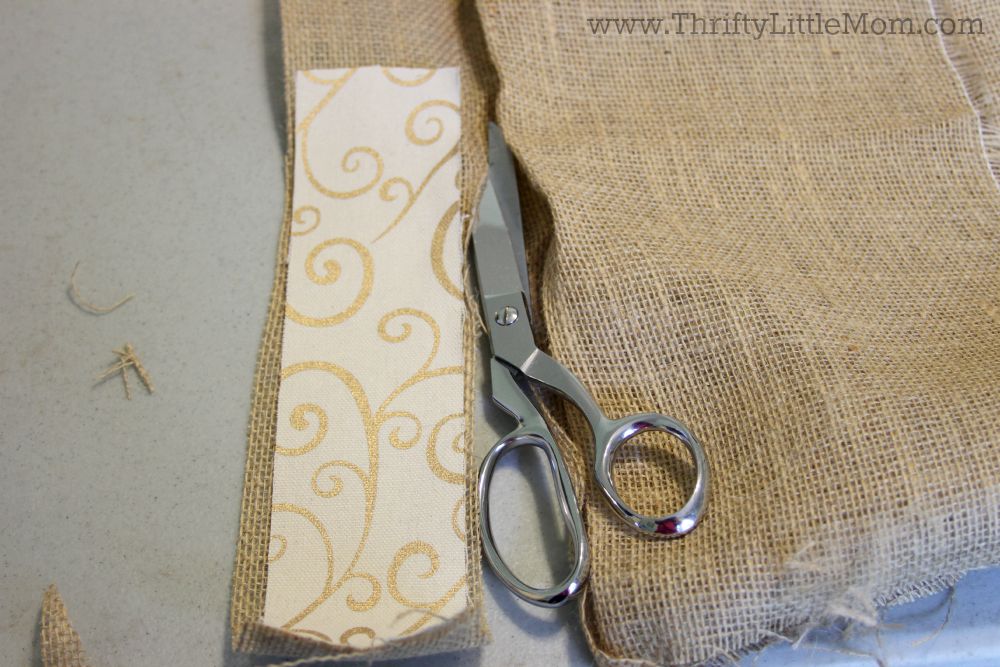
Step 6: Make a burlap bow for the wreath.
Make your burlap bow. Since I used burlap by the yard, I chose to use my extra leftover ribbon as guide for cutting my burlap to the right width. Each burlap strip was about 60 inches long and a few inches wide. You’ll need to cut two of these out.
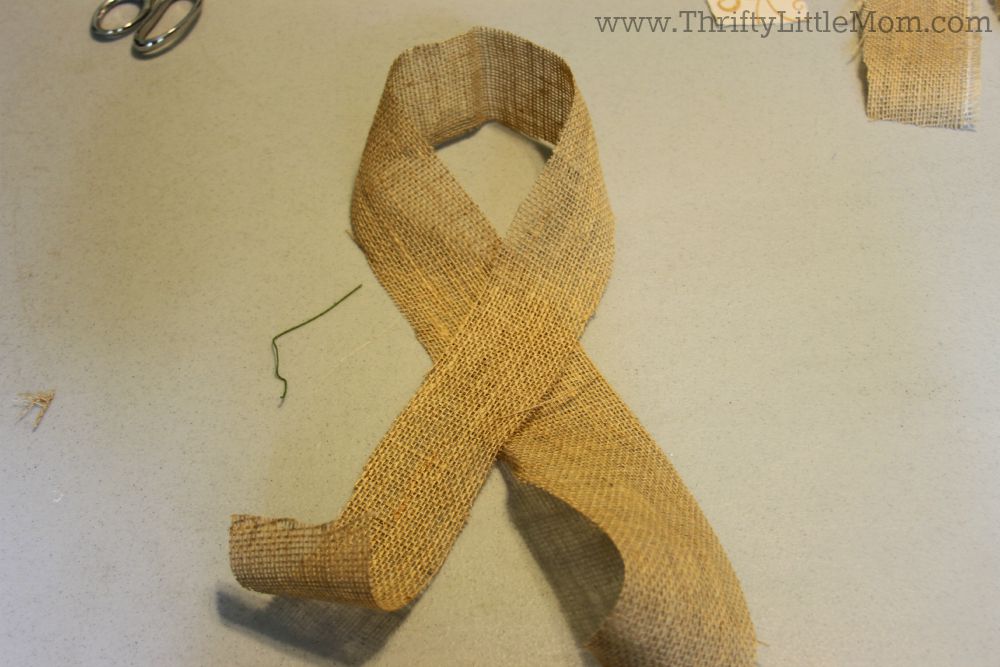
Step 7: Loop the burlap.
Make the burlap strip form a looped criss cross pattern- similar to the ribbons you wear for cancer awareness or causes.
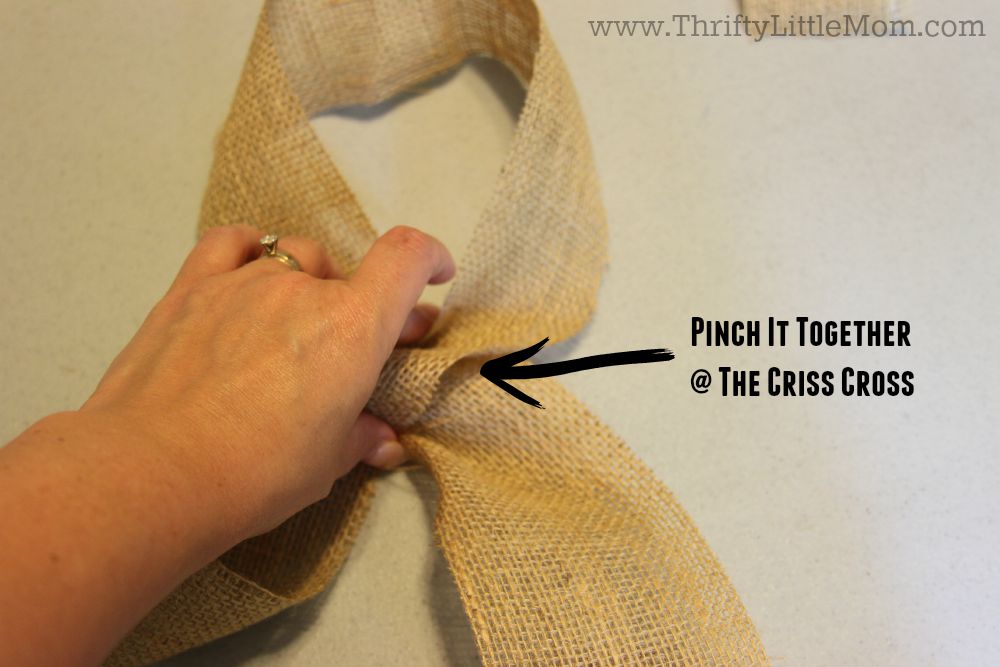
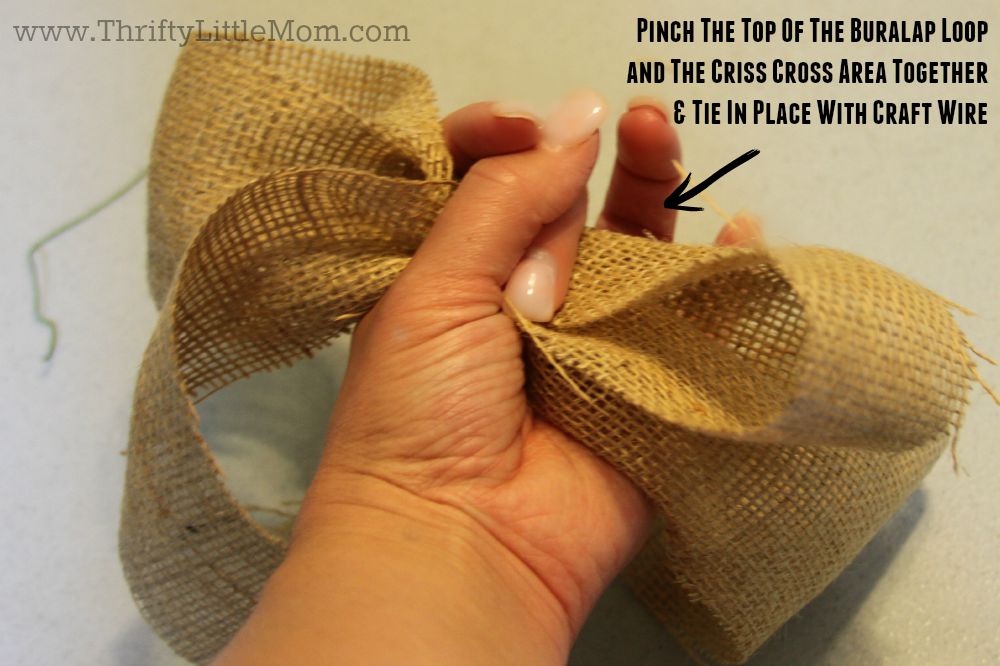
Step 8: Pinch the area where the burlap criss crosses.
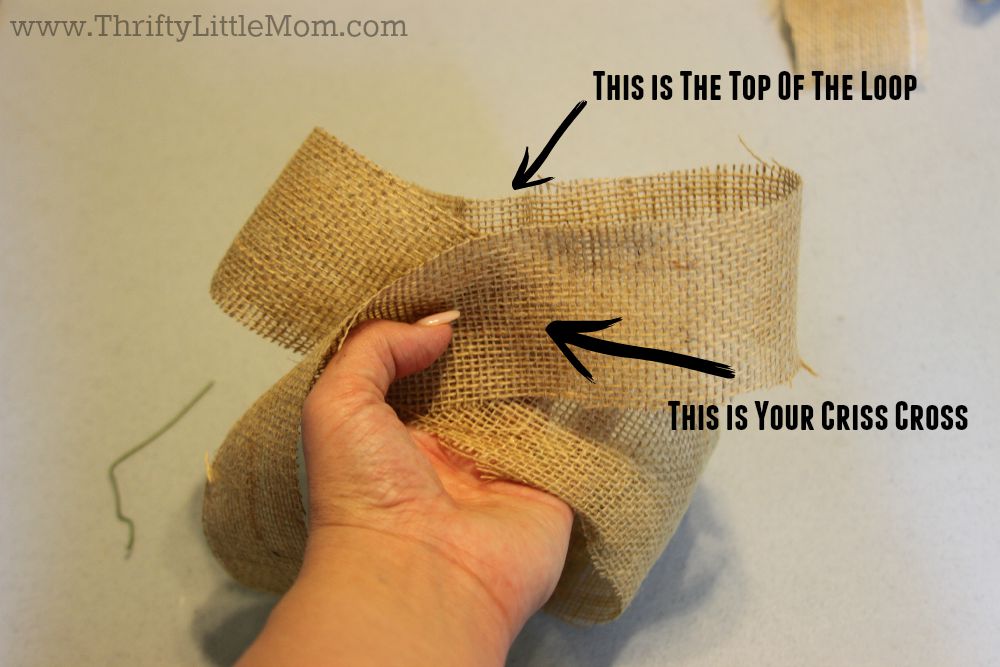
Step 9: Stretch and Snag.
Then stretch out your fingers and snag the top loop bringing it together with the criss cross area.
Step 10: Pin
Pin the two parts together and tie together with some wire.
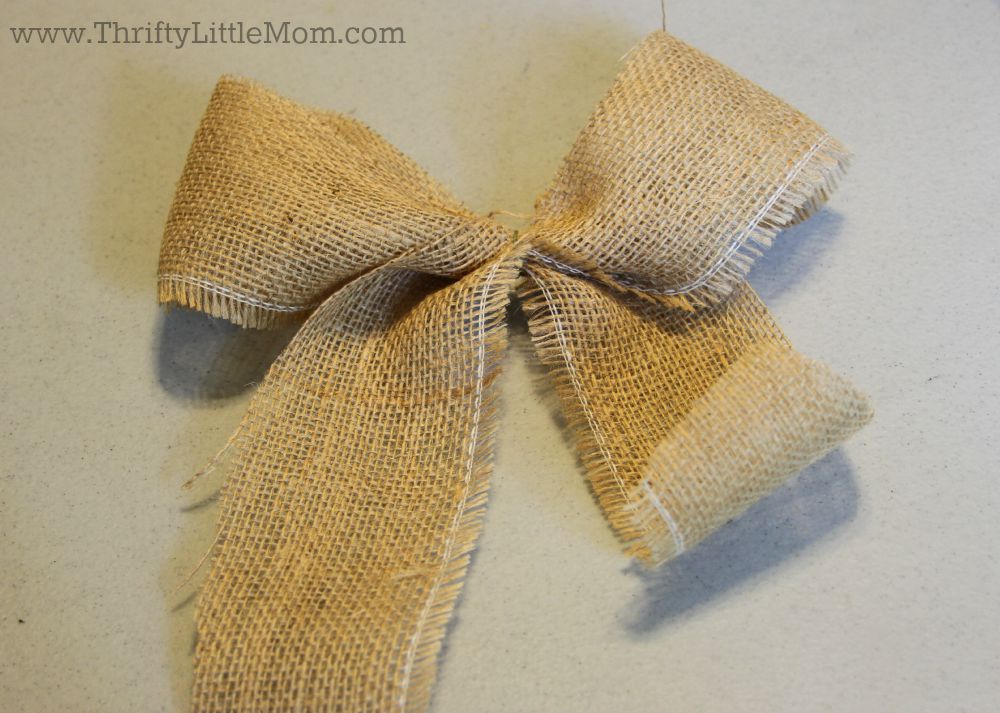
Step 11: Your bow should look a little like this.
Step 12: Go ahead and make another one.
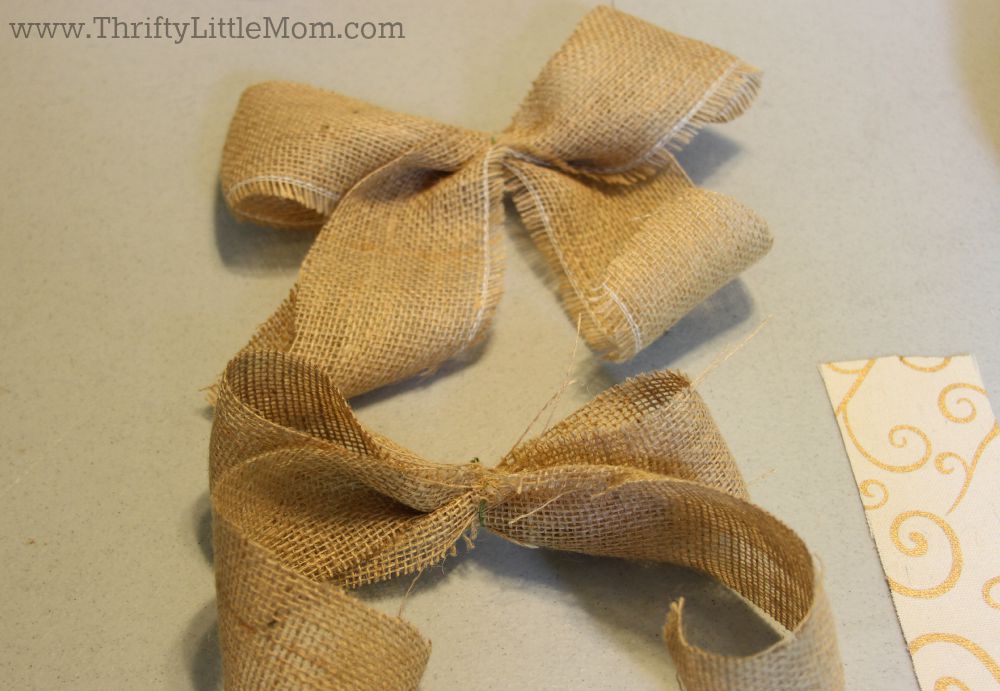
Step 13:
Once you have made two, you can lay the middle of one ribbon across the middle of the other ribbon by turning it sideways. You will form one giant full ribbon!
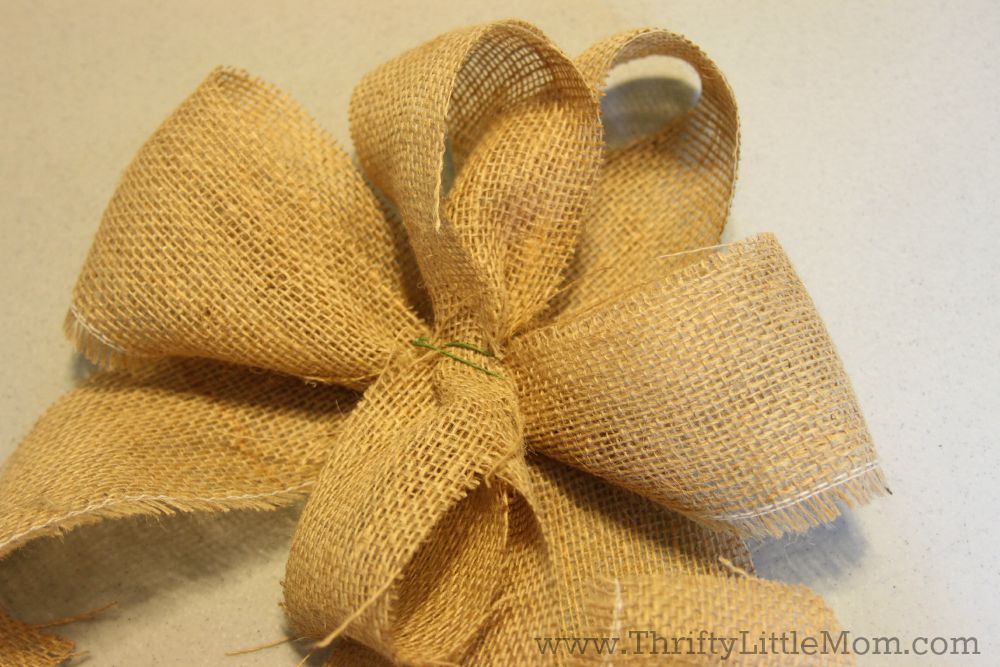
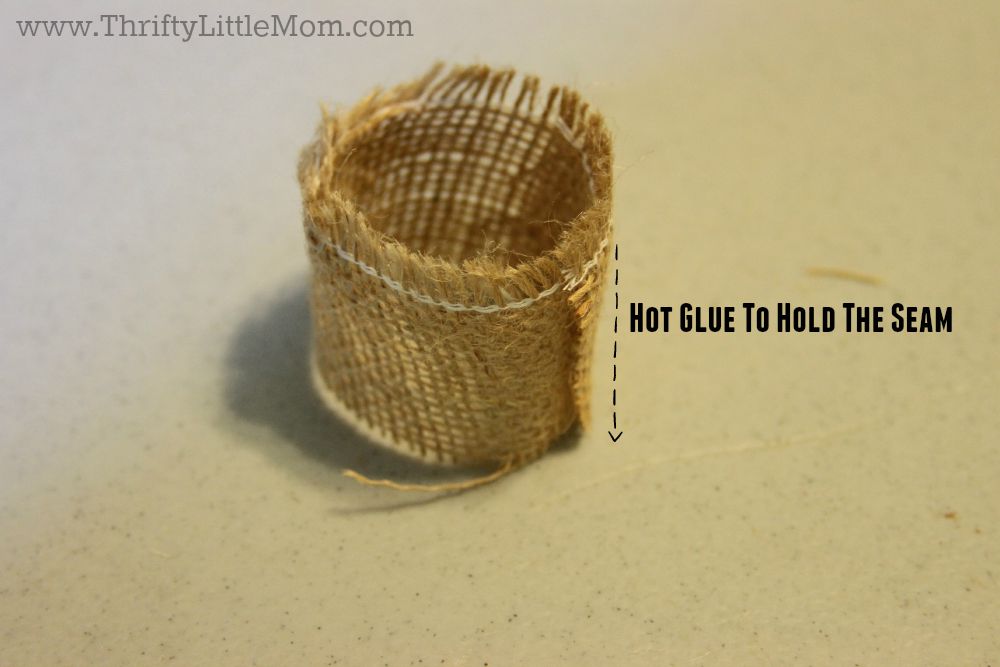
Step 14:
Using a small 4 inch by 1 inch strip of fabric create a loop and hot glue the seam.
Step 15: Hot glue the loop to the middle of your bow to cover up your wire and make the bow look even fuller.

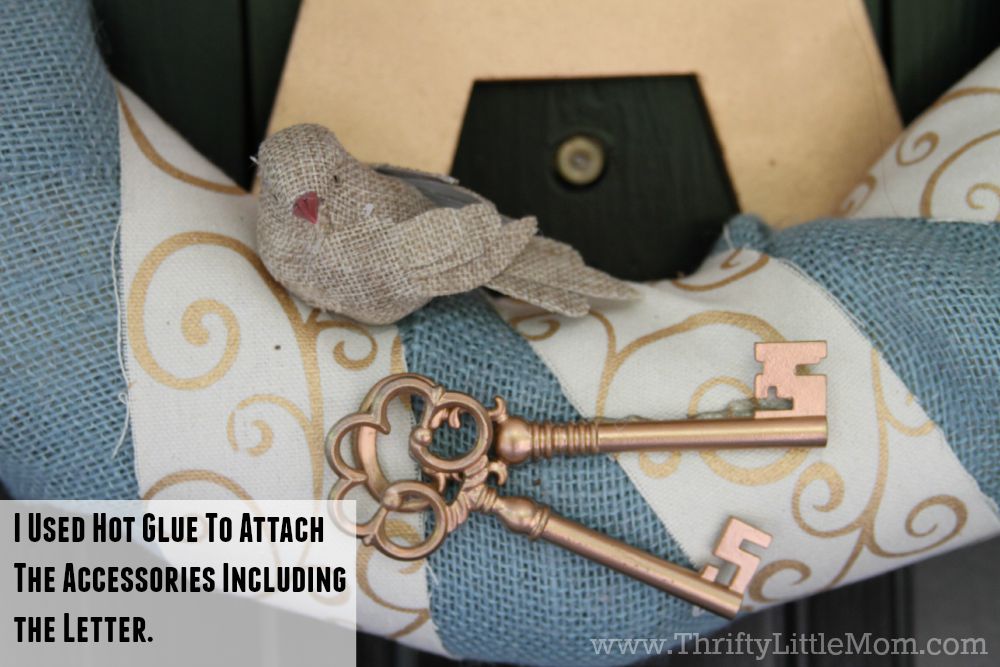
Step 16:
- Place all your accessories on the wreath and play around with thier positions before you glue them down. Once you are happy with the layout start gluing them on.
- For the letter “A”, I simply ran hot glue across the bottom legs of the letter and attached them to the back side of wreath.
- The letter actually leans against my door when the wreath is hung and I’ve reinforced it with some tape that the top connecting it to the door so it doesn’t flop forward.
- I chose a tape that wouldn’t damage the paint on my front door.
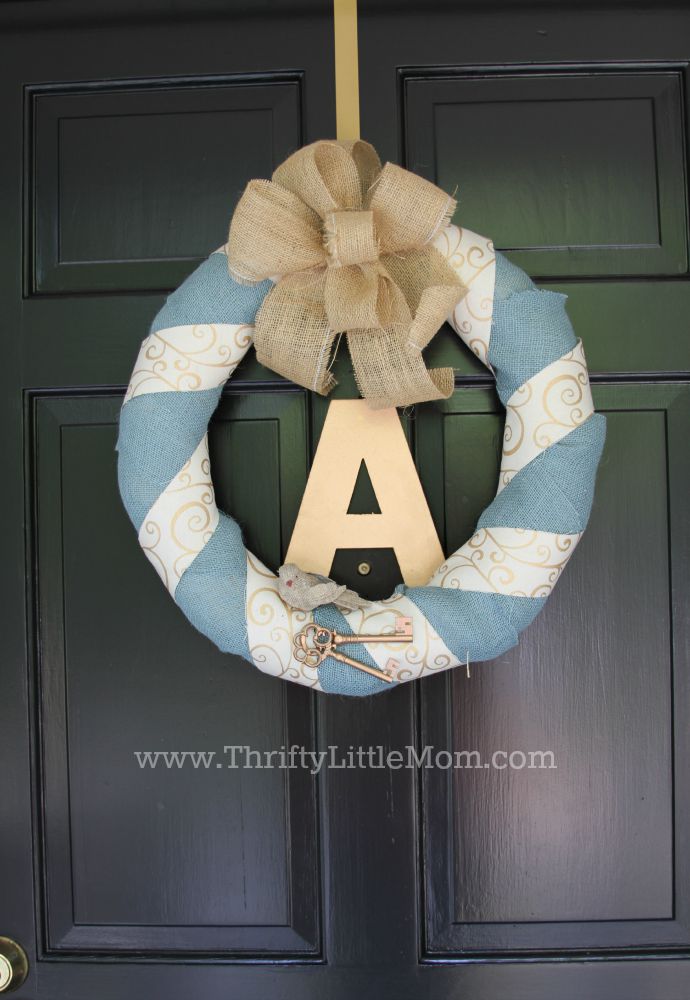
That’s it! It takes about 30-45 minutes to make a simple wreath like this one. I like the clean and minimal look it has. It’s perfect for the times of year that I don’t have a Holiday themed wreath to hang.

- Make a Winter Berry Wreath in 15 Minutes for $15
- How To Make a Chic Burlap DIY Halloween Wreath
- Winter/Spring Yarn Wrap Wreath Tutorial

Kim Anderson is the organized chaos loving author behind the Thrifty Little Mom Blog. She helps other people who thrive in organized chaos to stress less, remember more and feel in control of their time, money, and home. Kim is the author of: Live, Save, Spend, Repeat: The Life You Want with the Money You Have. She’s been featured on Time.com, Money.com, Good Housekeeping, Women’s Day, and more!