
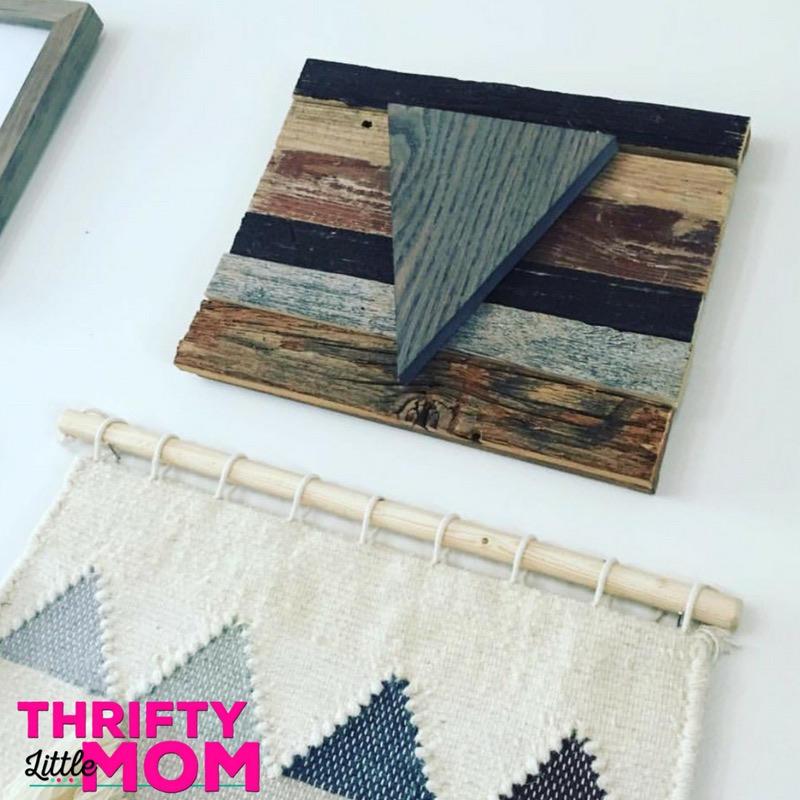
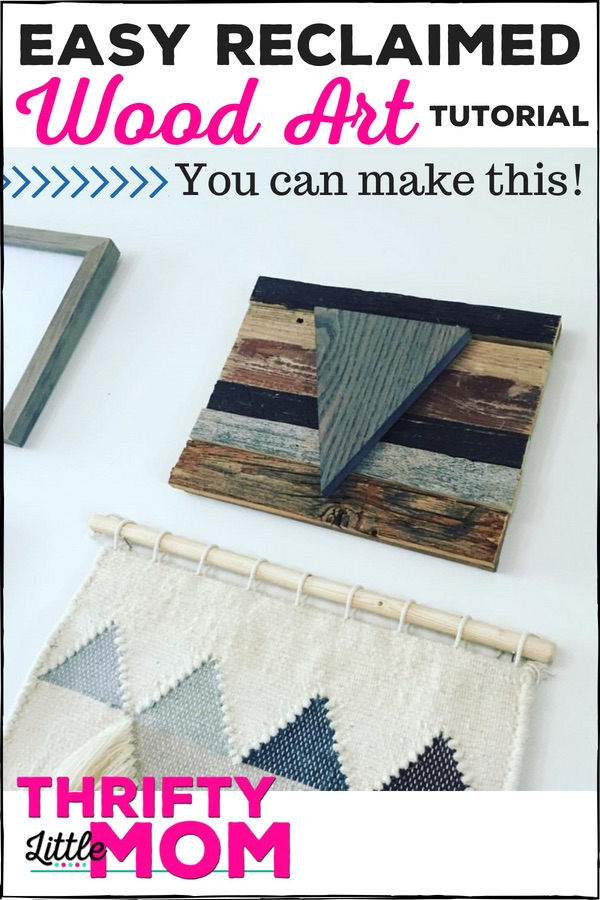
Reclaimed Wood Art Tutorial
There isn’t much of a story behind the creation of this super easy reclaimed wood art (just being honest over here). I just had all the stuff, had some time and had a blank space on my new living room collage wall.
I needed something earthy feeling that balanced out the wood frames on the other side of TV. It was one of those times that my idea came together and I’m pretty excited about the outcome!
I’m not going to lie, I really like making wall art in thrifty ways using inexpensive materials. I once made Mini Canvas Wall Art for my Toddler and even made a 3 step tutorial for wall art from vynl record frames.
I hope you’ll like and take some time to make one for yourself too using this step by step tutorial!
I think this thrifty DIY reclaimed wood wall decor project turned out super cool and is an idea that you can absolutely recreate in about an hour with the right supplies. However, you might not love the triangle like I did so consider what other wooden shapes you might be able to use! Now all you need is the list of supplies!
Reclaimed Wood Art Project Supply List:
1- Reclaimed Wood Bundle-$10- $15 — You can get plank packs on Amazon! BarnwoodUSA | 100% Reclaimed Wood Bundle For DIY Projects | Pack of 6 (12 inch Planks)![]()

![]()
2- Canvas –Darice 8-Inch-by-10-Inch Stretched Canvas, 2-Pack![]()
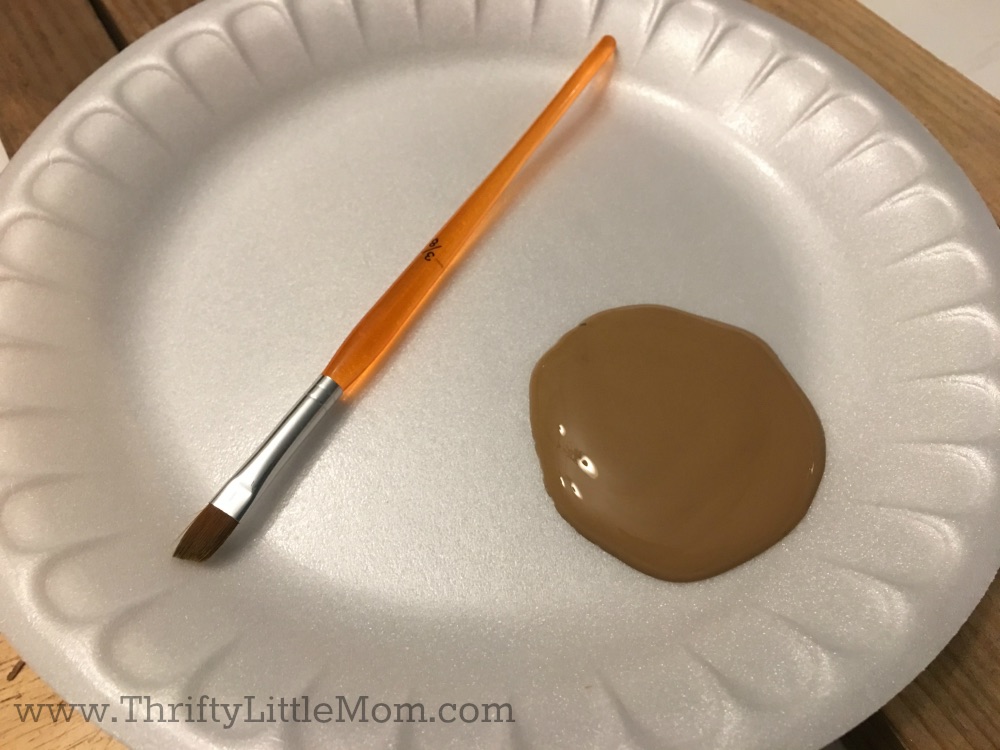
3- Brown Acrylic Paint that matches the tones of the wood you have to work with.
4- Unfinished Wood Shape (Pick that shape that matches the feel of your decor. I chose a triangle!)
5- Rust-Oleum 313835 Varathane Weathered Wood Accelerator![]() for my unfinished wood triangle.
for my unfinished wood triangle.

![]()
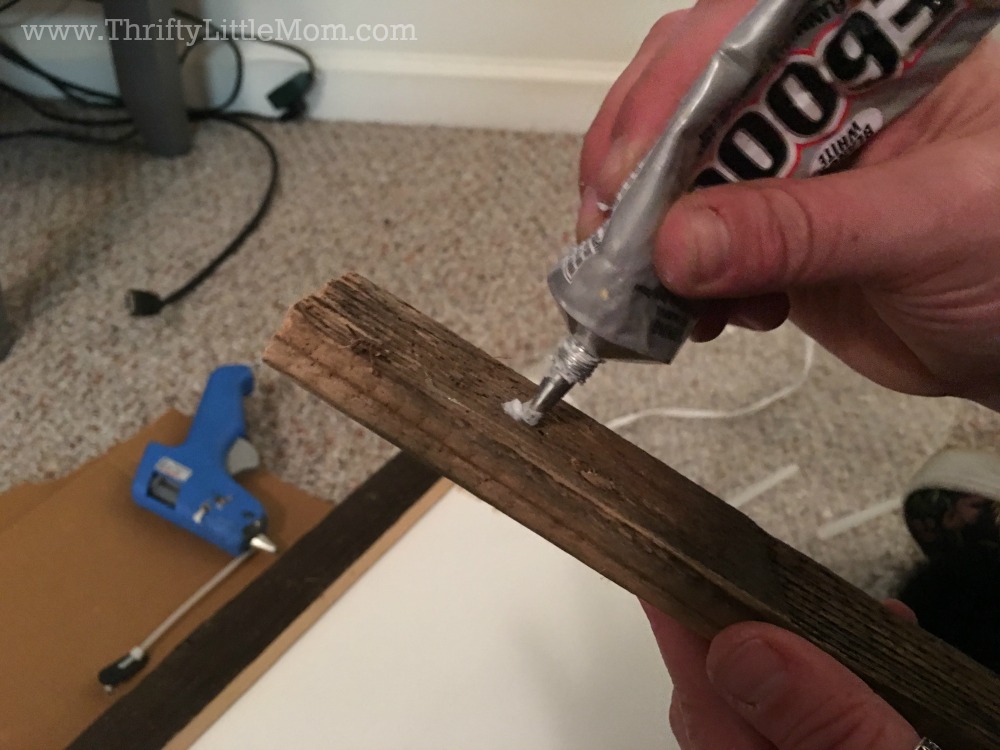
6- E6000 231020 Adhesive with Precision Tips, 1.0 fl oz![]()
We tried hot glue but it just wasn’t strong enough for the job.

![]()
Step by Step Easy Reclaimed Wood Art Tutorial
Step 1:
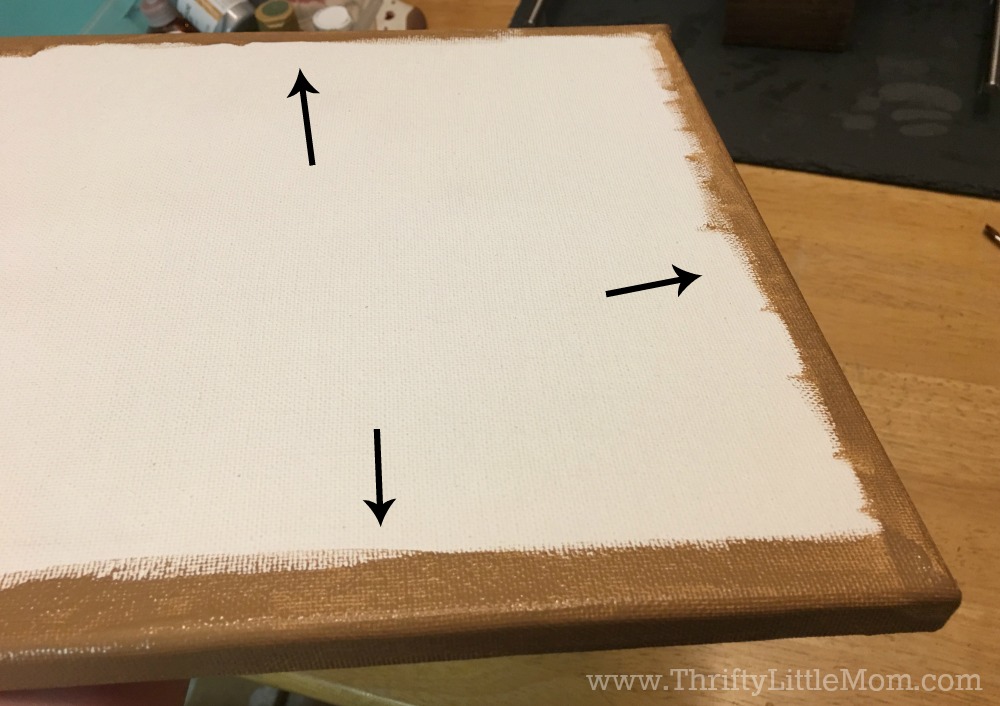
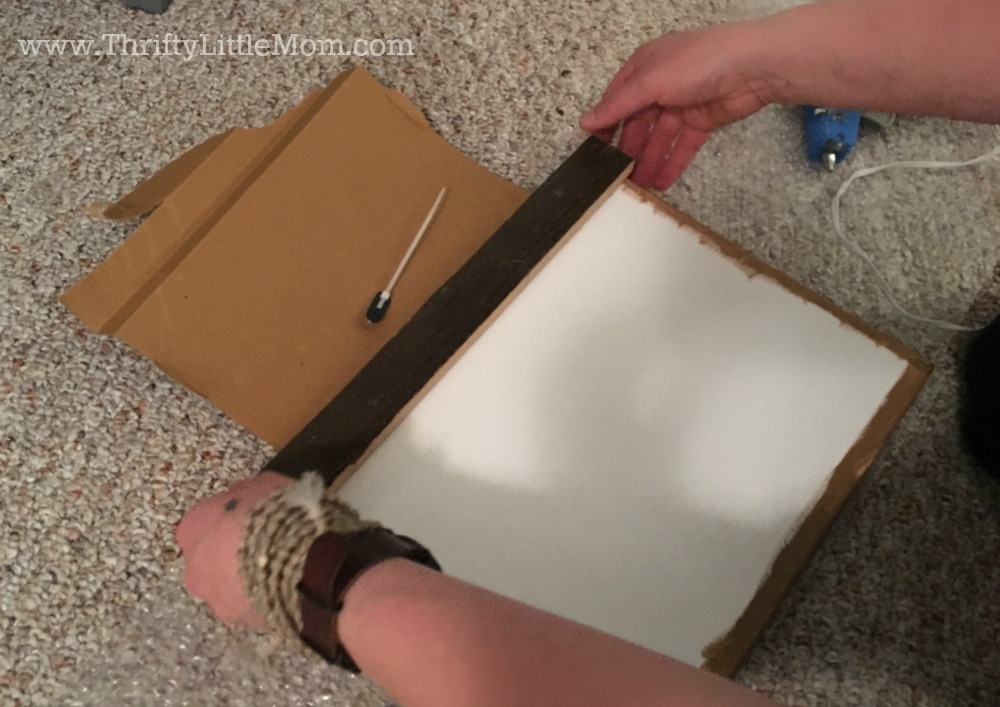
This project consists of me gluing wooden boards to the front of a white canvas. To keep the effort of this project to a minimum, I decided to paint the white sides of the canvas that would be showing when it was on the wall with brown paint that blended nicely with the wood I was adding.
Notice that I only painted the sides of the canvas and just a little of the top along the edges!
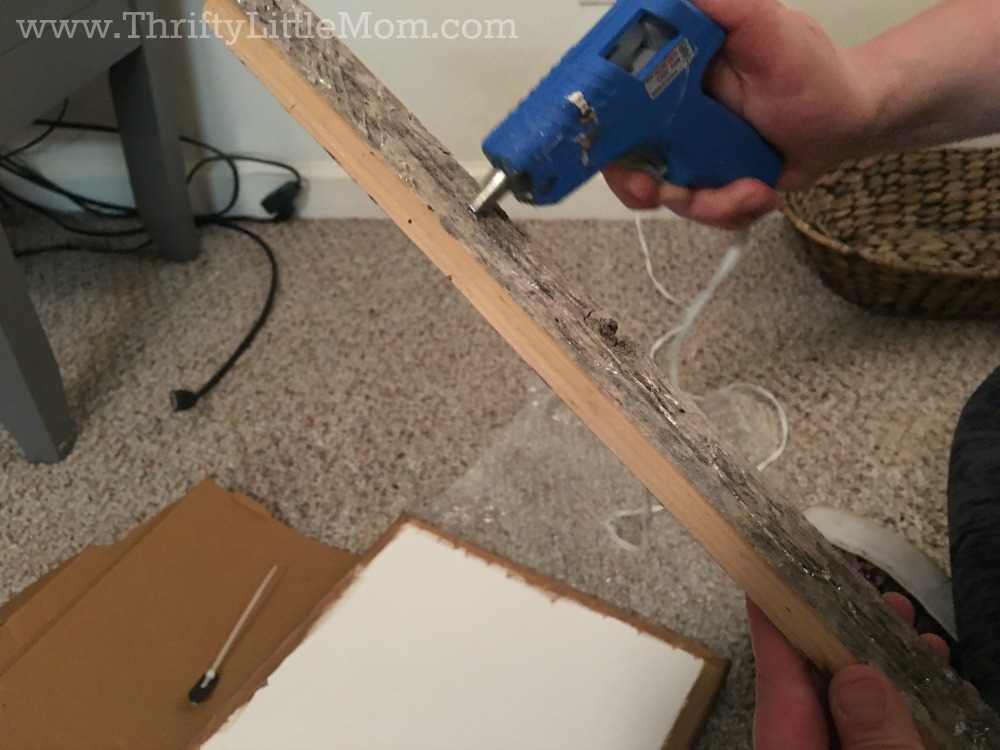
Step 2:
Let the paint dry and then start gluing your wood down in rows to create your distressed wood wall art. I started with a glue gun but then that didn’t seem to work great so I pulled out the big guns and used E6000 231020 Adhesive with Precision Tips, 1.0 fl oz![]() !
!
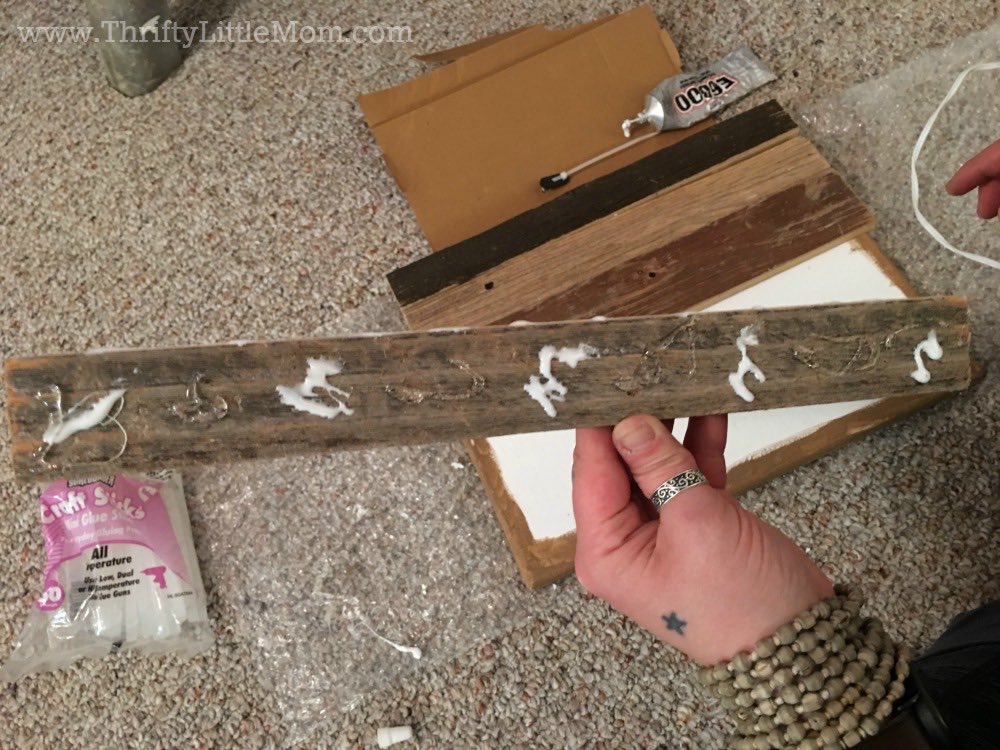
Step 3:
Place the boards on the canvas and let glue set.
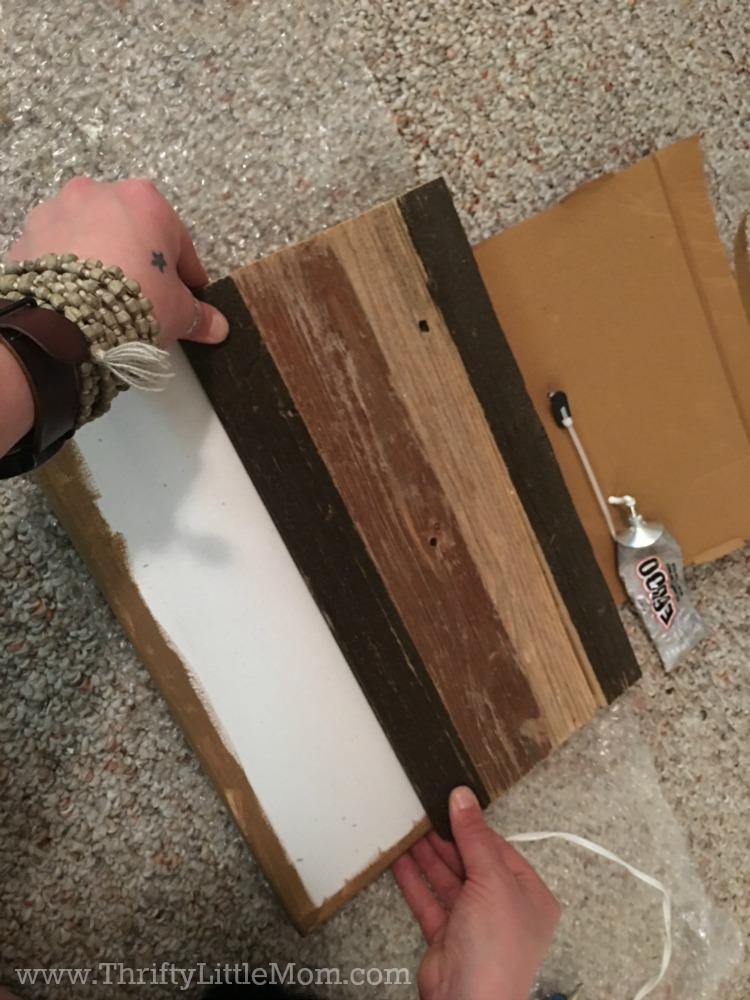
Step 4:
Continue gluing and adding your reclaimed wood to the canvas.

Step 5:
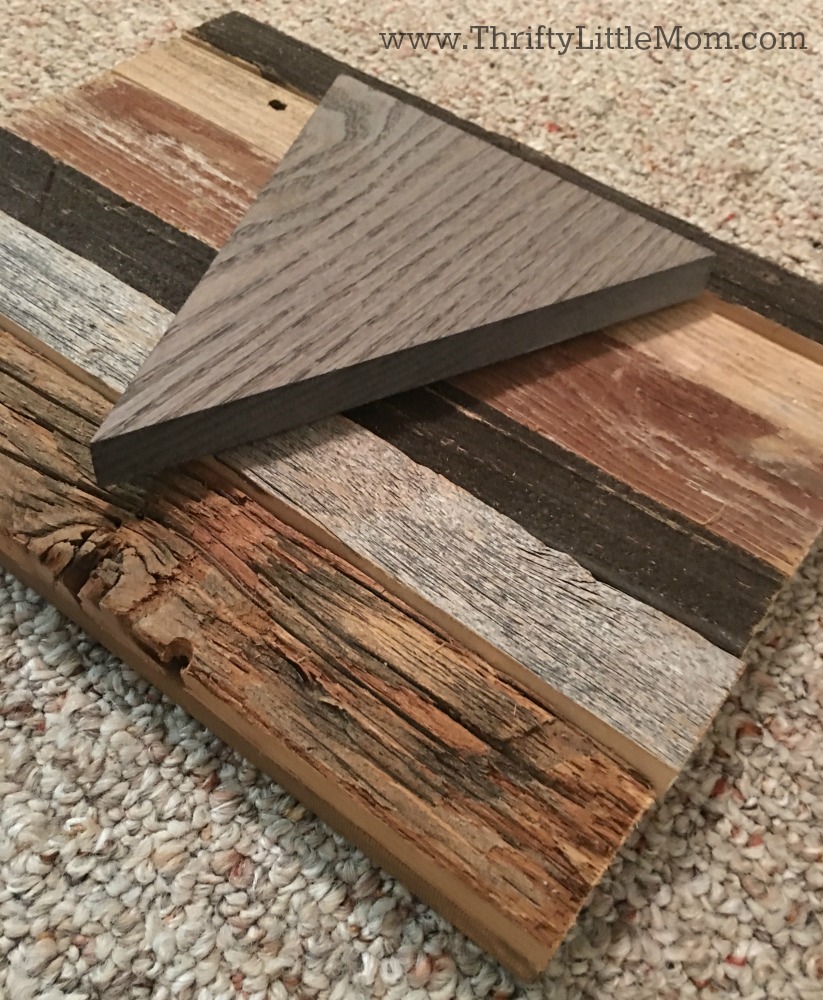
Before I started this project I stained this unfinished wood triangle with Rust-Oleum 313835 Varathane Weathered Wood Accelerator![]() .
.
Funny story- This triangle originally came from a booth a conference called WorkbenchCon where Rustoleum let me make a beer bottle opener. The triangle was the base for the opener. So I stained it at the conference and when I got home decided to make this project with it instead!
The nice thing is that you can use the stain on other projects around your home so that the woods you use in other projects match your decor too!
You can check out how to use this product in a video on their website here >>> Get a Weathered Wood Look in Minutes with Varathane® Weathered Wood Accelerator (0:42)
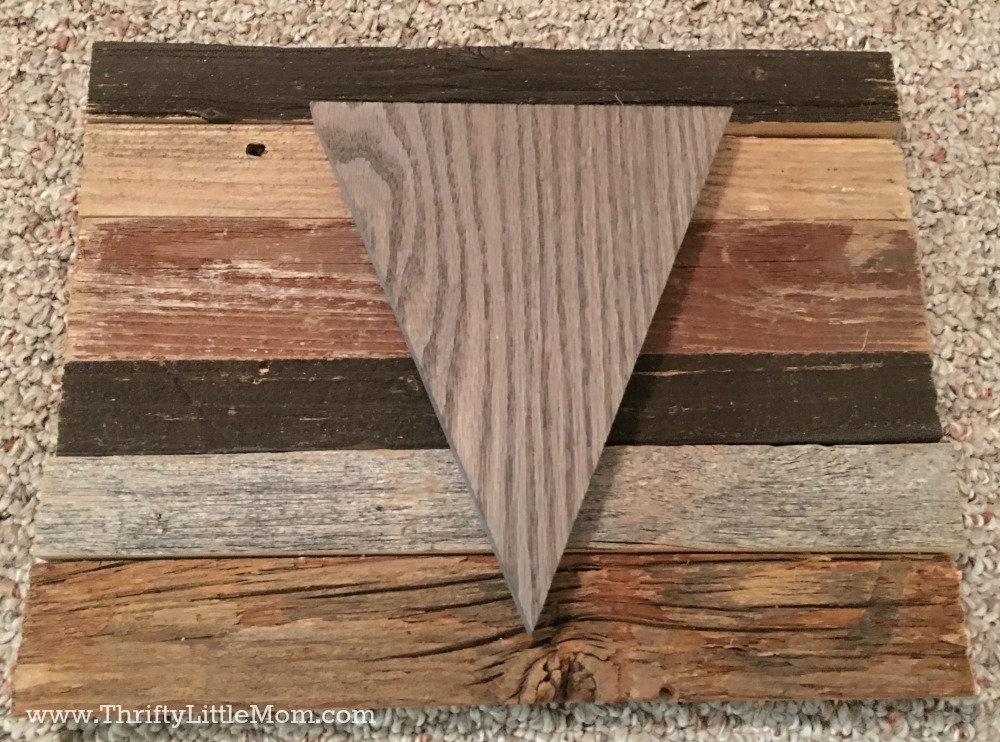
Step 6:
Attach your wooden shape for a pop of awesomeness on your reclaimed wood home decor project!!!! If you have your own saw you can cut any shape that makes you happy. You can also get these unfinished shapes from your local craft store very easily!
Step 7: Hang your reclaimed wood wall art up for all to see! Since it’s on a canvas, it’s very easy to hang without the need of any metal hanging teeth!
Hope these reclaimed wood art ideas help inspire you to grab the supplies and give it a try for your home too!

Kim Anderson is the organized chaos loving author behind the Thrifty Little Mom Blog. She helps other people who thrive in organized chaos to stress less, remember more and feel in control of their time, money, and home. Kim is the author of: Live, Save, Spend, Repeat: The Life You Want with the Money You Have. She’s been featured on Time.com, Money.com, Good Housekeeping, Women’s Day, and more!