
Simple Seasonal Wreath Instructions
This time of year always makes me want to get crafty. With all the holiday’s that come one right after the other I get inspired to decorate. I have tried my hand a several wreaths but by far my favorite is the yarn wrap wreath and the shotgun shell wreath.
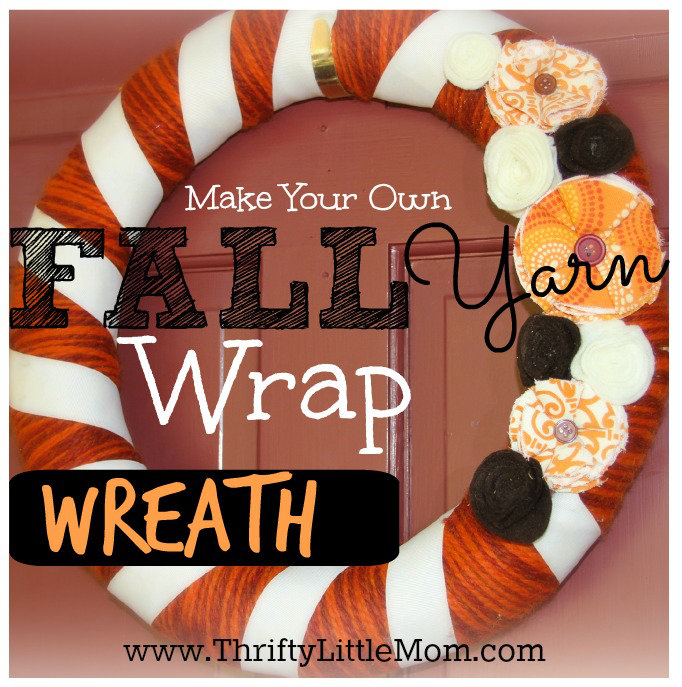
1. The Yarn Wrap Seasonal Wreath
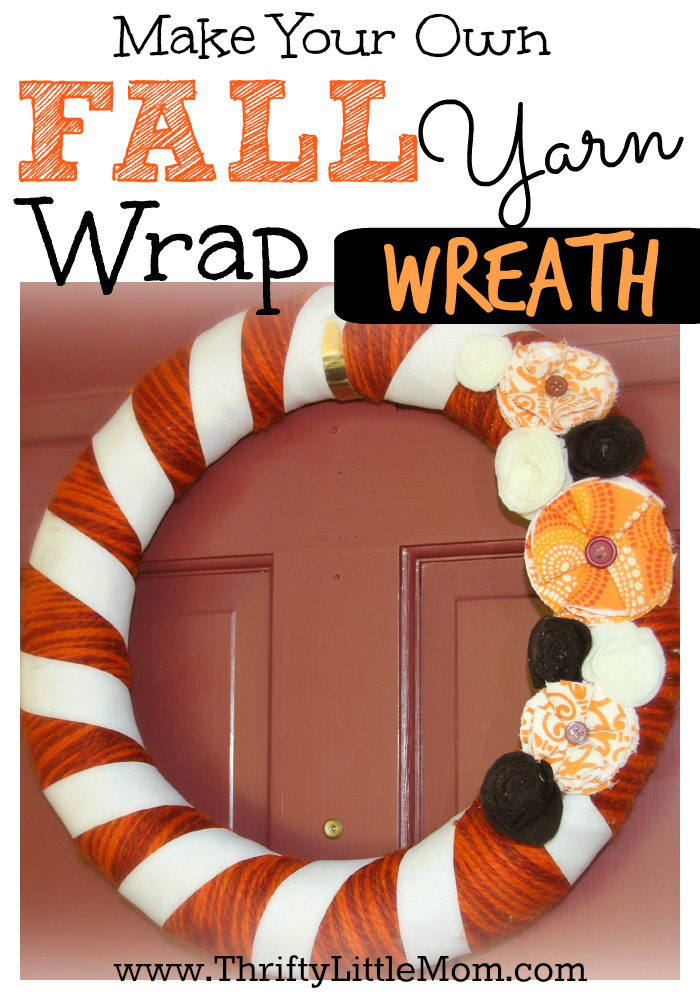
Unlike the classic Christmas greenery wreaths, the brown grapevine wreaths with a yarn wrap wreath, you can make it whatever color you want! The options are endless and the wreaths are very, very easy.
This is how I made mine! Please note that the colors of felt, yarn and fabric in the step by step instructions are for a spring wreath I’m working on and obviously not the one pictured.
I completed the one pictured before I had a blog. 😉 However, it still shows you exactly how to make the one pictured.
Yarn Wrap Wreath Supplies:
- 40% off coupon from your local craft store website.
- 1 Straw Wreath
- 2 Skeins of yarn for each color of yarn you want ( I prefer the Lion Brand: Wool Ease “Chunky” yarn because it’s thick and covers more territory faster when you are wrapping.
- Regular yarn just takes far too long to wrap for me to stay interested and finish.
- If you want to get a cheaper version, Walmart does sell a thicker yarn in their craft department)
- Several squares of felt in coordinating colors to your yarn.
- 1/4 yard of fun fabric that matches your yarn.
- Optional: Coordinating 1 or 2 inch ribbon.
- Buttons in coordinating colors.
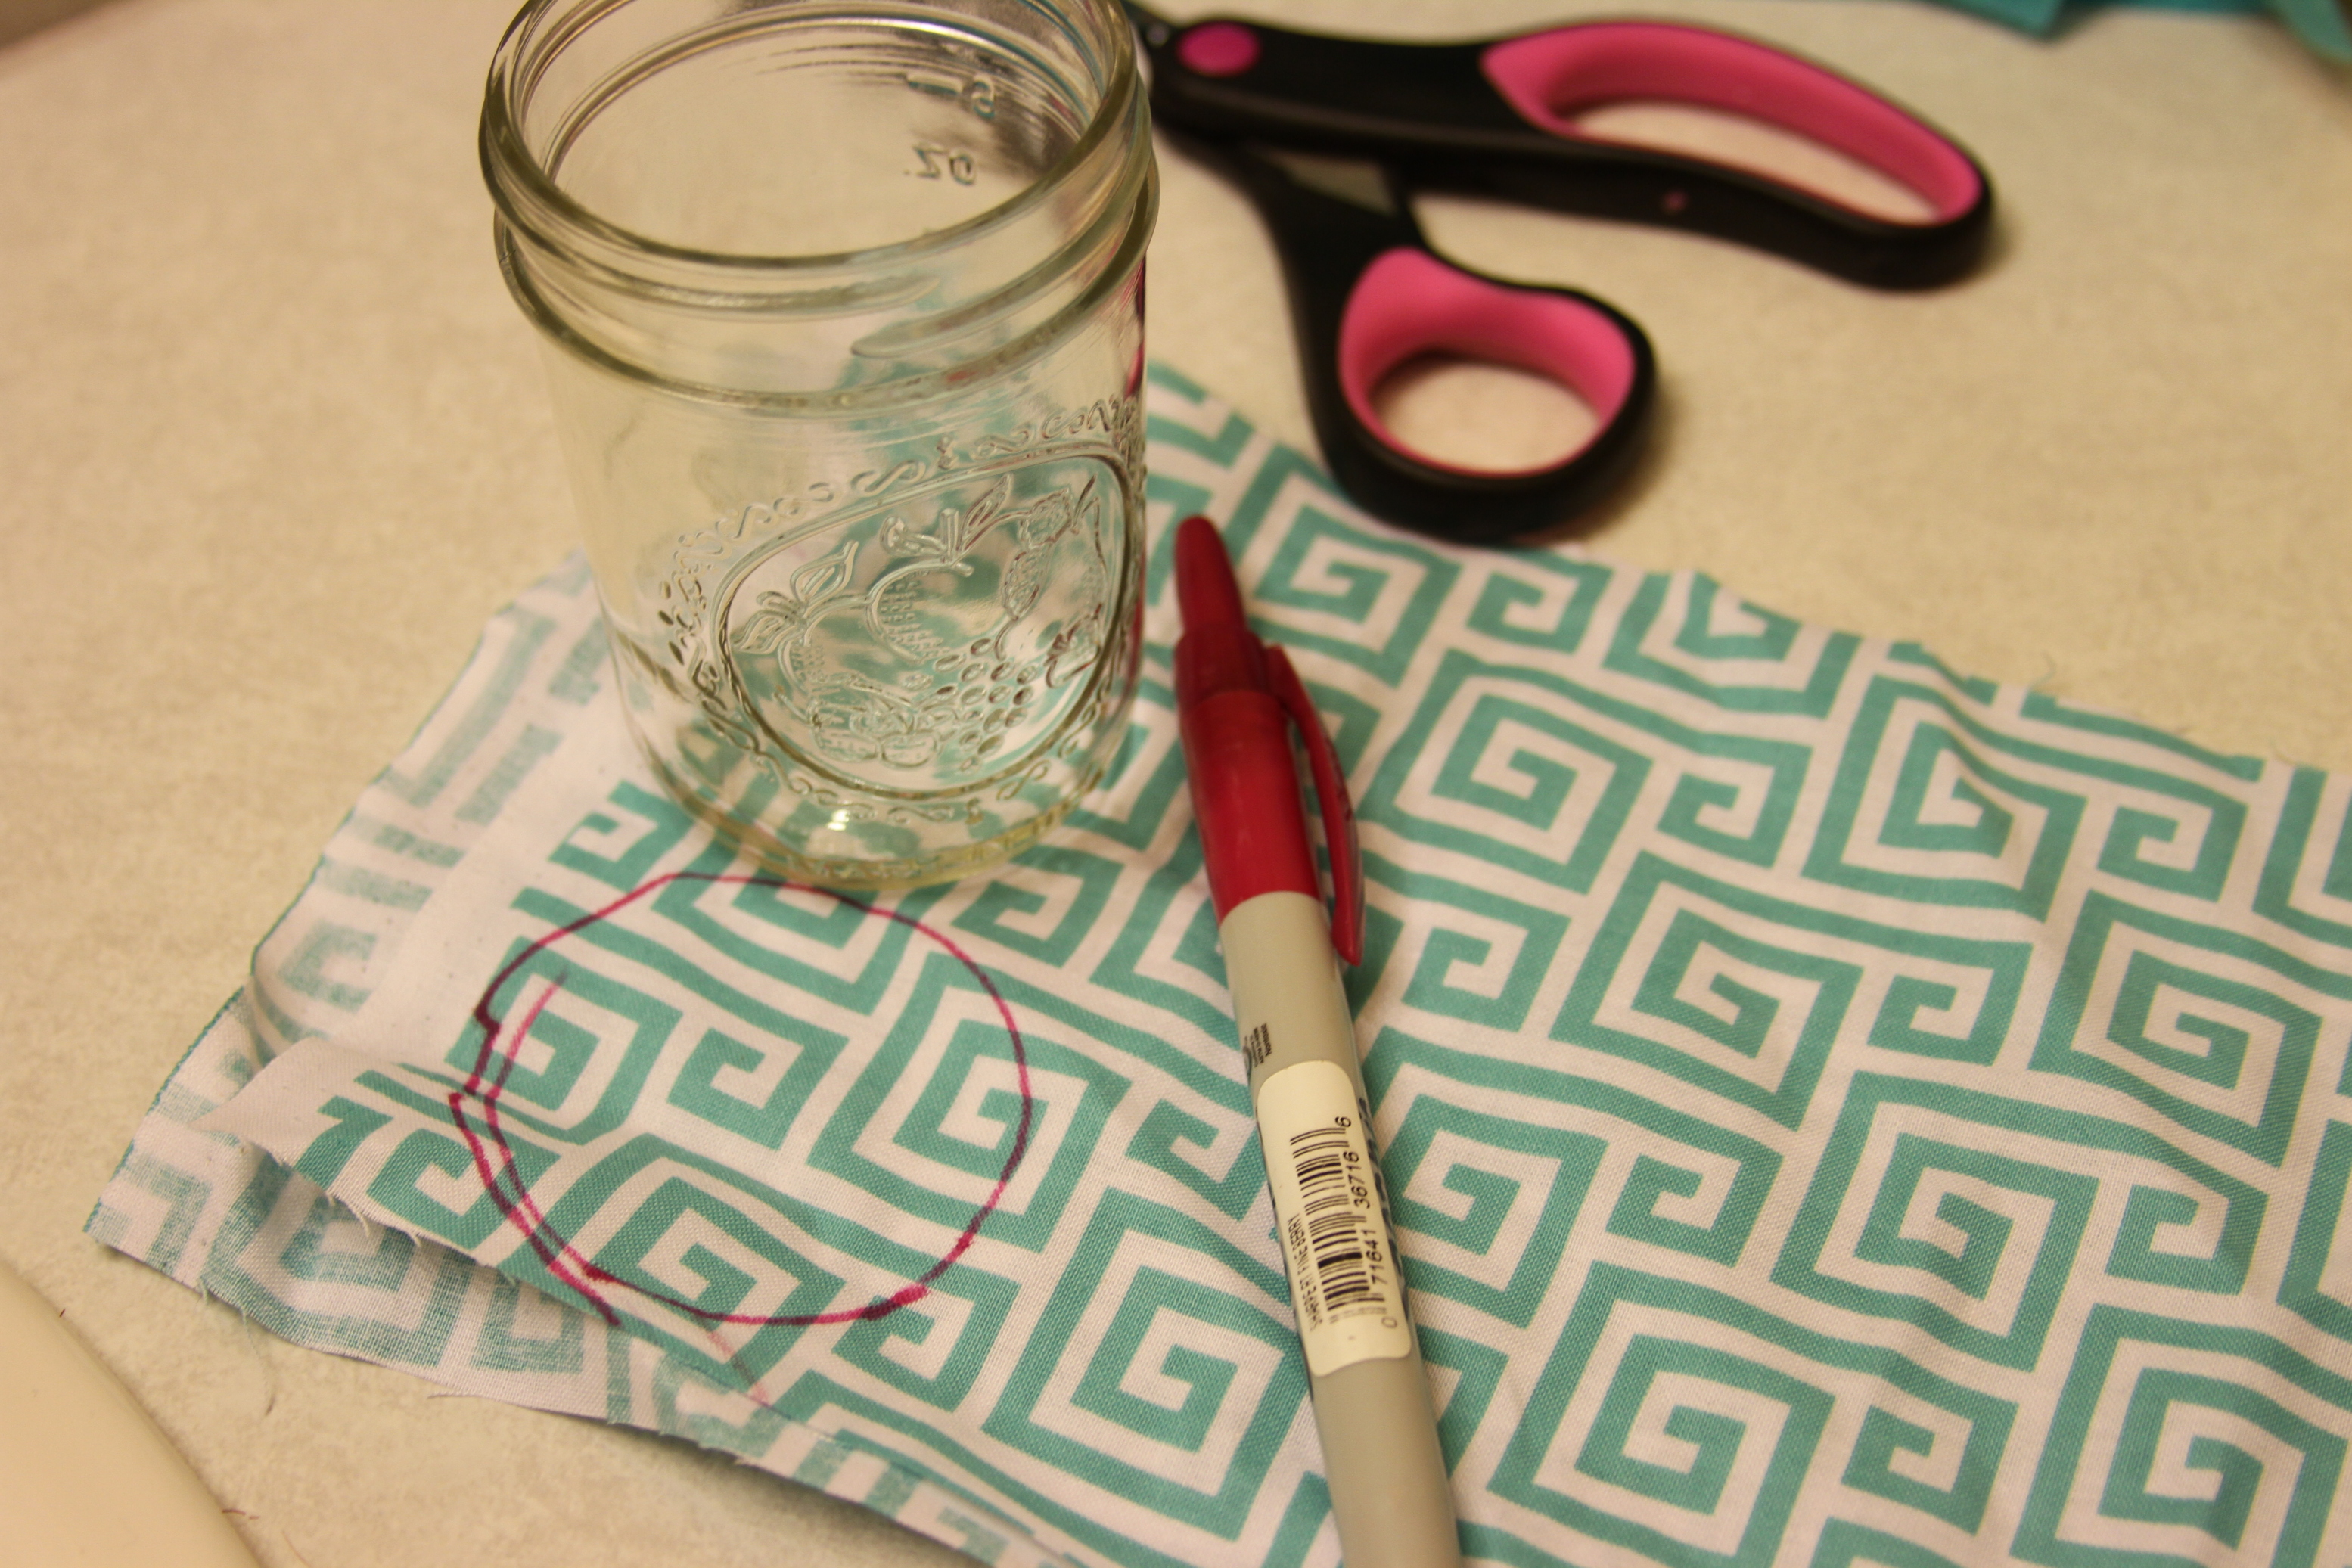
- Marker
- Various size cups
- Scissors
- Hot glue gun and hot glue sticks
Step 1: Wrap the yarn-
Begin wrapping your straw wreath. You can wrap one color at a time, two colors at at time or as many as you want. I start out wrapping with one piece of yarn from each of my colors even though I bought 2 of each. The other two are just in case I don’t have enough yarn to cover it. If I do, I return the other un-used yarn. The options are endless on colors!
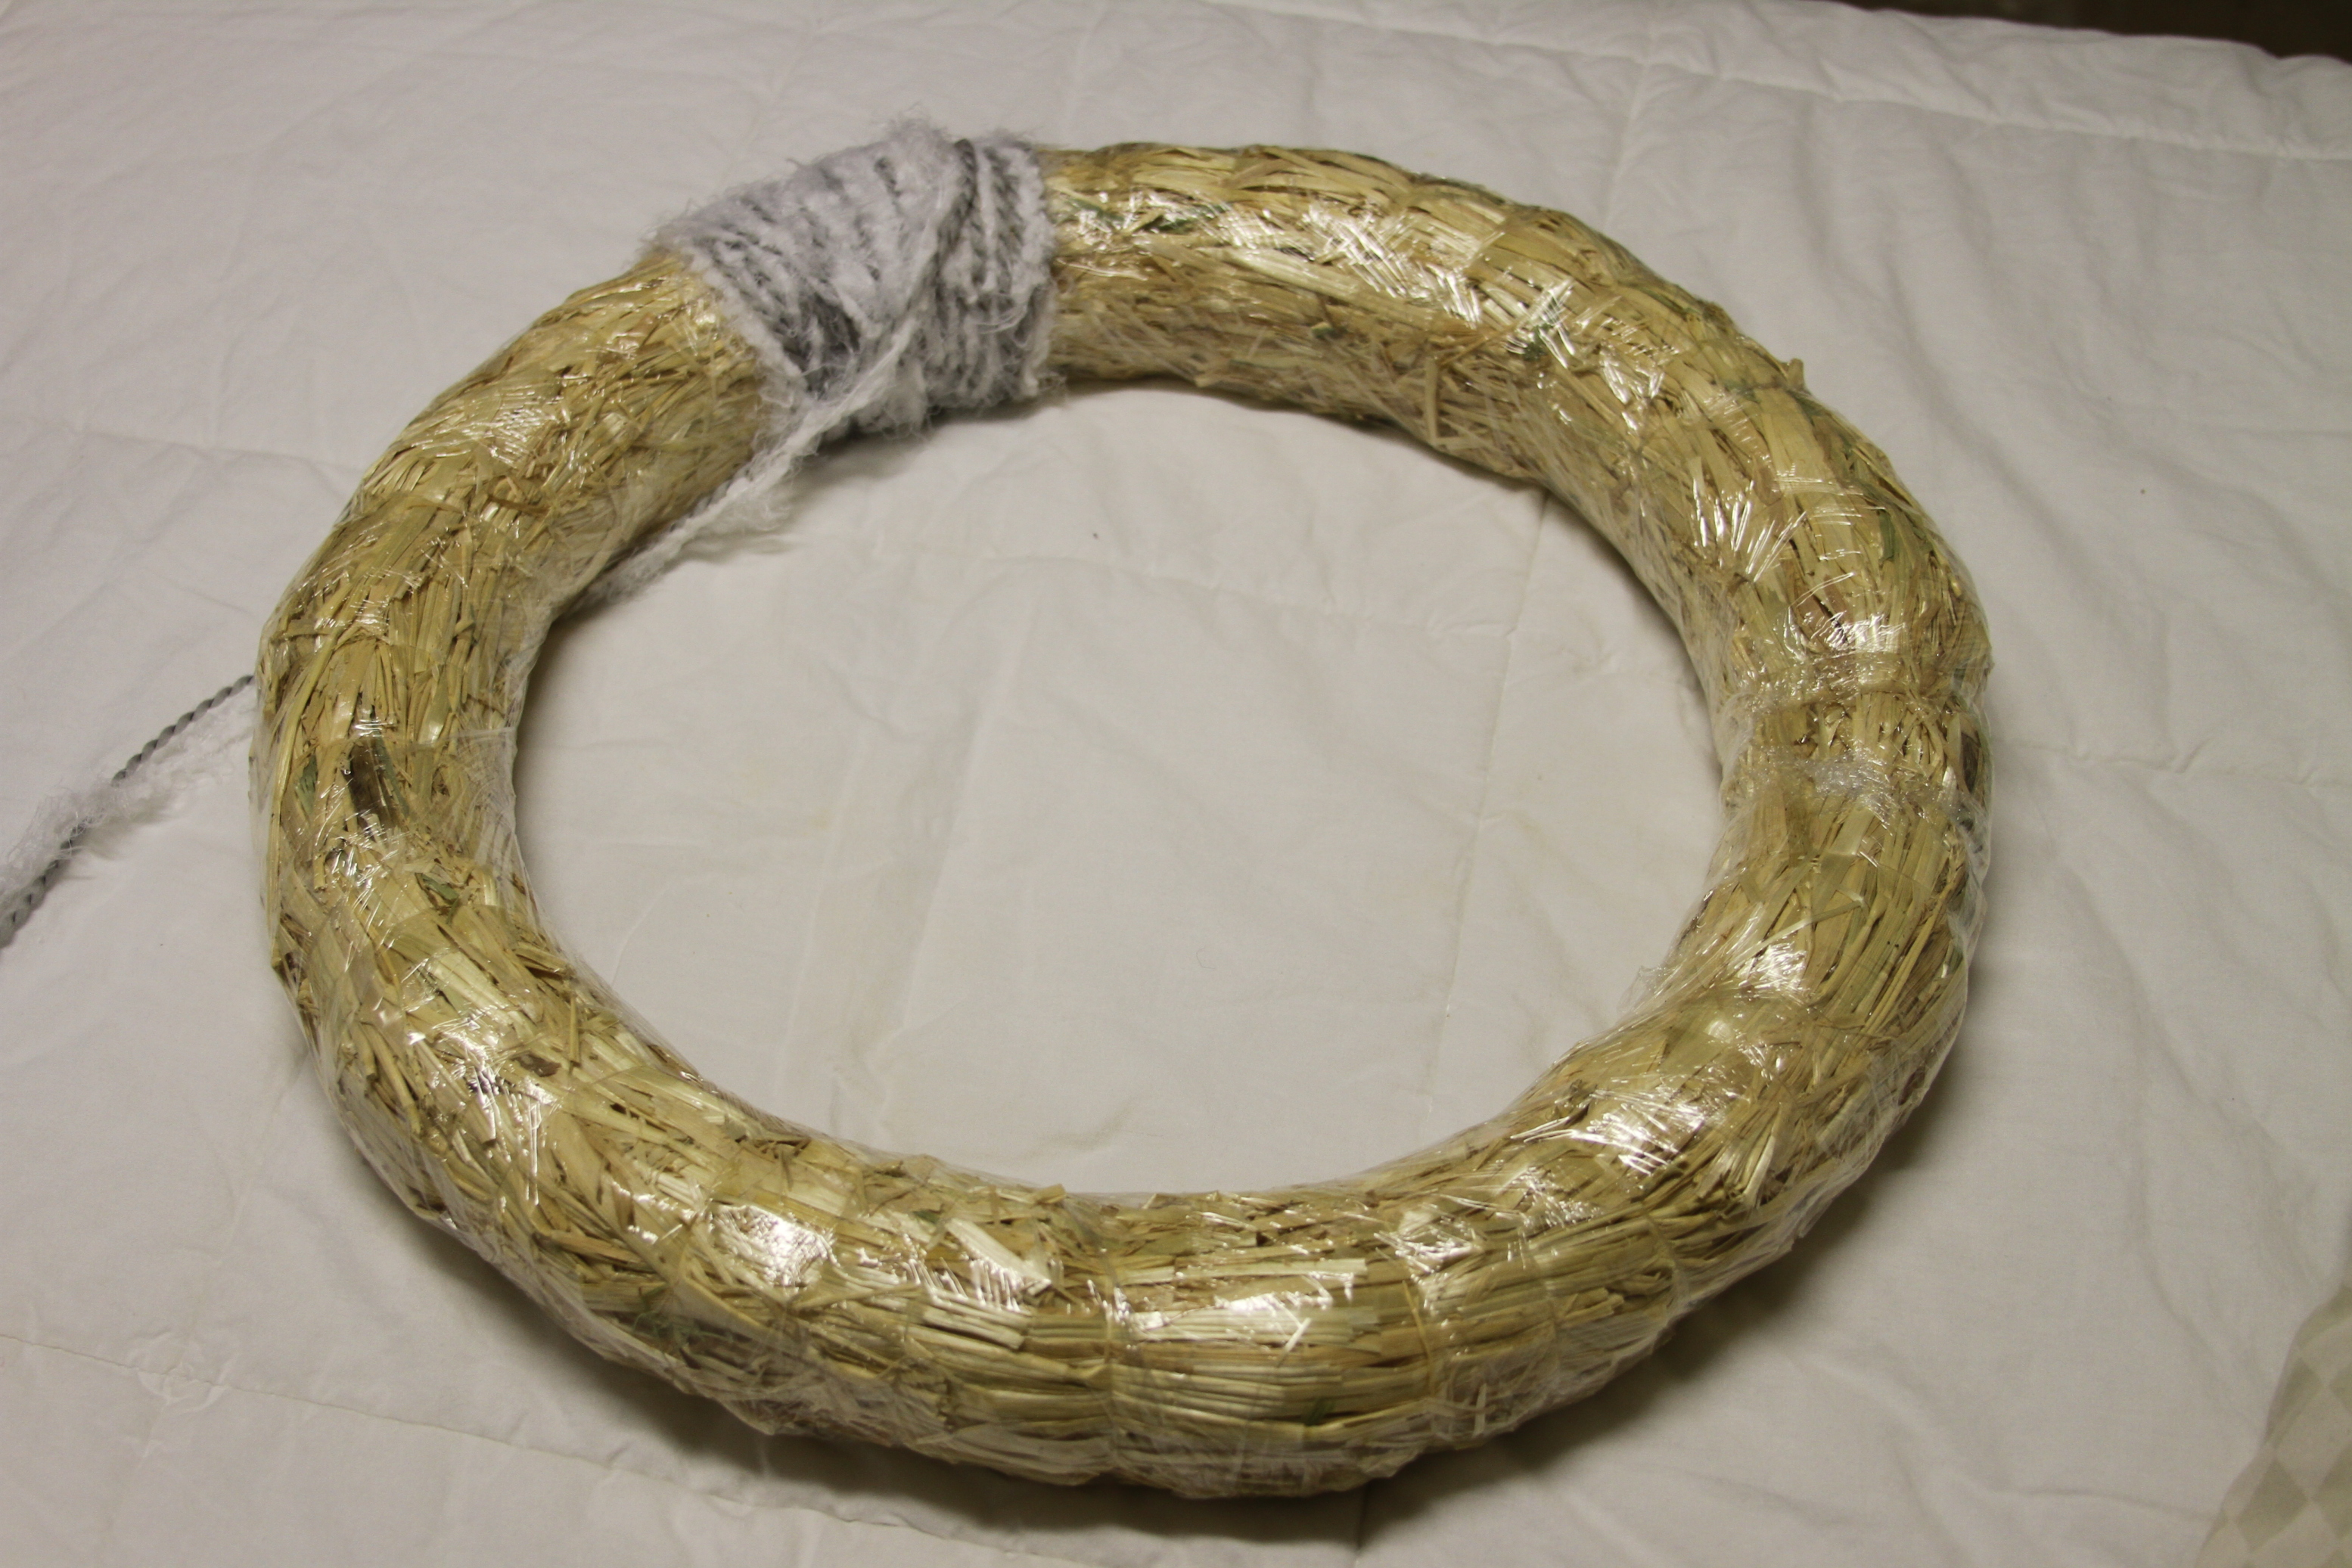
Step 2: Secure Yarn.
Once you have wrapped the straw wreath in yarn secure the last wrap by tying the yarn around and tying it in a knot. If you want to wrap ribbon around the wreath, now is the time to do it!
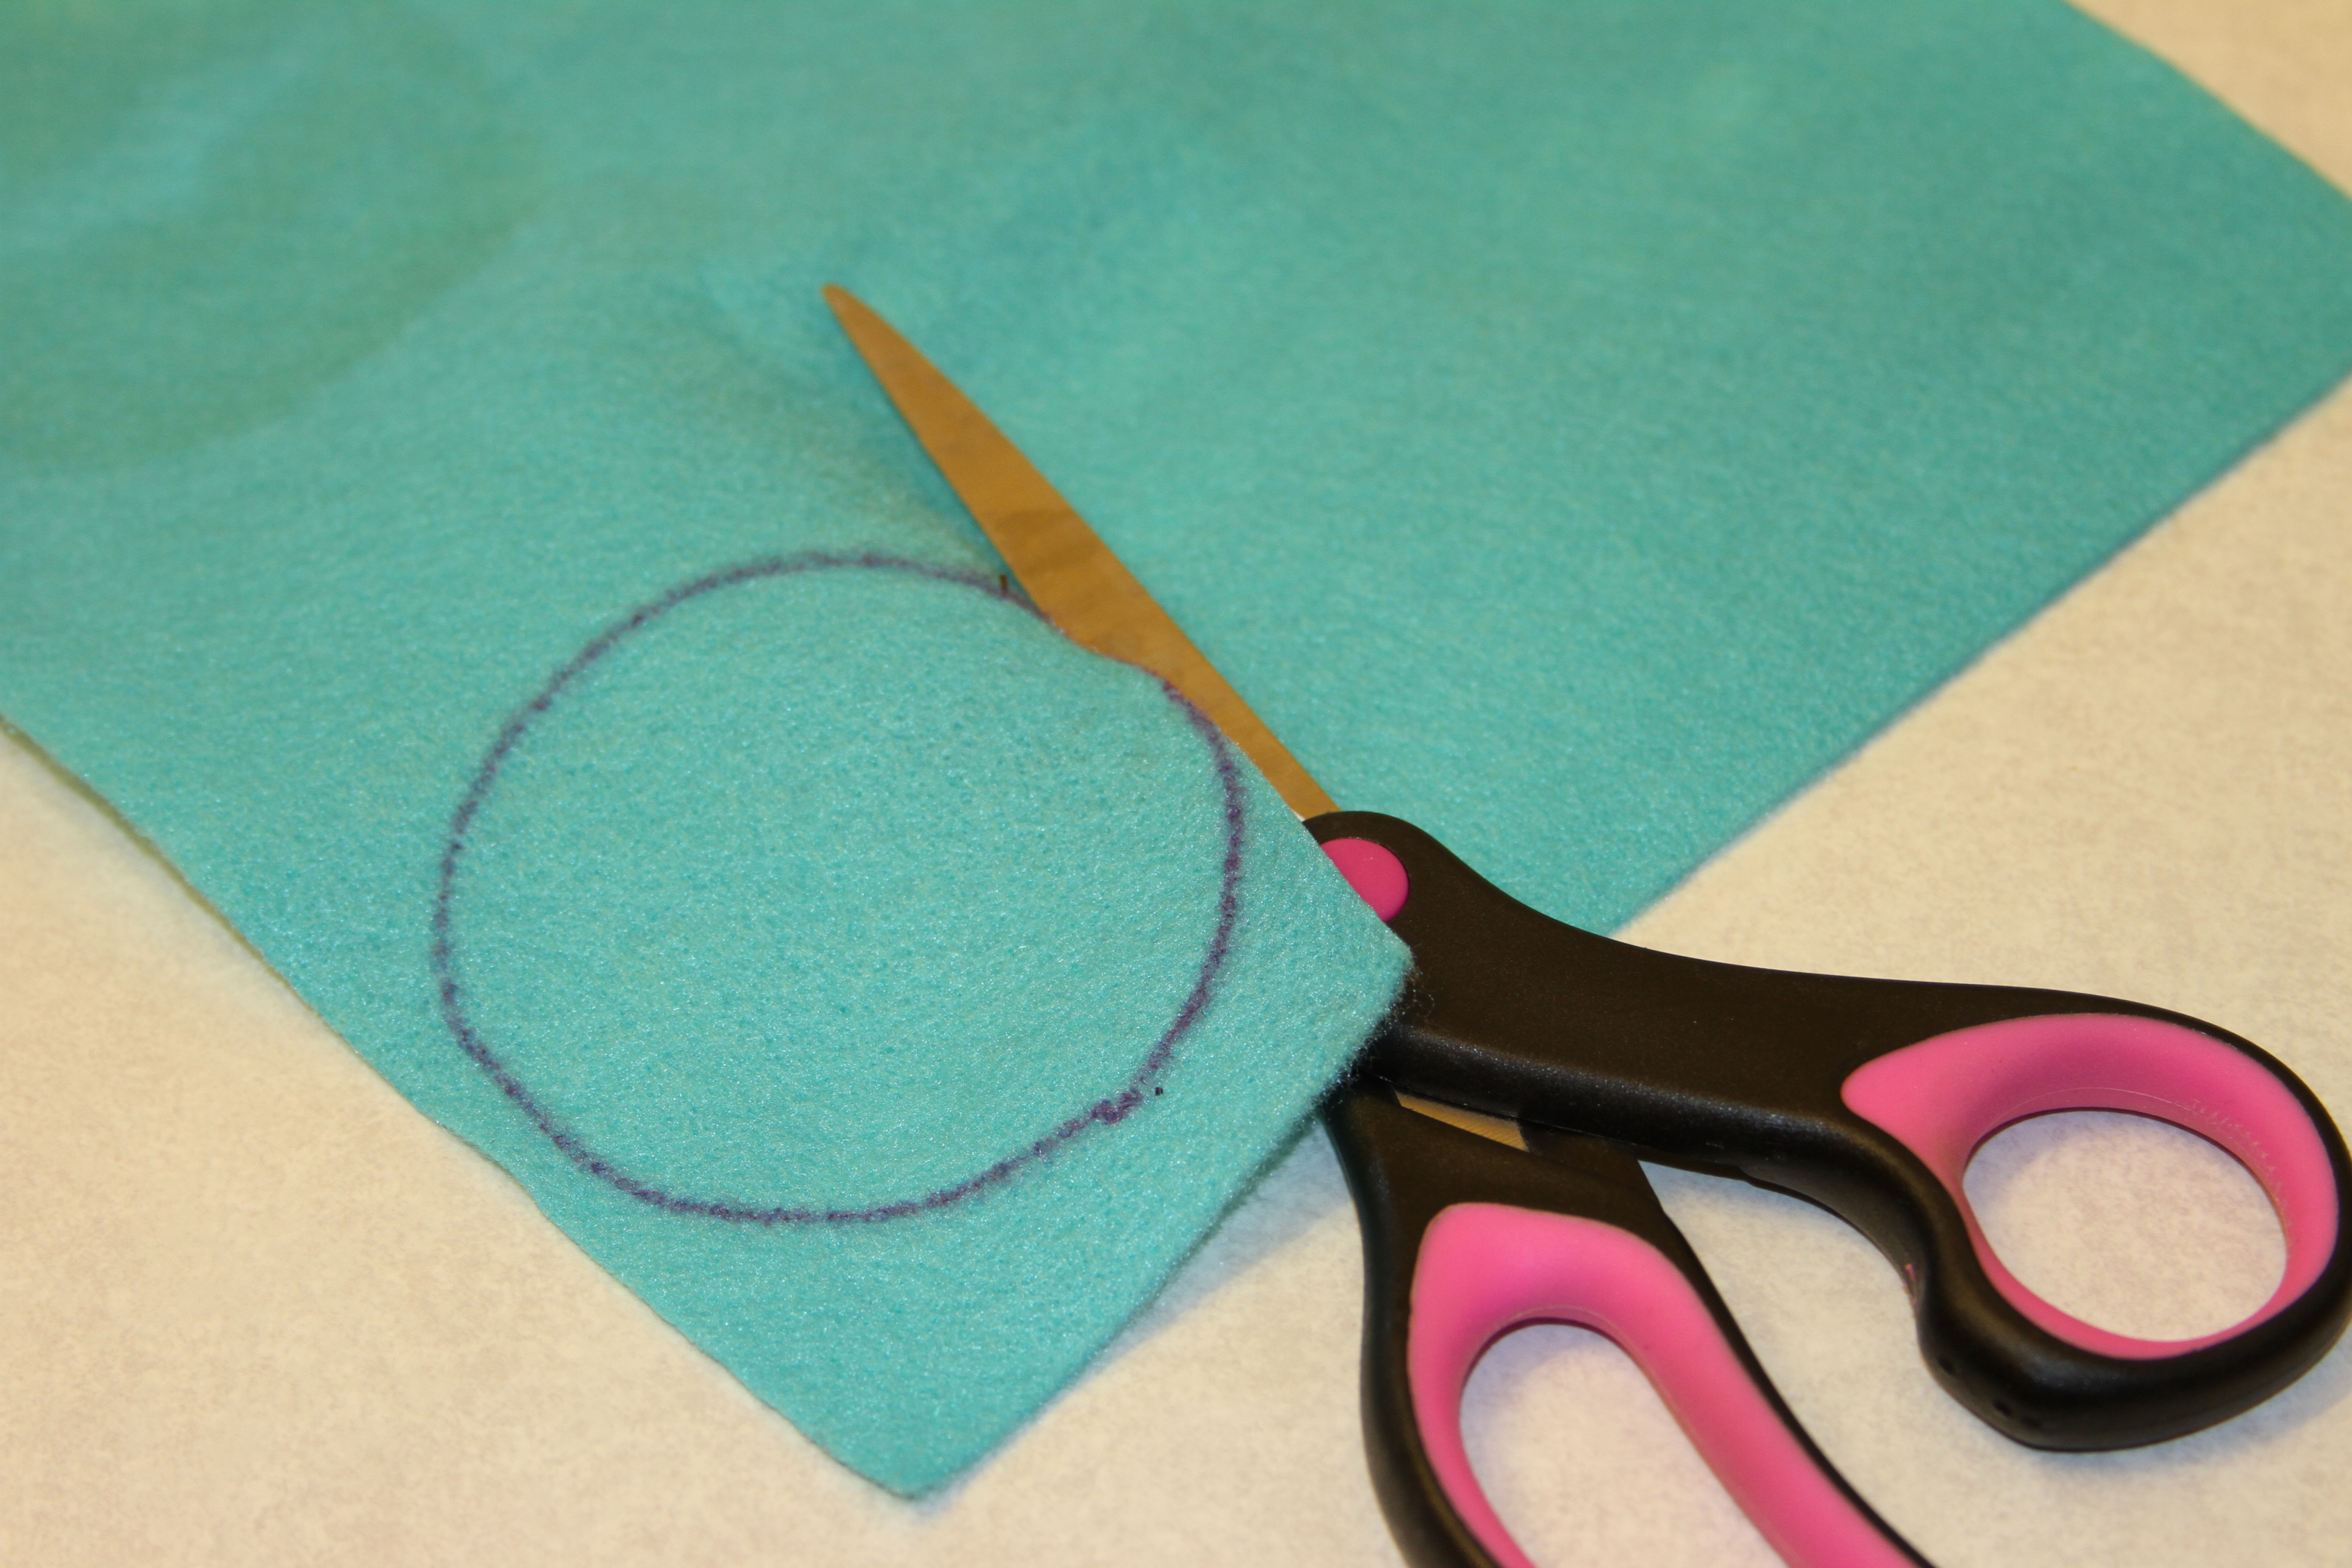
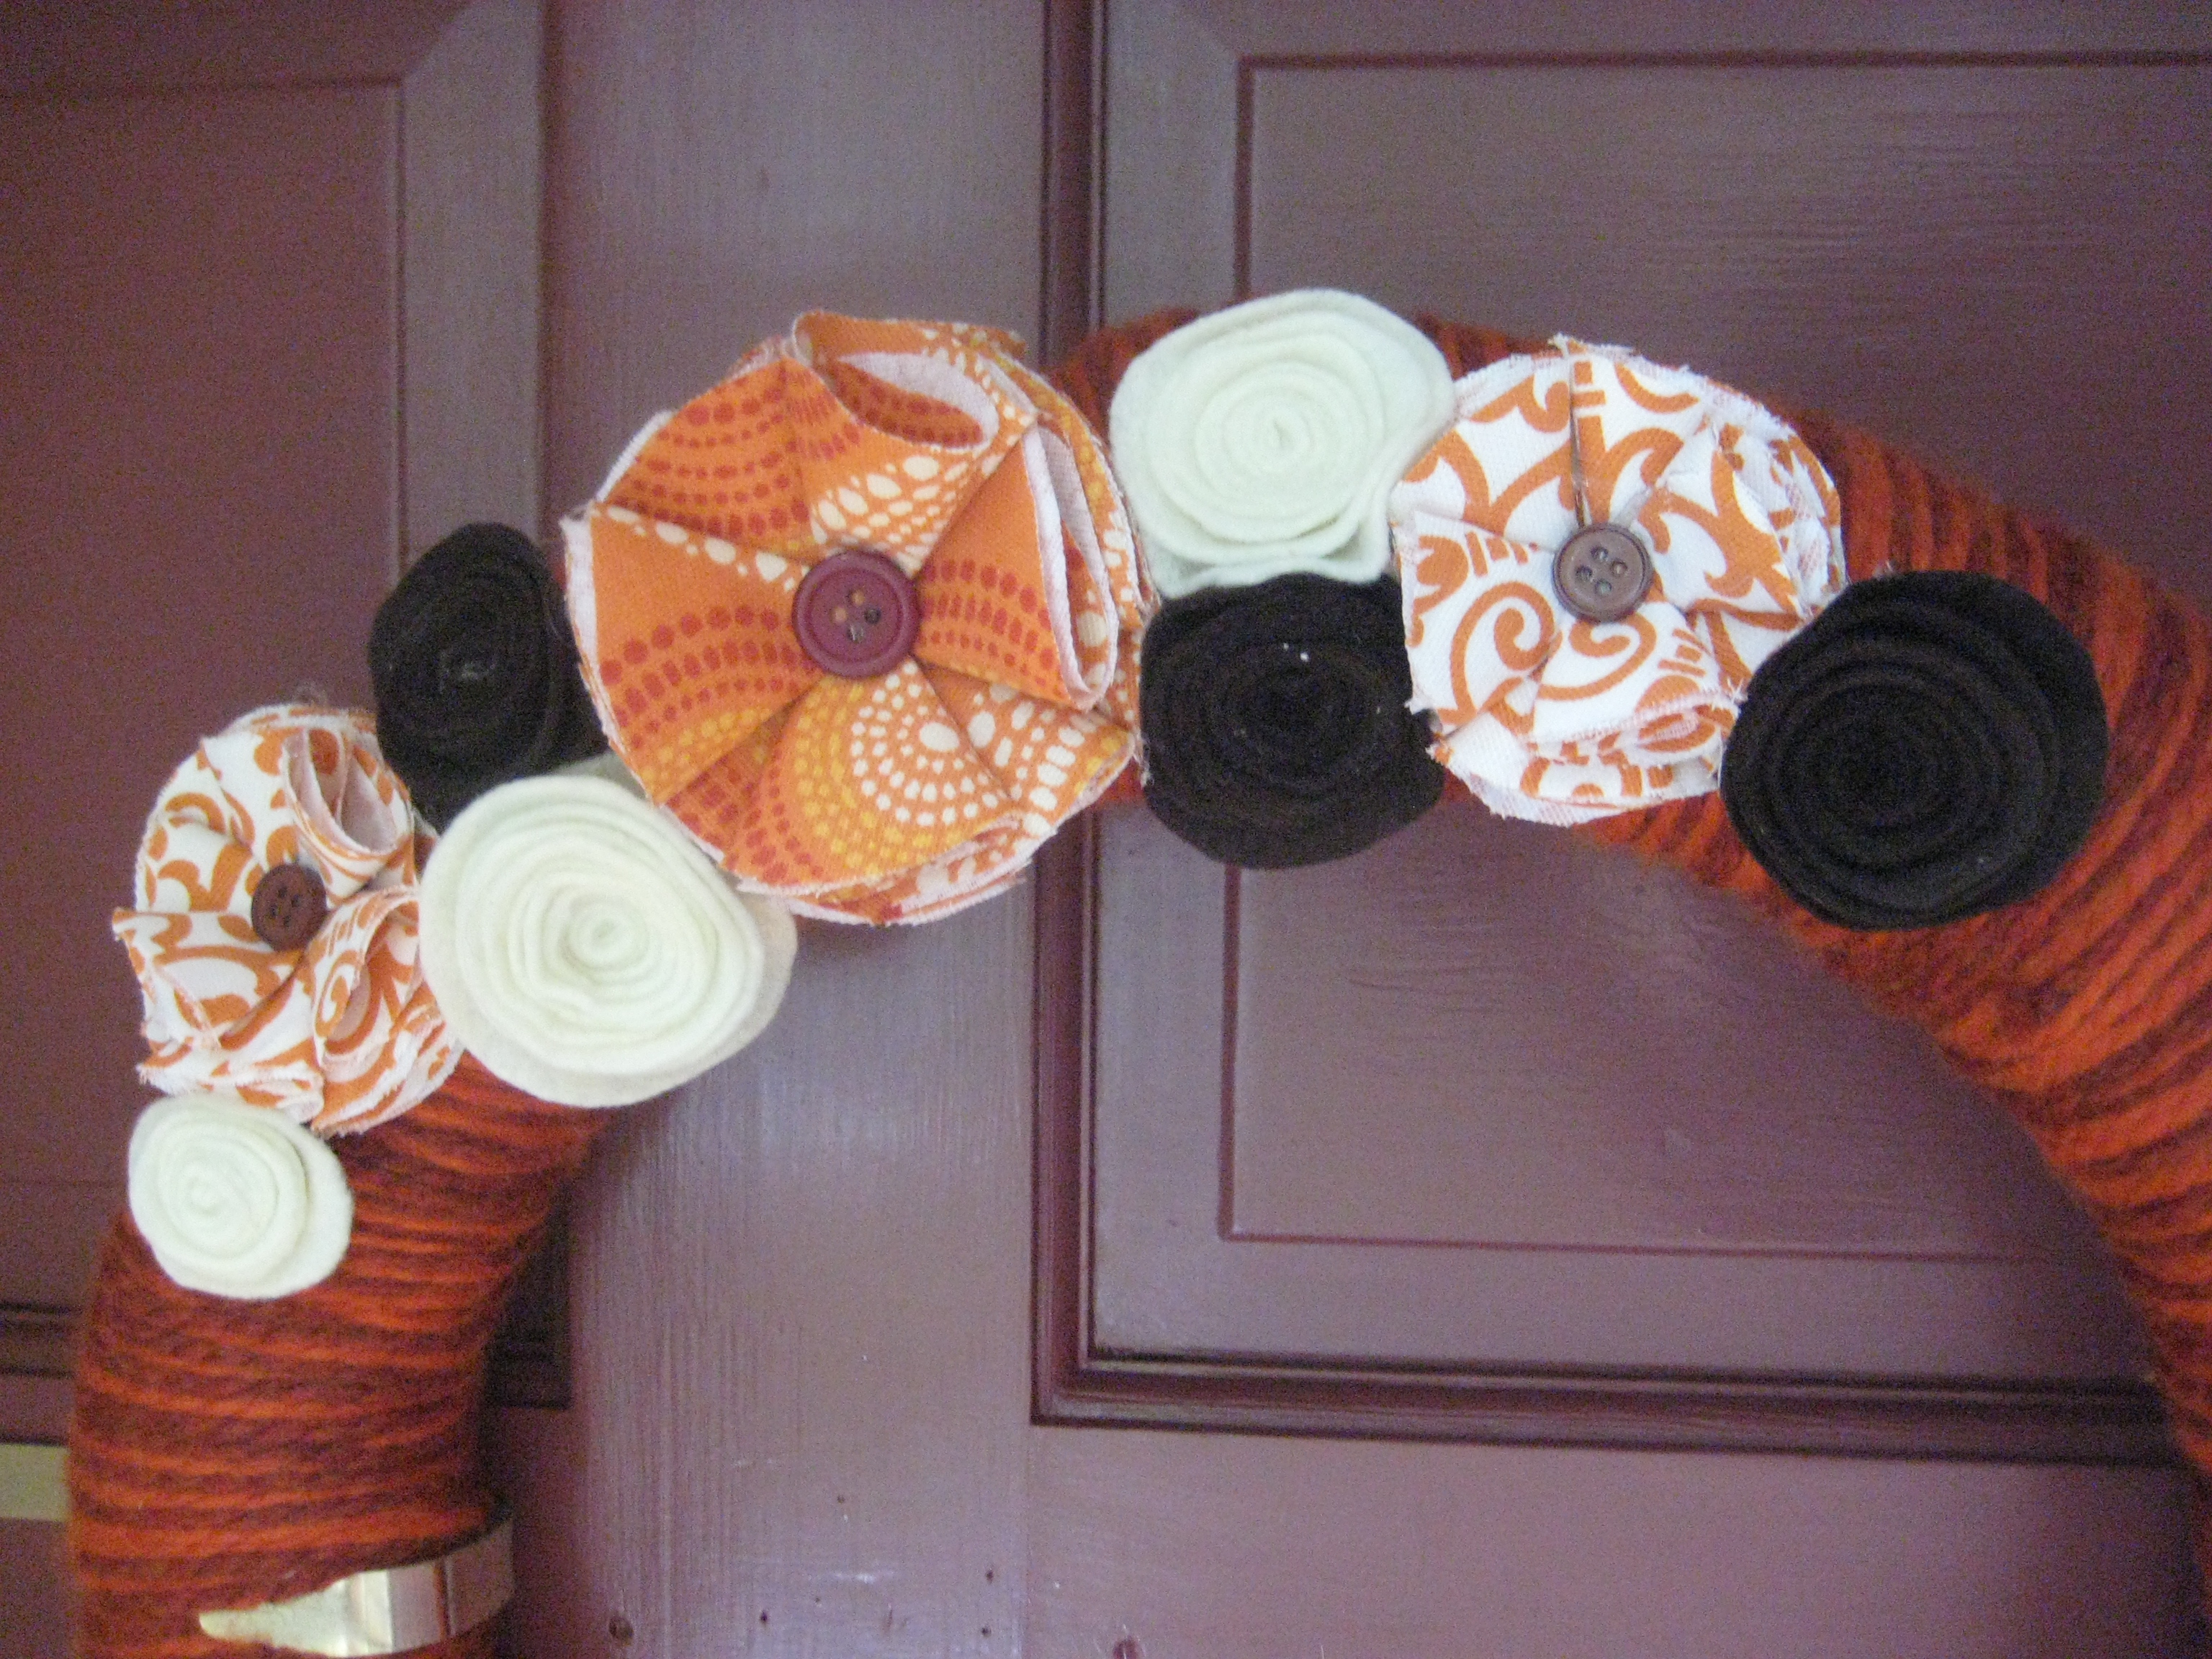
Step 3: Make your felt flowers.
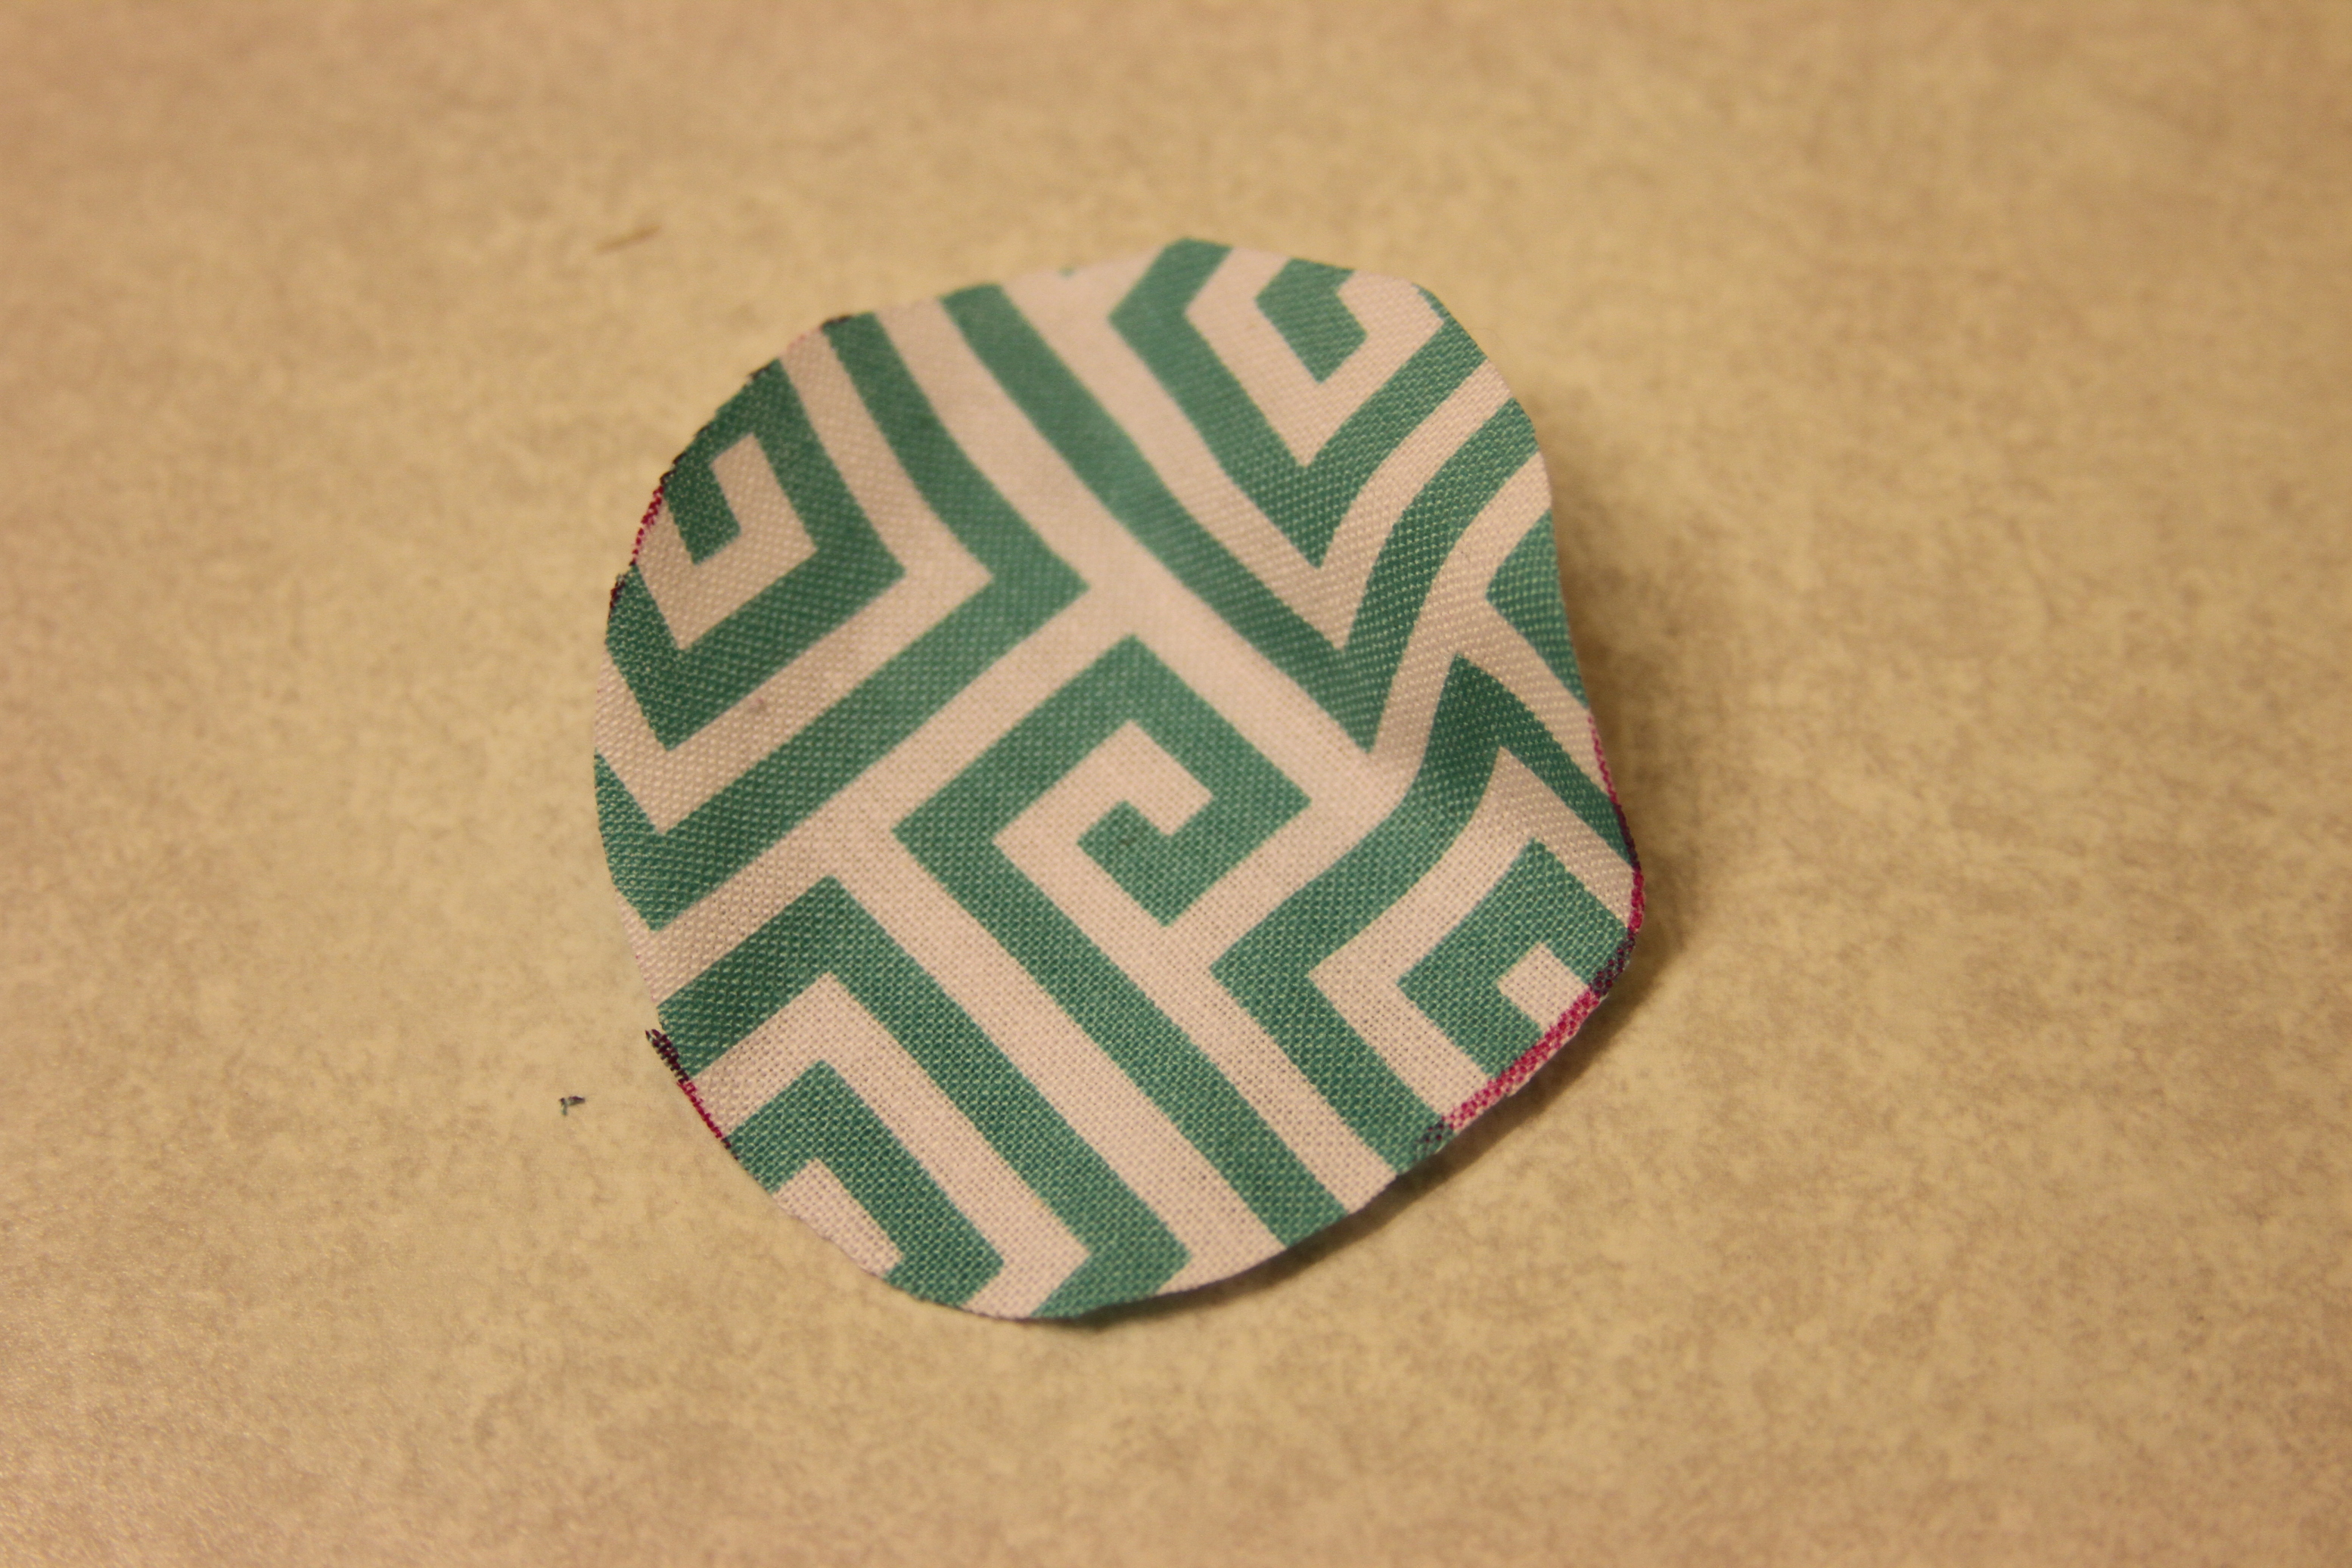
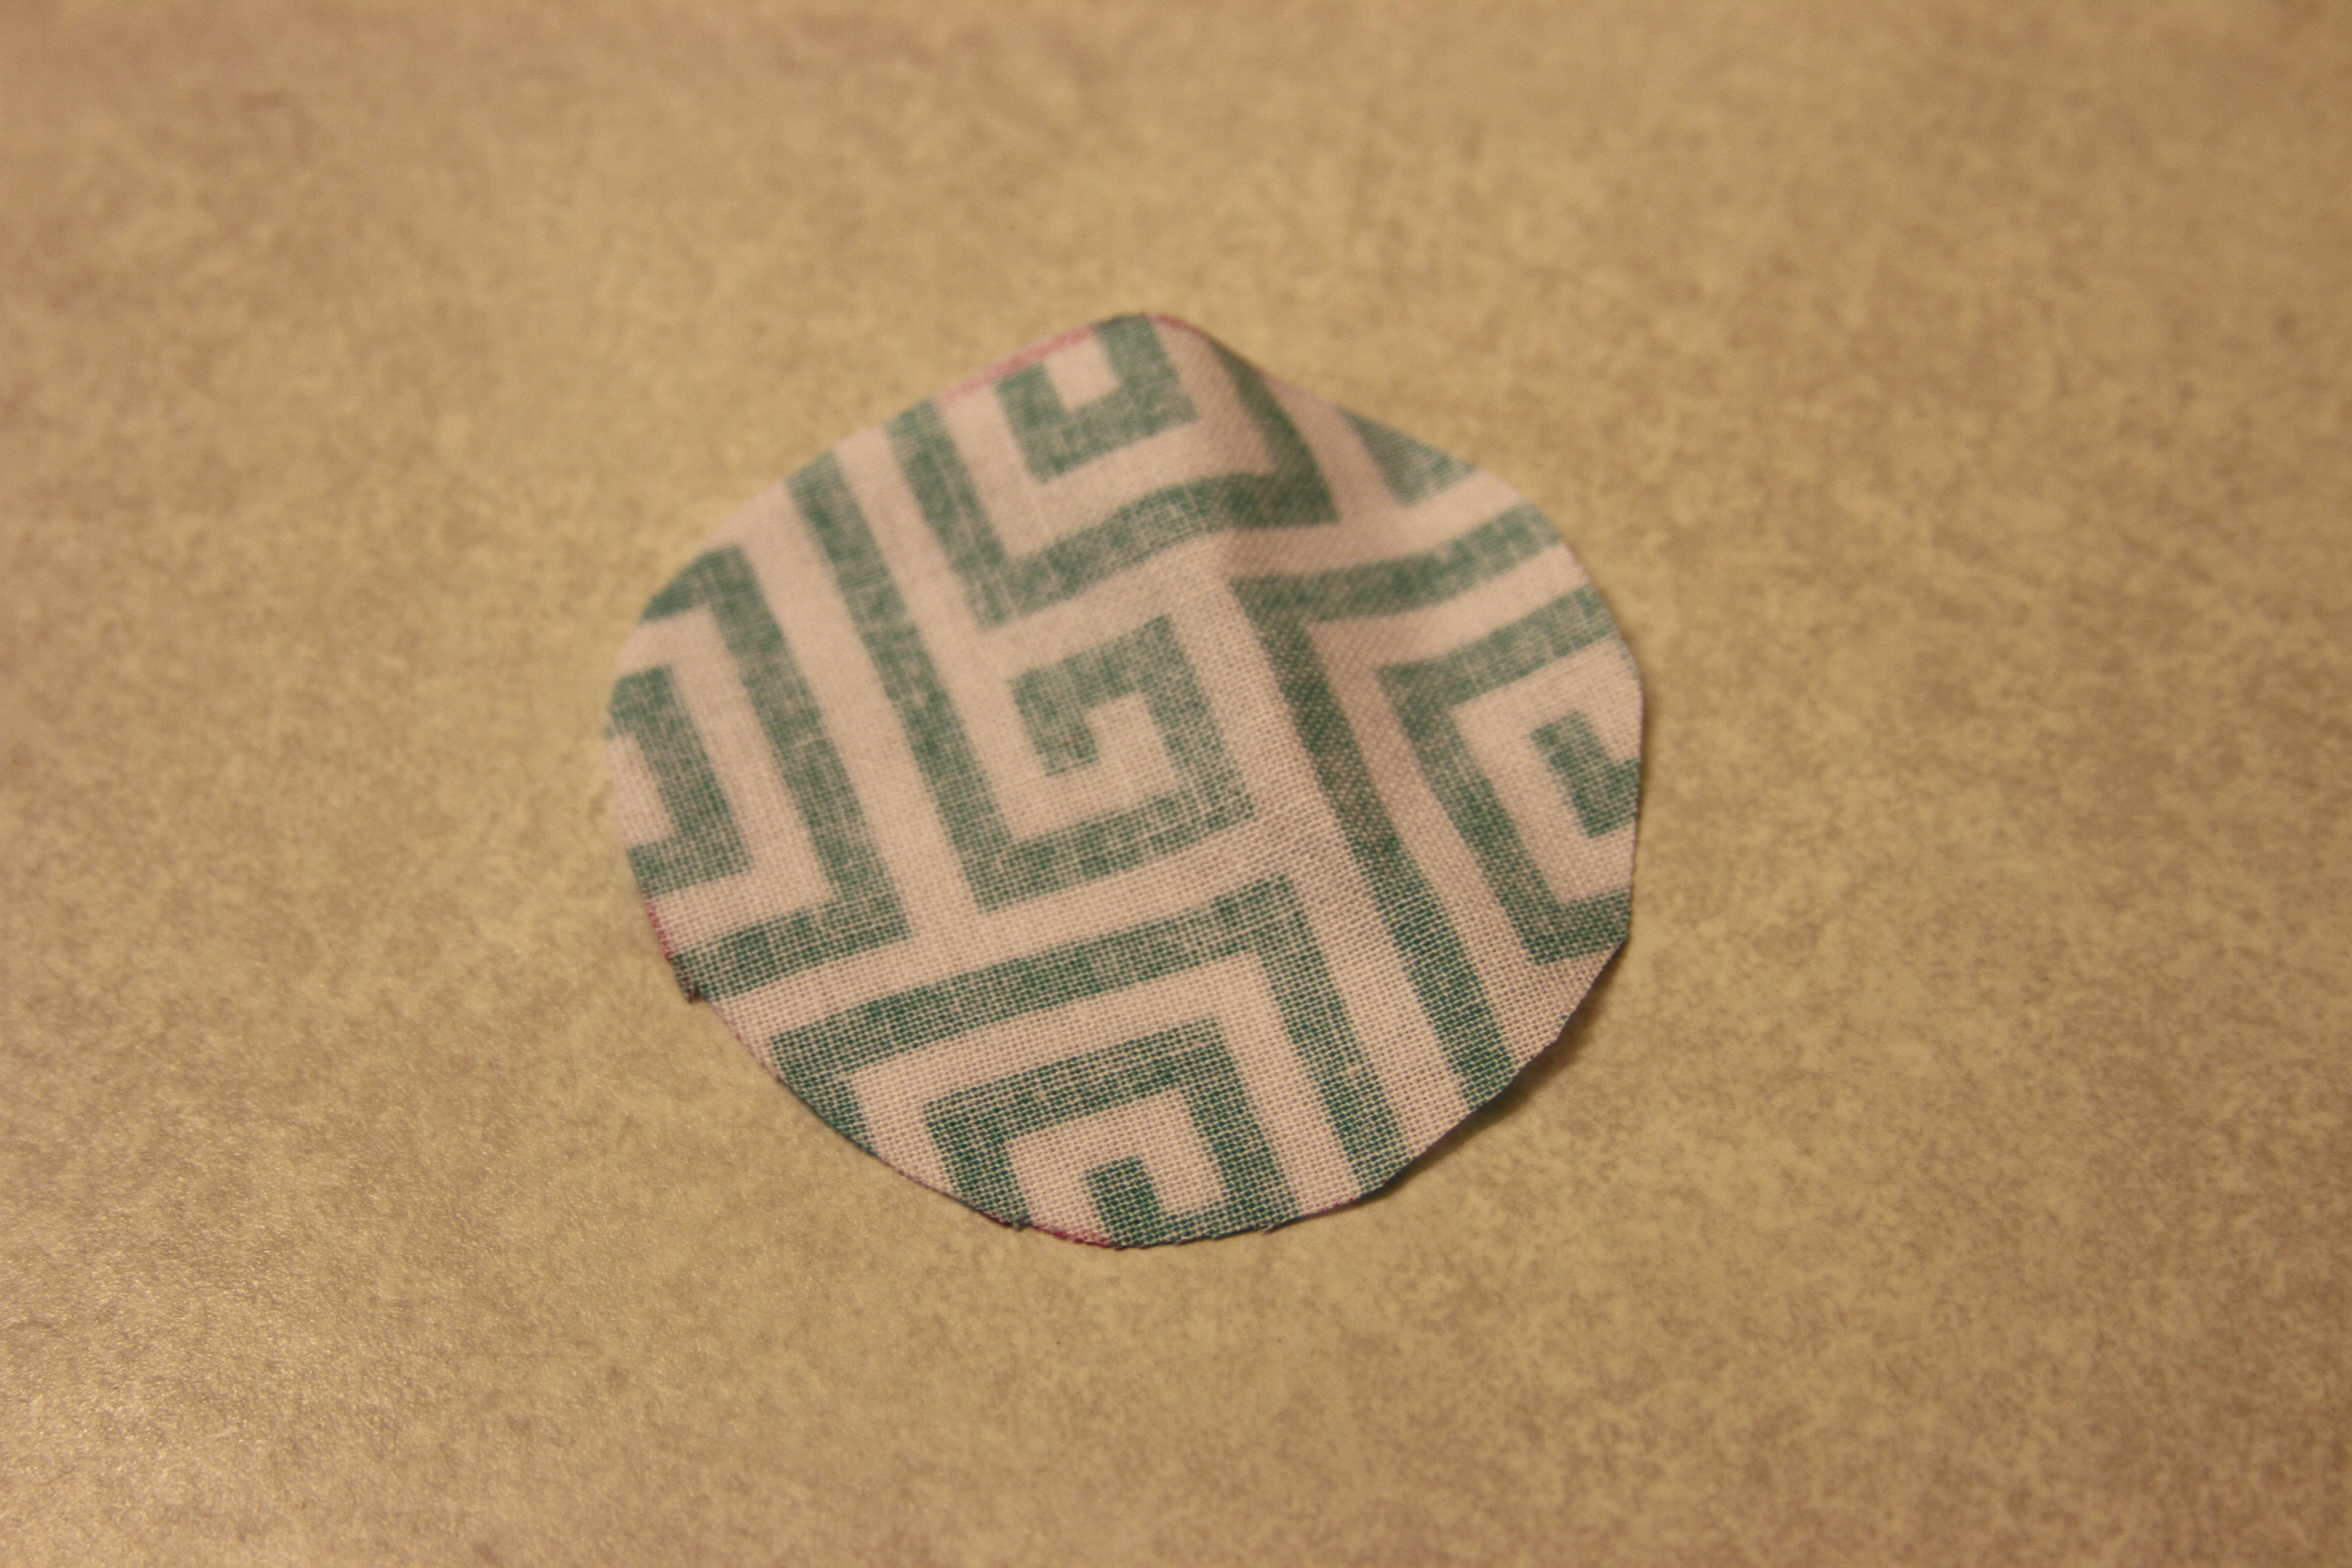
To do this step, you simply cut circles out of the felt. The bigger the circle, the bigger the flower.
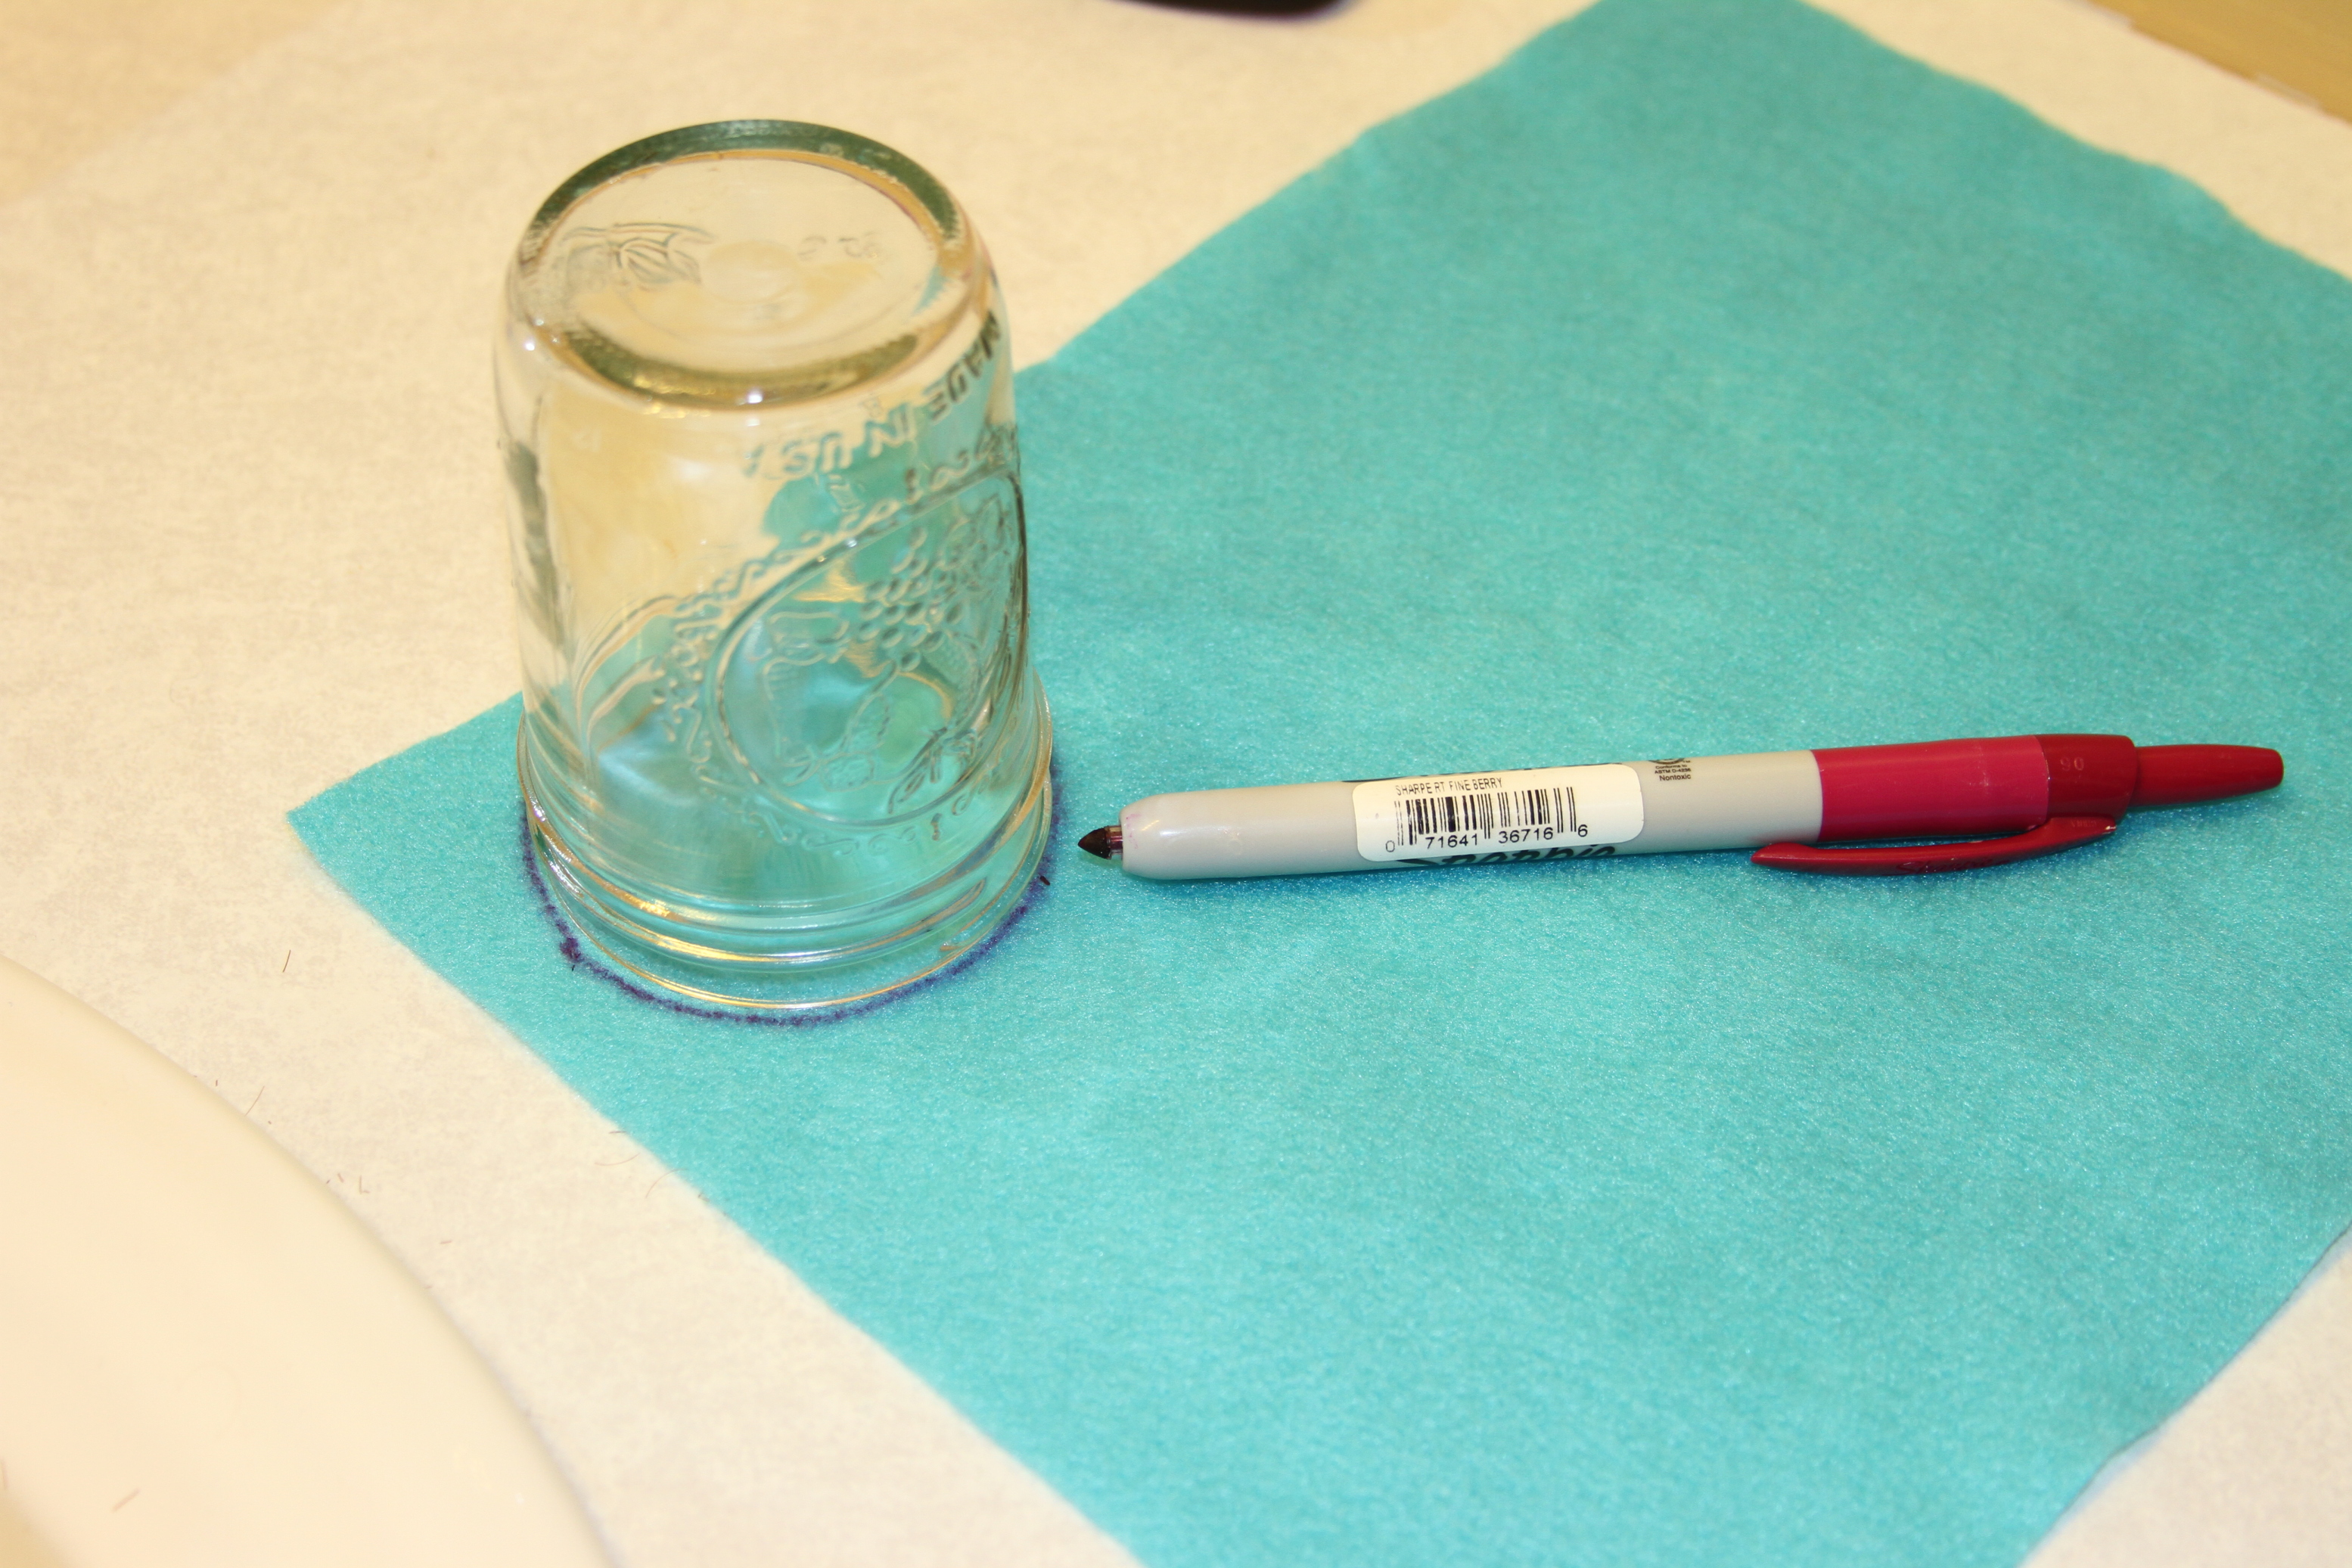
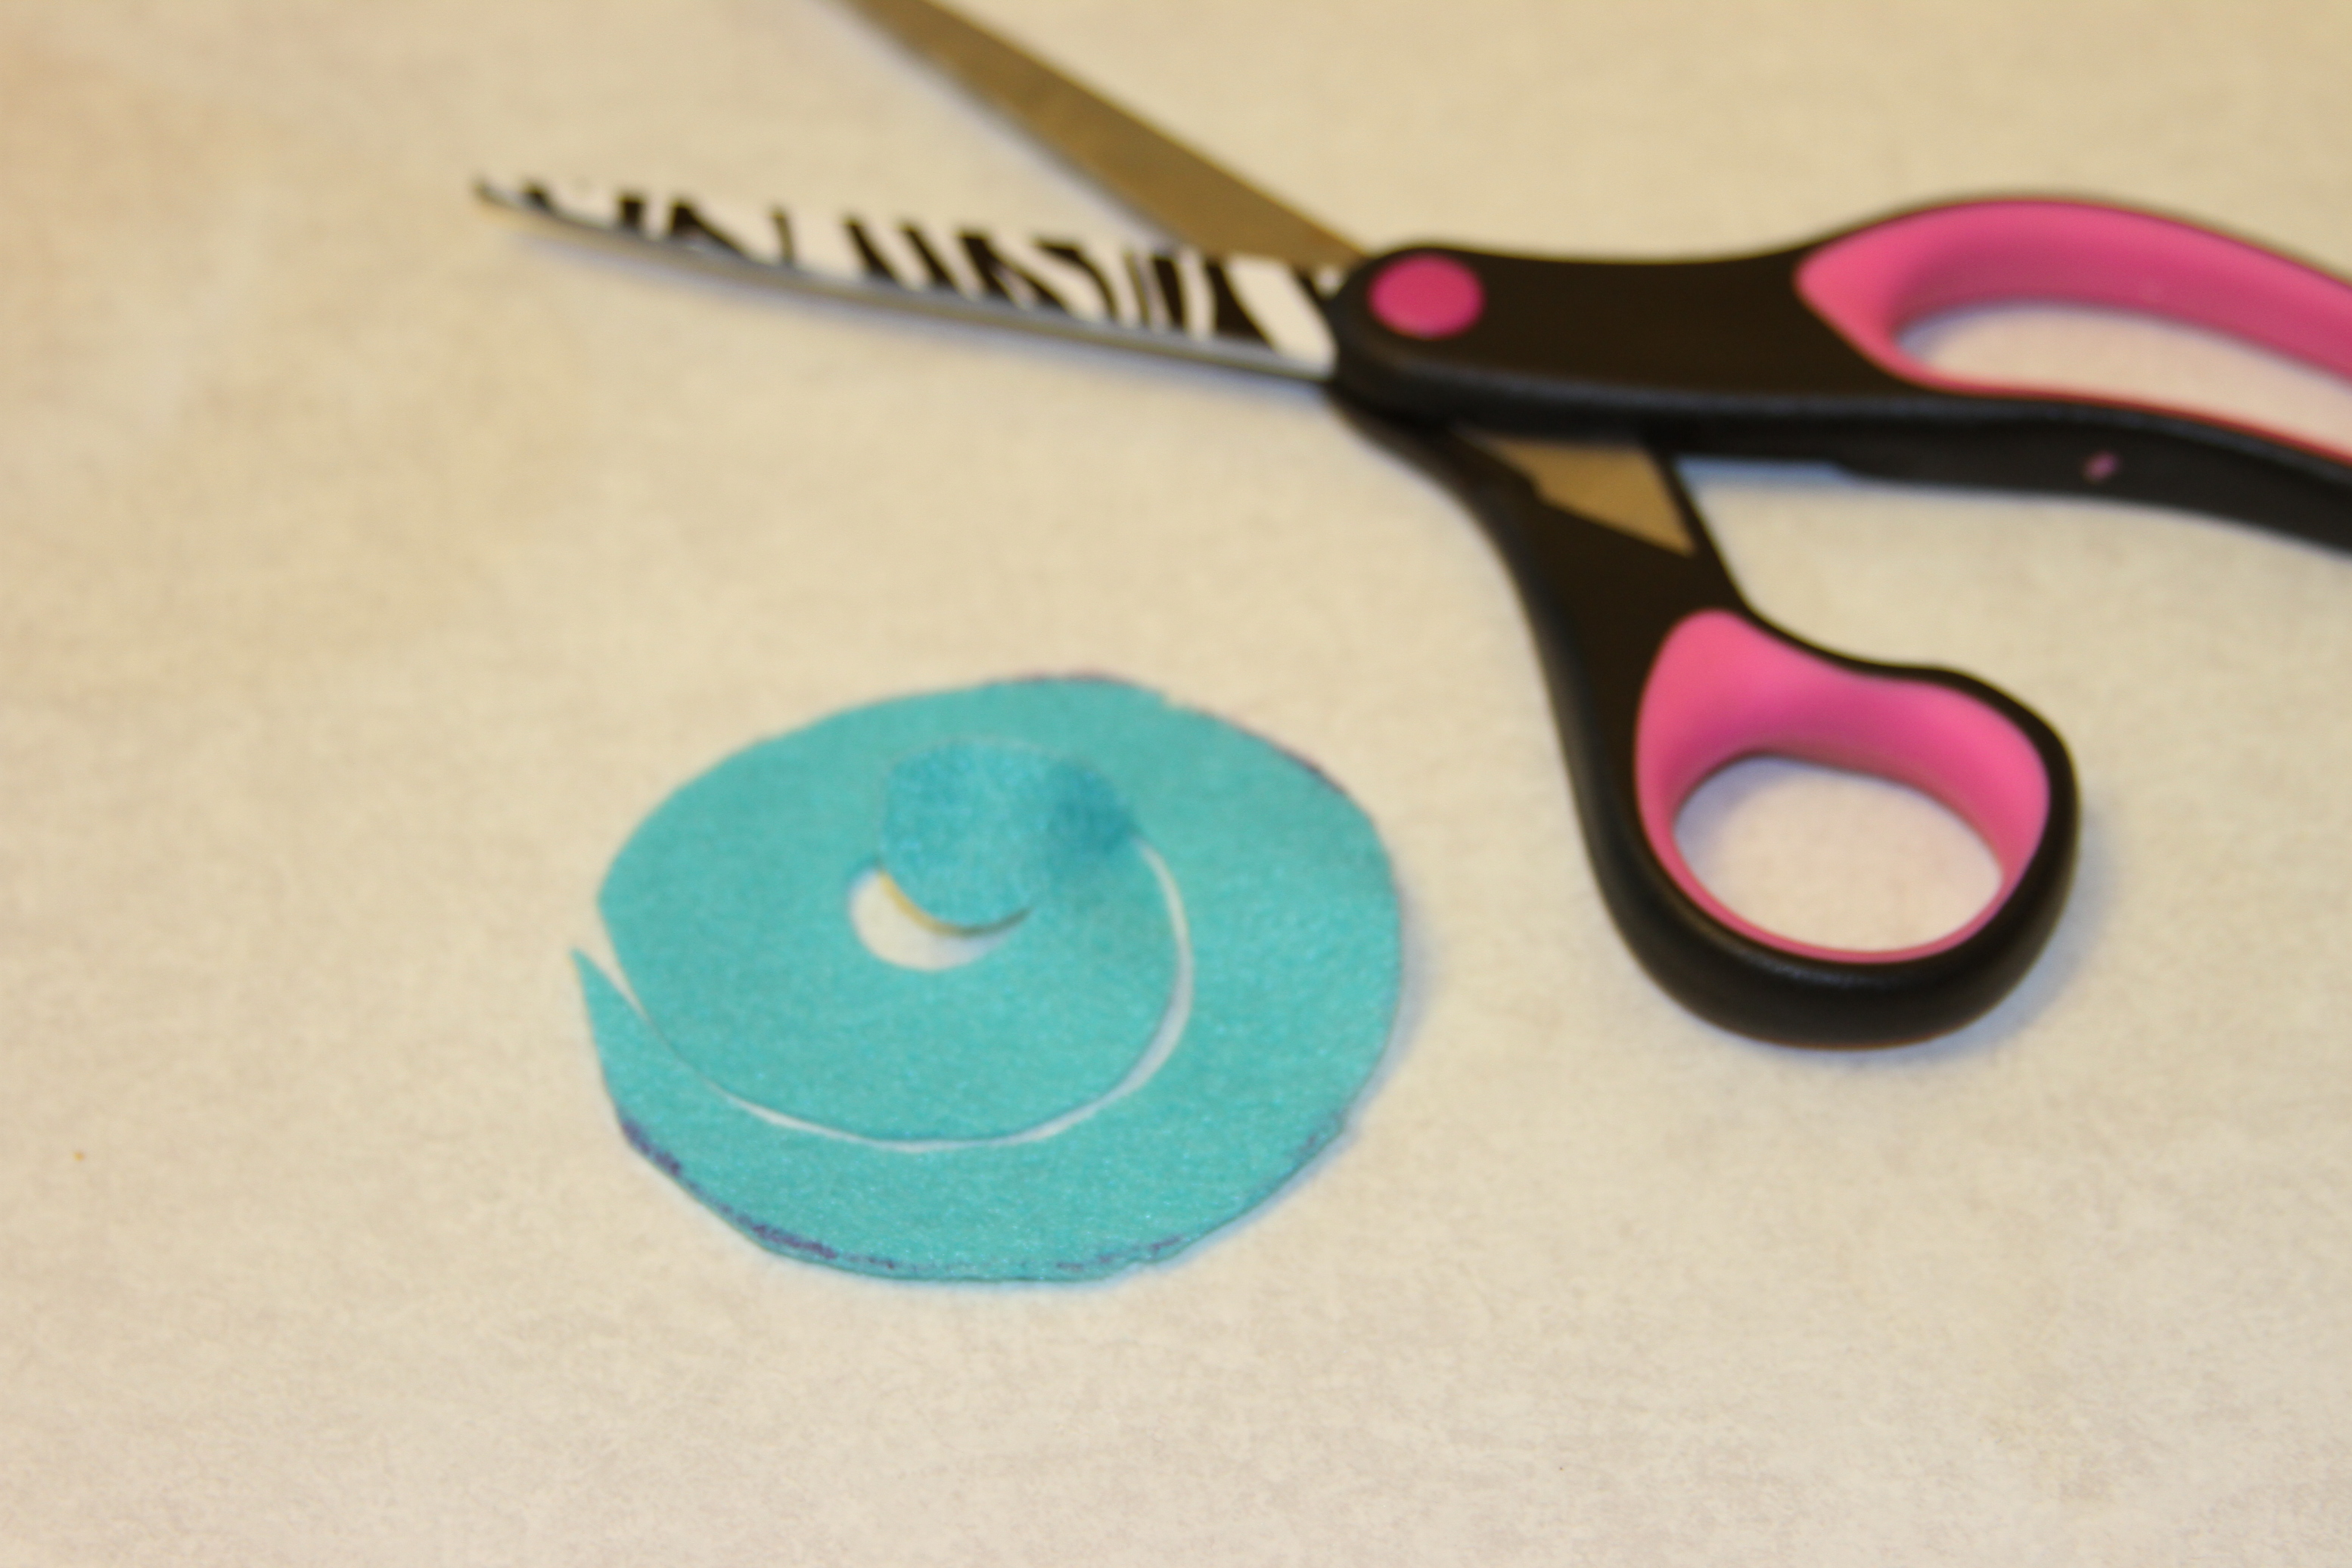


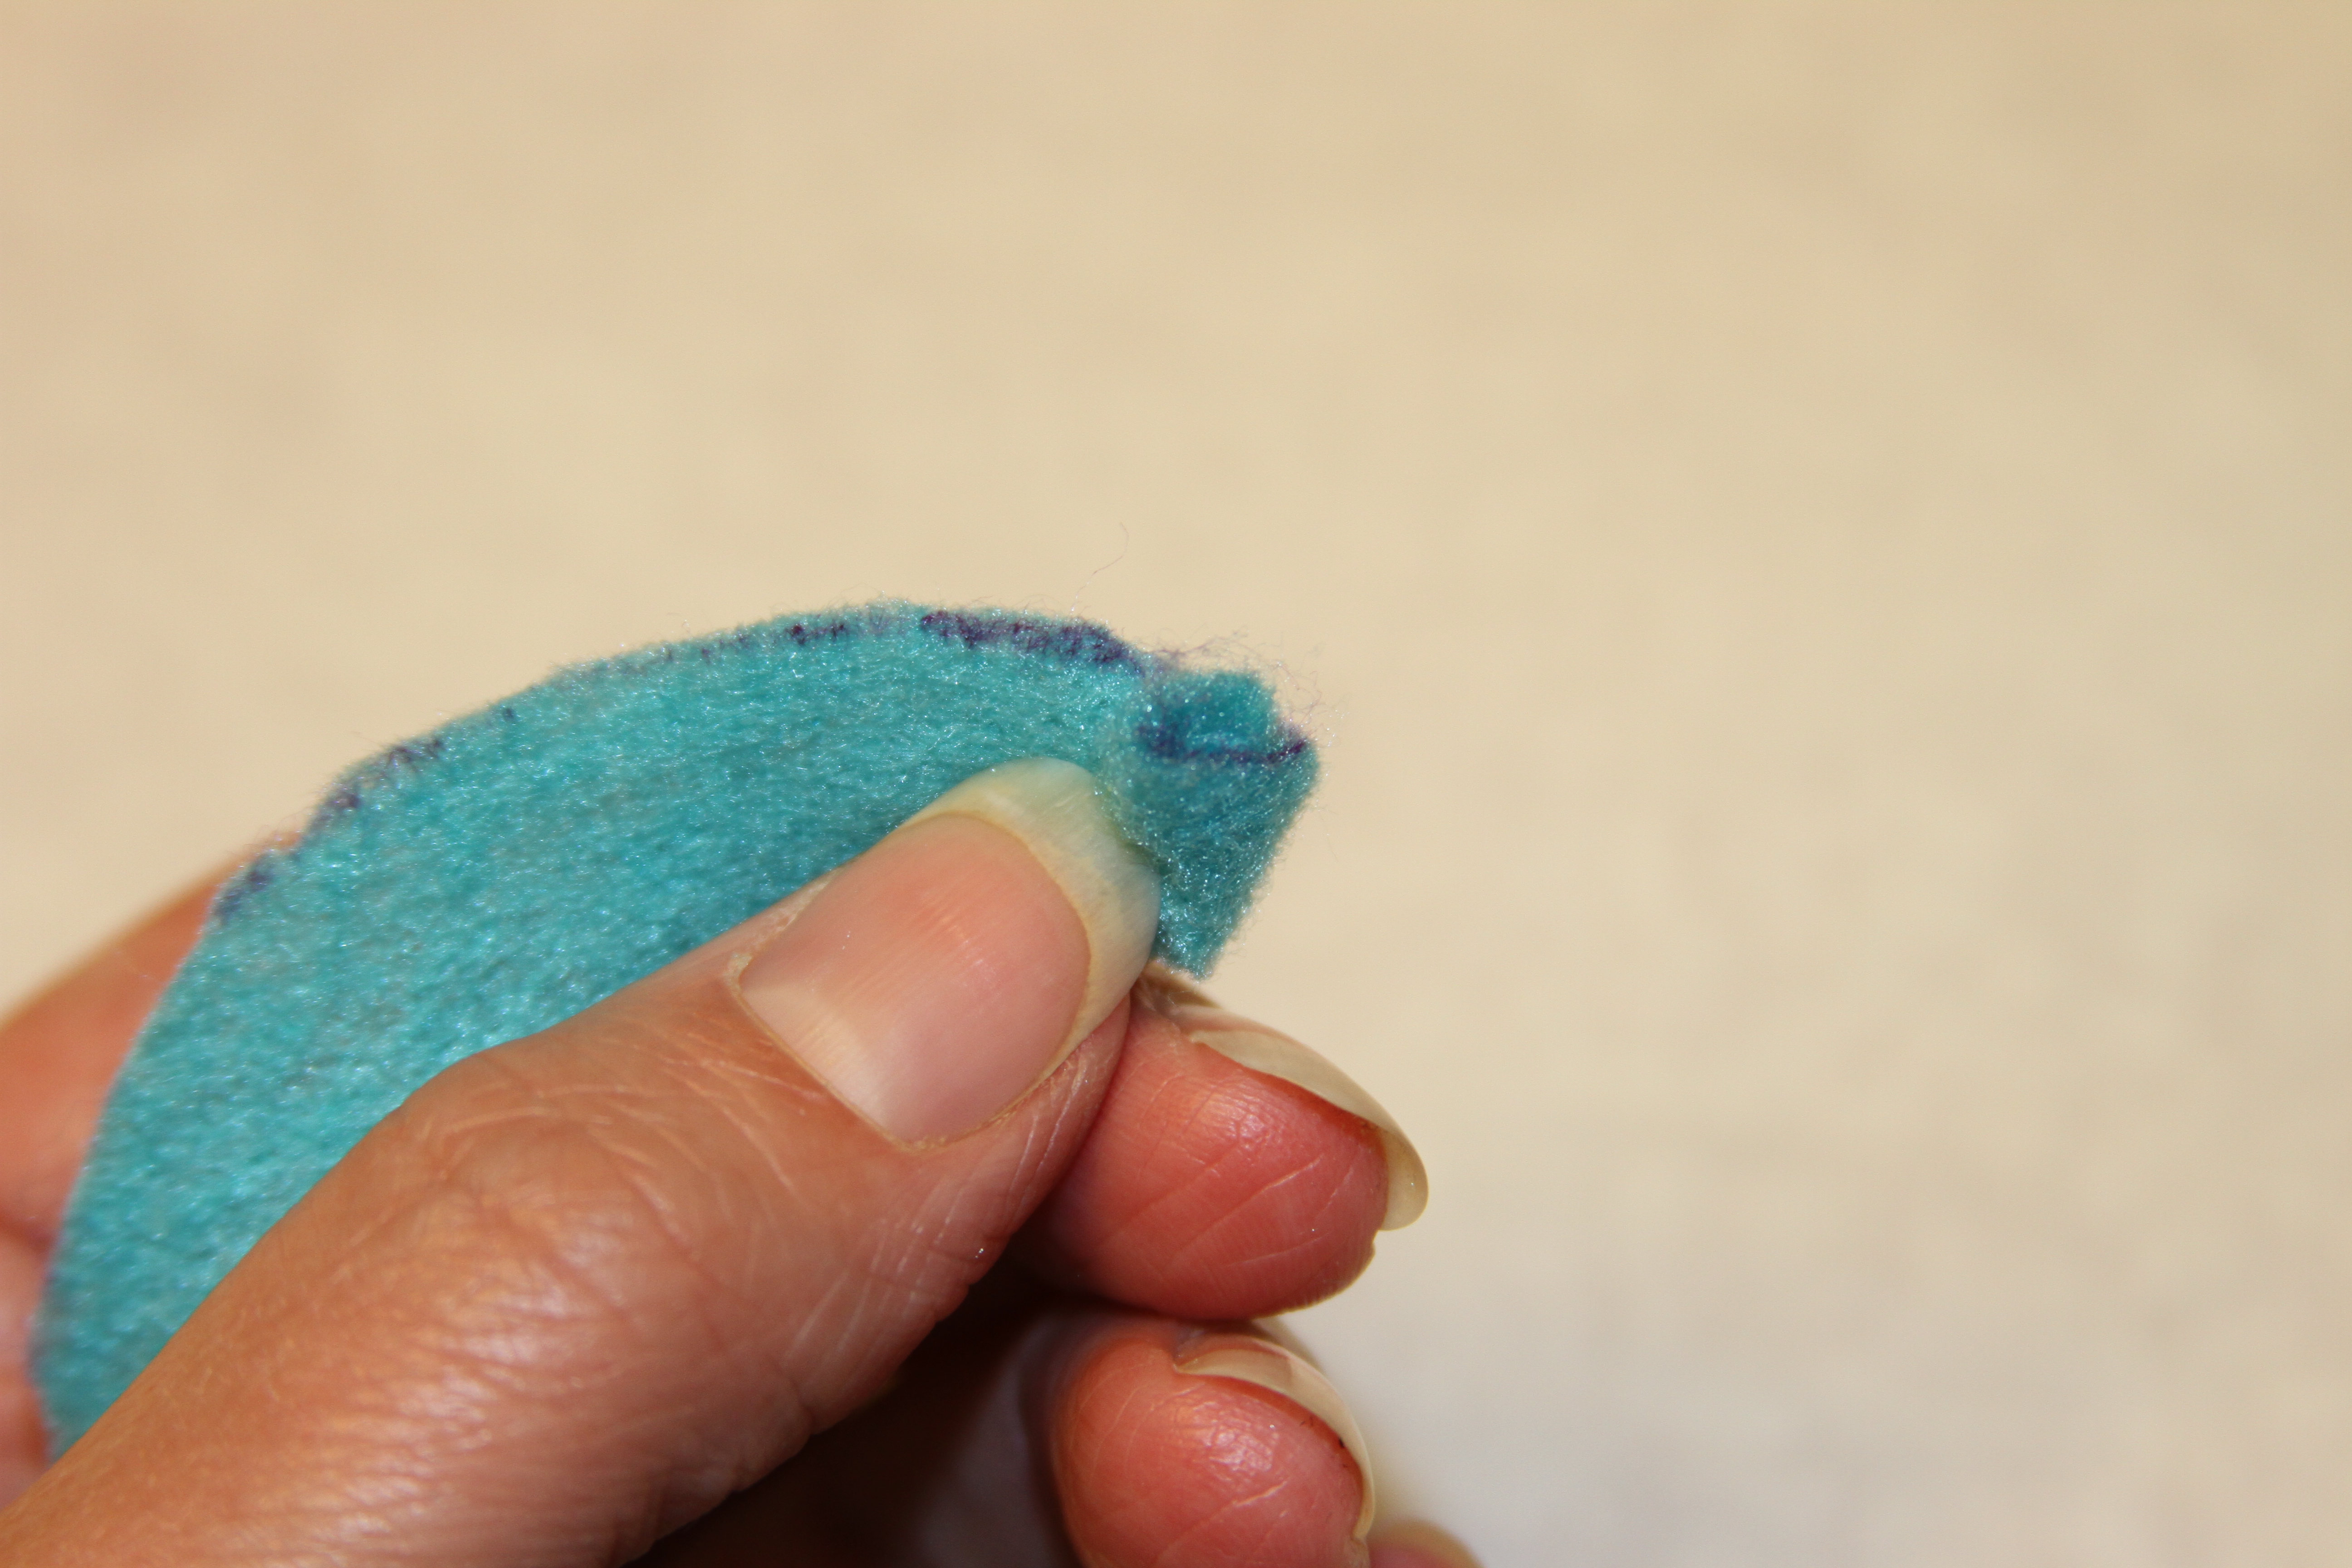

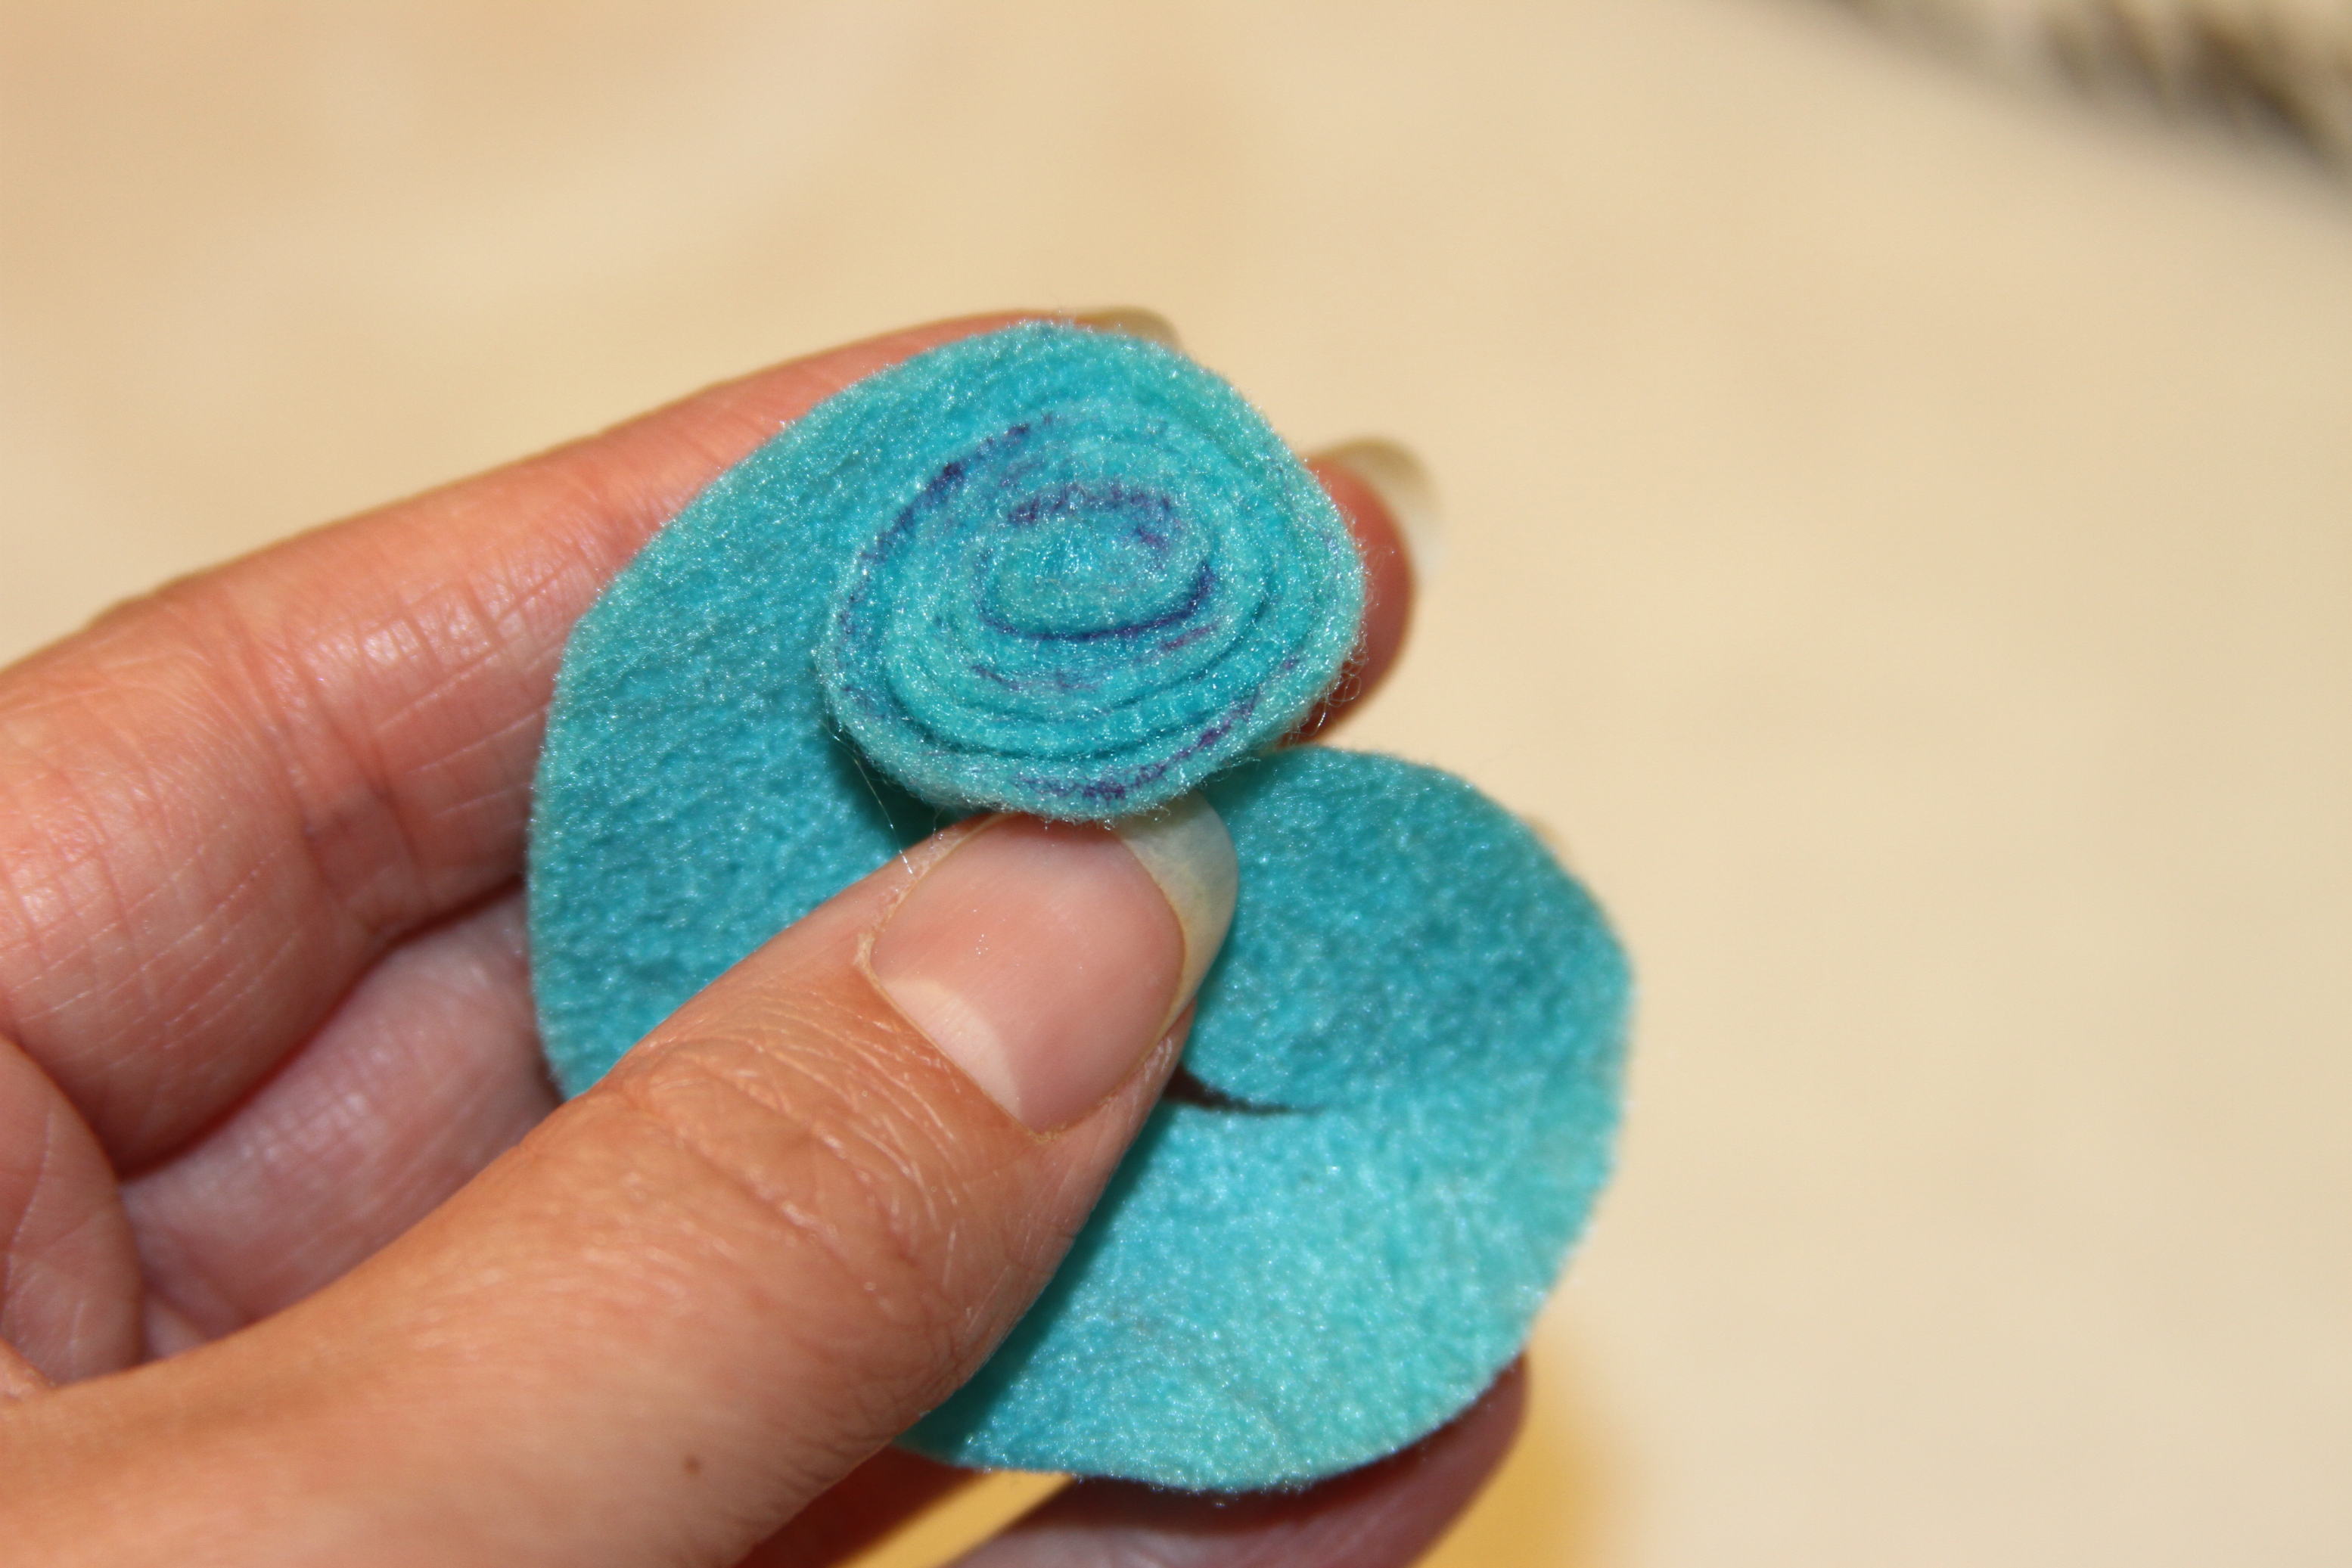
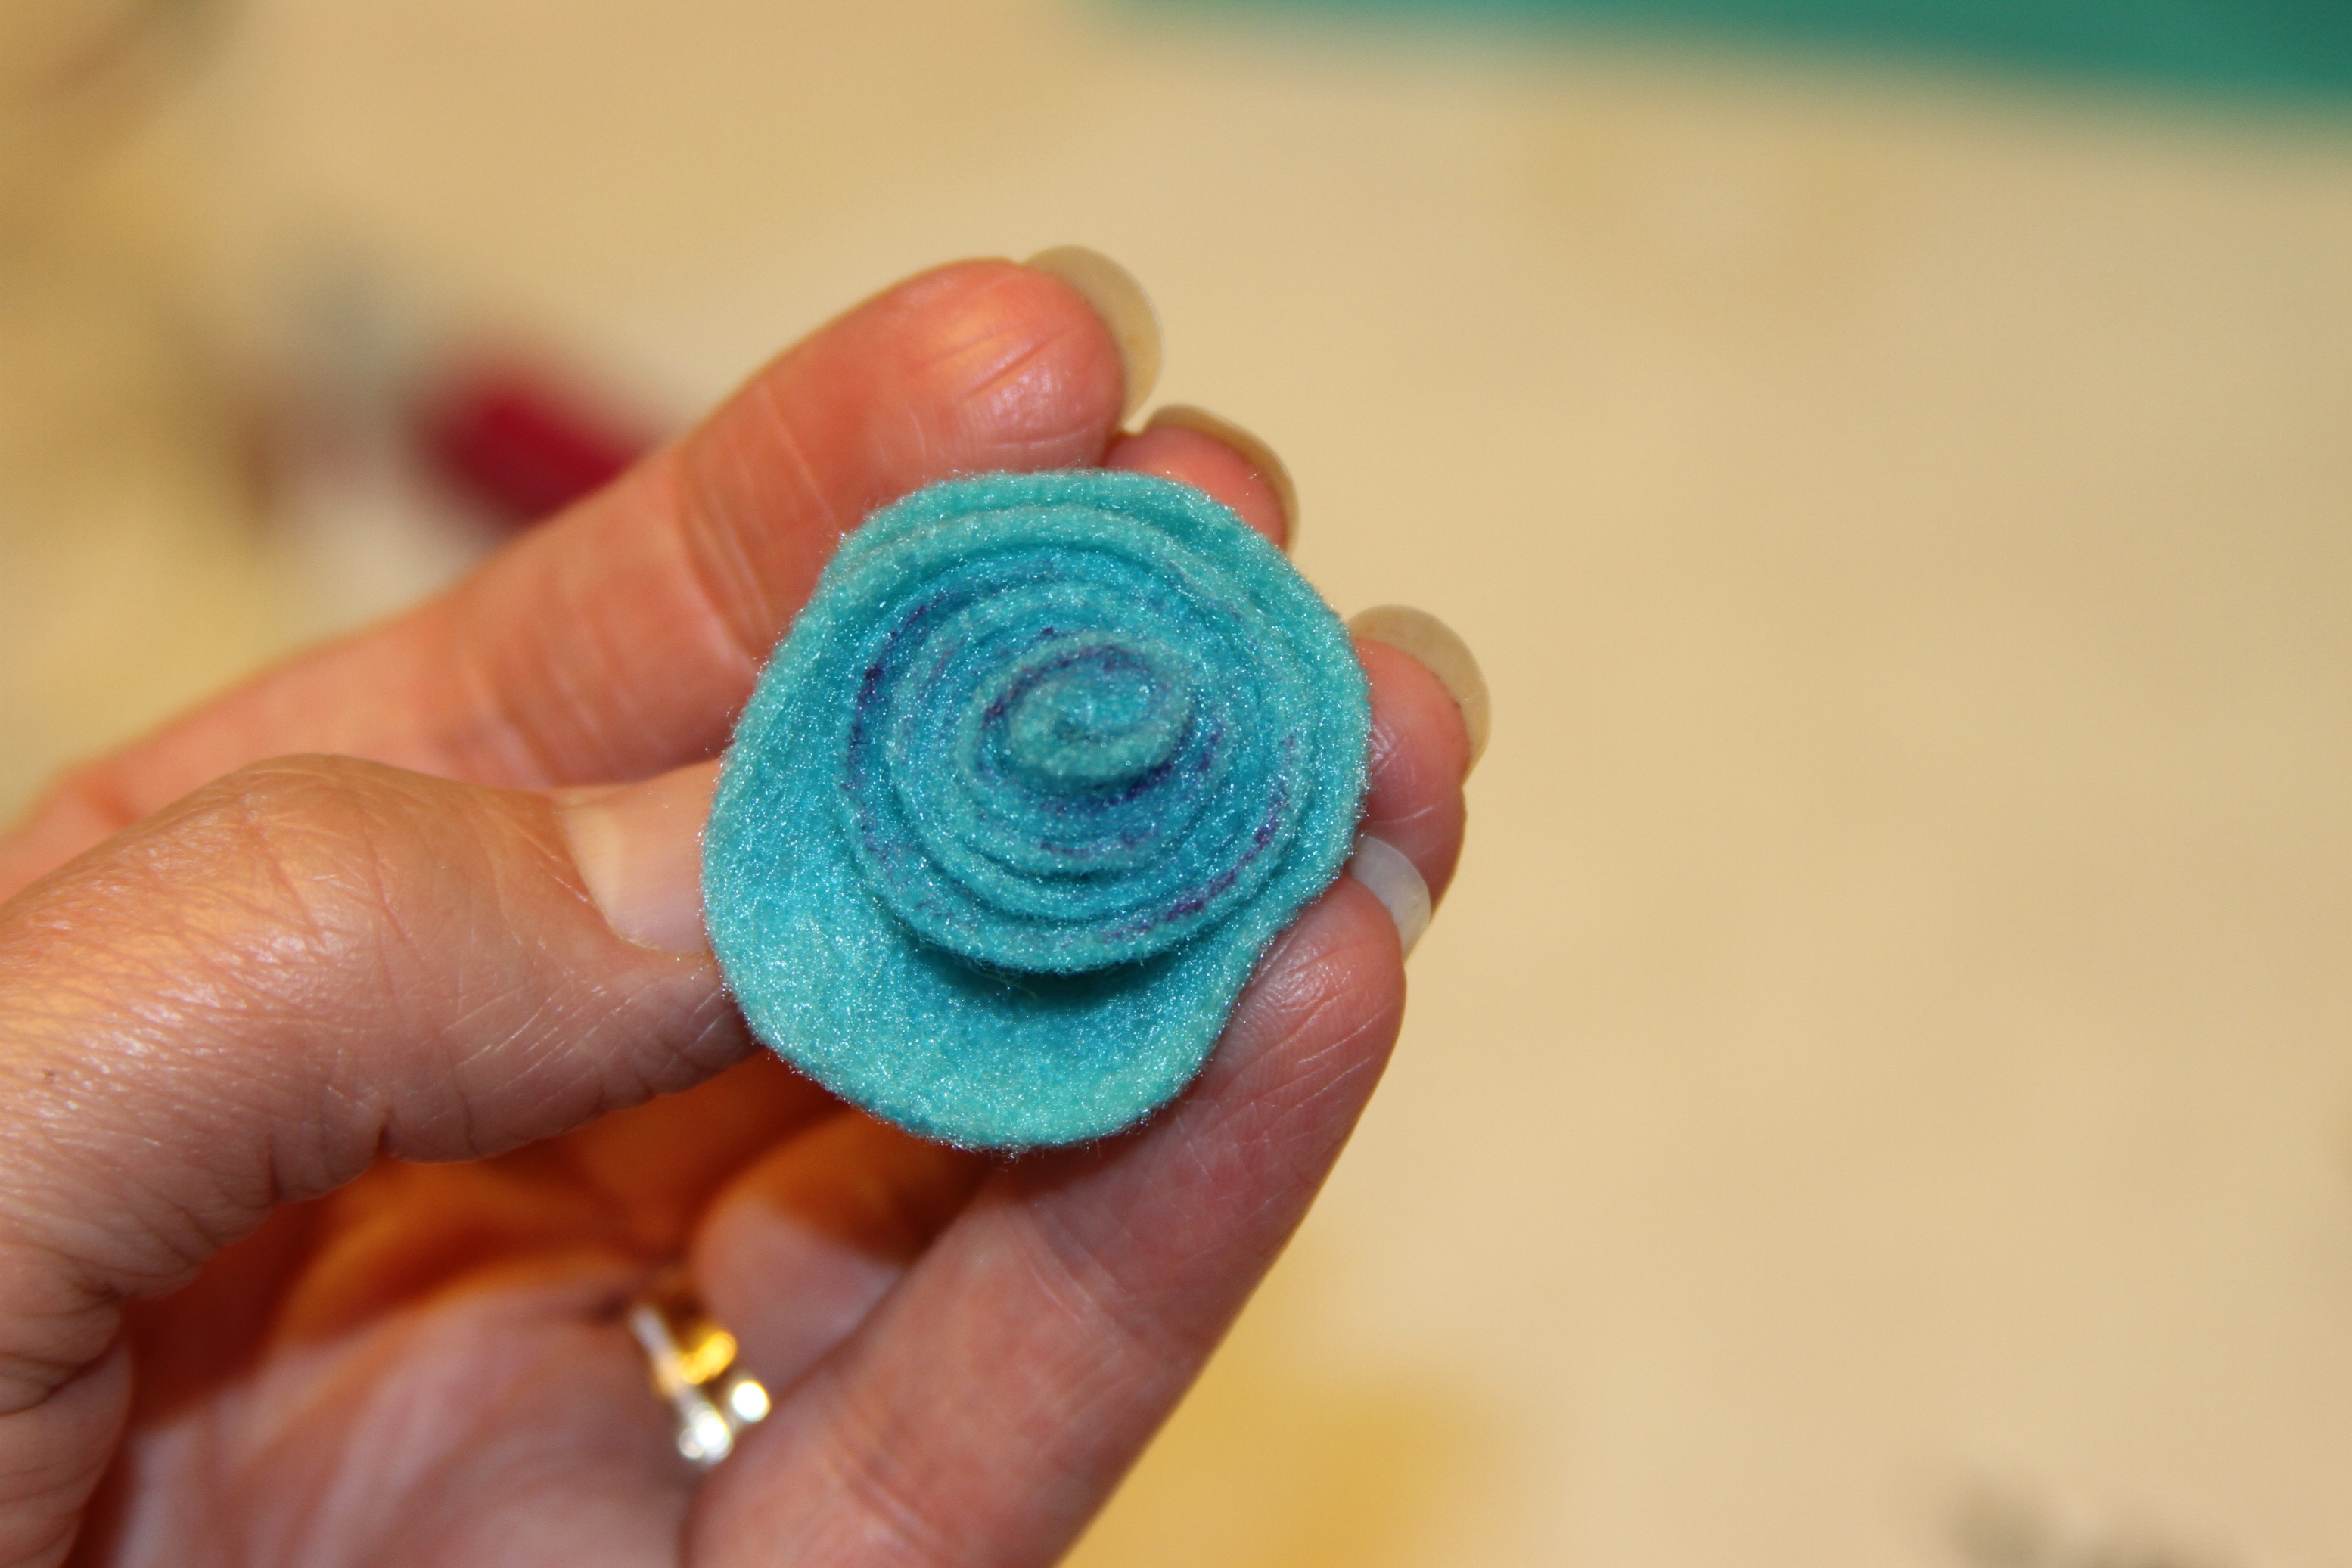

Note: Go ahead and spread hot glue across the bottom of your flower to keep it together.
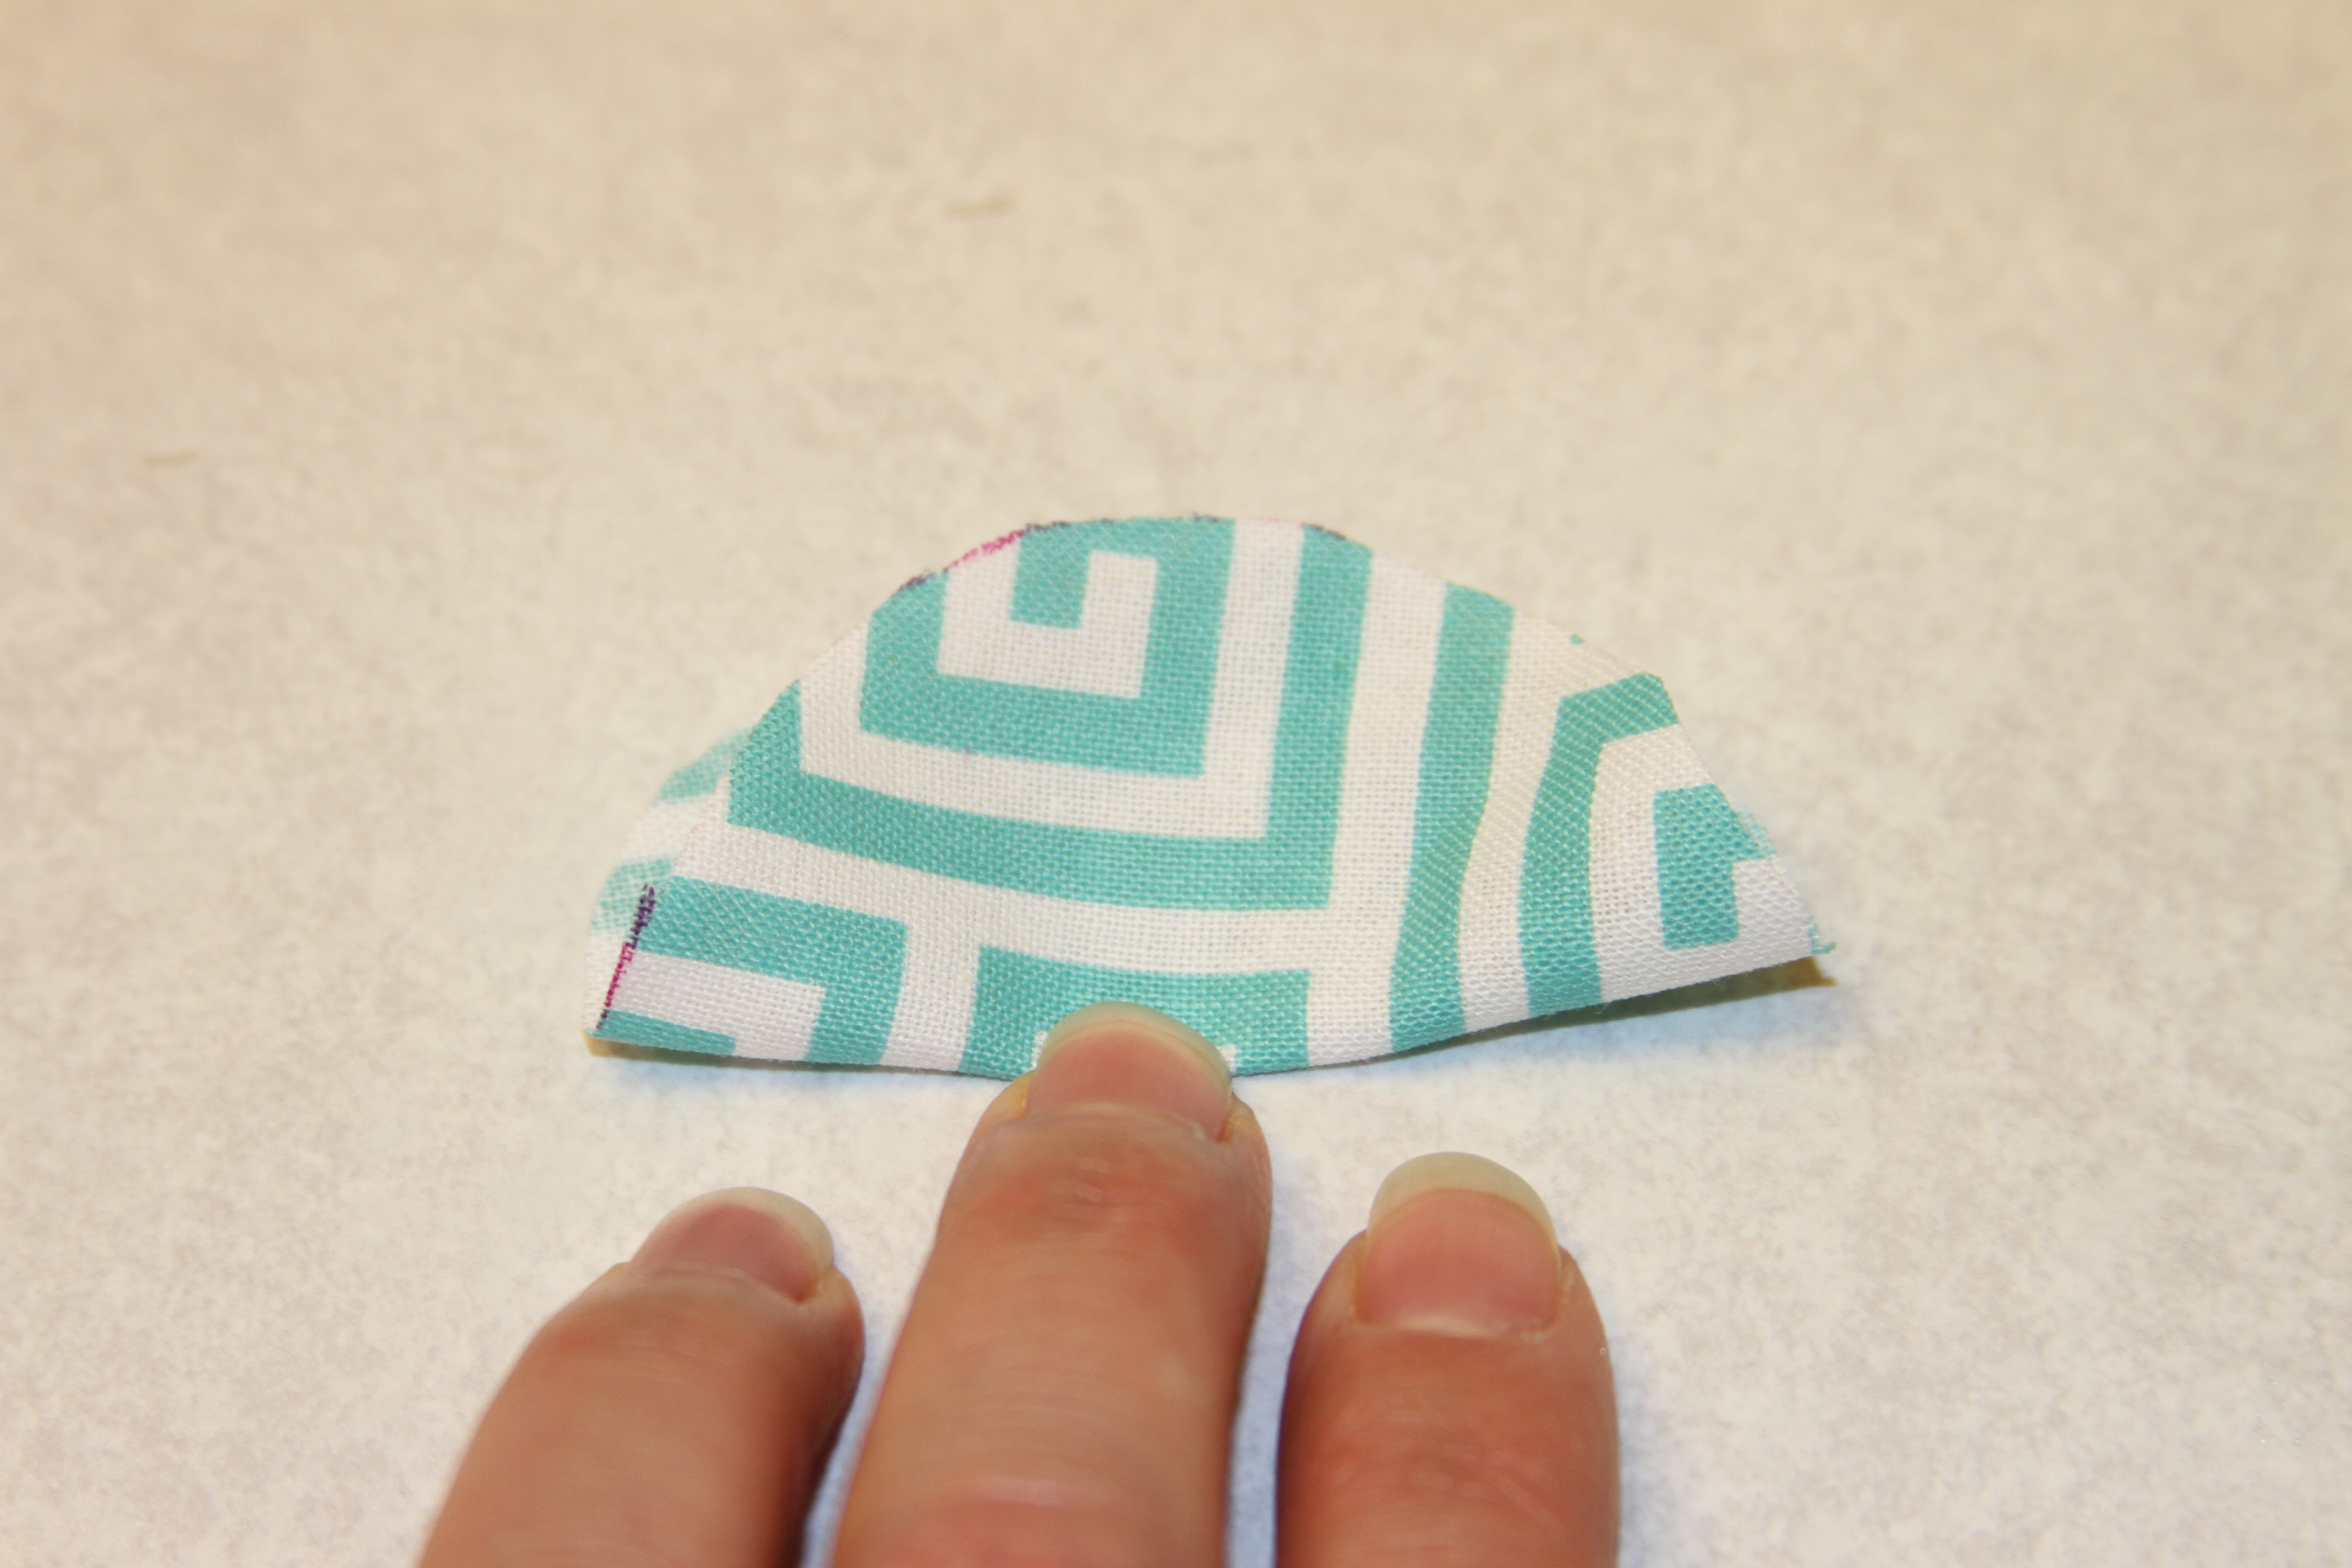
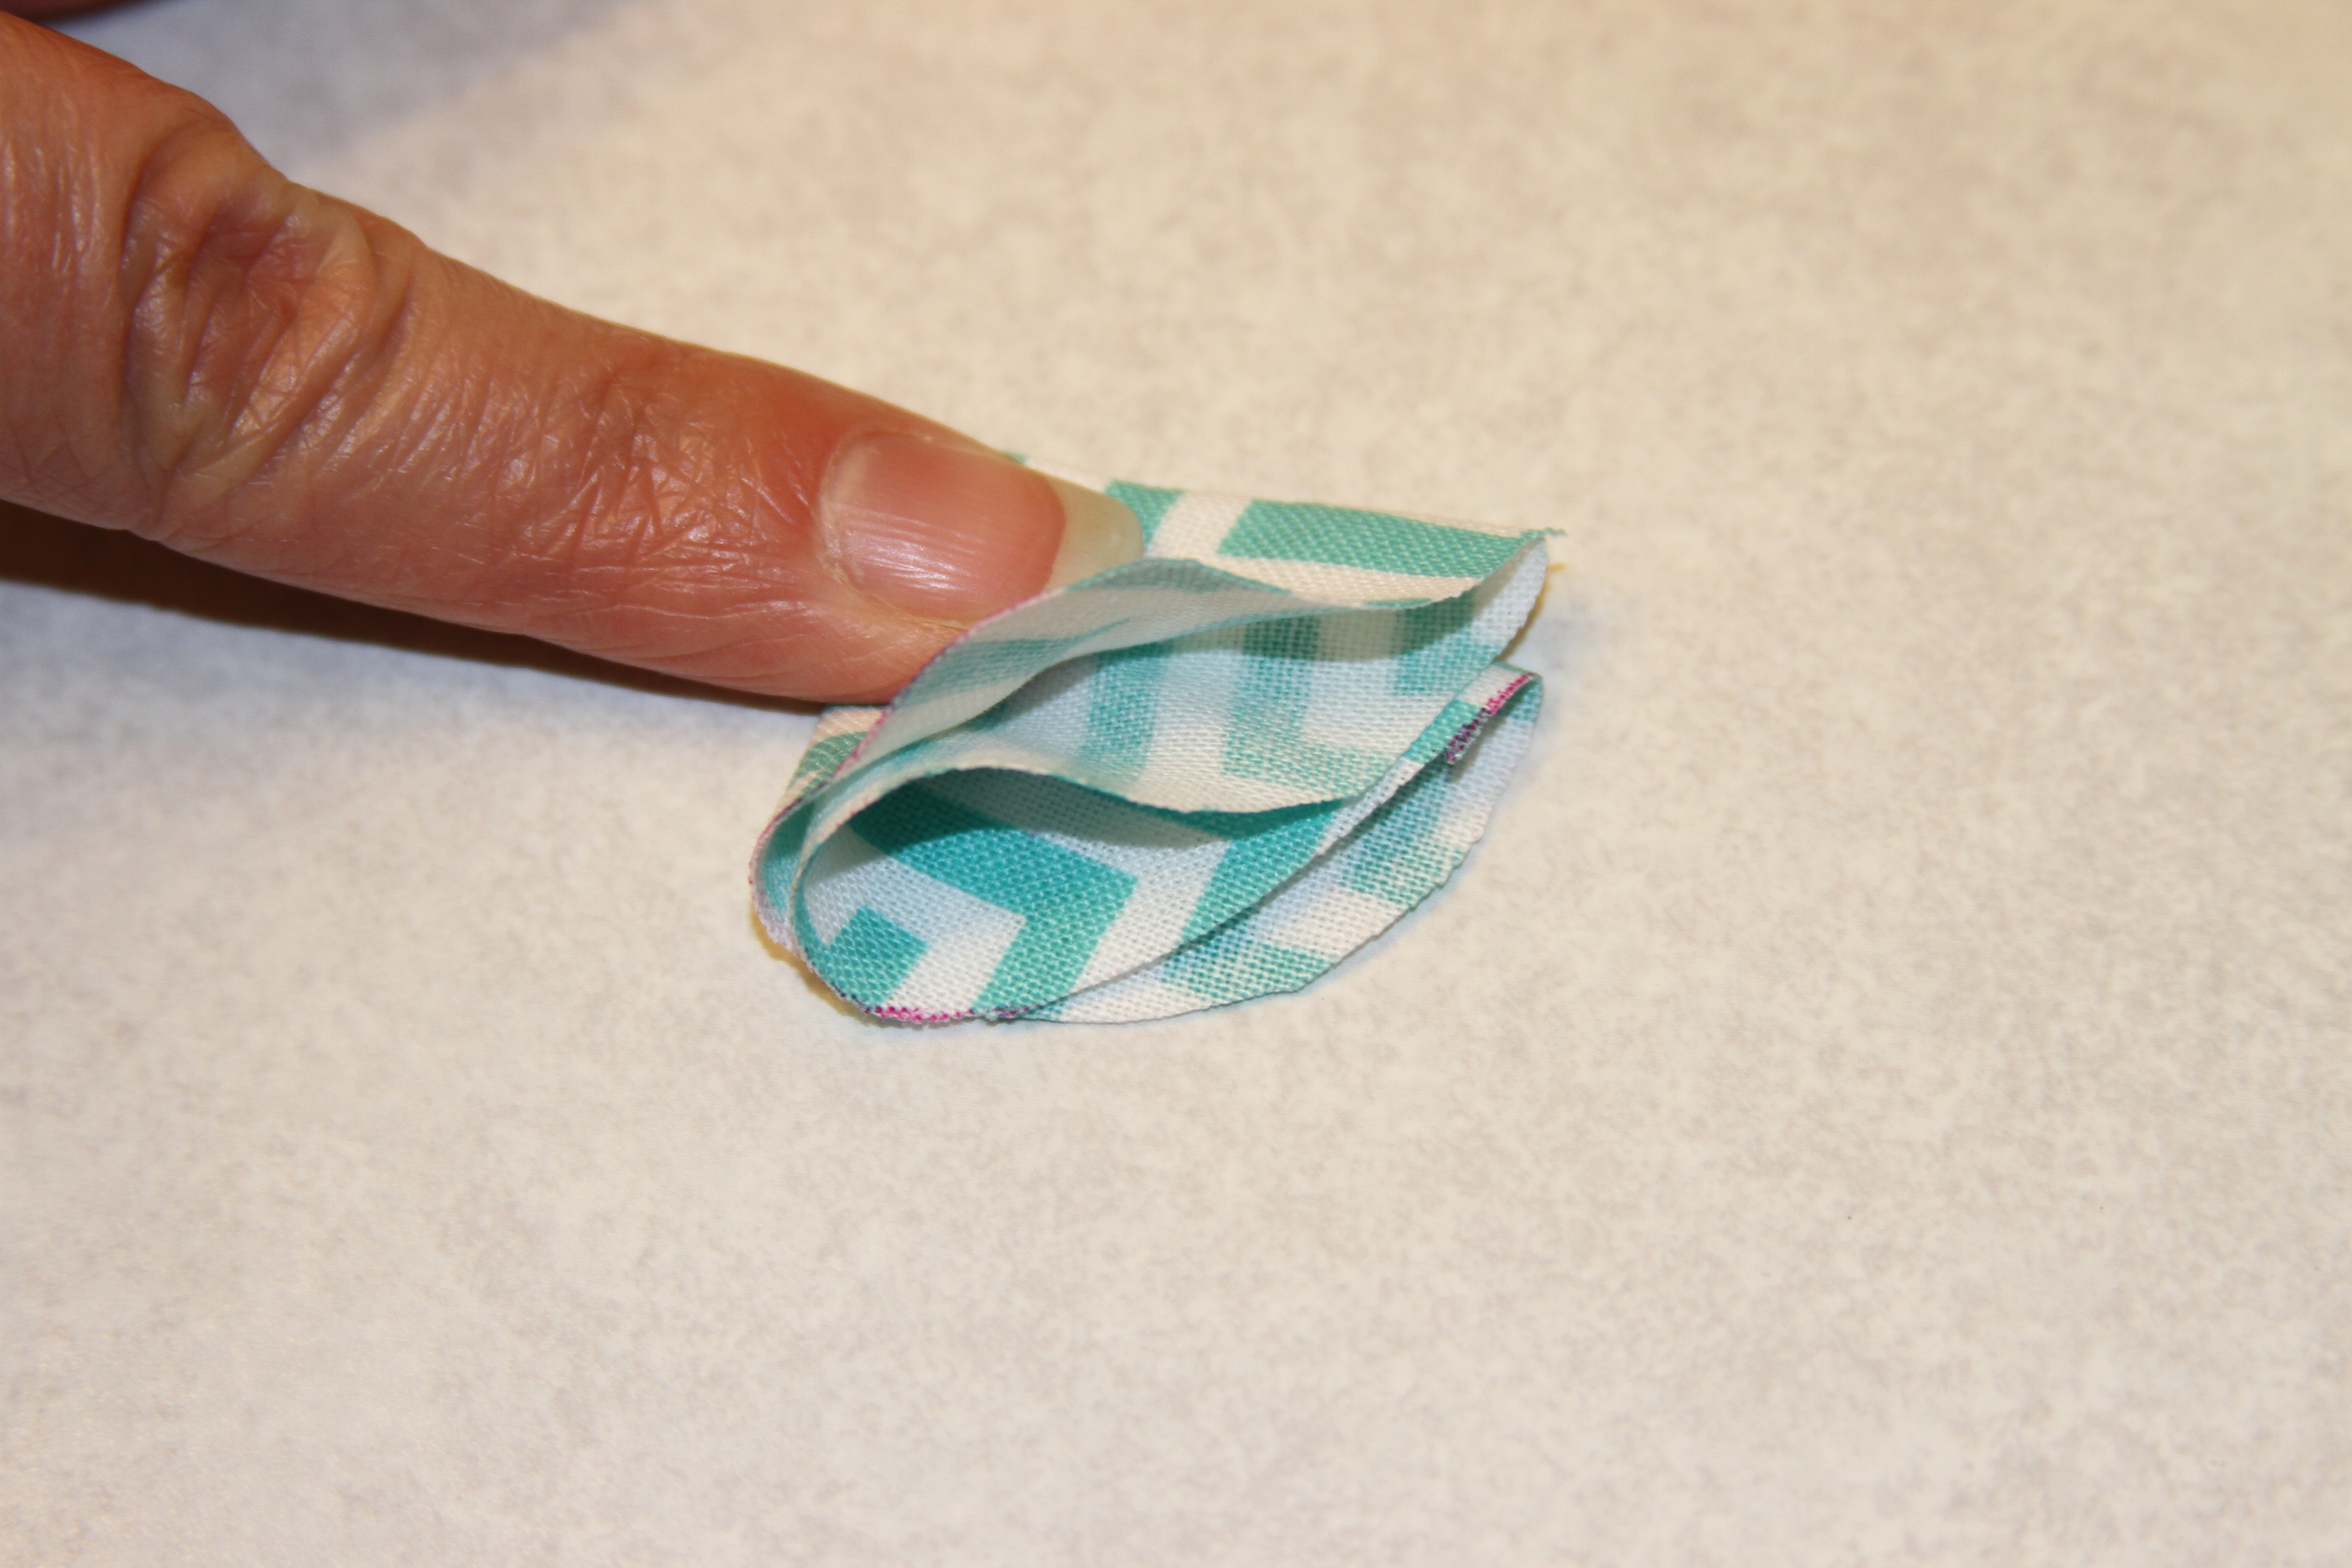
Step 4: Make your fabric flowers.
You can make these adorable by hot cluing a button to the center of the flower.

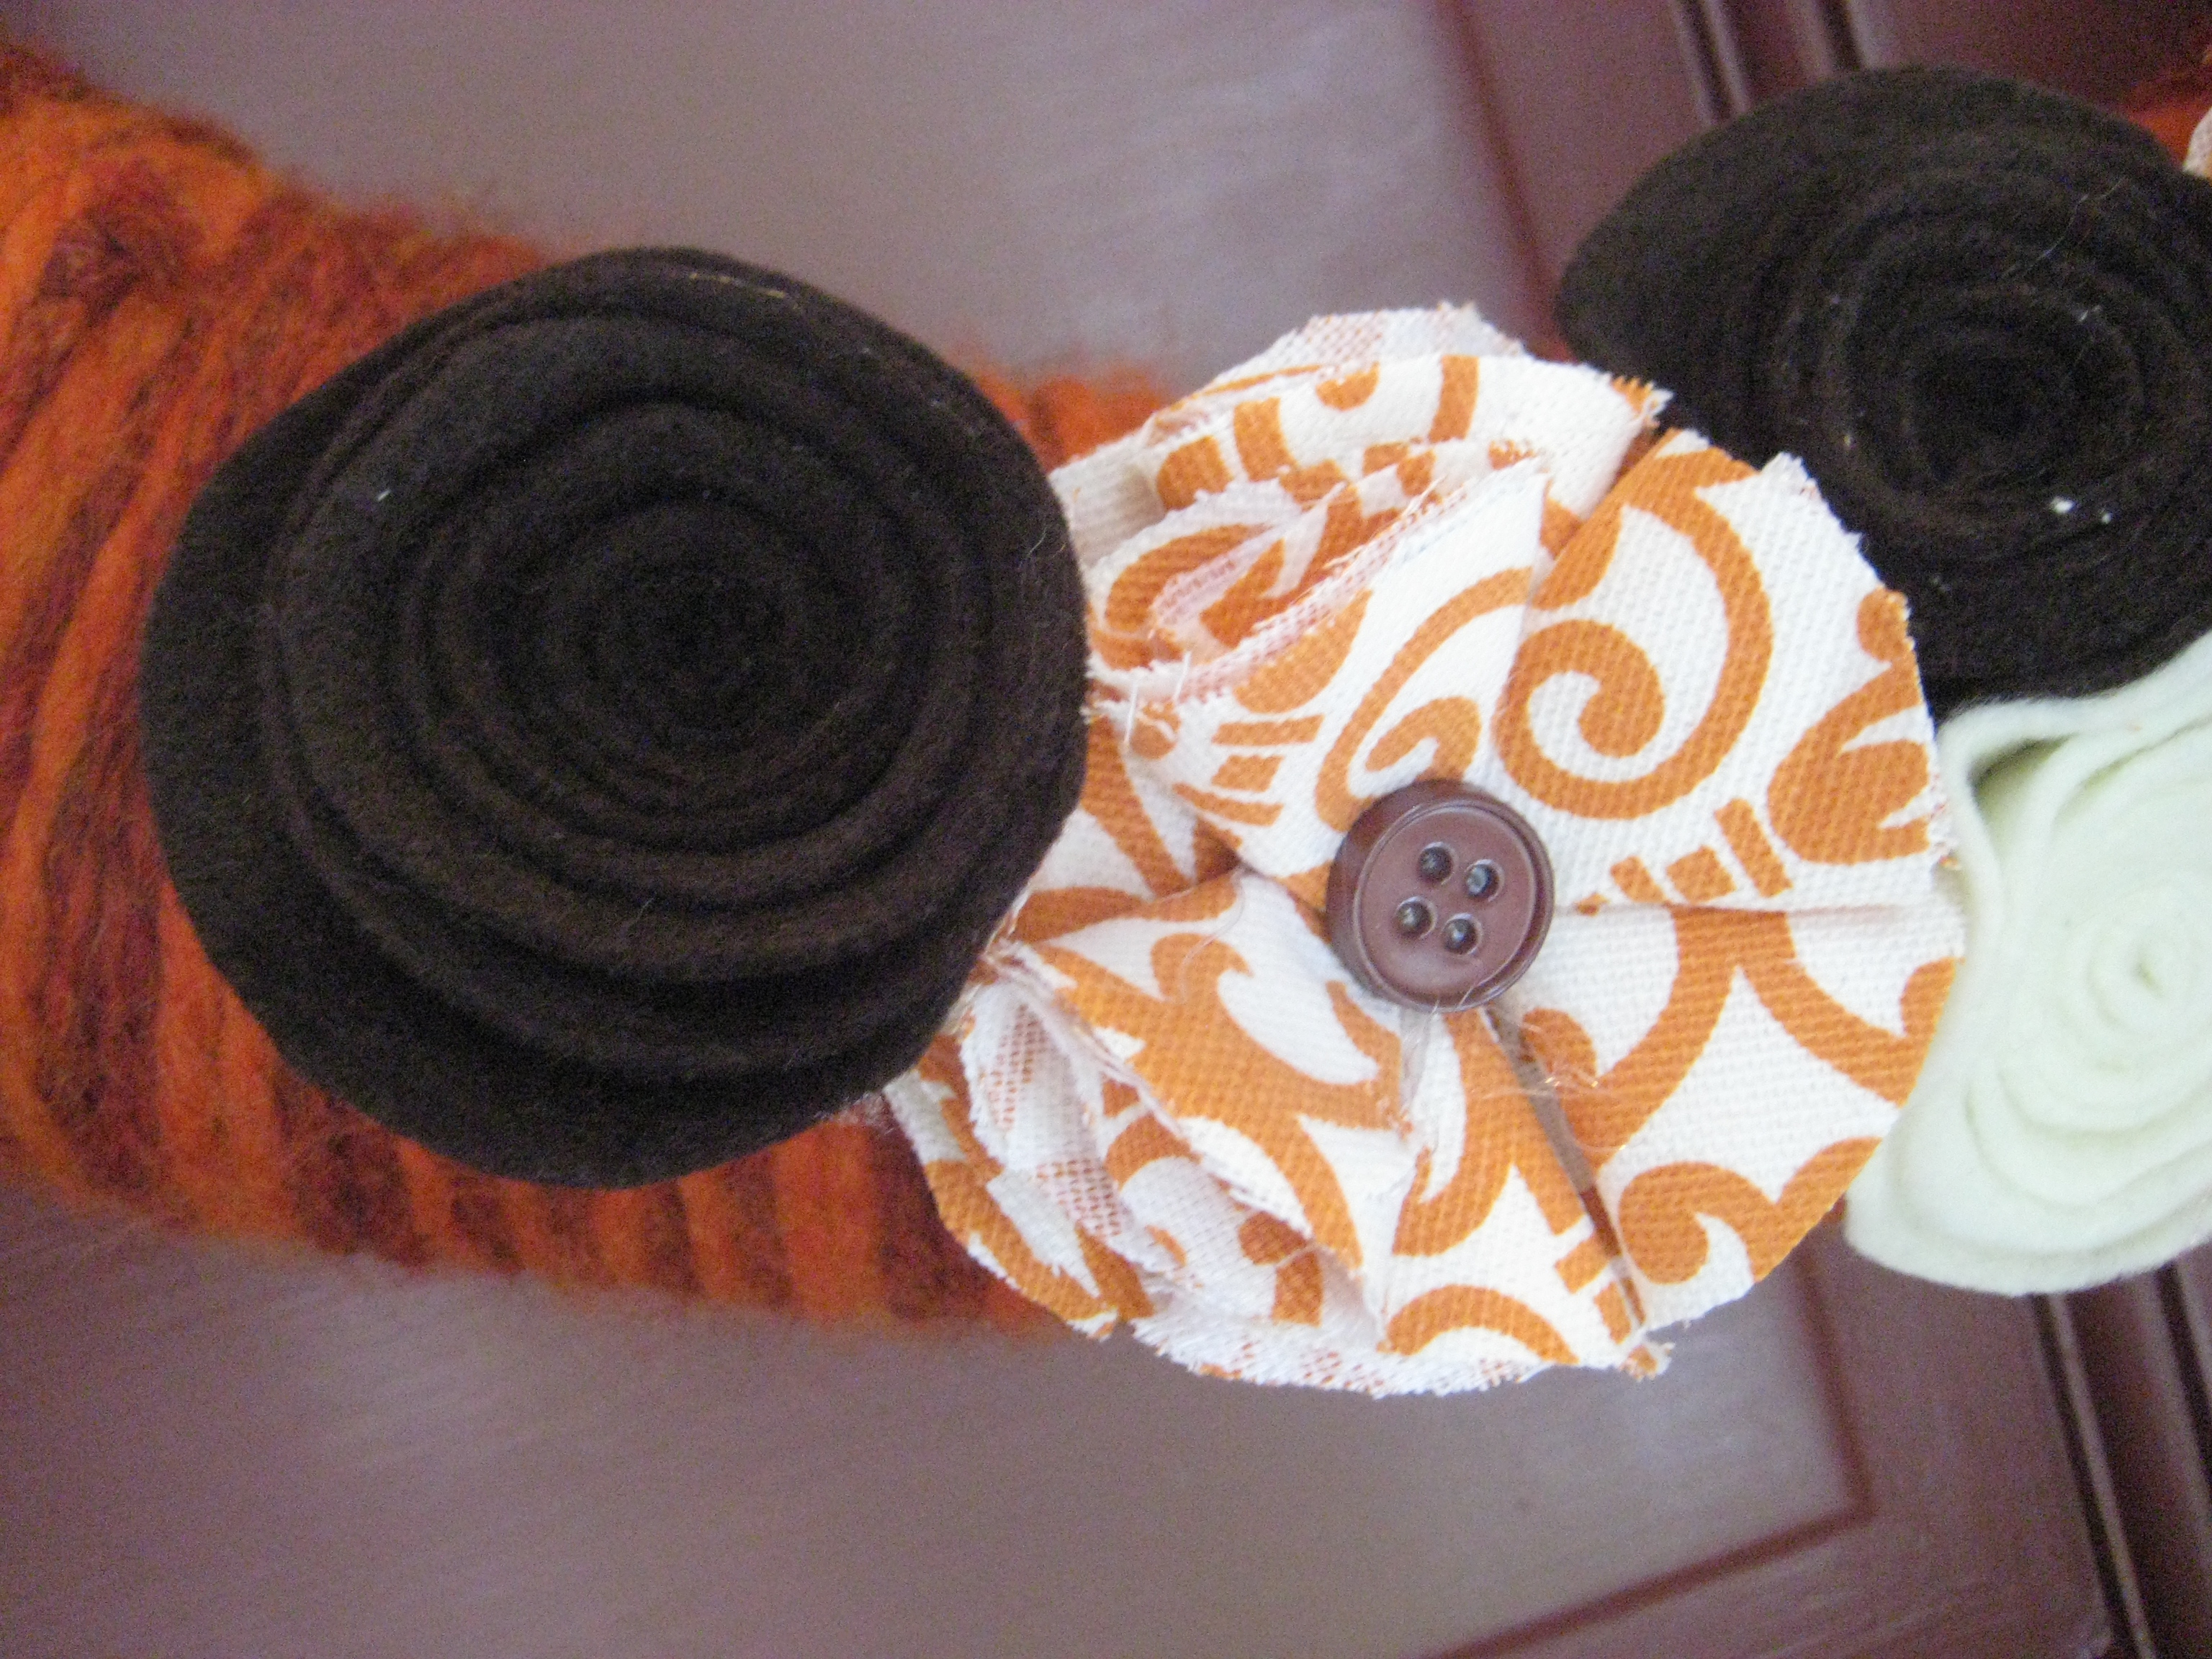

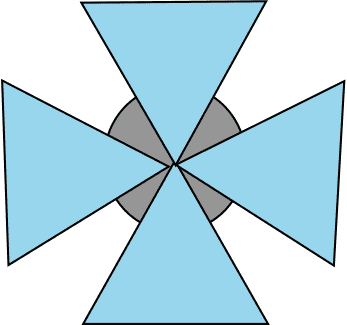
- I created this diagram so you could see how to create a flower from the triangle pieces (petals) you are making out of fabric.
- I put a small circle of felt at the base to have something to glue the layers down to.
- I also put a little shot of glue inside each petal to keep it from unfolding on me.
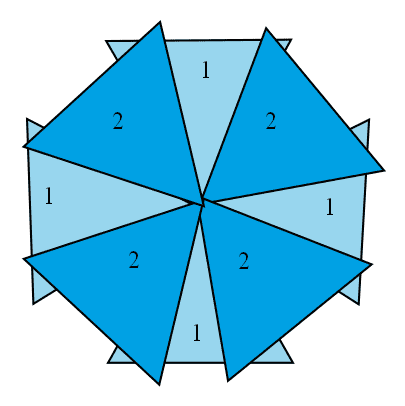
Layer 2 looks like this!
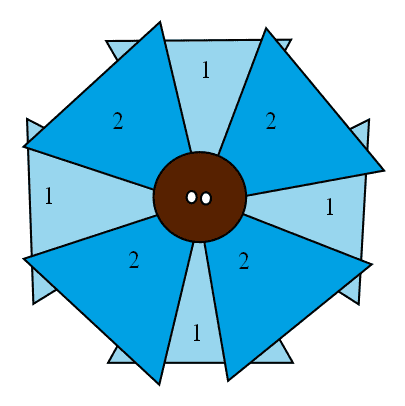
Layer 3 is simply adding a button to the center with hot glue!
Step 5: Arrange the flowers
Practice arranging your flowers and then glue them down.
Step 6: Hang your yarn wrap seasonal wreath.
Hang and enjoy your work! (I got my gold door hanger at the dollar store.)
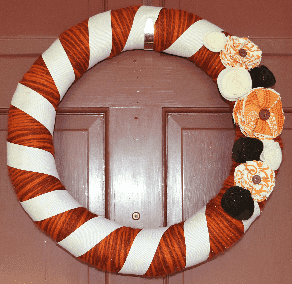
As you can see, ribbon is optional, but against my dark door, it really kicked my wreath up a notch to add it!
2. The Shotgun Shell Wreath
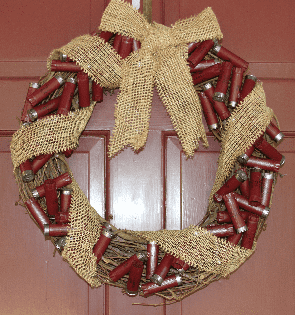
My best friend made this one for me last year as a Christmas gift! We loved it sooo much.
Step 1: Get a Grapevine Wreath from your local craft store.
Step 2: Gather empty shotgun shells (recycling!).
Step 3: Using a hot glue gun attach the shotgun shells all over the front of the wreath.
Step 4: Wrap burlap ribbon around the wreath as pictured. Create a bow at the top.
- Check out these step by step instructions on Wikihow with pictures that shows you “7 Ways to Make a Bow Out of Ribbon”.
Step 5: Hang your wreath.
3. The Burlap Seasonal Wreath
Here is the video tutorial for the Halloween wreath below:
4. The Berry Seasonal Wreath
See the video for this berry wreath tutorial below!
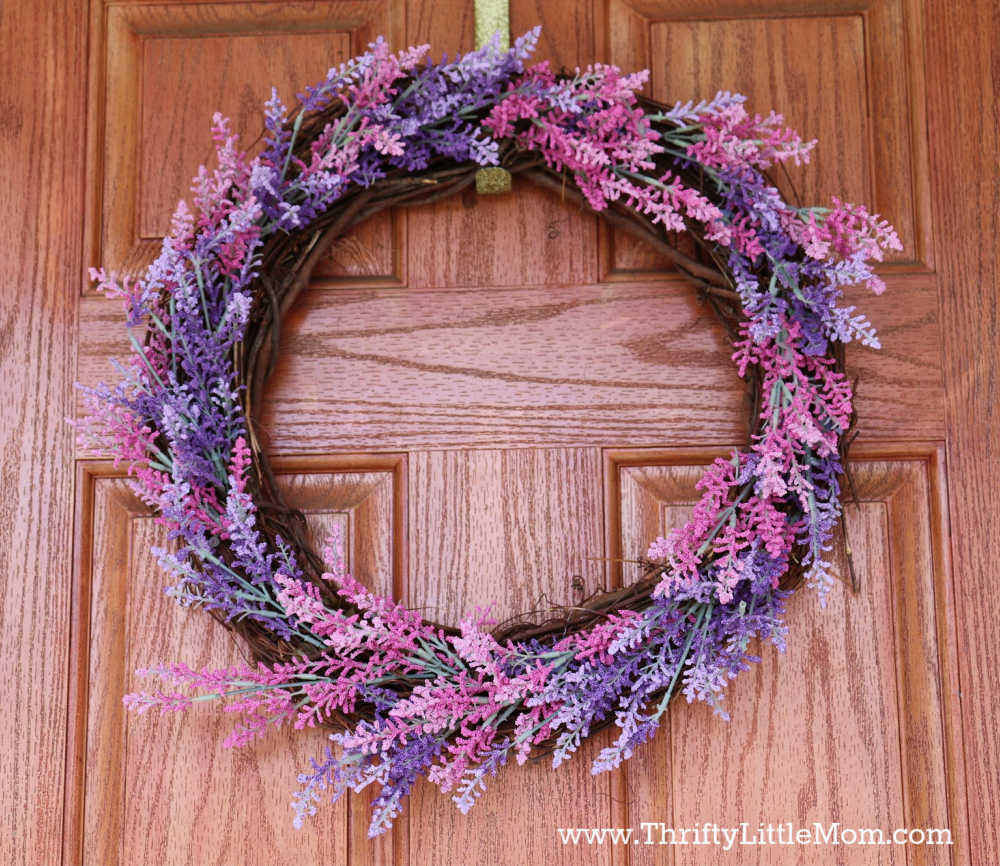
5. The Grapevine Seasonal Wreath
I think people feel like if they make a pretty wreath it’s got be stuffed full of silk flowers and be something they would sell on the wall of the local craft store.
In reality, you can make really nice grapevine wreaths with very simple supplies and make a gorgeously simple master piece for your front door!
I hope you find these ideas helpful as you decide on which seasonal wreath you want to make or buy!

Kim Anderson is the organized chaos loving author behind the Thrifty Little Mom Blog. She helps other people who thrive in organized chaos to stress less, remember more and feel in control of their time, money, and home. Kim is the author of: Live, Save, Spend, Repeat: The Life You Want with the Money You Have. She’s been featured on Time.com, Money.com, Good Housekeeping, Women’s Day, and more!