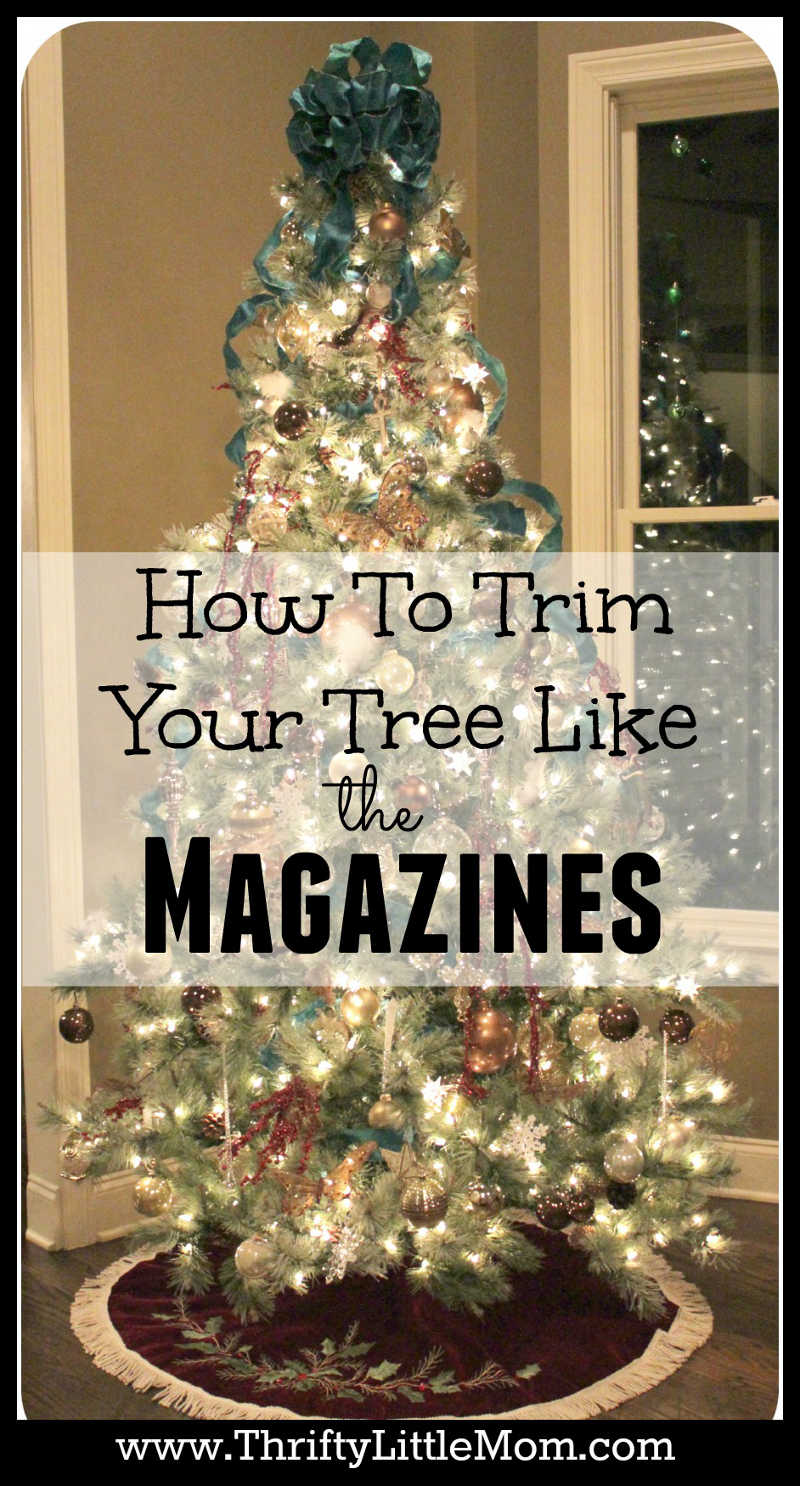
Create Beautiful Christmas Trees Like the Magazines
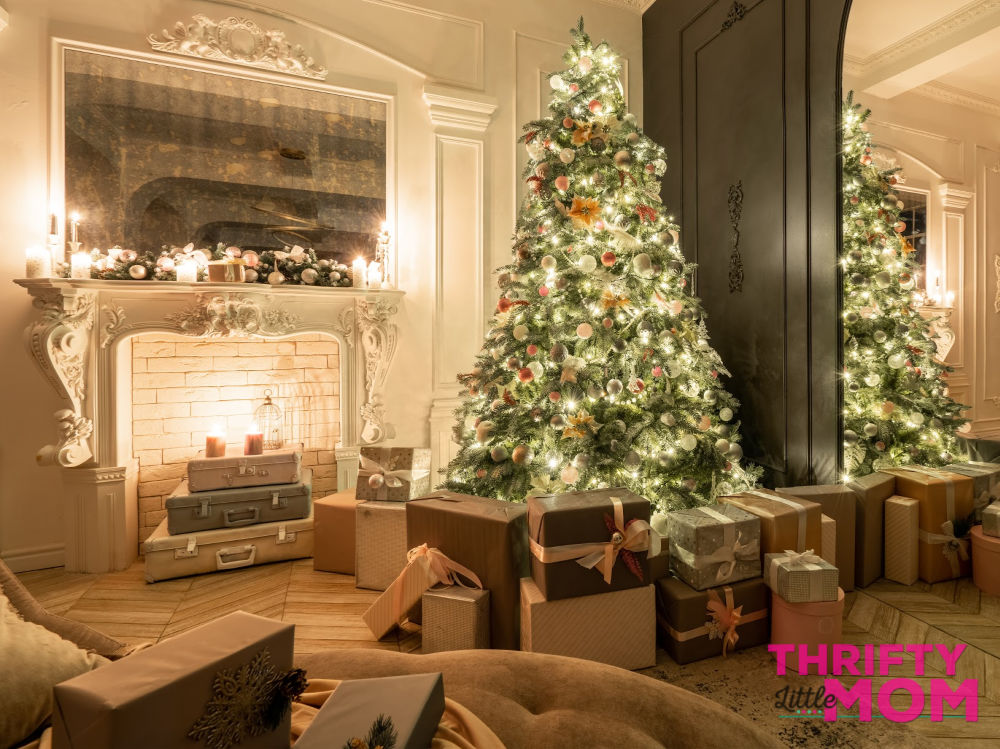
If you’re anything like me, you’ve probably been standing in line at the grocery store and noticed the beautiful Christmas trees on the covers of the magazines.
They are so full, so perfect and so gorgeous they make your tree look like a Charlie Brown tree. In this article, I want to encourage and inspire you to understand how you can create beautiful Christmas trees too!
I’ve had so many people tell me how much they love and admire Christmas trees- mine, those in magazines, online, etc., but try as they may theirs never comes out the way they expect it.
I have a system that I use and I thought that I would share it with anyone who desires a picturesque vision of a tree! Be forewarned it does take a lot of tinsel to decorate a tree properly.
I’ve been collecting decorations for 23+ years now and I’ve always been thrifty so most of my decor comes from hand me downs, garage sales, thrift stores, after Christmas and Black Friday sales.
Beautiful Christmas Tree Prep Work:
Before you throw up the tree and get started, you’ll want to decide on your theme or color scheme. Some people might do a tree based on a movie theme like Harry Potter, The Grinch, Elf etc.
On the other hand, some people may go off of colors that they love or are inspired by. Either way, it’s a good idea to find some tree theme or scheme inspiration before you get started and then use that to make decisions about the lights, ribbon and other features I’ll be highlighting in the steps below!
Once you have that set, you can follow my beautiful Christmas tree set up system, step by step.
Step #1- Fill the bare areas with extra greenery.
When putting your tree up, you may find that when you stand back and take a look that it’s got some serious gaps happening.
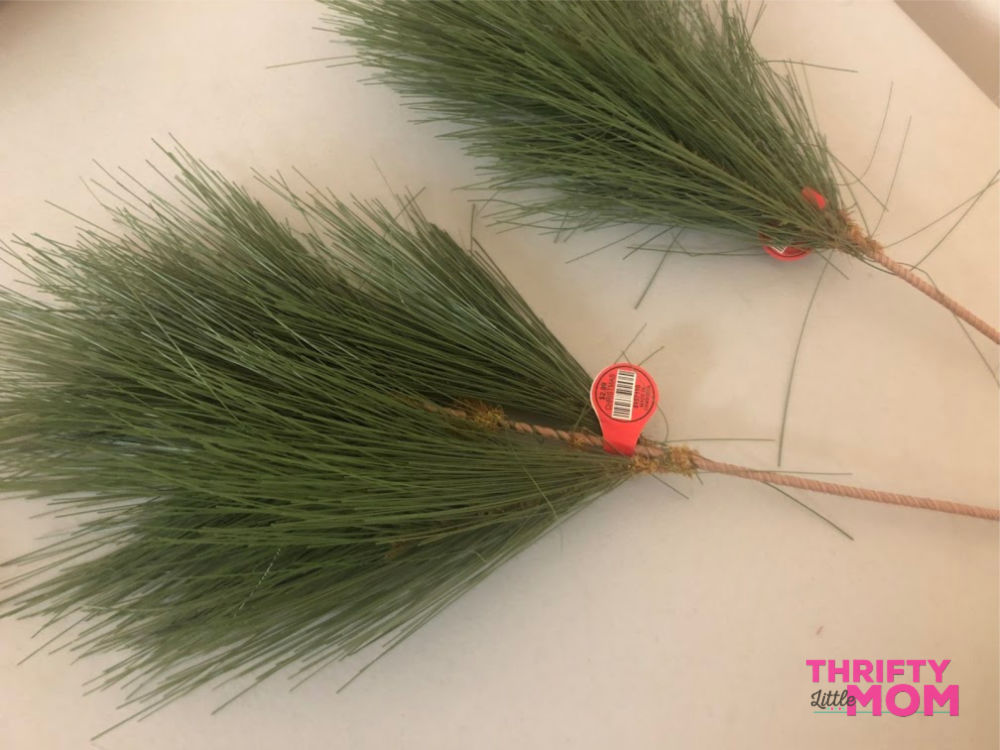
When you see this, it’s time to consider heading to the dollar store, the home improvement store or the craft store and loading that tree up with some evergreen garland.
This year I used both the strings of garland (I decided on pre-lit) and I bought sprigs of evergreen from the craft store.
I used these to really fill in the gaps and I was very pleased when I was finished. This step is like laying the foundation or background to highlight your gorgeous ornaments.
Once you have some filling, remember to go back and re-fluff each of your Christmas tree branches!
Here’s a video on how to fluff your Christmas Tree Branches:
Step #2- Add the Christmas Lights
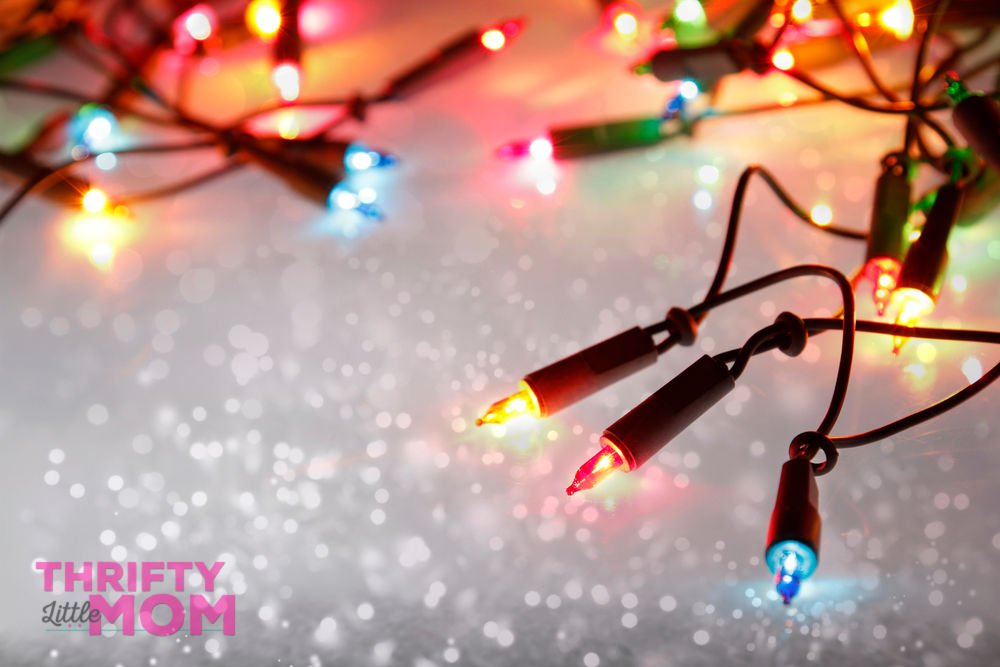
Step 2 is putting the lights on the tree unless you have a pre-lit tree (then you can skip ahead to step 3). The lights are the most important step so don’t skimp out on this step!
If you want your tree to look truly amazing you’ll need some patience.
- You’ll need to take the lights and twist them on as many branches as possible, all the way from the trunk of the tree to the limb tips.
- This means you will probably need a whole bunch of lights.
- If you need to fill them in, don’t forget that you can snag boxes of Christmas lights at your local dollar store.
- Be sure that when you are buying any extra lights that you take into consideration the color of the wires.
- Some are white, some are green but if they don’t match it can look tacky.
Quick Tip- After Christmas, stores like Target heavily discount their holiday lights. It’s a great time to stock up on and transition to LED lights for both inside and outside of your house.
Check out the massive selection of colors, sizes, and bulbs in the Amazon Christmas Lights & Decor Shop.
Step #3- Add Ribbon for a Beautiful Christmas Tree
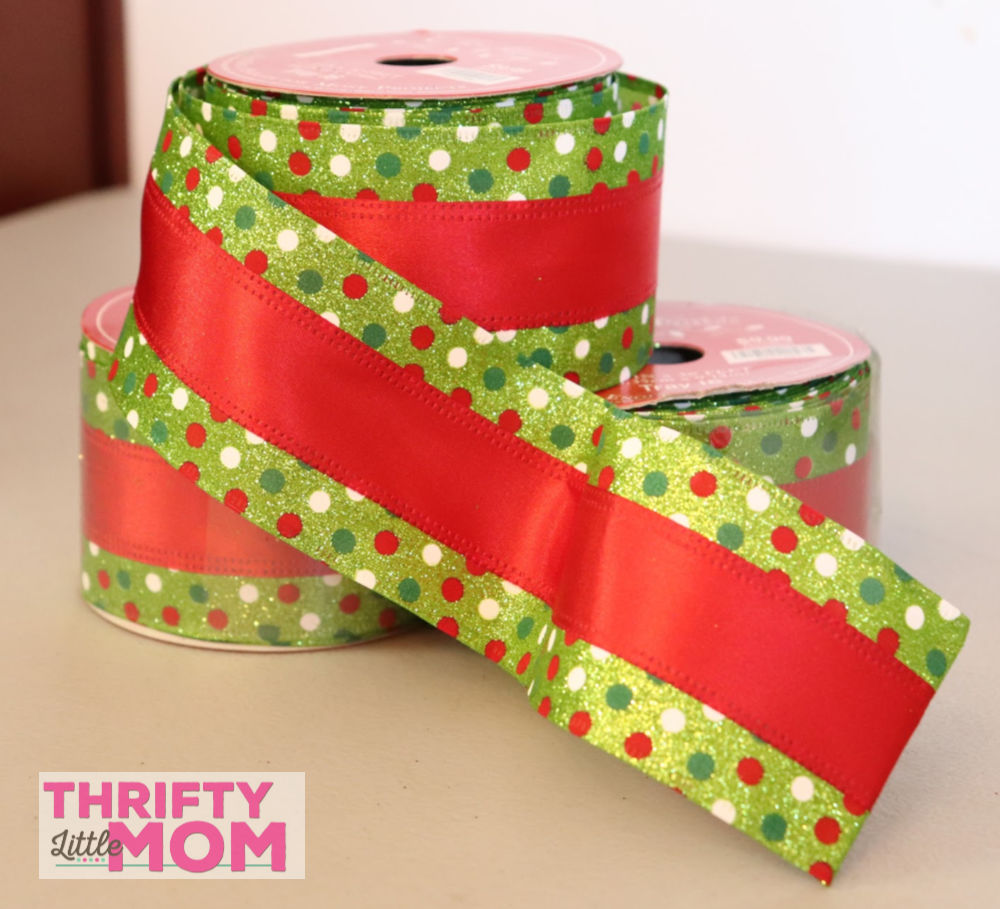
To get beautiful Christmas trees, next you need ribbon.
- Whether you place a star, angel or Santa or Santa hat on the of the tree, add a bow and then wind your beautifully coordinated ribbon around the tree hiding the cords, plugs and bare spots as you go!
- Sometimes I use the ribbon as the inspiration for the entire tree design and color scheme.
- It’s important that you leave a little slack in the ribbon to create dimension. Taut Ribbon is not easily moved into your desired spots!
- Amazon has a huge variety. Check these out.
- Don’t forget other options like burlap for a shabby chic look or even boa feathers have been used!
- Other places to find gorgeous Christmas tree ribbon is Costco, Sams Club, and craft stores.


 This video shows you several cool tips for how to use ribbon on your tree design:
Step #4- Add Lots of Ornaments.
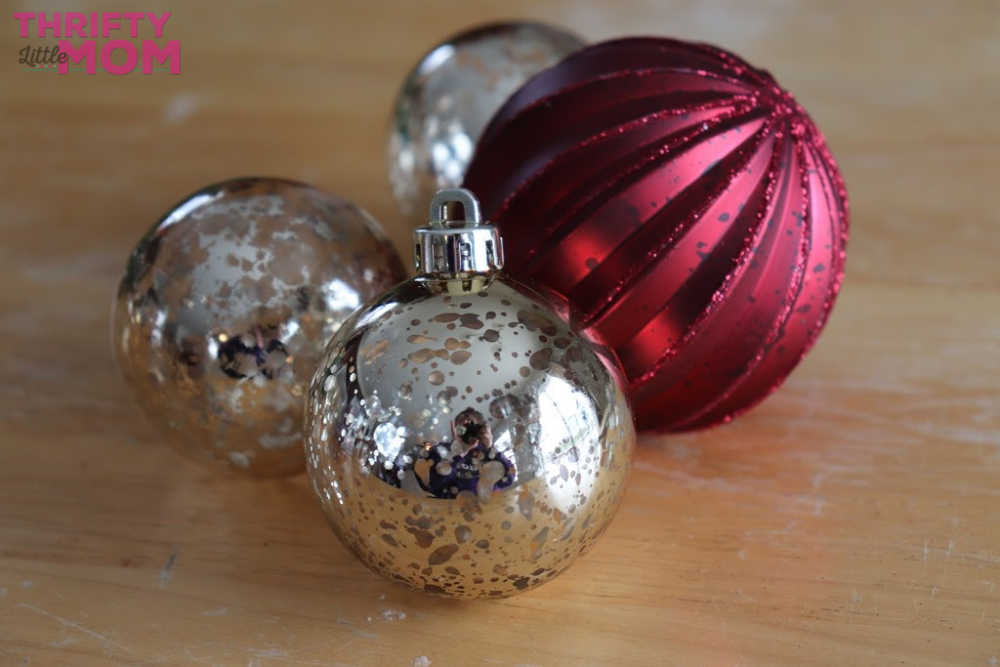
- Go Deep- Big, colorful balls go onto the tree next, deep in toward the trunk of the tree to fill in gaps and add depth and pops of color.
- Use a lot of ornaments in different shapes and balls in this next step to fill the tree ALL the way around.
- Do not leave spots blank because red balls even in the back of a tree against the wall can shine through to the front of the tree.
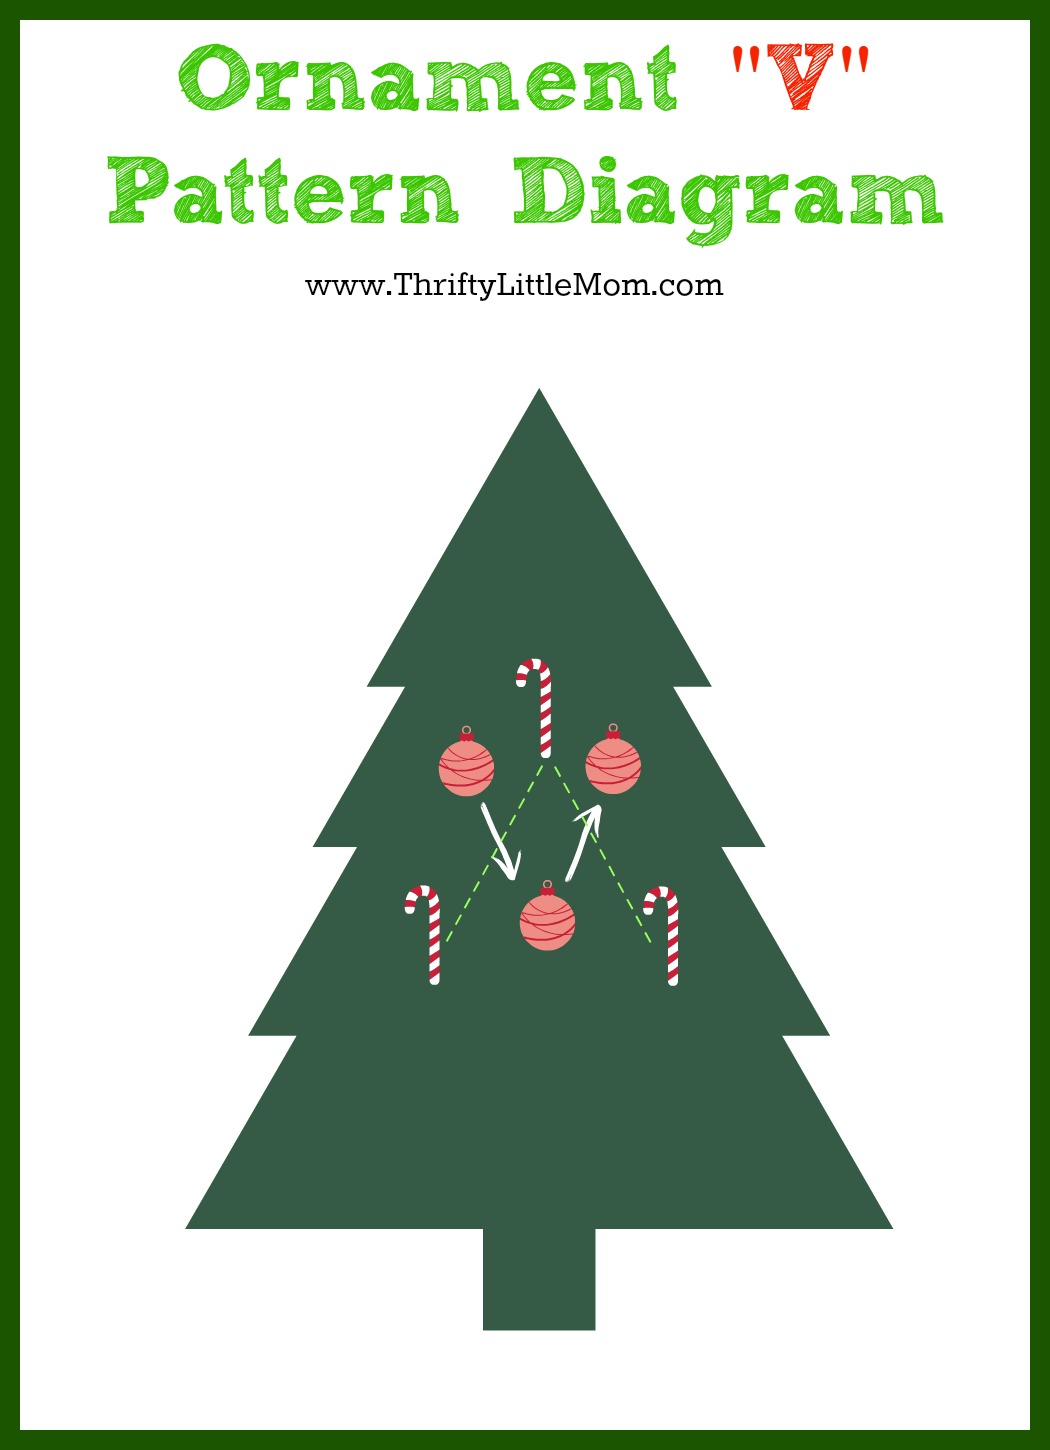
- Ornaments should be placed in a triangular shape according to colors and/or themes.
- For example, 3 crosses can be placed in an inverted triangle ^ with one at each tip complemented by 3 green balls in a triangle v and so on with the remainder of the tinsel (see diagram below).
- Amazon has a huge variety of thrifty prices and they are shatterproof. You can pick your color scheme and GO! KI Store 34ct Christmas Ball Ornaments Shatterproof Christmas Decorations Tree Balls for Holiday Wedding Party Decoration, Tree Ornaments Hooks Included 2.36” (60mm Blue)
How to Get the Perfect Color Christmas Tree Ornaments:
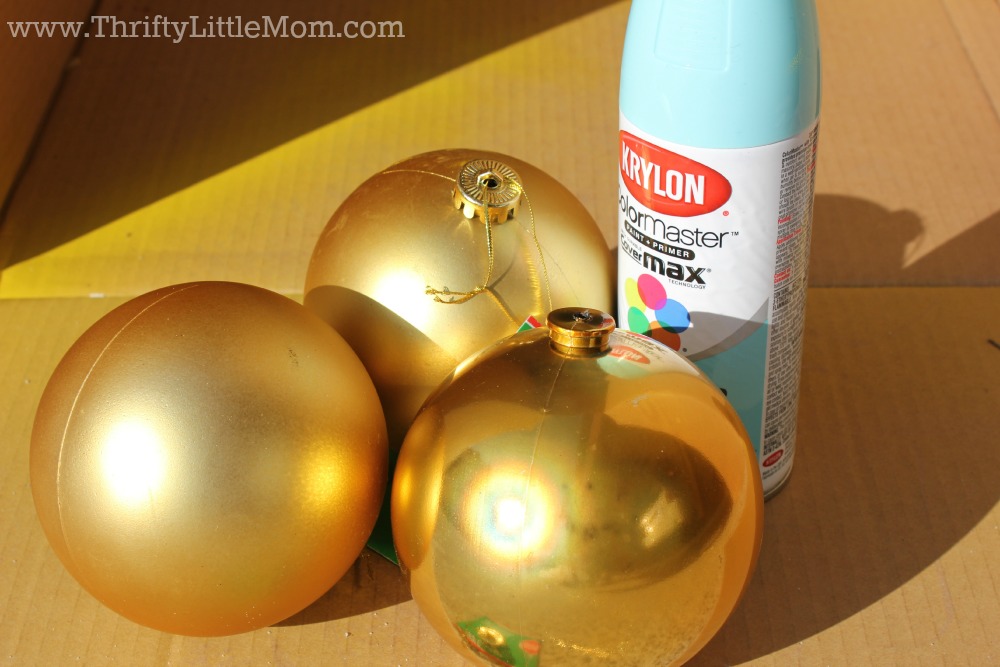
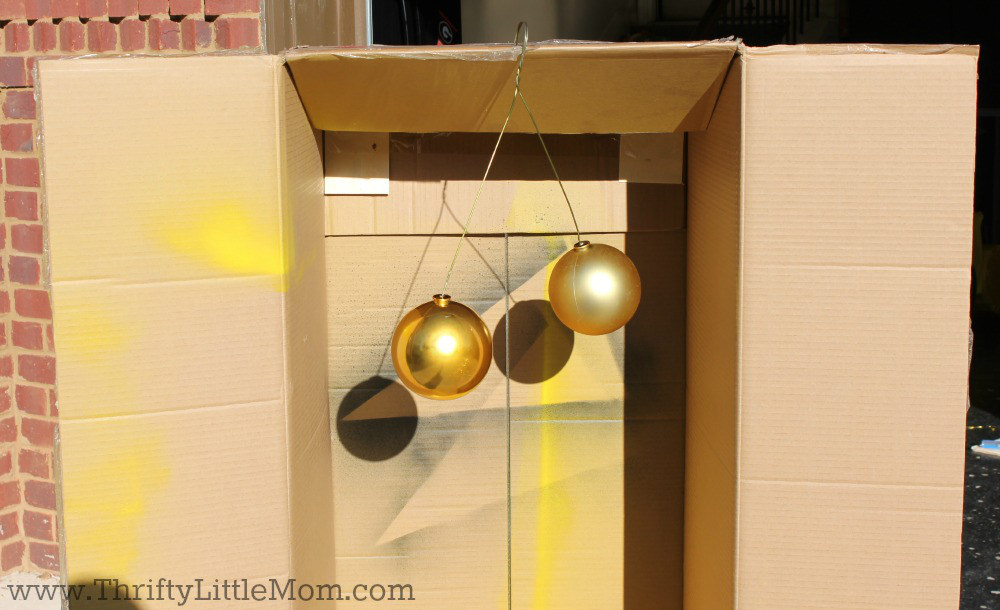
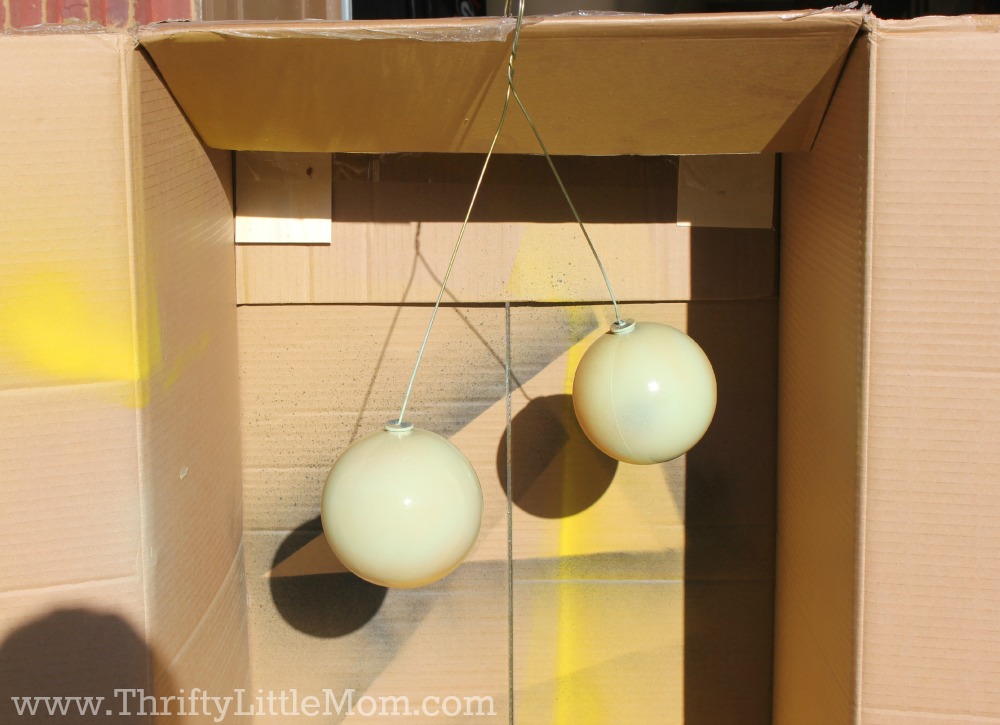
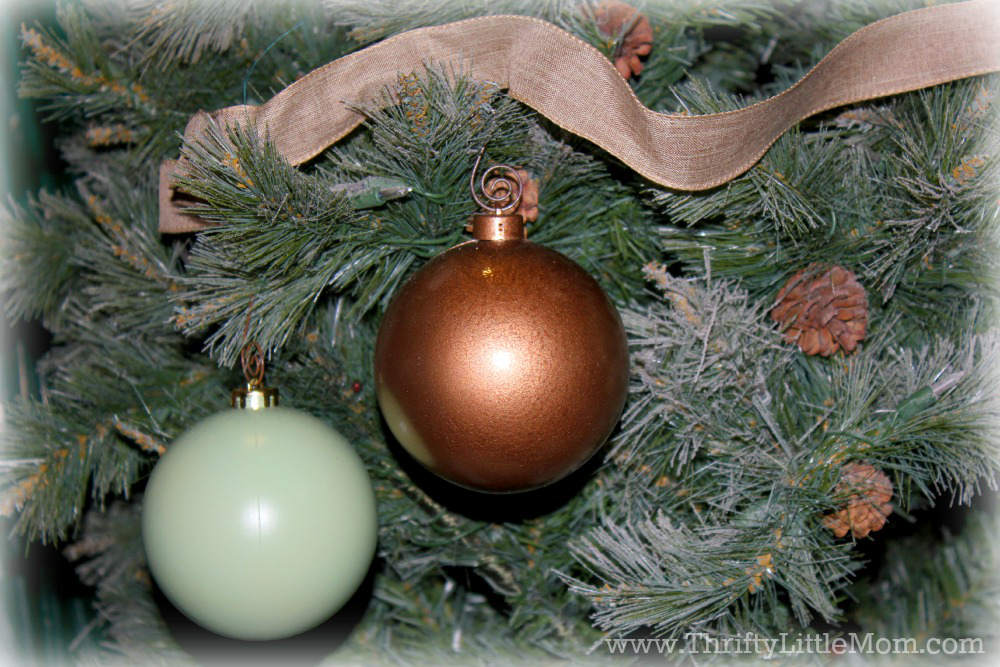
If you decide to get creative with your tree this year and you can’t find ornaments that match the color scheme you are going for, remember that you can get a little DIY here and update the color using spray paint.
Sometimes I really like to go outside the box and rather than go buy all new ornaments, I just set up an ornament painting station using a cardboard box and wire hangers.
I know this step is a ton of extra work, but depending on the color it might just be the best way to go.
Here is my step by step picture tutorial for how I paint my own ornaments to match my tree.
Step #5- Add Floral Picks for visual diversity.
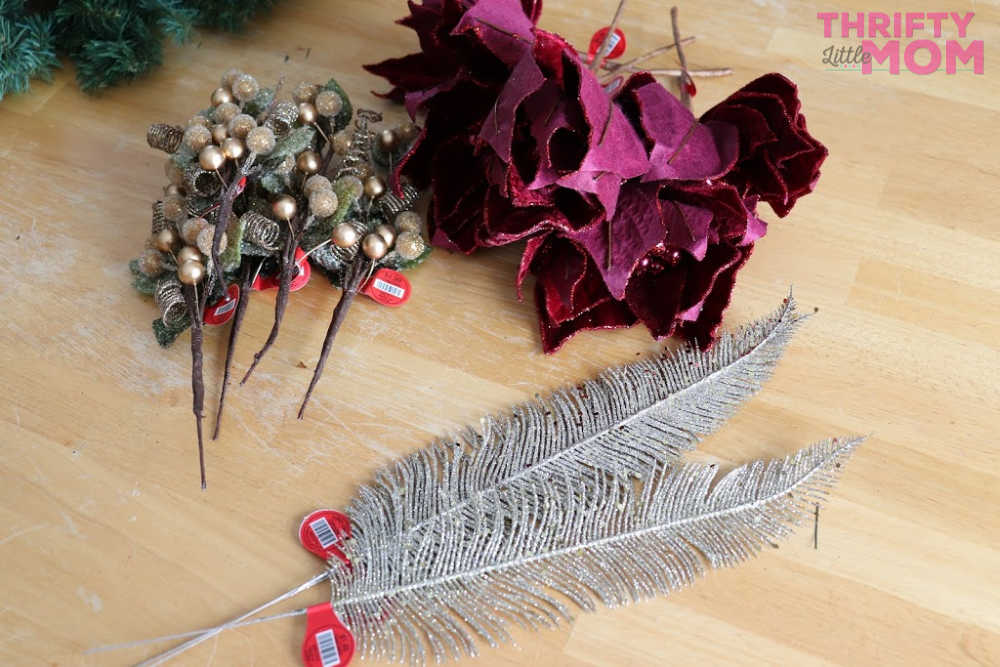
Finally, add interest and dimension by adding a floral pick in a coordinating color projecting outward.
I’ve used feather plumes, leaves, glittery curlicue sticks, holly berry, etc. The key is to also balance these around the tree. Spread them out evenly and you’ll have a visually stimulating tree sure to wow your guests!
Thrifty Tip: The $1 store is a great place to find these and sometimes I just spray paint them in the desired color du jour.
If you don’t have time for that, Amazon also has a great selection: HOLICOLOR 10Pcs Red Berry Flower Arrangements, Artificial Berry Spray Flower Arrangement, for DIY Crafts
Step #6- Match your Christmas wrapping paper to the tree color coordination.
My final tip is to consider getting your wrapping paper for your gifts to also match your tree. If your packages compliment the tree, it creates a whole package that makes your tree look refined from top to bottom.
I hope you’ve found this article helpful as you attempt to create beautiful Christmas trees for your own home, office or spaces. Be sure that you also check out these Christmas Tree Safety tips as build out your ideal tree this year!
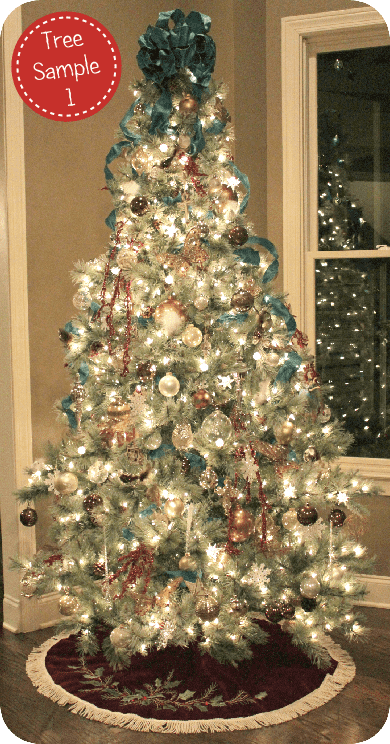
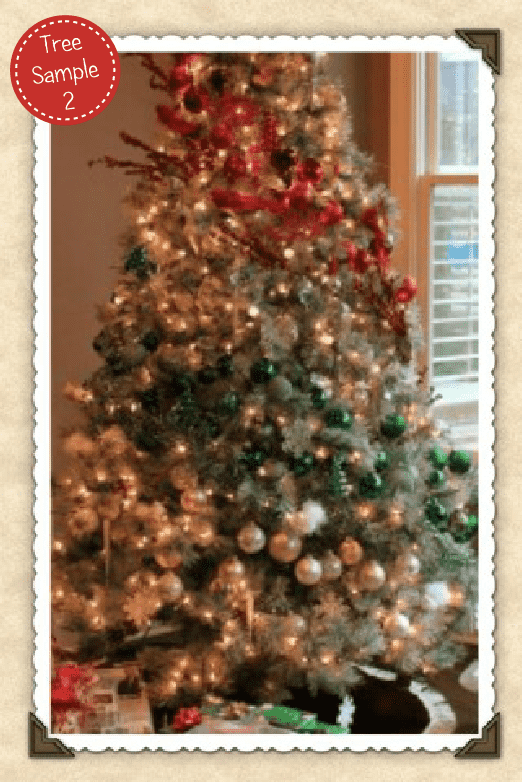
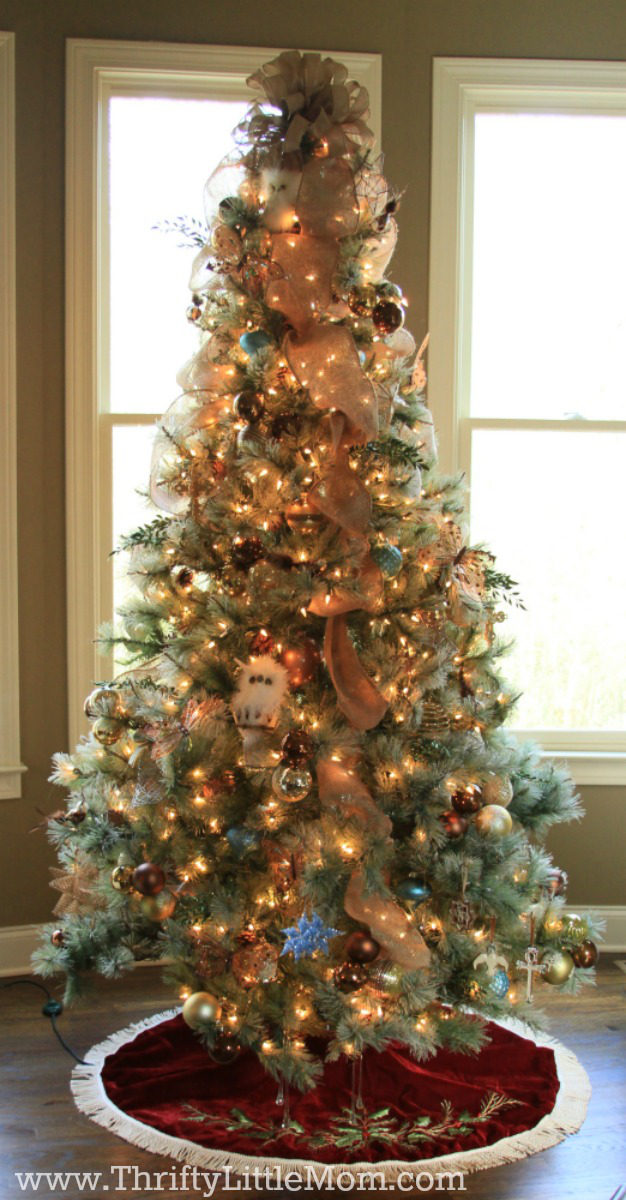
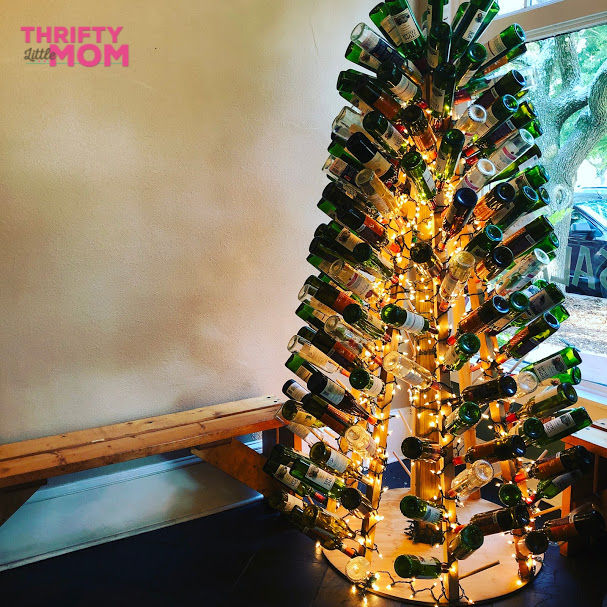
Examples of Beautiful Christmas Trees I’ve made or others have made over the years:
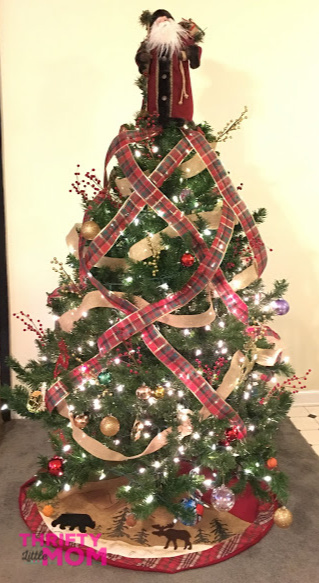
- Decorate Like the Magazines Using Free Garland From Home Improvement Stores
- 5 Fun Family Christmas Tree Decorating Traditions
- Creating Annual Christmas Ornaments With Your Kids
- 15 Minute Poinsettia Decor Wreath
- Make a Winter Berry Wreath in 15 Minutes for $15

Rhonda is the owner of My Symphony Seasonings, LLC located in Georgia. She has a passion for good food, health & entertaining which was the perfect combination for creating My Symphony Seasonings, a company that encourages you to cook and eat whole foods, close to nature by providing original recipe blends of organic herbs & spices, free of fillers and artificial preservatives to add flavor, richness and health benefits to your dishes!
