Easy Overnight Cold Brew Coffee Recipe
Cold brew coffee seems to be all the rage these days. I love to buy it from Starbucks but sometimes when I can’t get to Starbucks I like to just make a mega batch at home! Here’s how I make easy overnight cold brew coffee!

This relationship lasted for about 2 months before I realized I was starting to add 2 containers to my cart to get through one week. My consumption totals were beginning to make it a non-thrifty habit.
That’s about the time that I remembered going to a baby shower several years ago where the hostess had made the most amazing iced coffee I had ever tasted and she had made it using a cold brew process.
Truth be told, hot brewing coffee for cold consumption just isn’t the same. It always seems weak and watered down to me. After a few months of experimentation, I have mastered my own craft of making the perfect cup of iced coffee and now I’ll share my cold brew process with you!
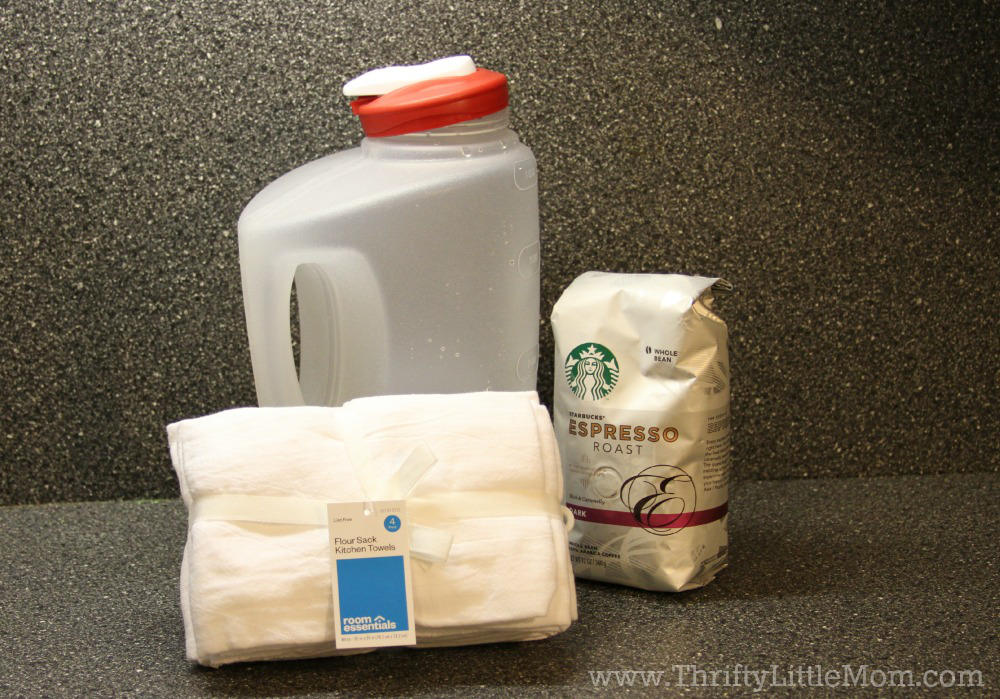
Best Coffee For Cold Brew Supplies:
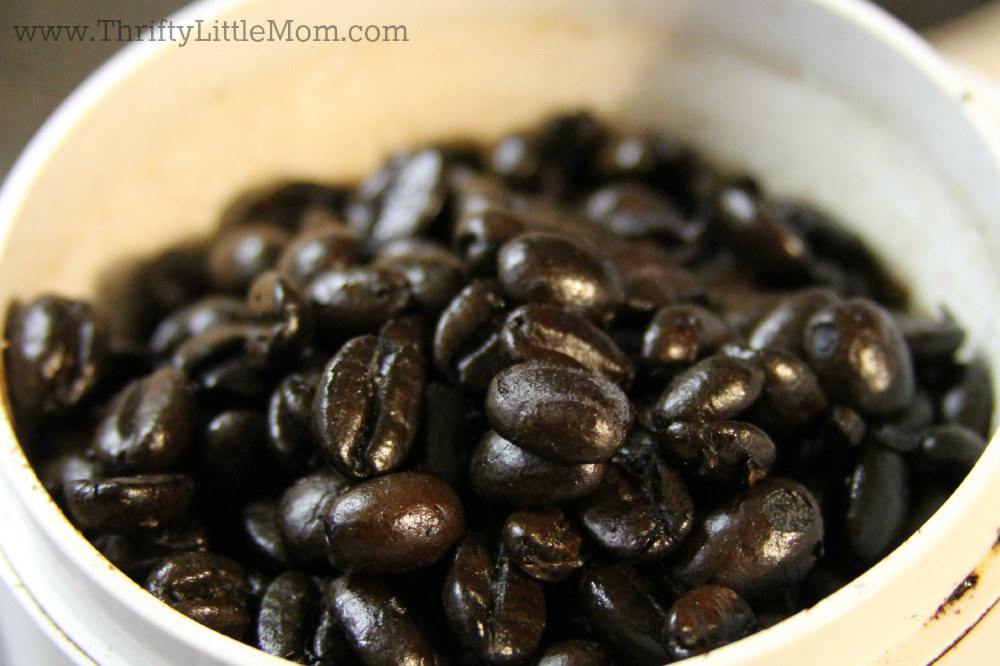
- 3 & 3/4 cups of your favorite ground coffee. I REALLY like the Starbucks brand coffees since the deliver on the flavor I’m looking for. I like the strength of the Espresso Roast. I feel like any roast of Starbucks brand coffee comes out tasting AMAZING. You can find the version I used on Amazon- Starbucks Espresso Dark Roast Whole Bean Coffee, 20-Ounce Bag
- A large 1-gallon pitcher (like this one -(Rubbermaid 711717429960 Gallon Covered Pitcher 1 Gallon (Set of 2), kkkk, White
)
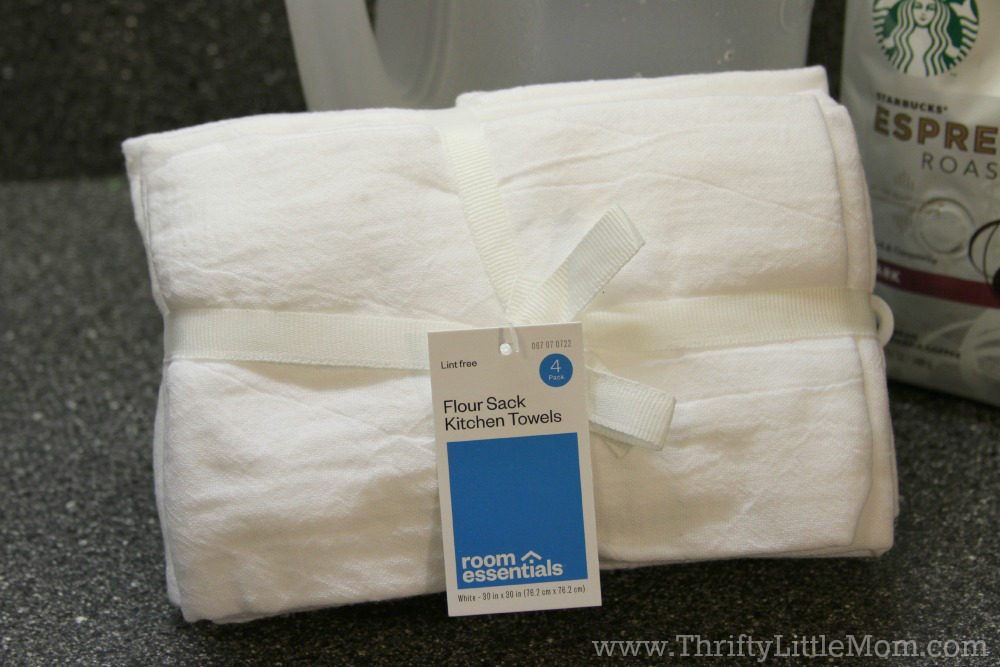
- Flour Sack Kitchen Towels (I got mine at Target but you can also find these towels on Amazon) Aunt Martha’s White Flour Sack Dish Towels, Size 28-Inch by 28-Inch, 2-Pack
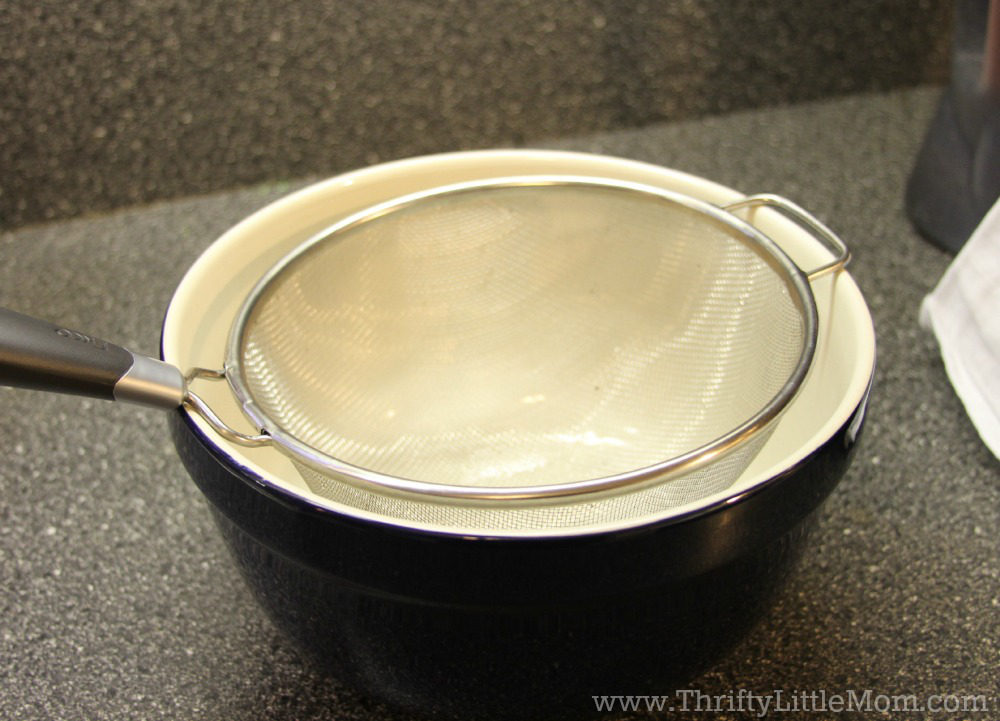
- Metal Mesh Sieve or Strainer (like this Cuisinart CTG-00-3MS Set of 3 Fine Mesh Stainless Steel Strainers
)
- Large Bowl
- Water
 Step 1:
Grind your coffee or purchase pre-ground coffee- it’s totally up to you.
Step 2:
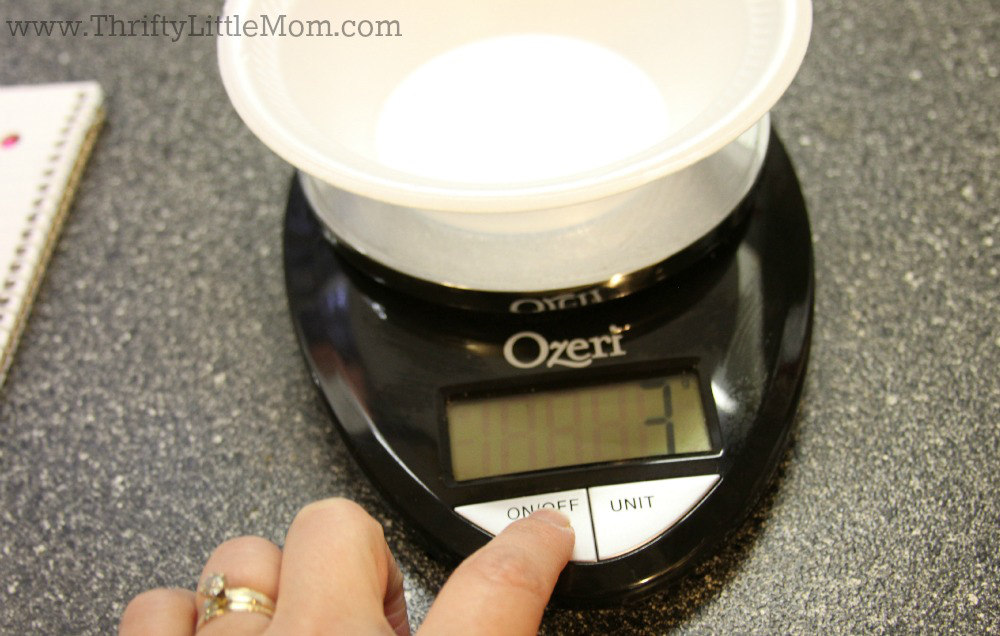
In my experiments I figured out 3 & 3/4 cups of coffee grounds for one gallon of iced coffee is ideal. Using a scale is much more accurate than a measuring cup. Shoot for 40g (1.4 oz) of grounds. If you want your coffee to be STRONG go for 4 cups or 42.5g (1.5 oz).
Step 3:
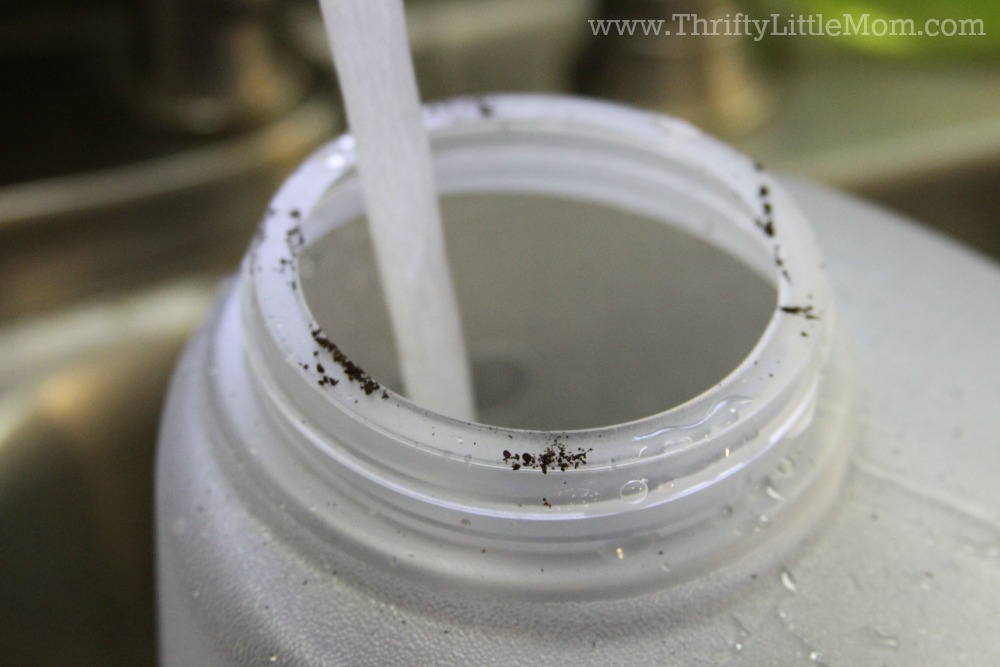
I add my grounds to a pliable cup or bowl so I can easily shake the grounds into the opening of my pitcher. If you are using at large open pitcher this won’t be an issue.
Step 4:
I add the 3 & 3/4 cups of grounds directly to my empty coffee pitcher.
Step 5:
Add your water. I’m a tap water person myself, but if you want to be fancy you could use a gallon of spring water or whatever fits your fancy. Just fill the pitcher all the way to the top. As in dangerously close to the top.
The coffee grounds do take up some space so if you don’t fill it really well, you’ll end up with more like a half gallon of coffee instead of a gallon.
Step 6:
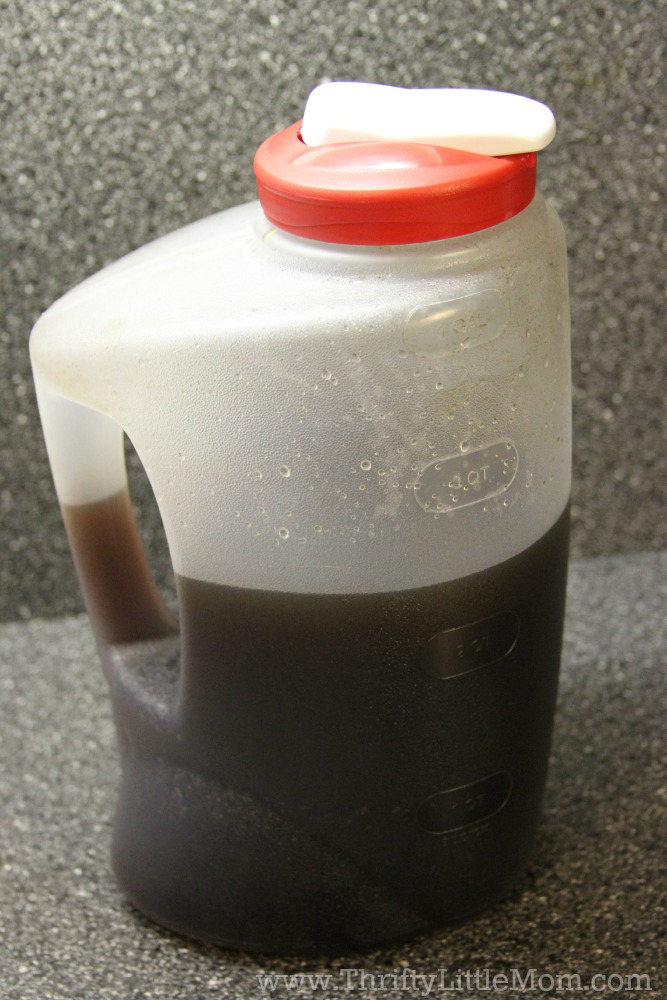
Put the lid on and stick it in your refrigerator for at least 8 hours. Personally, I make my brew on Friday night before I go to bed and then wrap up the process the next morning. Then I know it’s had plenty of time to marinate and I have a fresh cup on Saturday morning!
Step 7:
After your coffee has had time to cold brew in the water, in your fridge grab a nice BIG bowl and your metal sieve or strainer. You need to the strainer to be smaller than the diameter of the bowl or your gonna have a mess.
Step 8:
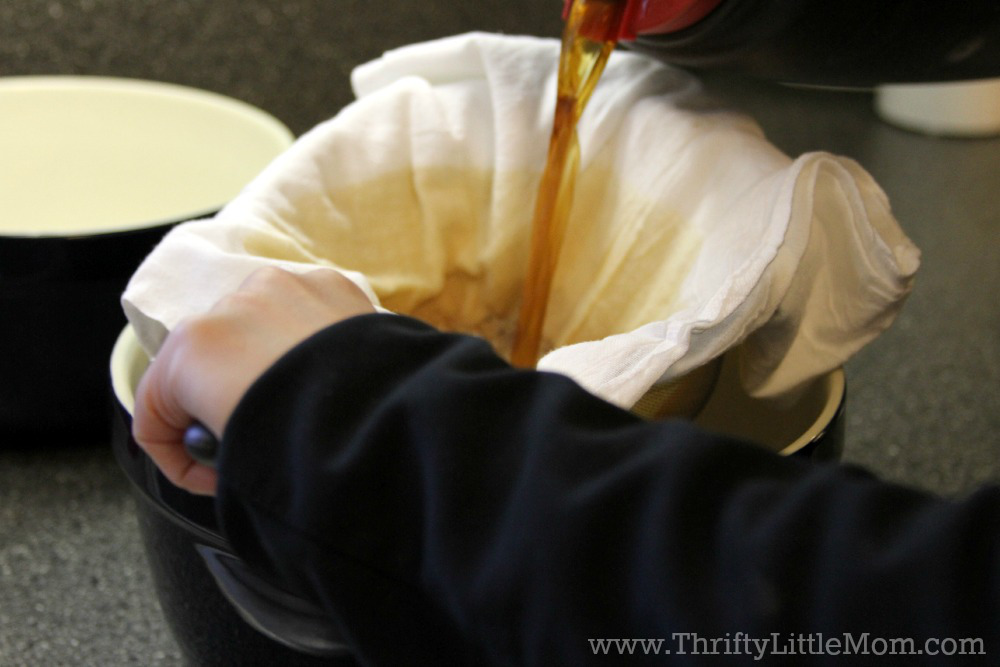
Take one of your flour sack towels, open it all the way up and then fold it in half. Place the flour sack into your strainer and press it down to conform to shape of your strainer.
Step 9:
Carefully and slowly begin to pour the coffee from the pitcher into the middle of your towel inside your strainer. Keep the strainer over the bowl to catch the coffee. The towel and strainer combo will catch your coffee grounds.
Step 10:
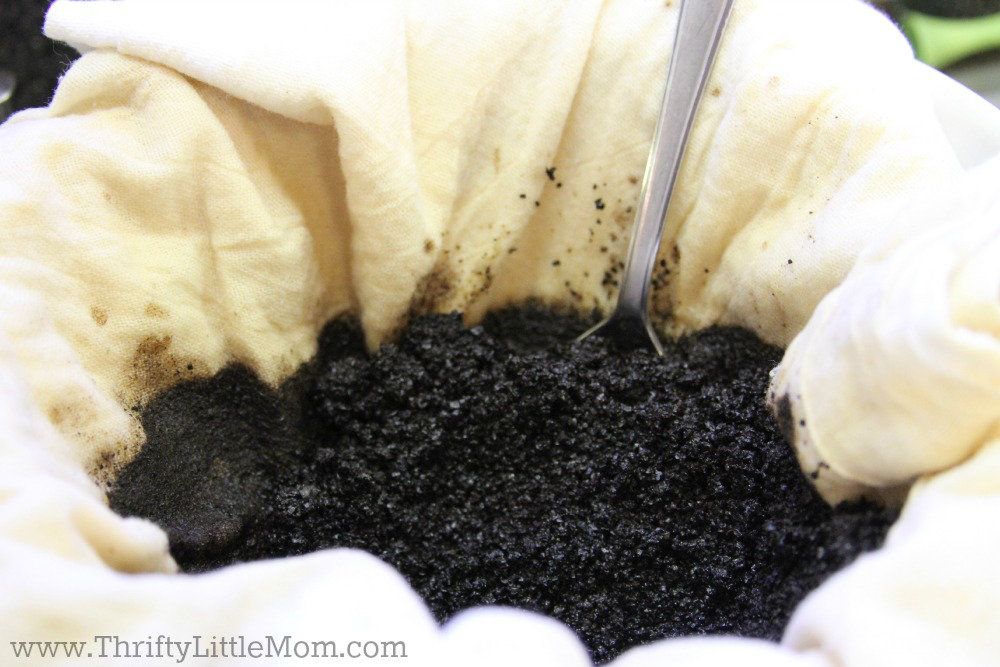
As you pour, you may need a spoon or fork to scrap the grounds out of the way as they build up inside your strainer. If they start to clog up the strainer, your coffee will get closer and closer to the top of the strainer while it waits to fall through. If you scrap the grounds away from the center of your strainer, the liquid should continue to strain into the bowl below.
Step 11:
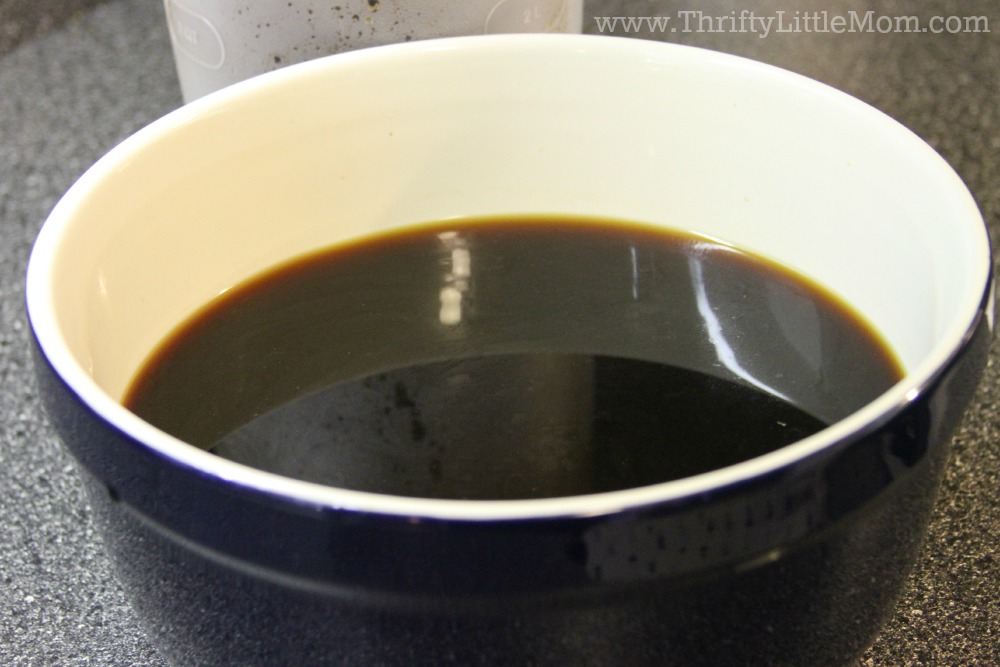
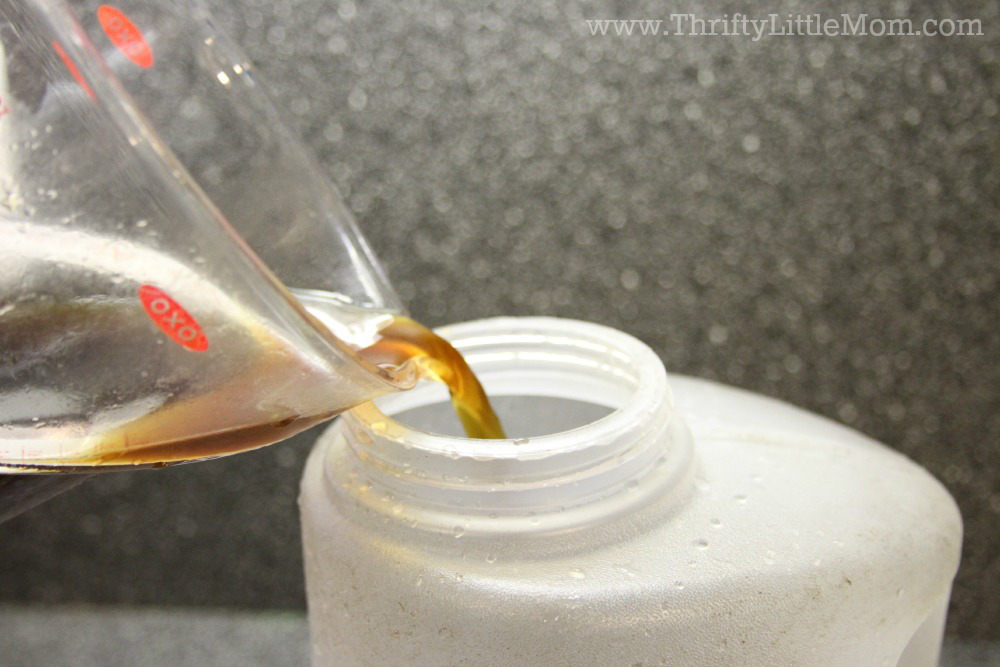
When you are done, you’ll have this glorious bowl of coffee. I simply rinse the rest of the grounds out of my coffee pitcher, clean it a little and then use a measuring cup with a spout to pour all the filtered liquid back into my pitcher.
Step 12:
Once your are done, you can go ahead and pour yourself a glass or put it back in the fridge!
That’s how I make my weekly supply of overnight cold brew iced coffee recipe. I hope that you will enjoy it this spring and summer as much as I do!
As a fan of all things caramel machiatto, I’m a huge fan of Mrs Happy Homemaker and this French Vanilla Coffee Creamer Recipe.

At Home Iced Caramel Macchiato
This is a simple recipe for how to make an iced caramel macchiato at home.
Easy Harry Potter Butterbeer Recipe
Delicious and Creamy Harry Potter Butter Beer Recipe

Kim Anderson is the organized chaos loving author behind the Thrifty Little Mom Blog. She helps other people who thrive in organized chaos to stress less, remember more and feel in control of their time, money, and home. Kim is the author of: Live, Save, Spend, Repeat: The Life You Want with the Money You Have. She’s been featured on Time.com, Money.com, Good Housekeeping, Women’s Day, and more!

