How to Get Gorgeous Purple Highlights in Brown Hair
I’ve have always, always, always wanted to go outside my comfort zone and add purple highlights in brown hair. But as a brunette who really loves my locks, I was extremely nervous about what it would “really” take to make it happen.
My fear was, what if I don’t like purple highlights in brown hair? And if I don’t like it, how long will it take to go back to the way it was? But since I work for myself and if there was any better time for me to experiment it was in the year 2020 when you just didn’t see that many people anyway, I decided to go for it.
The problem…
When you go online what you find are a lot of picture examples but no one ever had the process documented. So I decided that as a blogger, I would be sure that when I did it, I would show you what needs to happen to get the vibrant purple highlights in brown hair that you want. That way you can do it the way that I did it, or try it on your own at home and understand the process.
What You Should Know About Blue Color Families:
If you are going to go with any semi-permanent hair color with a blue hue – note that they fade quickly. They will only last about 5-6 washes (which is why I had to start washing my hair WAY less, washing with cold water more, and started the color upkeep at home). I’m able to maintain my purple highlights in brown hair for about $6-$10 per month.
Step 1- Decide if you are going to do it yourself or go to a salon for the first one and then keep it up yourself afterwards.
I personally chose to start my journey at a salon so that I knew that it was done right and so that my hair didn’t fall out from over-bleaching or something.
And, being the thrifty little mom that I am, I’ll show you later how I maintain the color on my own for about $6-$10 per month.
I started by looking for which salon in my area did the craziest color jobs – blues, purples, and pinks so I could trust that I was getting into this with someone who would do it right. I found one, I stopped in to show them my hair, told them what I wanted, and asked who would be best with that job.
They set up the appointment and gave me an idea of how much it would cost. Depending on the salon you’ll have a price based on the level of the stylist you use + the service you are choosing and then they are going to tack on charges after that base price for any additional applications of bleach or color during your session. For example- I have long brown hair so that requires more product/processing to get it where I wanted it to be.
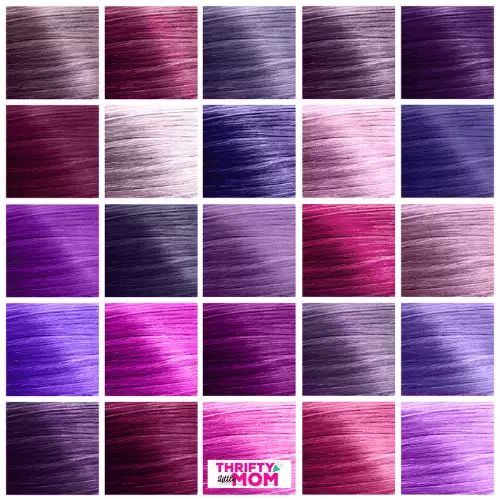
When you make your appointment you should probably have an example of the hue of purple you want on a picture on your phone and make sure they can make that color happen.
Thrifty Little Mom Tip: Note that I got the bleach and color done together for the first time in the salon. If the bleaching part is the most worrisome for you, you could just go in for bleaching and try to do the color addition part on your own to save some money.
Step 2- Understand the process of making purple highlights in brown hair.
Keeping it Brown-
I know there are some articles online or videos where people are touting that you can get purple hair without bleaching as a brunette but it’s only true to a point.
If you leave your hair without lightening/bleaching and add purple, your hair will be more like tinted purple. The purple will be brighter on any of your natural highlights or lighter hair. In this case, you are essentially putting purple dye on brown hair.
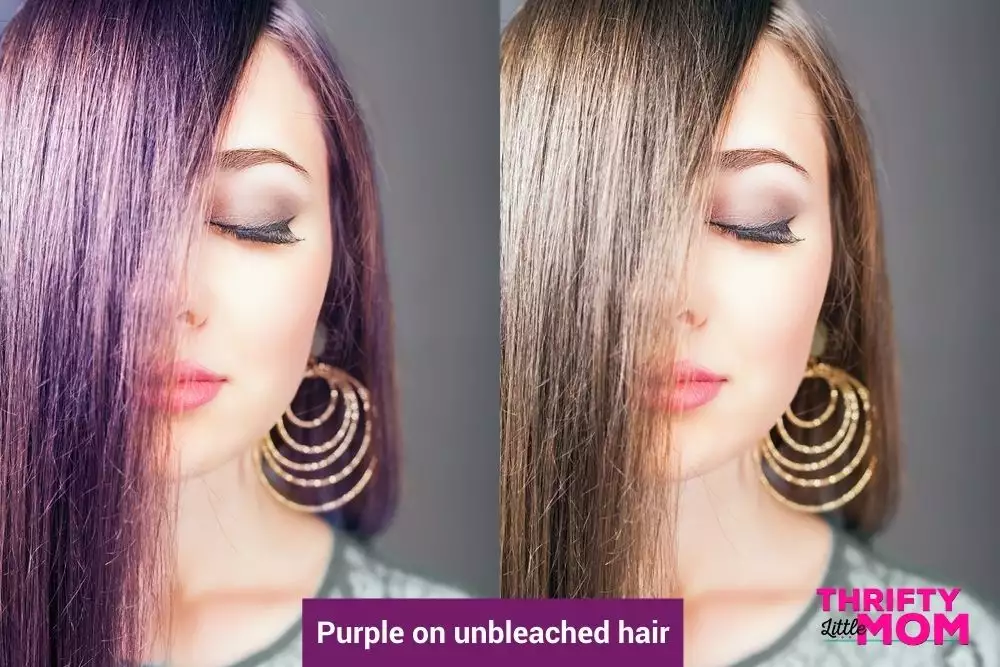
If you are okay with having a purplish hue to your dark hair or if it’s very dark brown people may ONLY being able to see that you have some purple in your hair when you are in BRIGHT SUNLIGHT then give this a go.

In fact I know some people really like using Semi-Permanent Hair Color Depositing Conditioner. I haven’t tried it because I don’t have all-over purple but it’s a cheap option for experimentation before taking the full plunge to lightening/bleaching.

Going for the Vibrant Purple Highlights in Brown Hair-
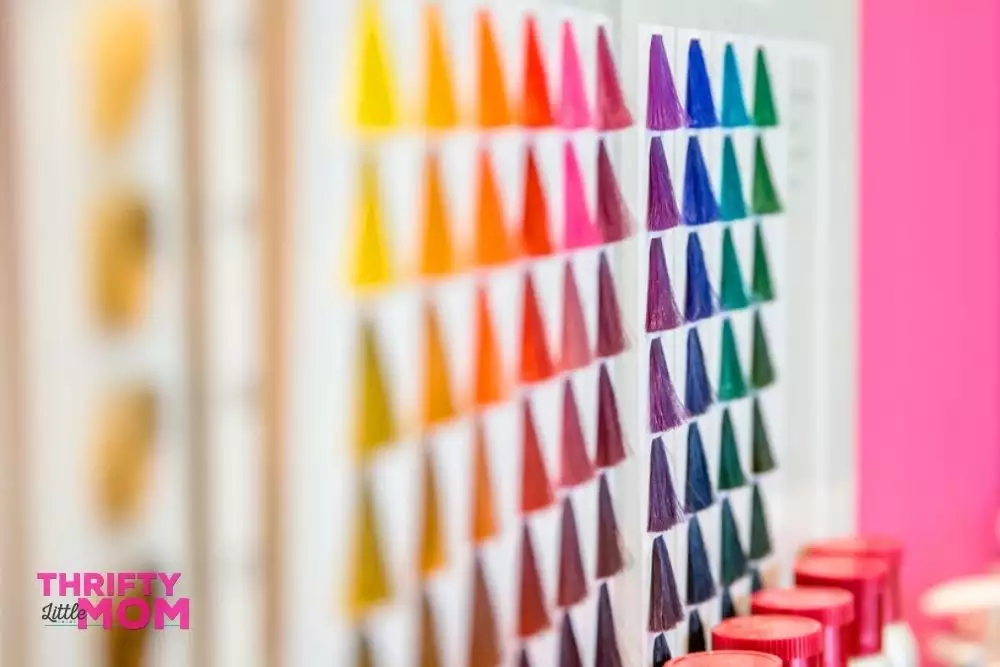
But if you want those ROCK STAR purple locks that can’t be missed you HAVE TO BLEACH YOUR HAIR FIRST.
- The lighter your hair, the brighter the purple.
- The darker your hair, the harder it is to see.
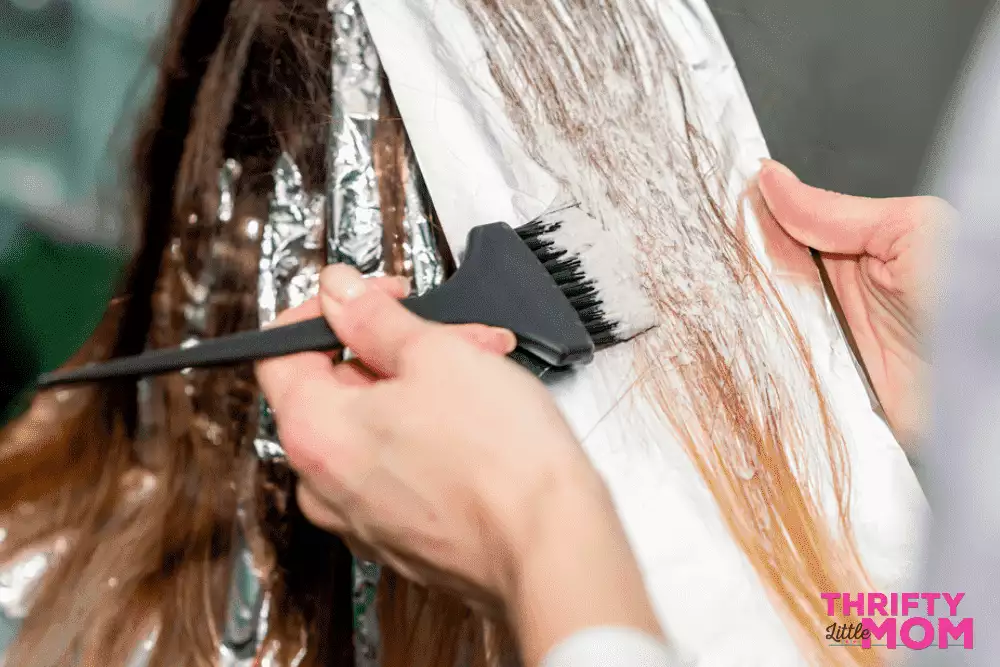
If you can just accept it, you won’t waste a bunch of time and money trying to do it any other way unless you decide to go straight for purple hair extensions.
Step 3- Find examples of purple highlights in brown hair, be realistic and then fight for what you want.
Once you starting looking for examples you are going to come across a lot of pictures to weed through. You are going to find some images that you love, love, love but remember that every human on the planet has different hair and your hair may have some limitations that the person in the picture does not. You want to understand How hair coloring works before you get pissed off at a stylist who didn’t match the photo you brought in.
Here’s what you need to understand about this process if you are going to start at a salon as I did.
Be Matchy-Matchy –
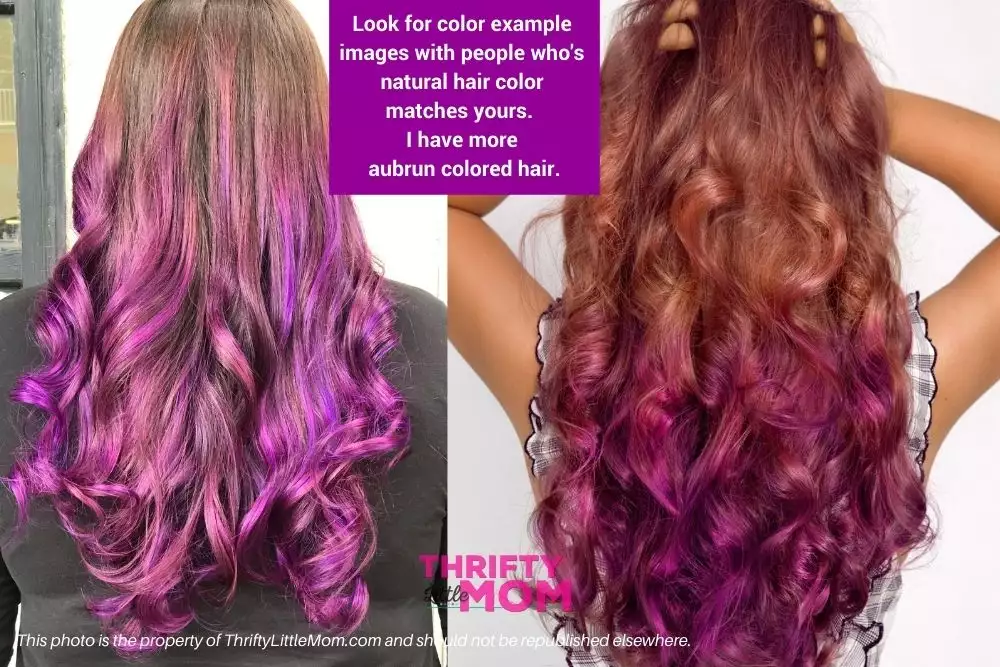
Find pictures of people who have a similar original hair color to yours and length as you. For example, Auburn hair + purple is a different look than people with dark brown hair + purple. It’s not as strong as a contrast.
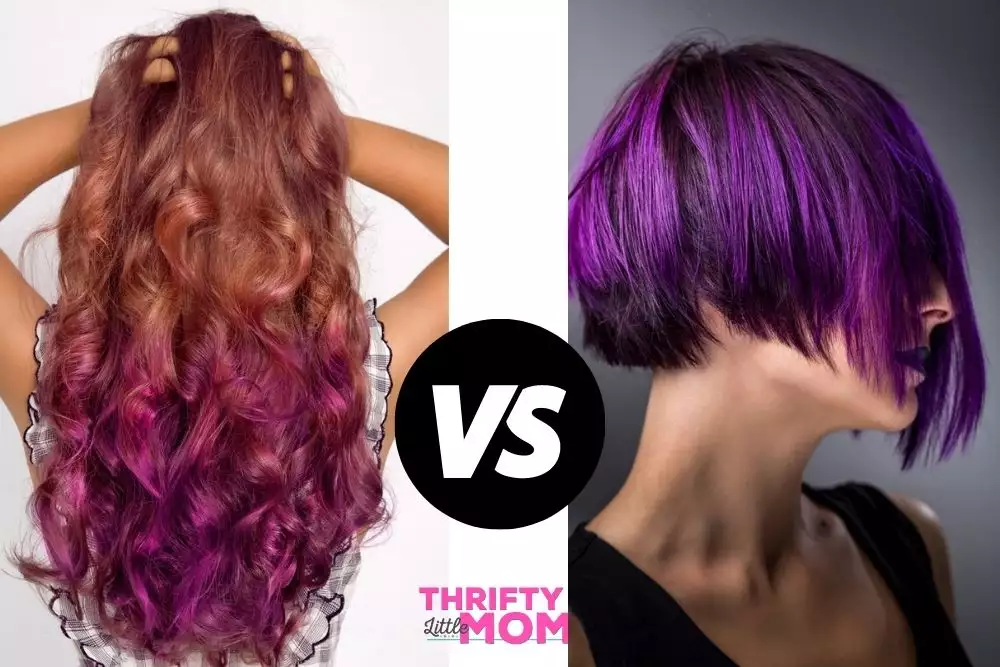
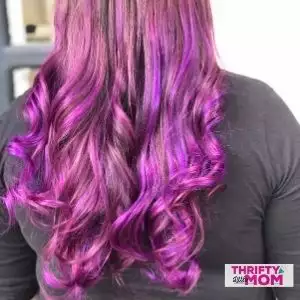
The picture below is my finished hair beside this example. It’s a much closer match in color and length and even though this isn’t the picture that I took with me to the salon, it’s a great example of me managing my outcome expectations with reality.
How Much Purple Highlighting Do You Want?
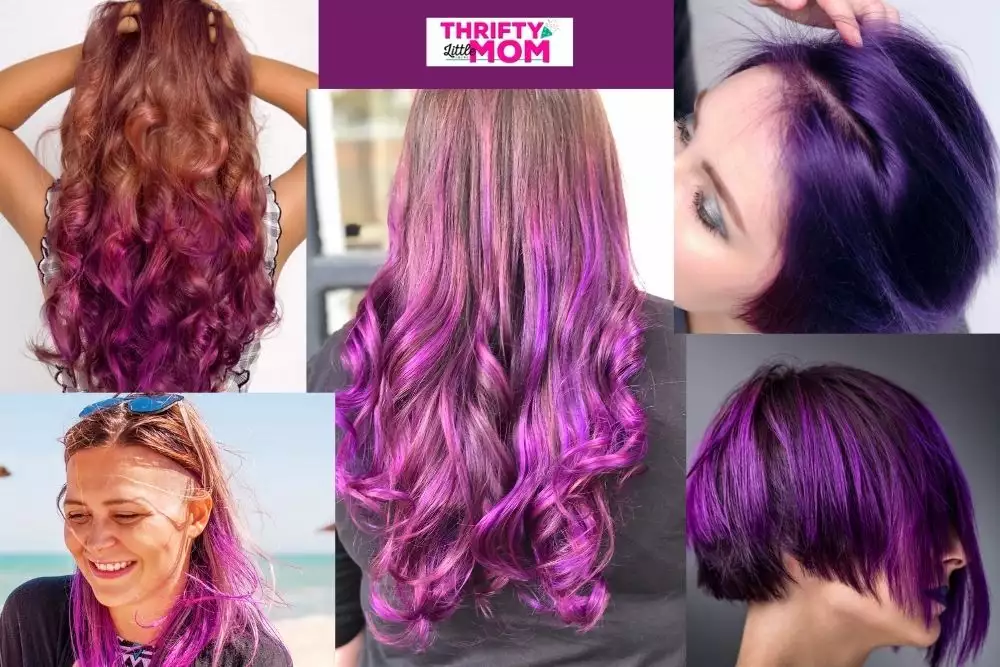
- Figure out if you want your whole head purple, purple highlights, purple balayage/ombre, or just tips.
- I personally went with purple highlights in a balayage fashion just to test the waters and make sure I liked it (At least I knew I could cut it off at some point if I hated it).
Hues & Shade Matter-
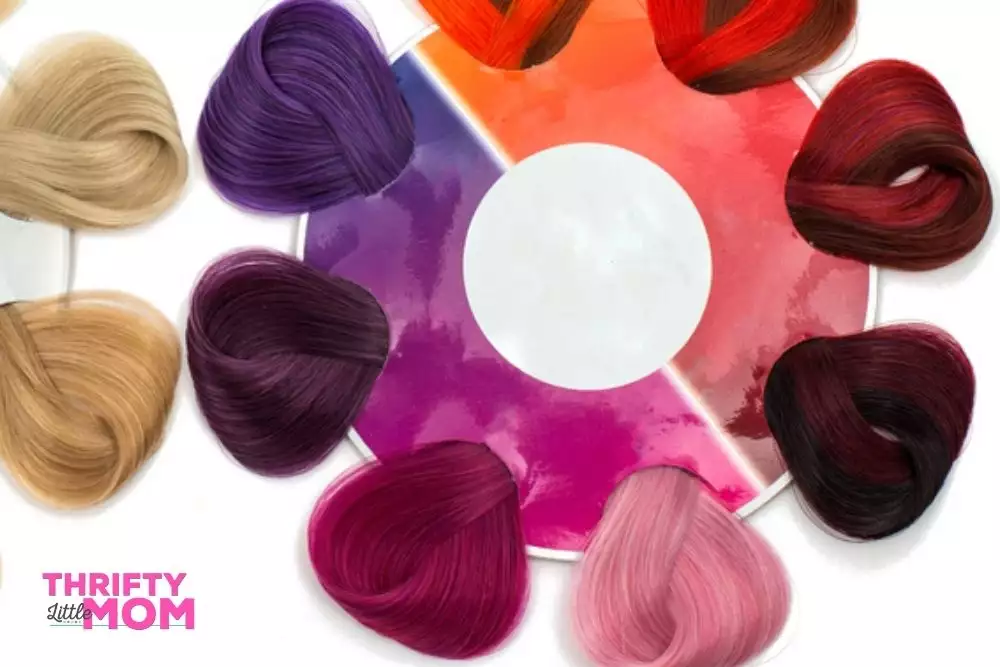
- Note that you can show your stylist purple and come out with plum if you don’t pay attention and fight for the hue that you want.
- When my hairstylist started I pointed to the screenshot of the hue of purple that I wanted and asked her to match it as closely as possible.
- After your stylist mixes up the color you should ask to see what the color is on a white paper towel.
- It will look slightly different since your hair won’t be paper-towel white but it can help you spot if it in the pink-purple family or the blue-purple family.
When I say fight for what you want, what I mean is that you leave that place with the purple hair you asked for. Note that your hair may not look like the photo because it’s impossible for your stylist to match that photo exactly for a number of reasons (including the example that I gave above of having auburn hair but expecting dark brown + purple results).
A good example of a fight situation involved a friend of mine.
My friend loved my purple hair outcome so much that she went to her normal hair lady asking for the same do. Her normal lady didn’t process her hair with bleach long enough, added purple, and then charged her $80. But you literally couldn’t see the purple unless she was outside because she didn’t say— “Hey, it’s not light enough.” You’ll see what I mean when I say it needs to be bleached in my process pictures below.
So when you are in that chair, if you want bright purple hair you need to say — my hair needs to be lightened as much as possible. Be your own hair success advocate.
Step 4- Prep for a long time in the chair.
Note that I have REALLY long hair + I did a balagye bleaching process + color so I was there for 8 hours.
It depends on how much bleaching you need, how much it takes to get your hair blonde and other variables but I would literally plan this on a day when you don’t have to be anywhere and I would snag the early morning appointment so your stylist is fresh and you have priority.
Step 5- Take Your Before Photo.
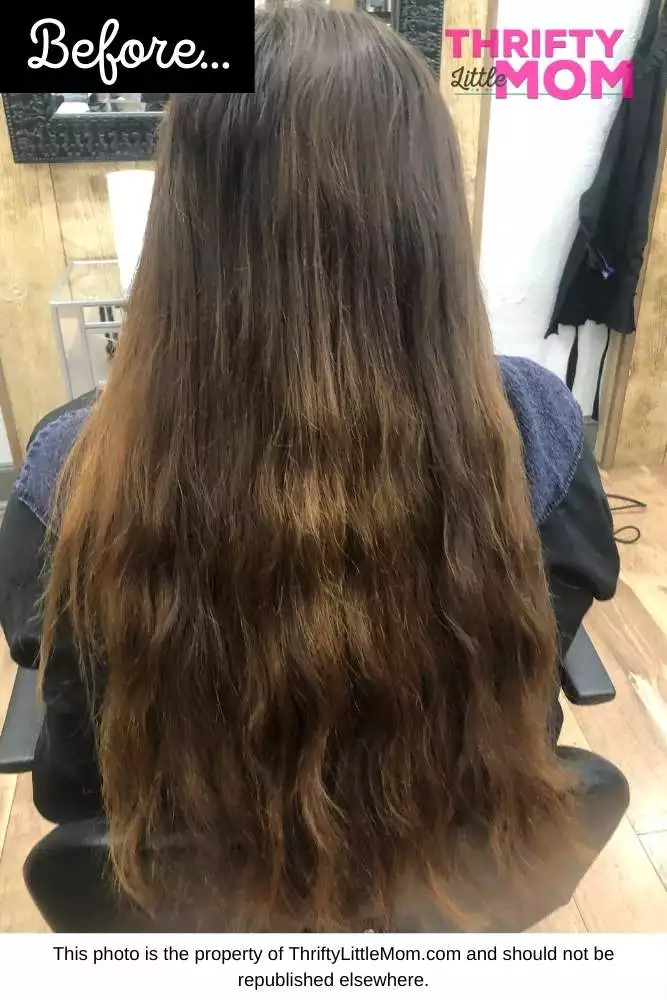
Here is what my hair looked like before we got started. Note that this was about 6 months since my last cut + months of quarantine + a grown-out perm. My hair was LONG so they did trim up the dead ends before we got started.
Step 6: Lighten/Bleach the hair that you want the color to show up on.
In my case, we decided to start with a balayage bleaching process so that my purple highlights in brown hair would be more of a natural transition throughout my hair which I really liked in the end. This is essentially the start of a purple balayage hairstyle for brunettes.
Here’s a video explaining what a Balayage is:
Here’s how that process went for me:
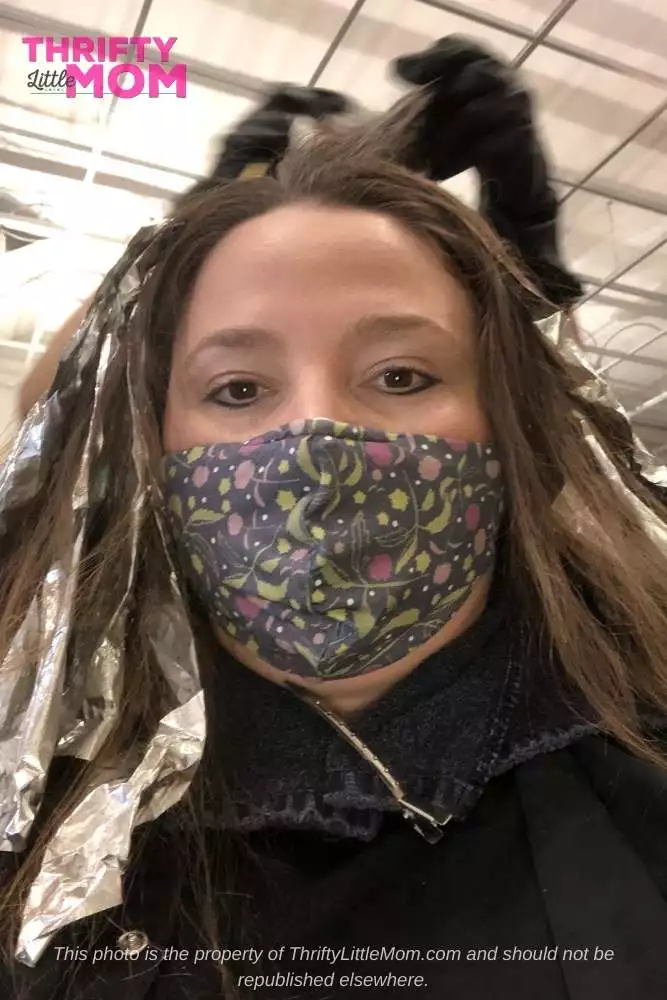
Phase 1: Bleach & Foil Balayage:
Once she trimmed up my dead ends she began the process of bleaching and foiling similar to what’s talked about in the video I shared. Notice that with Balagye, they only go about midway up my scalp leaving the top of my head brown. This is nice because I don’t have to worry about “root” touchups all the time.
My stylist checked different pieces of foil throughout the end of my time with the foil on. When she knew it had reached the right tone of lightness, she began the rinsing process.
If you decide to do your bleaching at home be sure that you read this post about the Top Nine Mistakes Made When Bleaching at Home.
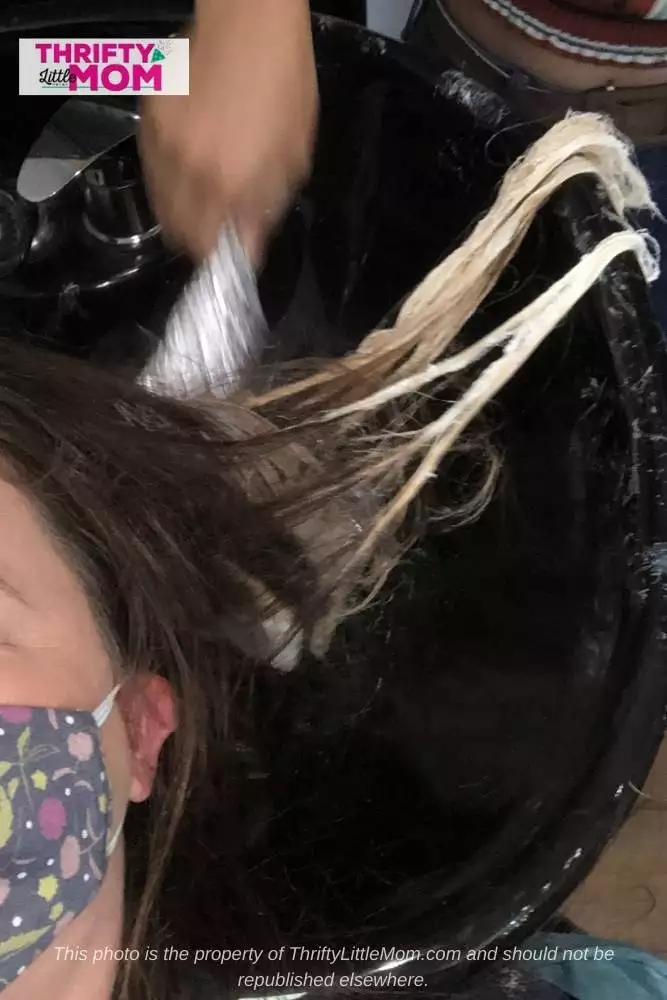
In the photo below, you can see my hair that’s been released from the foil with the bleach cream still on.
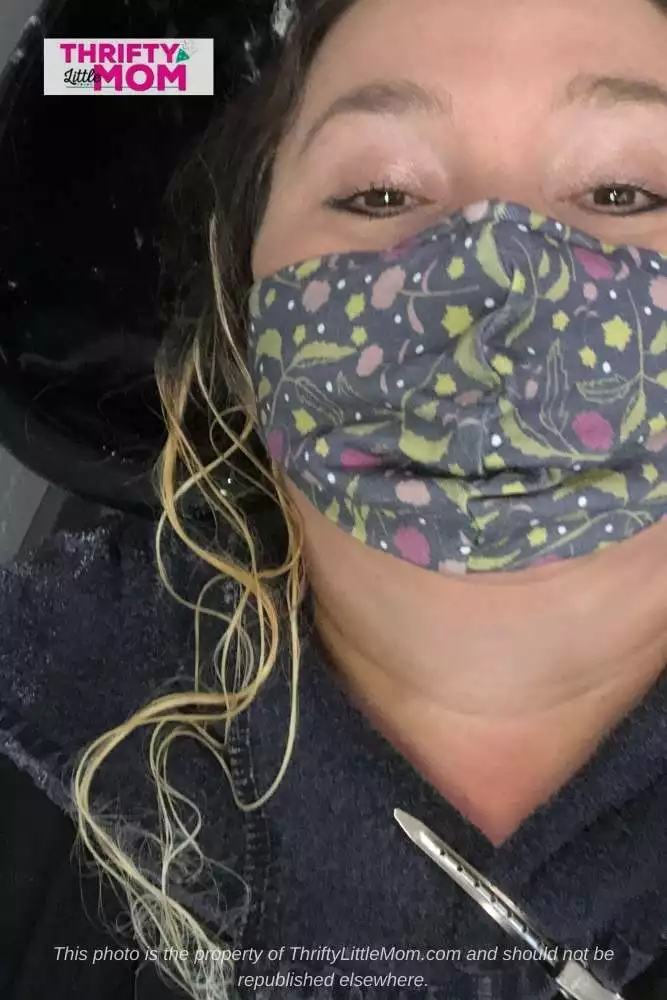
Once it was rinsed and dried, we were ready to add the color that she mixed. Notice that it’s not all bleached to the same exact level of blondeness. That’s because my hair is not all one shade of brown and I have naturally lighter and darker areas of hair on my head which you can see in the BEFORE photo. Honestly, this made me love the finished product EVEN more.
Step 7: Add the color!
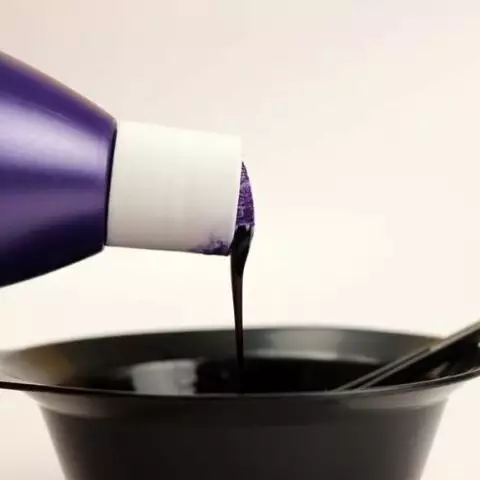
The next step was my stylist mixing up the color. When we got it to nice bright purple mix, she started brushing it thoroughly onto each section of hair.
In my experience the color goes on much better, stronger and with less mess if your hair is DRY before you start painting.
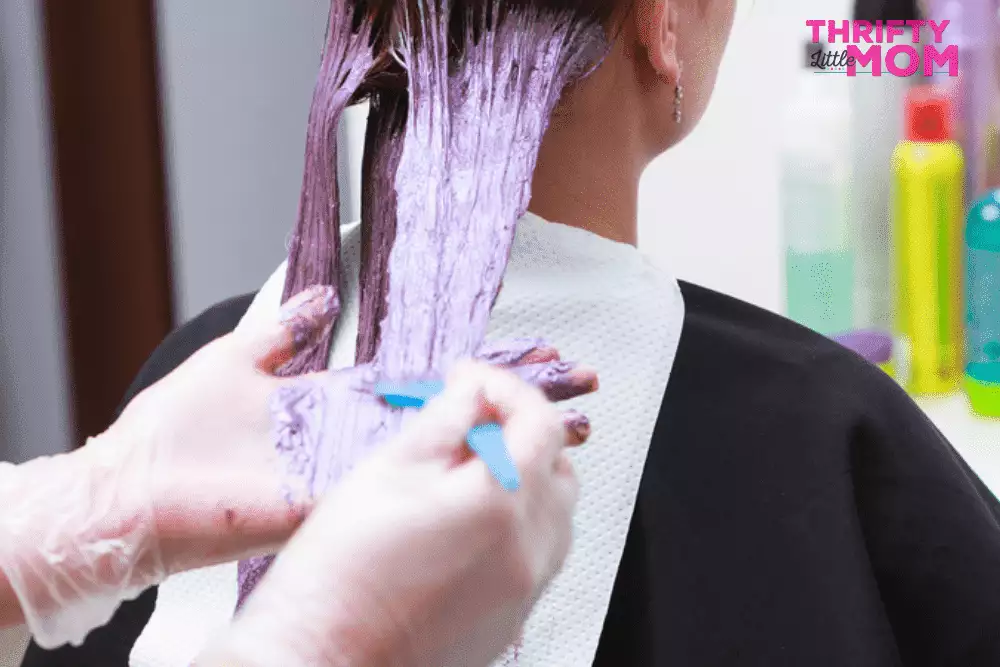
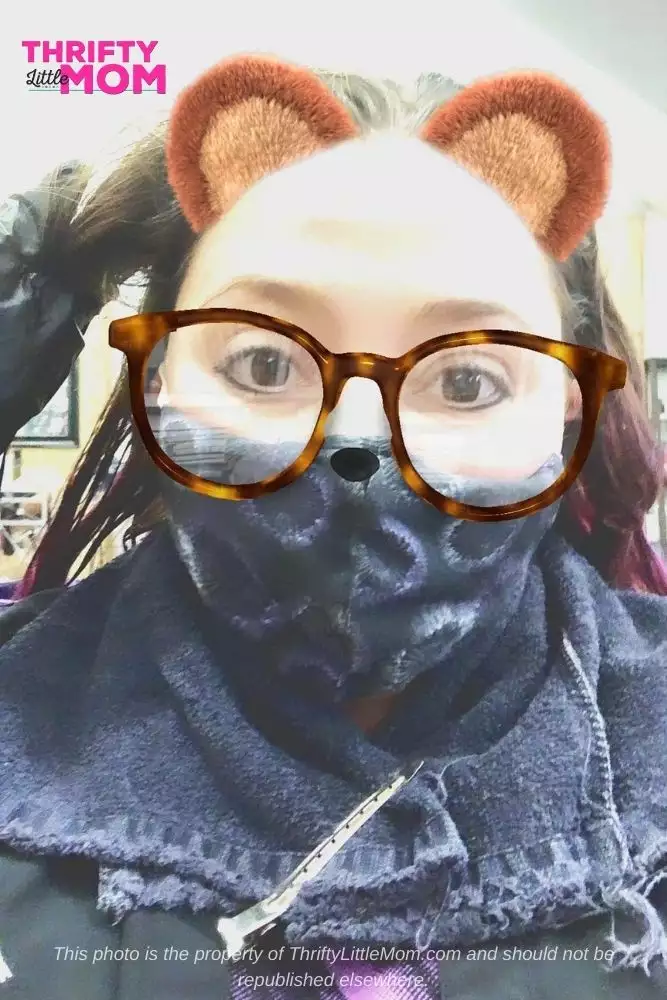
Once she added the color I sat in the chair for 30-40 minutes letting it soak in. Because my hair had been previously permed it soaked the color up like a straw.
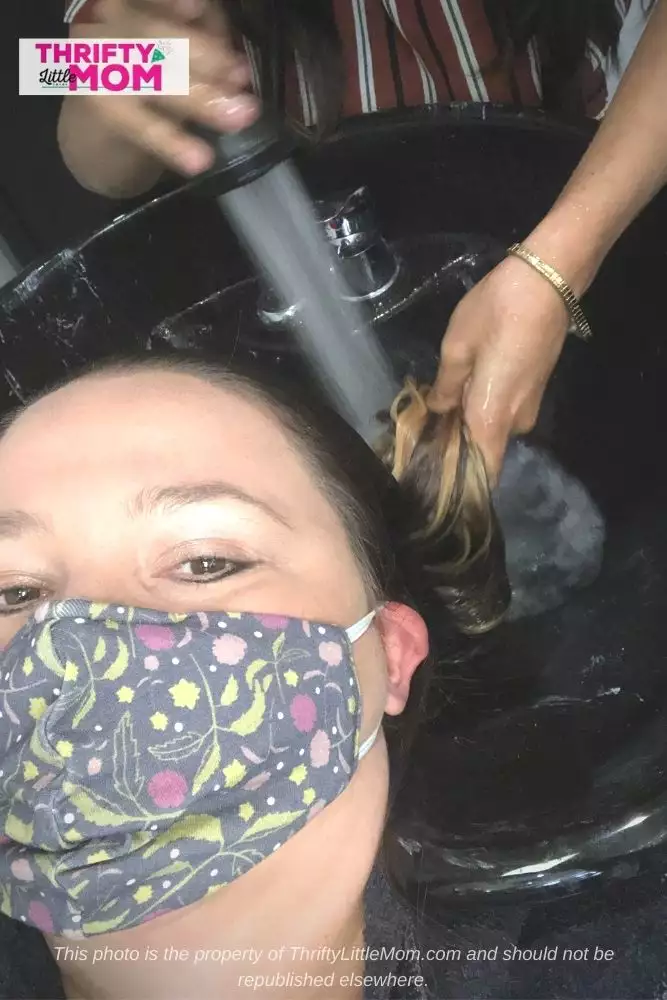
Step 8: Rinse the color.
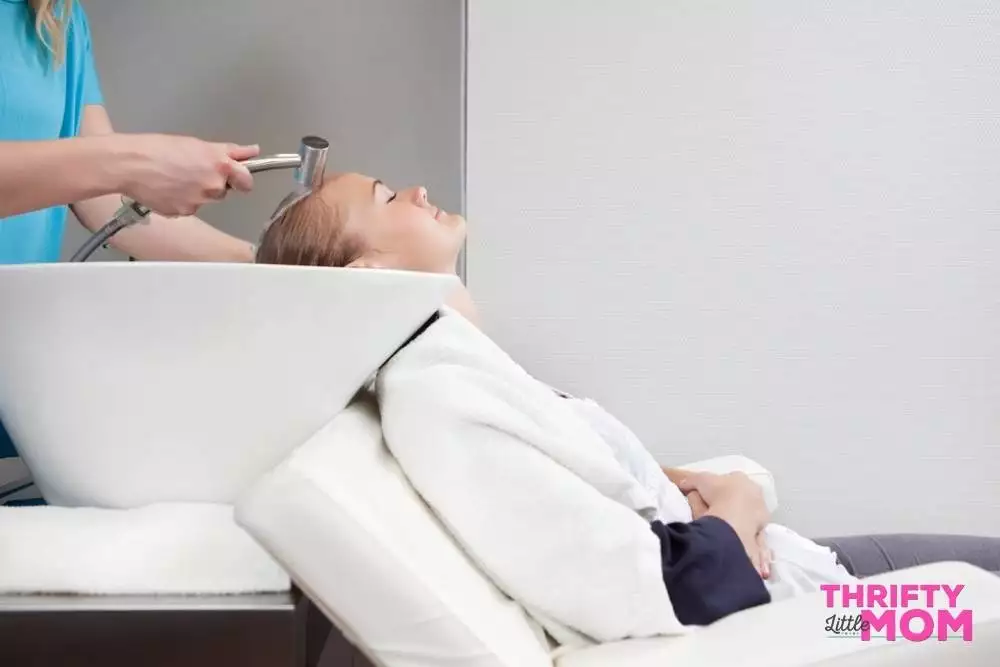
If you do this at home, follow the instructions on the back of your color container. Some say rinse with cold water while other say wash and condition your hair.
You usually will rinse until the water runs clear and you don’t see color anymore.
Step 9: Dry and Style
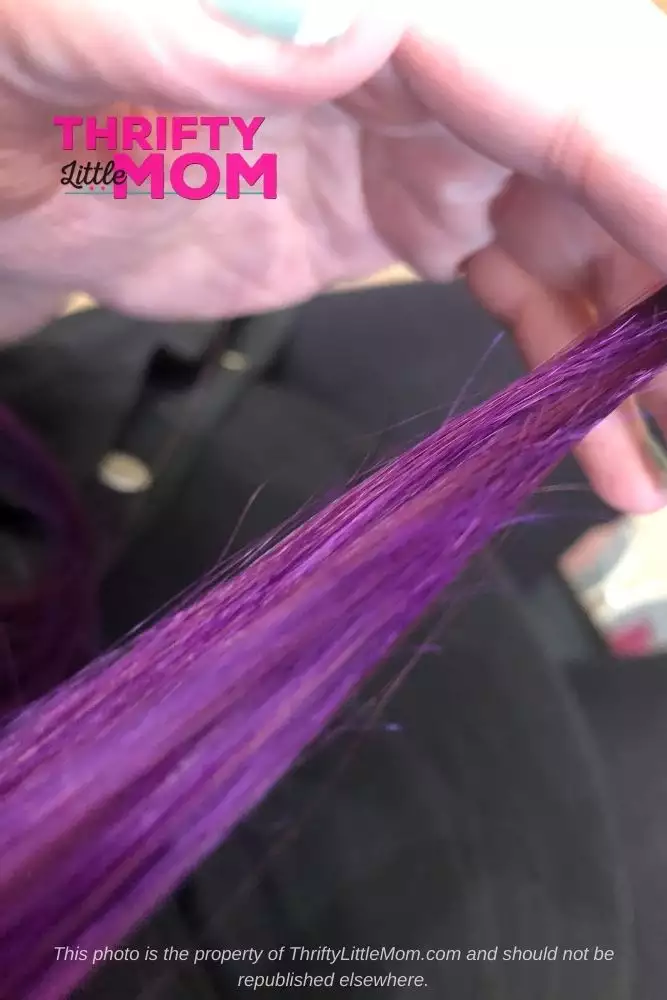
Not gonna lie, when this first piece of hair whipped all dry and shiny over my shoulder I was GEEKING out with excitement. It was soooo perfect.
And this was the after! I really like how the purple was showing up in different lights, darks and hues because of my own auburn hair and the lights and darks of the purple Balayage effect. I loved it, my husband loved it and so did my kids. My mother may or may not have said, “Ewe” when she saw it, but I don’t live my life to make her happy. LOL. I did this for me and only me.
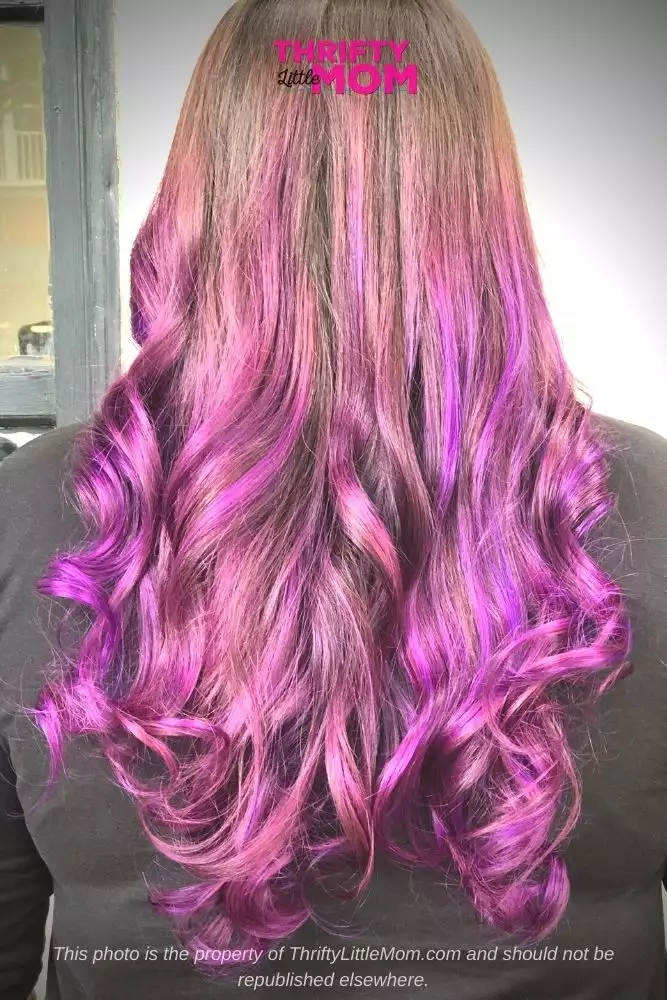
I did go back after about 8 weeks to get a darker purple added. Once I saw that process I was confident that I could do it myself at home.
With the darker purple added it had an ombre effect at the ends that I really liked.

The image below was taken at the same time as the image above so you can see the difference between being in the shade and being in bright light.
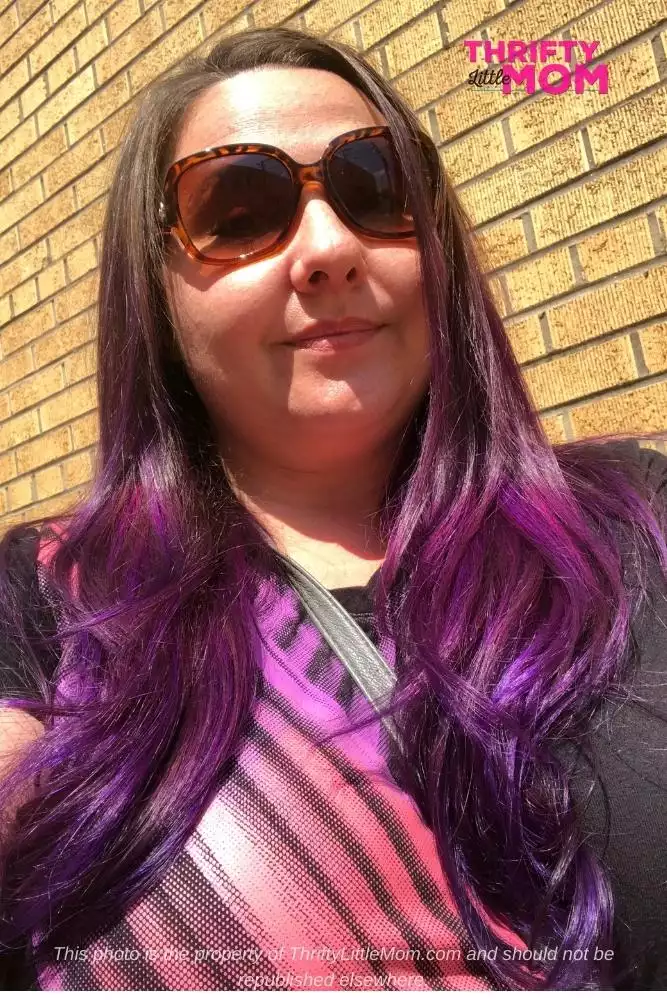
If you have been wanting to do this for yourself you should. Just do it. If you go with something like purple ombre hair or Balayage purple hair it’s super easy to maintain on your own and that can save you money over time.
Here are my votes for best purple dyes for use at home and what I use to maintain my purple highlights in brown hair.
Other Awesome Hair Color Posts From Thrifty Little Mom
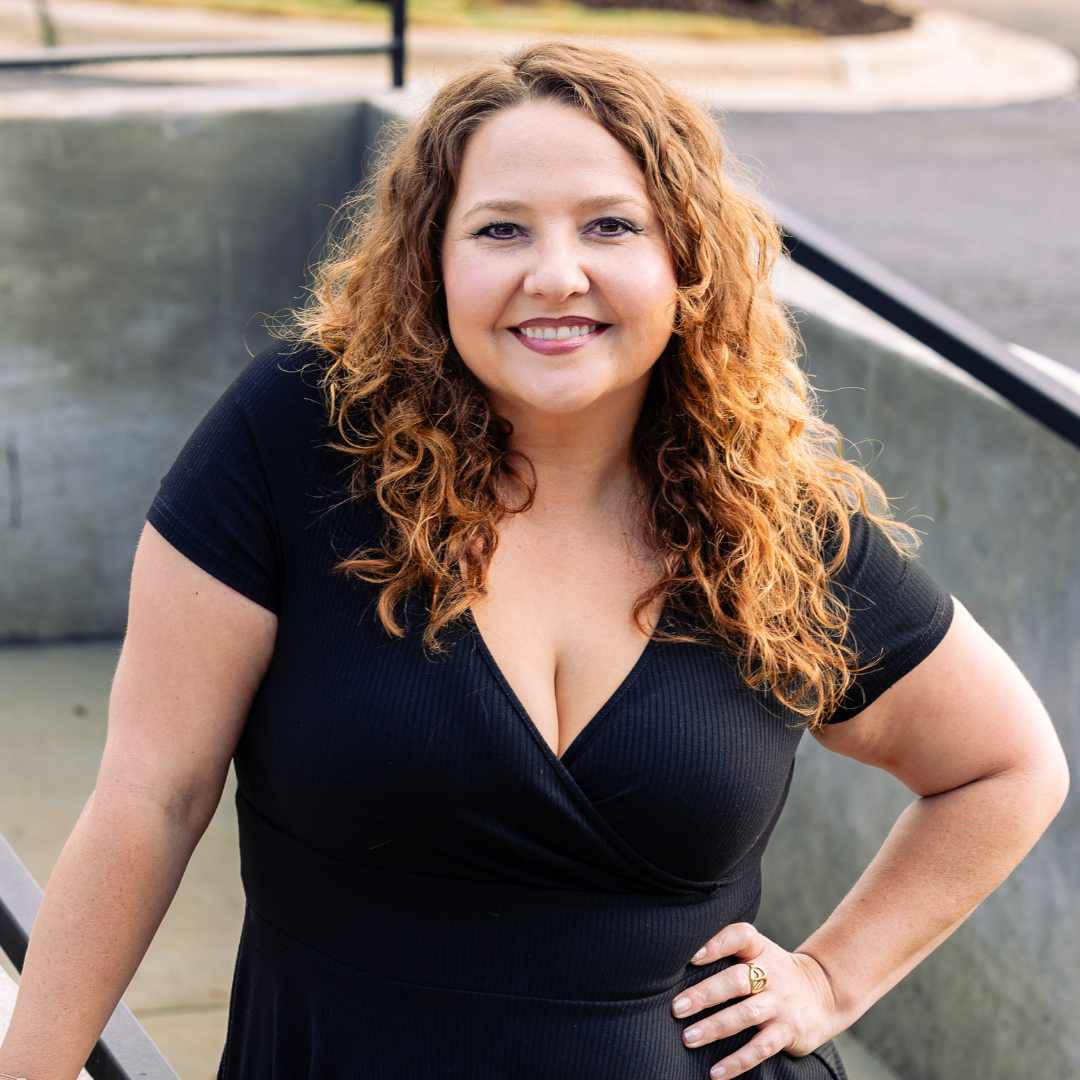
Kim Anderson is the organized chaos loving author behind the Thrifty Little Mom Blog. She helps other people who thrive in organized chaos to stress less, remember more and feel in control of their time, money, and home. Kim is the author of: Live, Save, Spend, Repeat: The Life You Want with the Money You Have. She’s been featured on Time.com, Money.com, Good Housekeeping, Women’s Day, and more!
